
DIY Halloween Frog Decor in an Upcycled Frame
Halloween doesn’t have to mean store-bought skeleton decorations and plastic pumpkins. I had some fun taking a quirky, inexpensive frog-in-a-tophat canvas from Temu, and giving it a dramatic new life inside an ornate upcycled frame. It’s the perfect mix of whimsical and spooky, and such a fun way to add DIY Halloween decorations to your home. If you love DIY Halloween art, repurposed decor, or inexpensive Halloween wall art, this project may have you digging through your stash of old frames or heading to the thrift store.
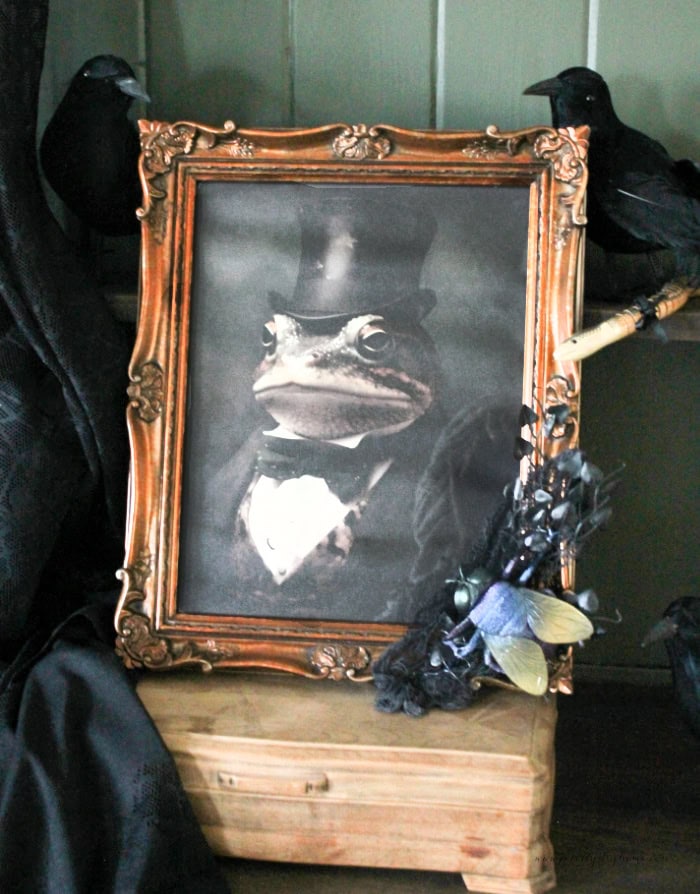
Why Upcycled Frames Work for Halloween
An ornate, upcycled frame instantly adds drama, making it perfect for DIY Halloween decorations. Subtle Halloween decor can actually be more effective than over-the-top props. A piece of Halloween decor that seems both pretty and harmless at first glance becomes much creepier once you realize the story behind it. A good startle at Halloween is always fun, and that is the goal of today’s Halloween wall art project.
This framed frog canvas works as a subtle DIY Halloween prop. It blends in with your decor but still gives guests a shiver once they recognize the story behind it. This year, I decided to stick with a pretty witch-inspired theme. Instead of using an obvious witch image, the frog hints at a witch turning someone into a toad, which feels seriously creepy for adults while staying subtle enough that it will not frighten children.
Free Alternatives to Buying a Canvas
If you would rather skip buying the frog canvas, there are free options you can use instead. I always recommend public domain art as it’s a great place to find vintage images that can be printed at home, or you can print larger sizes at Walmart or Staples. Look for anything vintage, mysterious, or sort of spooky. To get you started, here are a few links I have used for free vintage and public domain art. The Graphics Fairy has lots of Halloween specific resources.
400 Free Vintage Halloween Images – The Graphics Fairy
RawPixel Public Domain Collection
DIY Halloween Frog Decor Instructions
This Halloween DIY is quick, fun, and inexpensive to put together, especially if you already have an old frame at home. A few simple supplies are all you need, and feel free to substitute with whatever you already have on hand.
Supplies
- Thrifted frame (choose one as ornate as you can find)
- Frog in a top hat canvas (Temu) or printed public domain art
- Double-sided tape (Dollar Tree)
- Scissors and a cutting knife
- Duct tape
- Hot glue gun and glue sticks
- Florist wire
- Embellishments: I used a Dollar Store fly from the toy section, a black plastic stem from Dollar Tree, and a piece of creepy cloth. You could use faux spider webbing with a plastic spider, but I avoid spiders at all costs, and the fly is more subtle.
Step 1 – Assess and Prepare the Frame
Begin by dismantling your frame and giving it a thorough cleaning. I started by vacuuming mine, then washed the frame with hot water and Dawn dish soap.
Remove the glass and clean it with glass cleaner, then let everything dry completely.
My frame already had a gorgeous copper finish, so I skipped painting or distressing and left it as is.
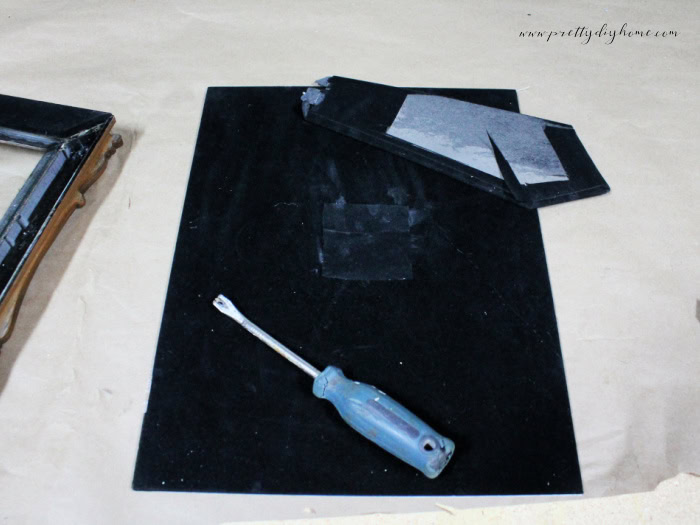
If your frame has a stand you don’t want, cut it off and repair the back. I cut a piece of velvet from the stand arm and used it to cover the blank area in the center with hot glue.
Step 2 – Prepare the Artwork
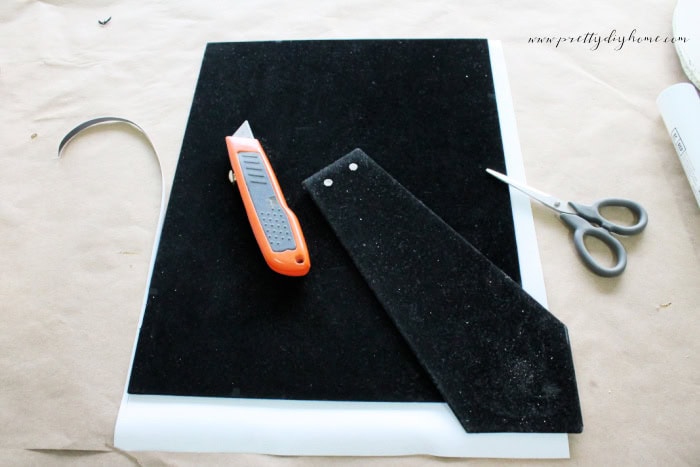
The Temu frog canvas comes in a roll, so I had to unroll it and smooth it flat first with my hand and then with a Cricut roller. Place the canvas face down, and use the back of the frame as a guide for sizing.
Flip your image and double-check that it is exactly where you want it before cutting. With the cutting knife, trim the canvas to fit the frame. You can use scissors to tidy up the cut if needed. Before making the final cut, check the orientation and placement one more time.
Step 3 – Secure the Canvas
After trimming the canvas to size, add strips of double-sided tape all around the “front” side of the frame’s back. Place the tape along the top, bottom, both sides, and across the middle. Once the tape is in place, peel off the backing to prepare it for mounting.
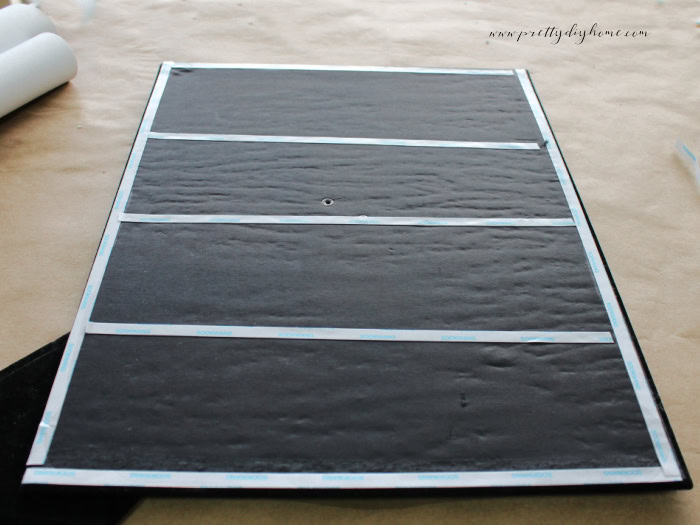
With your canvas face down, press the sticky side of the frame back onto the back of the canvas. Make sure the edges align neatly, then press firmly over all the taped areas so the canvas adheres securely.
Step 4 – Decorate the Frame
To add some whimsy, I decorated the bottom corner with a fly, a piece of plastic stem from the Dollar Tree, and some creepy cloth. I placed the cloth first but chose not to glue it directly to the frame, so the frame itself stayed undamaged. Instead, I cut the fabric so it fit right around the frame and then wired it together at the back and secured it with good-quality duct tape.
Next, I wove a six-inch length of plastic branch into the creepy cloth, adding small dabs of hot glue only to the fabric to hold it in place.
Next, I used florist wire to attach the fly to the draped cloth, wrapping the wire securely around its legs. I added a small dab of hot glue for extra strength. The little fly adds just the right amount of grossness, like a creepy, unaware toad snack waiting in the corner. Ick!
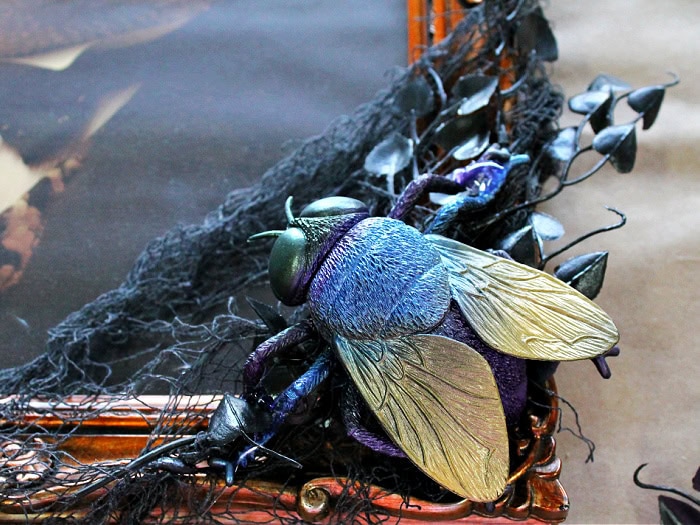
To finish securing everything, I added a little more duct tape to the back where it wouldn’t be noticeable.
For the final touch, I placed the frame on a shelf, tucked a couple of Dollar Store crows around the edge, and added a vintage wooden snake from my stash.
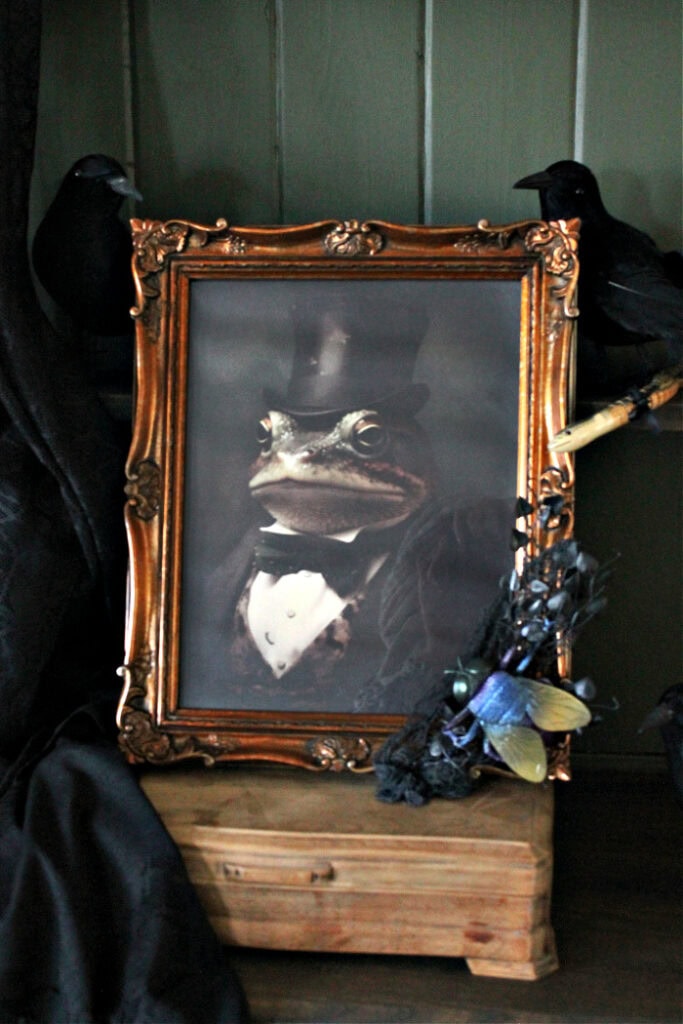
Pin this DIY Halloween frog frame to save the idea for later. A quick, inexpensive project that makes subtle but spooky Halloween decor.
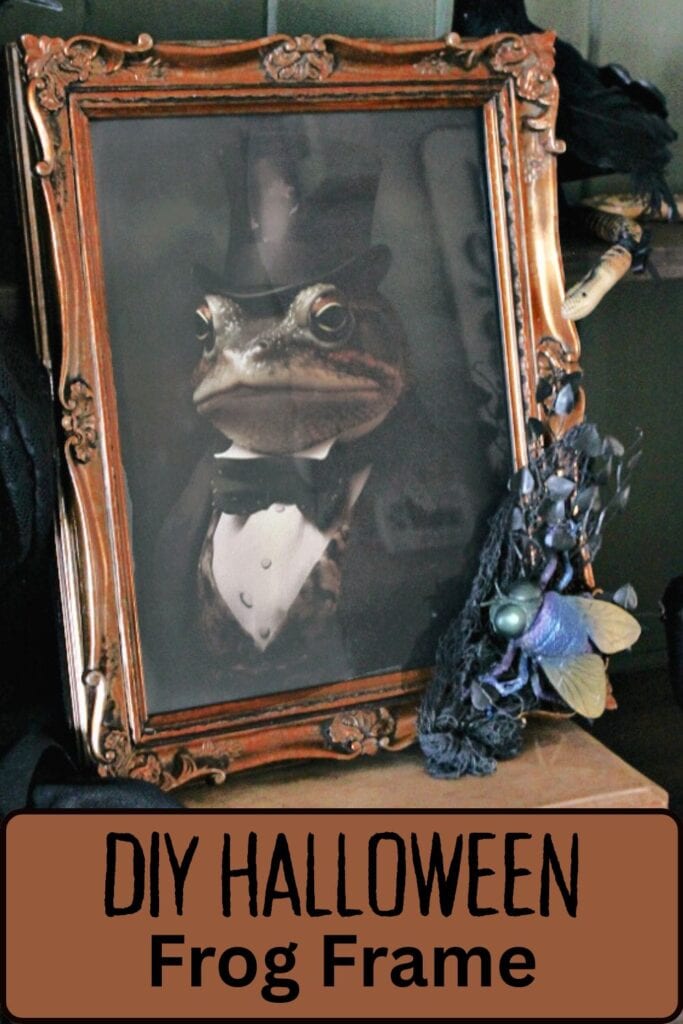
Creating something fun and unique for Halloween doesn’t have to be complicated or expensive. A thrifted frame, a quirky piece of art, and a couple of dollar store finds are all you need. This little piece of Halloween frog art is easy to make and adds just a little spooky comedy to your living room. It’s a fun idea if you enjoy unusual Halloween wall art that still feels simple and inexpensive.
Other Inexpensive DIY Halloween Decorations
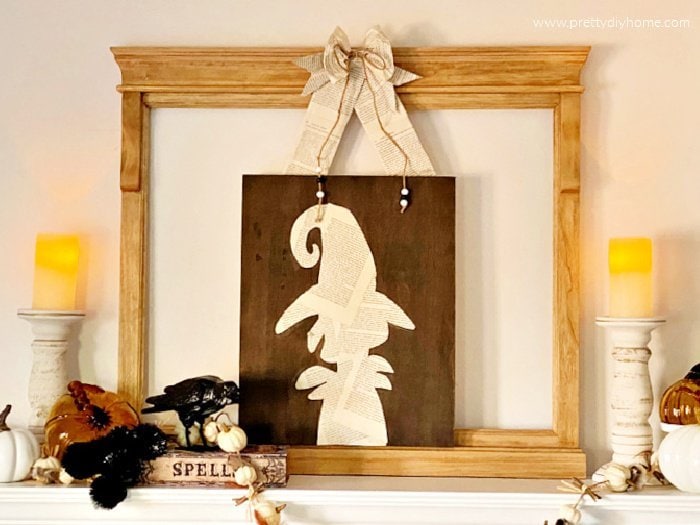
Witchy Halloween Decor for the Mantel
A dollar store wood canvas, some stain, Mod Podge, and book pages are all you need to make this witch art for the mantel.
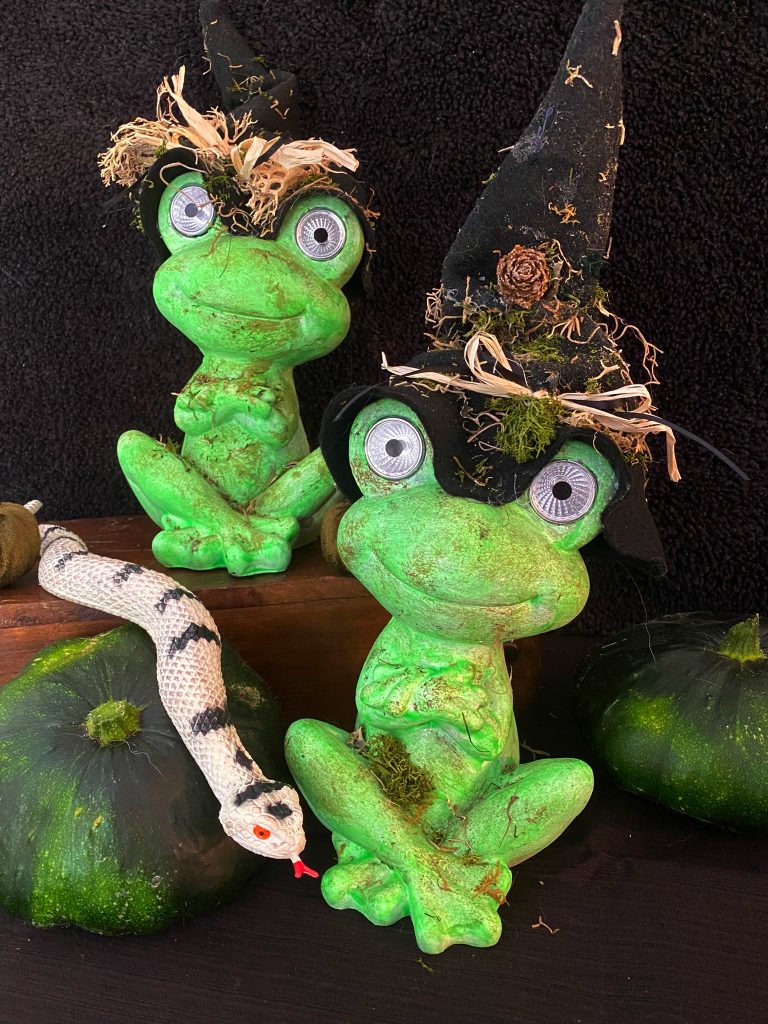
Witch Frog DIY Light Up Halloween Decorations
These little Halloween frogs are made for outdoors. They’re Dollar Store solar garden lights that make fun sidewalk decorations for Halloween.