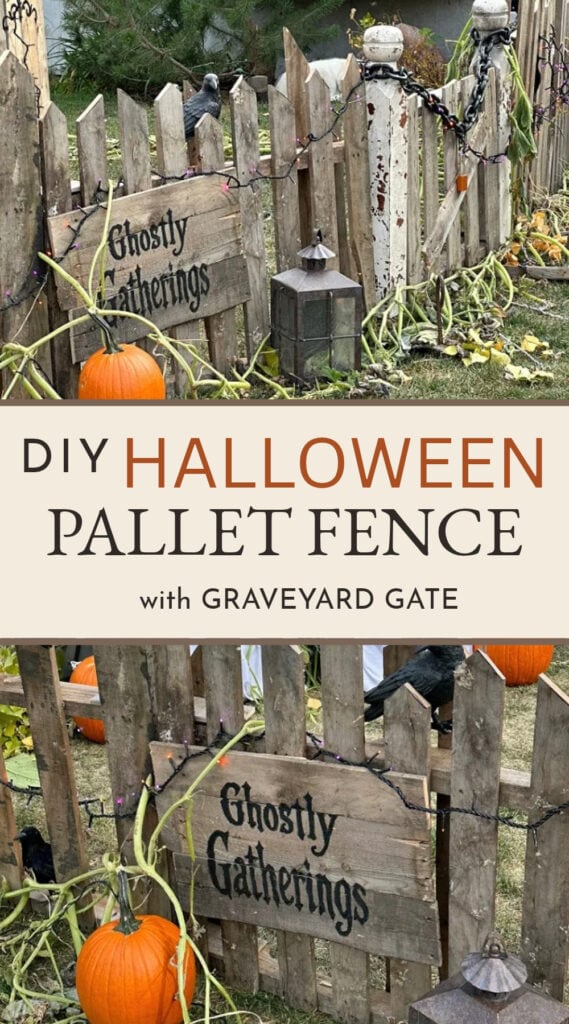
DIY Halloween Pallet Fence with a Faux Graveyard Gate
We had a pile of old pallets sitting in the backyard that needed to be used, and they were practically begging to become some sort of Halloween project. Instead of buying materials for a cemetery fence, we decided to turn what we already had into a rustic Halloween pallet fence with uneven pickets, a faux graveyard gate, and lots of worn, weathered character.
This fence is the third project in our Ghostly Gatherings Halloween trio. We started with the pallet gravestones and primitive lace ghosts, then added this fence to pull the whole graveyard display together. The finished fence is about 20 feet long, and the actual fence structure cost us just $3 to make. I did spend a little extra at the dollar store on several black ravens because I wanted the finished fence to look a bit more dramatic and elegant.
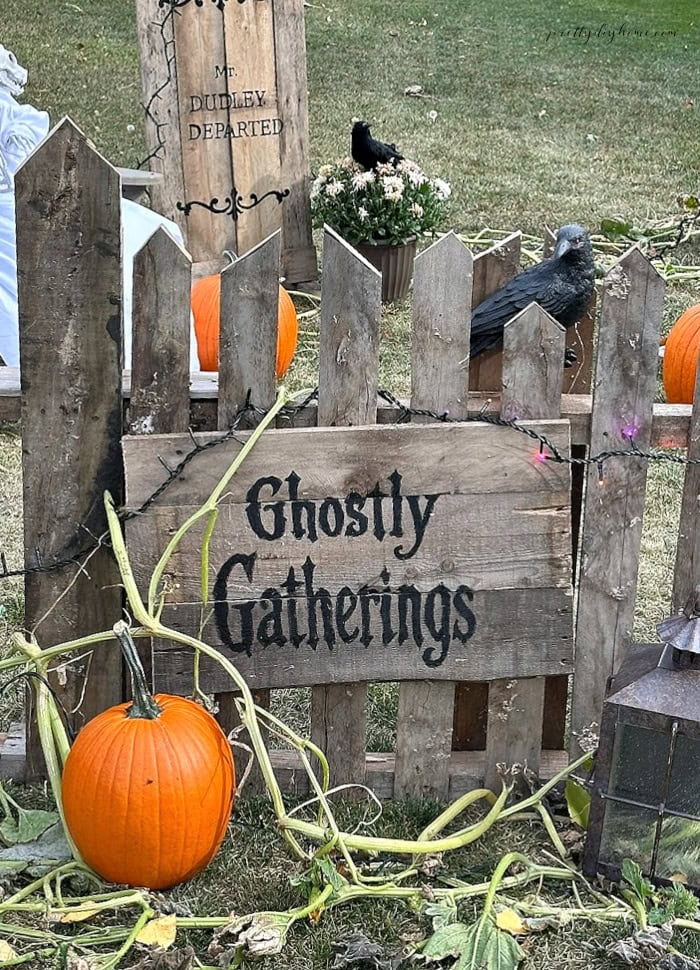
One of the things that made this project so much fun was how inexpensive and easy it was to make. Since we were working with old pallets, there was no pressure to make everything perfect. Missing boards, worn wood, and uneven pickets only added to the aged graveyard look, so we could simply have fun with it and let all those imperfections become part of the design.
How to Make a DIY Halloween Pallet Fence
Supplies for a DIY Halloween Pallet Fence
Our finished fence, including the faux gate, is approximately 20 feet long. You can easily make yours shorter by using fewer pallets, or add more sections if you have a larger area to fill.
Fence Materials
- 5 old wooden pallets
- Two old stair or newel posts
- 3-inch screws
- Rebar or tent pegs
- Ghostly Gatherings printable, graphite paper, and black paint pen
Optional Halloween Decorations
- Black dollar store ravens
- Purple and orange Halloween lights
- Chain and large lock
- Garden vines or cornstalks
Tools We Used
- Circular saw
- Drill and 1/2 inch drill bit
- Pry bar, hammer
- Sawhorses
- Measuring tape
- Pen or pencil
I recently found two old oak stair posts for just $3. I had absolutely no need for them at the time, but the worn finish and old wood were too good to leave behind. I knew I would eventually find the right project for them, and they ended up being perfect for the faux gate on our Halloween fence.
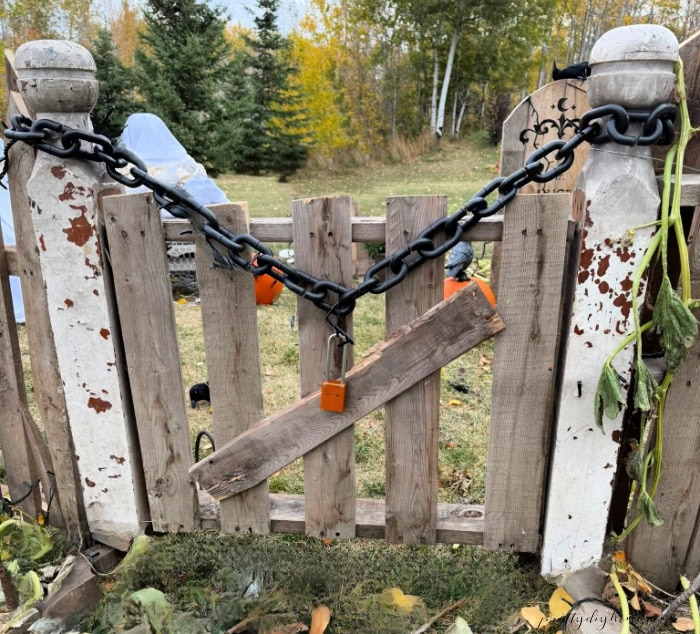
As I doubt you have a pair of old stair posts lurking around your home, check your local Habitat for Humanity ReStore. I have seen old stair posts and newel posts there several times. Plain 4 by 4 posts would work too, but an old salvaged post adds so much character to a graveyard fence.
Step 1: Mark the Fence Pickets
Instead of taking the pallets apart like we did for the gravestones, we were able to skip all that extra work and use the pallets whole.
A pallet has two sides. One side typically has more boards than the other, so we used the fuller side as the front of our fence. We left the boards on the back in place because they added strength and helped hold the pallet together.
If you have sawhorses, set the pallet on top to make it easier to work on. Before you start cutting, check the pallet for any loose or protruding nails and hammer them back into place.
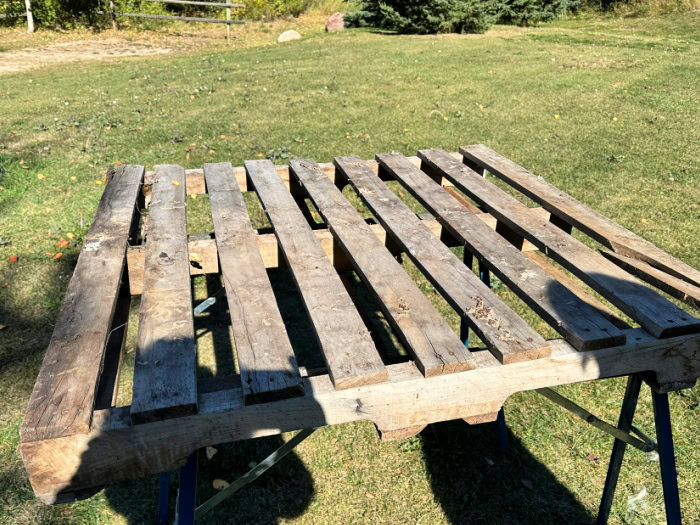
Using a pen or pencil, mark a simple picket point at the top of each board. I varied the heights so some pickets were taller than others.
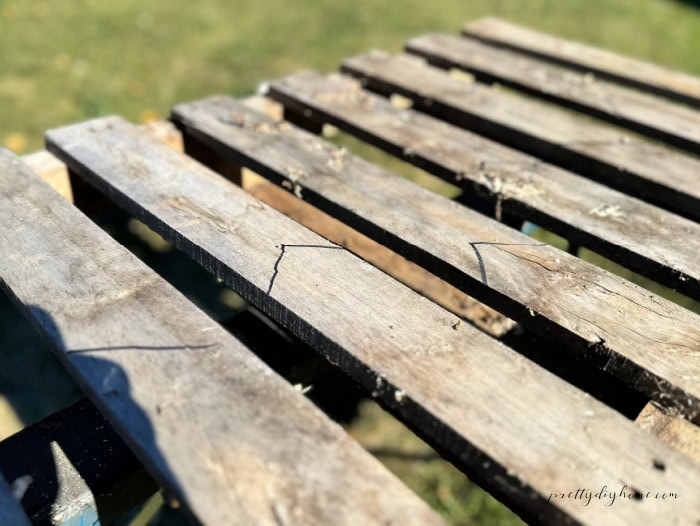
If your pallet has missing boards, don’t worry about replacing them. The gaps and uneven boards only add to the old graveyard look.
Step 2: Cut the Pickets
Using a circular saw, Hubs cut along the picket lines on the front of the pallet. We then flipped the pallet over, marked the boards on the back in the same way, and cut those pickets as well.
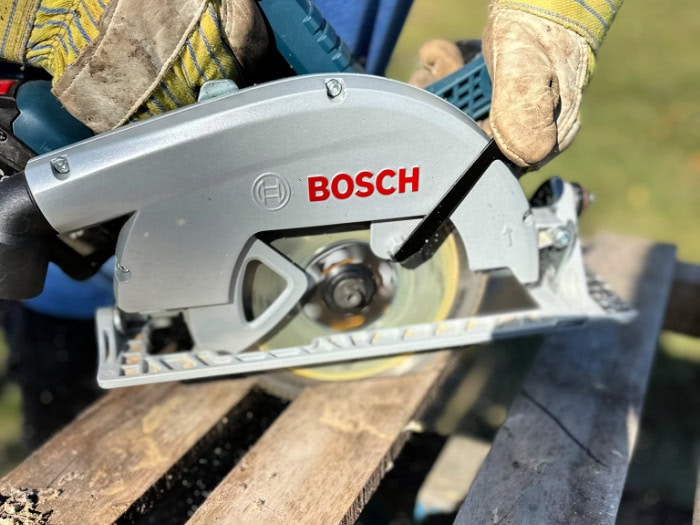
Once all the picket points were cut, we simply pulled the upper portion of the pallet away. This left the longer bottom section intact and gave us our first rustic fence panel.
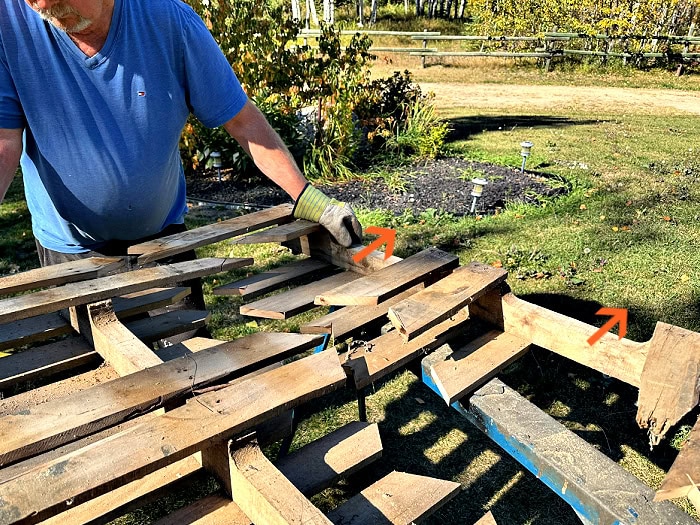
Keep the discarded top pieces instead of throwing them away. We reused the 2 by 4 sections later to make the fence braces, supports, and the connecting pieces used between the pallet sections.
Step 3: Make the Fence Sections
Repeat the same marking and cutting process with four pallets to make the main fence sections.
Our pallets were approximately four feet wide, so the four finished sections gave us about 16 feet of fencing before adding the faux gate.
Set the finished sections aside while you make the narrower gate from the fifth pallet.
Step 4: Build the Faux Graveyard Gate
For the gate, we used a fifth pallet and cut the picket tops the same way as the fence sections, only a little shorter.
Using a pry bar, we removed a couple of the end pickets to make the gate narrower.
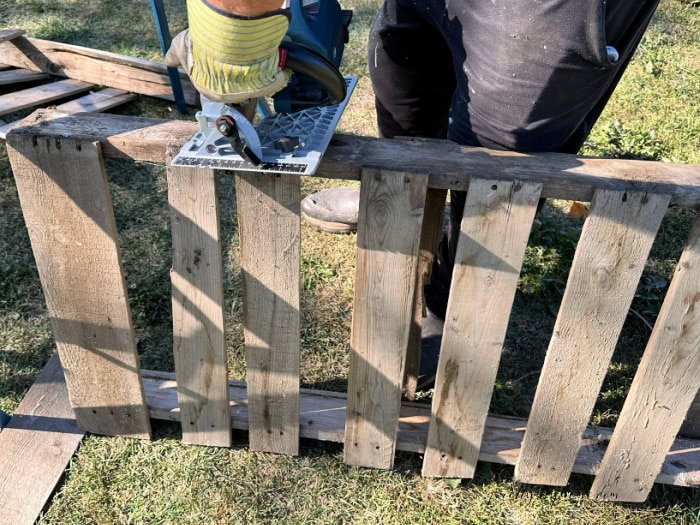
Then we took some of the leftover 2-by-4 pieces from the pallet tops, cut them to length, and fitted them inside the two outer edges of the gate for extra strength.
Because our pallet wood was extremely hard and dry, we predrilled the holes before adding any screws.
We positioned the gate between the two old stair posts and attached it directly to the posts with 3-inch screws, leaving the bottom of the gate about one inch above the ground.
I considered adding actual gate hardware, but since this is a faux gate that does not need to open, there really was no reason to spend the extra money.
Step 5: Make the Fence Supports
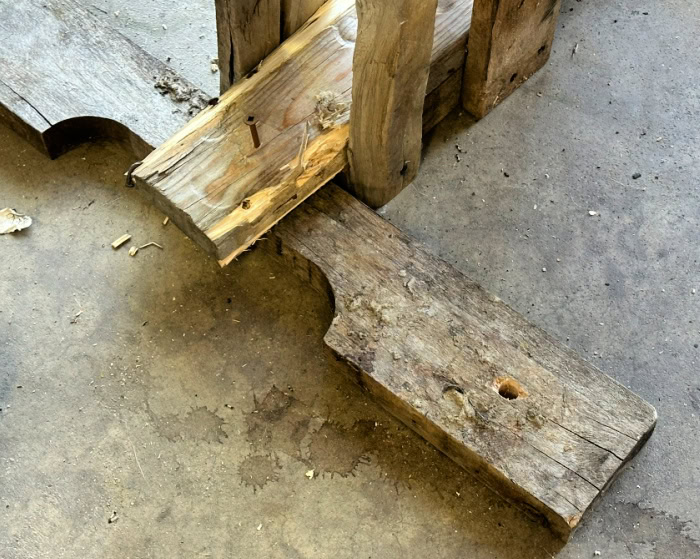
To keep the fence standing securely on the lawn, we made simple bases using more of the leftover 2-by-4 pieces from the pallet tops.
Where we live, we get a lot of wind, so we wanted to make sure the fence was secure enough to stay in place once it was set up.
Hubs cut each support about 2 feet long. We laid the boards flat, with the wide 4-inch side resting on the ground, to give the fence a nice stable base.
Next, he drilled a 1/2-inch hole near each end, about an inch in from the edge. These holes are for the rebar, or sturdy tent pegs, that will be driven through the base and into the lawn.
We attached the 2-foot supports across the bottom of the fence at intervals along its length. Once the fence is placed where we want it, the rebar can be hammered through the holes to hold everything securely in place.
Step 6: Join the Fence Sections
To join the pallet sections together, we reused more of the 2-by-4 pieces we had saved from the pallet tops.
We did not worry about cutting all the connectors to the same size. Instead, we used random leftover lengths that fit the space between the adjoining fence sections.
At each join, we placed one 2-by-4 connector along the top rail and a second one along the bottom rail. Predrill the holes, then secure the connectors to both pallet sections with 3-inch screws.
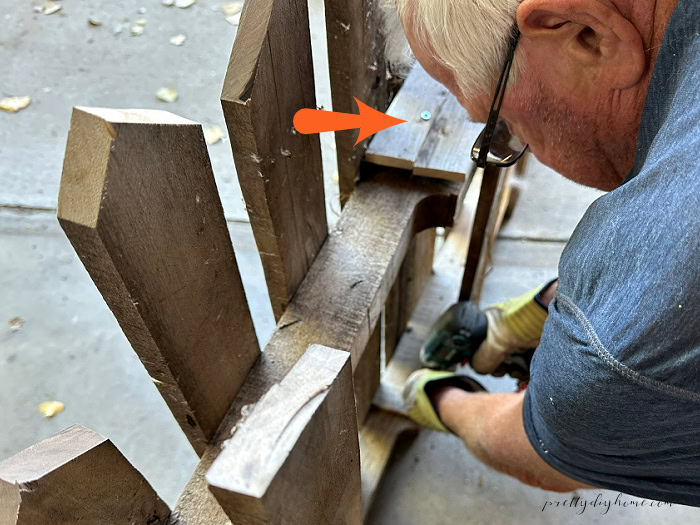
We wanted the fence to be easy to store after Halloween, so we did not permanently attach the sections. At the end of the season, we can simply remove the screws, separate the pallet panels, and store them individually.
Step 7: Add the Ghostly Gatherings Sign
- Line up three wide pallet boards and secure them from the back with thin scrap wood strips and nails.
- Print the Ghostly Gatherings lettering. “Ghostly” is one landscape page and “Gatherings” spans two pages to make the lettering about 14 inches wide.
- Tape the printable together and position it on the pallet sign.
- Place graphite paper underneath, trace the lettering, then fill it in with a black paint pen.
Step 8: Decorate the Halloween Fence
We left our fence completely unpainted. The worn pallet wood already had the old, weathered look I wanted for our Ghostly Gatherings graveyard, so there was no reason to cover it up.
To decorate the fence, I loosely wove purple and orange Halloween lights through the pickets instead of running them in one straight line across the top. Letting the lights dip lower in some places made the lighting feel much more natural and helped illuminate the fence after dark.
I added several black dollar store ravens along the top of the fence and around the gate. Instead of spacing them evenly, I placed them in different little groupings so they looked as though they had simply landed there.
For the faux gate, we draped a dollar store chain and a large old lock across the front. I had originally planned to add a black wreath as well, but once the chain and lock were in place, the gate really did not need anything else.
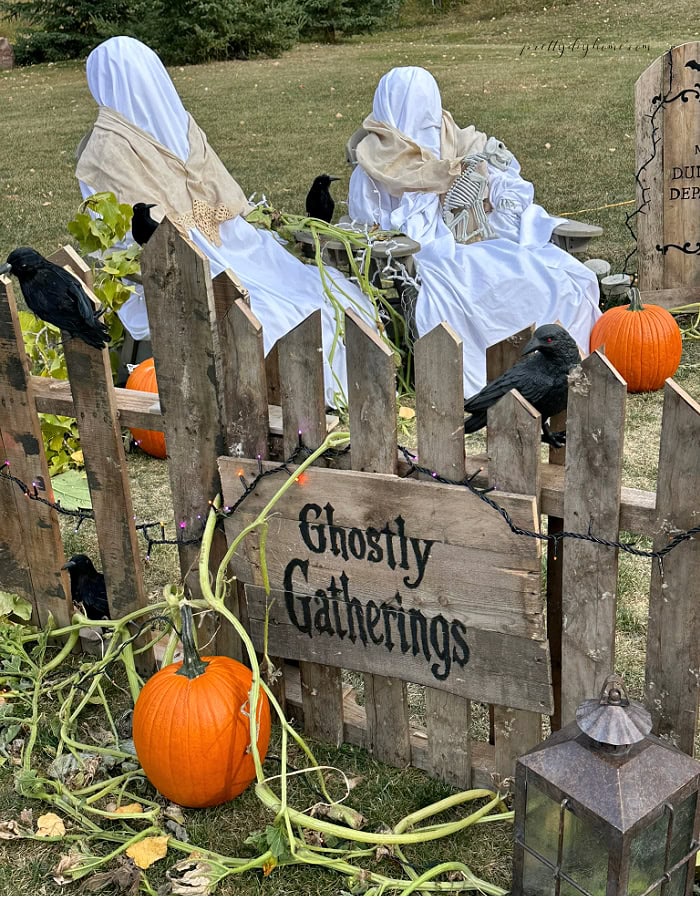
We also tucked end-of-season squash vines around the fence to give it an overgrown, neglected look. If you do not have garden vines available, cornstalks would work well here too.
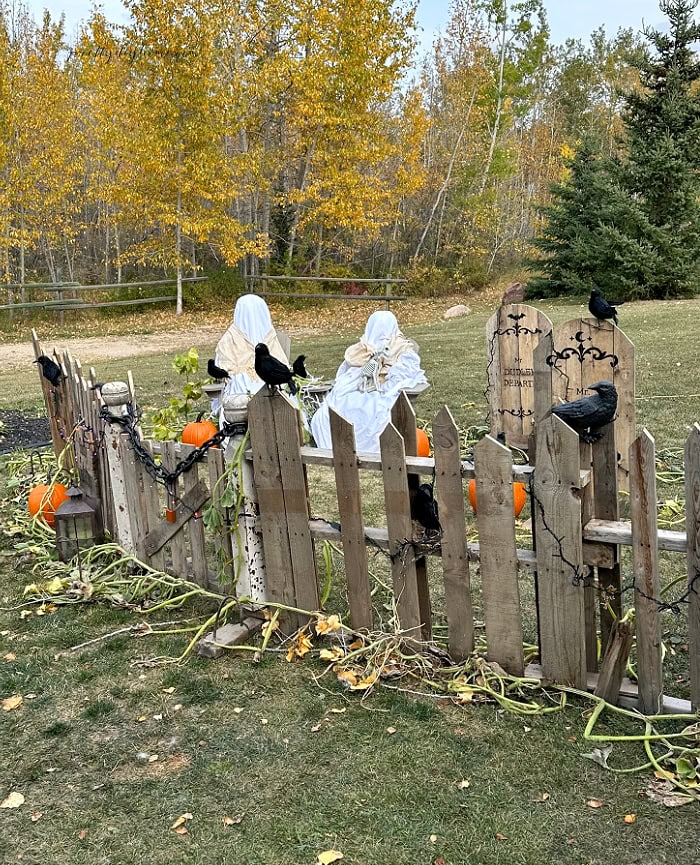
We are really happy with how our Ghostly Gatherings display came together for Halloween. I love how large everything is. The ghosts are life-sized, the gravestones are about three feet high, and the fence is full-sized to match.
I think the proportions are what make the whole display so impressive. Everything is large enough to be easily seen from the street, and I am very excited to see the kids’ reactions when they come by on Halloween night.
Other Ghostly Gathering Outdoor Halloween Ideas
This fence is the third project in our Ghostly Gatherings Halloween trio. We started with the pallet gravestones and primitive lace ghosts, then added this fence to pull the whole graveyard display together.