DIY Solar Table Lamps for Outdoors
DIY Outdoor Lighting for the Deck
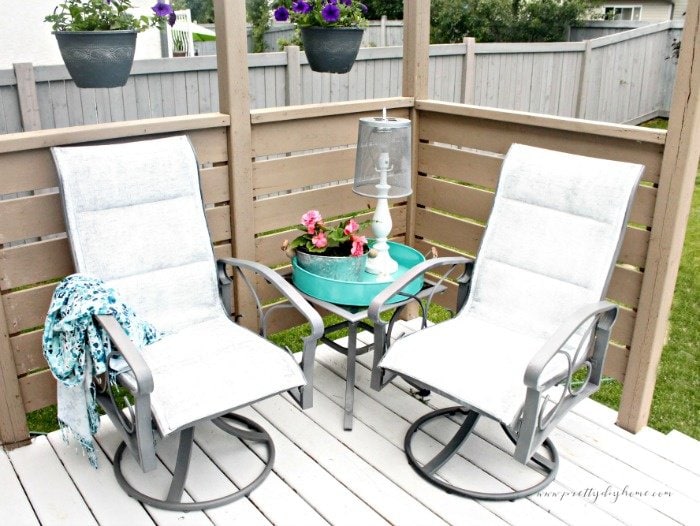
This set of DIY solar table lamps is an easy DIY project that makes such a great addition to an outdoor patio or outdoor seating area. Whether you have a hot climate with blistering daytime temps or short summers where we squeeze out as much time outside as possible, these solar lanterns are a great way to light up your patio to enjoy the cooler evening hours outside. These DIY solar-powered table lamps light the deck so you can enjoy another hour or two.
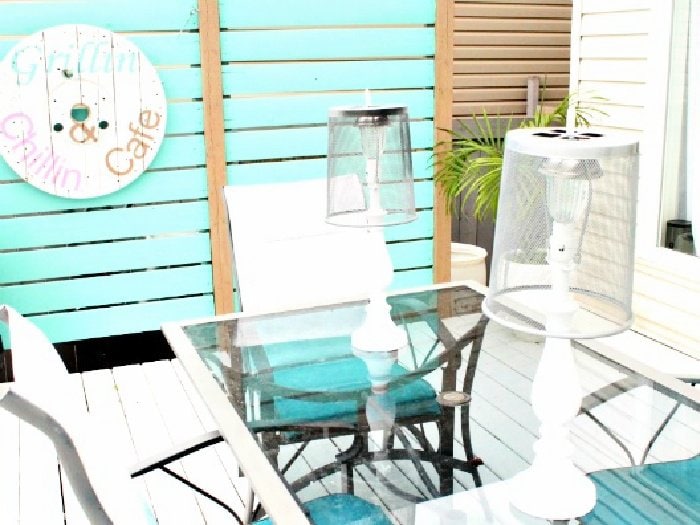
Do you have a set of old table lamps you’re not using, or does someone in your family have them stashed cluttering up a shelf? It’s very easy to repurpose those old lamps into solar table lamps or solar floor lamps, to brighten up your outdoor space, and you need any electrical outlets or pesky cords. You can place them anywhere you want them whether it’s a patio table or end table. If you want to skip the shade (my favorite part of this project) you can even use them in your flower garden or an outdoor area that needs extra lighting.
How to Create an Outdoor DIY Solar Lamp
These solar lamps are so easy to make, with a few simple supplies and tools.
- Unwanted or thrift store table lamps
- Outdoor Solar lamps, with the solar panel on the top
- Wire cutters, pliers
- Tin snips, or Dremel, and gloves
- Dollar store wire mesh waste paper baskets
- Paint of your choosing for the lampstand
- Metallic spray paint for the lampshade
- Spray on polyurethane
Step 1 – Update the Lamp Base
These outdoor solar lights don’t need to be plugged in so removing the original plug-in cord is the first step. The wiring in lamps and most others, enter the lamp from the bottom. Take the bottom cover off of the bottom of the old lamp. Then cut the wires with the wire cutters. Make sure the lamp cord is short enough it no longer shows. Place the bottom of the lamp base back on. Our lamps came with simple felt bottoms so we reattached them using crazy glue.
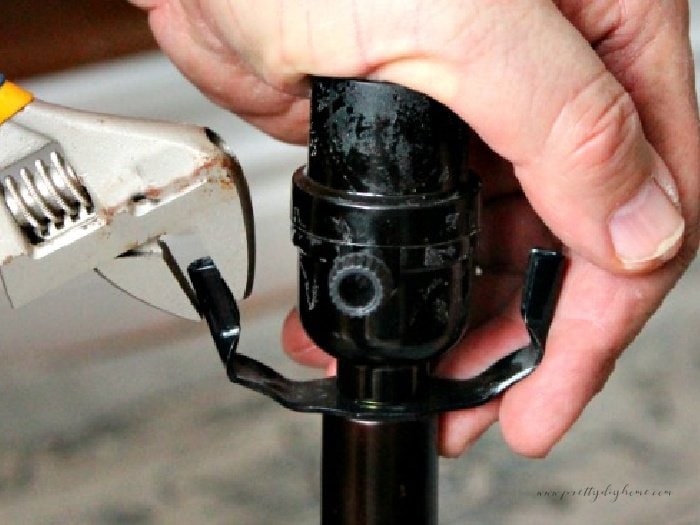
Adjusting the Lamp Share Brackets
Leave the upper part of the casing (where the light plugs in) intact. This will hold your new outdoor solar light. Because of the width of the top of our lamps, Hubs had to widen the shade brackets a little so the solar lamps would fit. He did this with a simple set of pliers and a little pressure. Don’t overextend them, but move them a bit at a time until the solar lamp fits. If your solar lamp is smaller you may be able to skip this step.
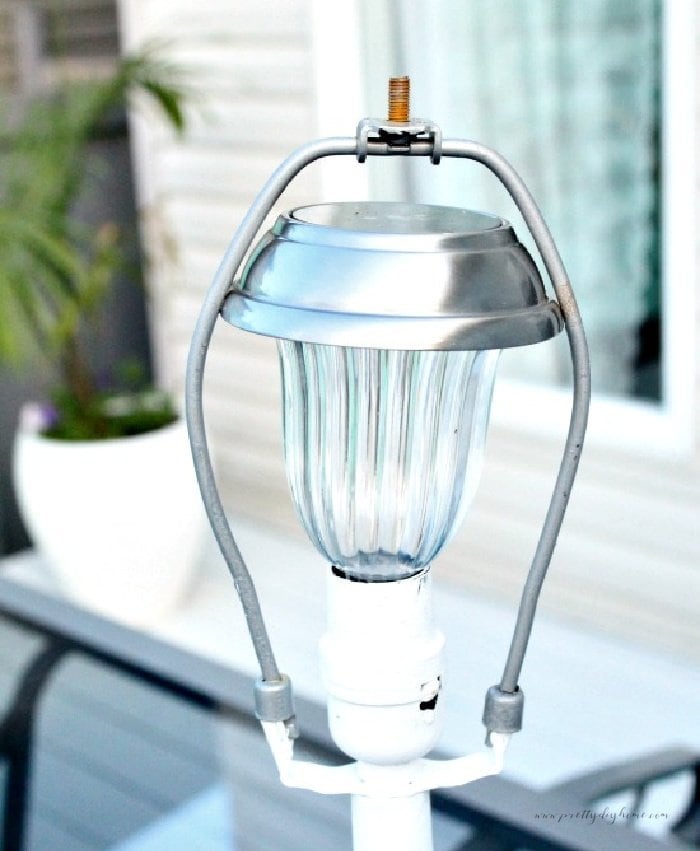
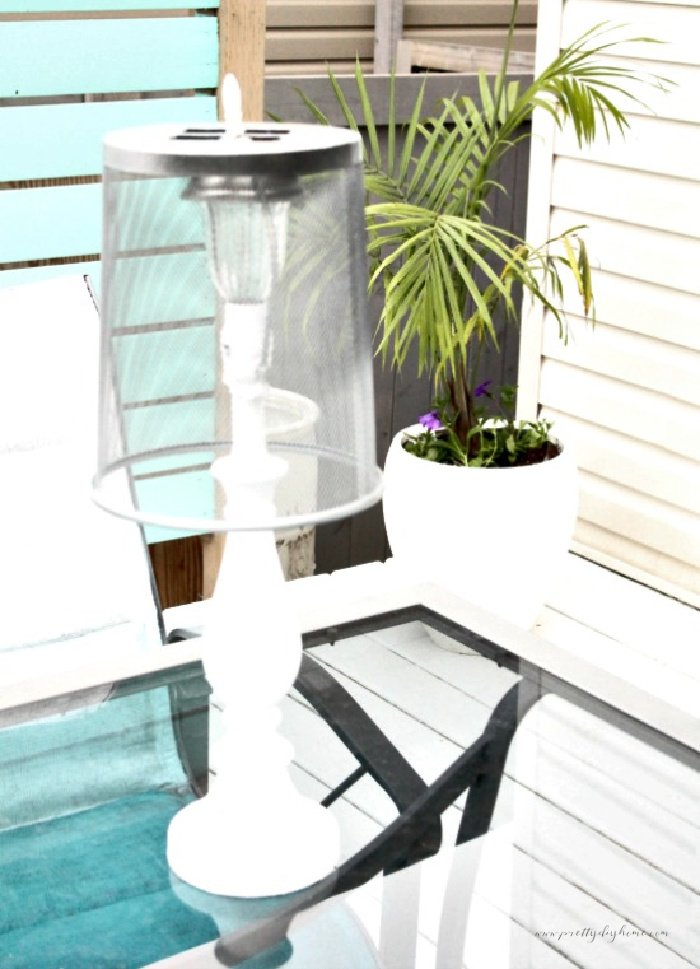
Fit the upper part of the shade brackets and the light part of the solar lamp back onto the lamp. We need to keep the lampshade bracket for the shade to attach to.
Making the Lamp Shade
You can make the lampshade out of various things, an old metal fruit basket, a Dollar Store wire basket, a metal bowl, or a colander. Have some fun deciding what to use, the Dollar Stores likely has something perfect for the size of your lamp. When choosing the lampshade it must be large enough to hide the lamp bracket.
Since we’re using outdoor solar lights we don’t need to worry about the solar lamps being waterproof, but they should be sturdy enough to stay outside. For our lamps, the Dollar Store wire waste baskets were the perfect size.
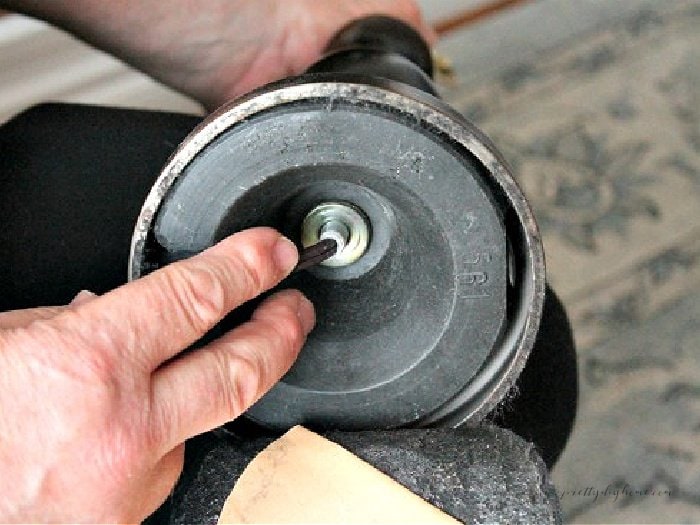
So now that we have the workings of the lamp hidden within the metal lampshade, the next step is to ensure the solar panel receives enough light to charge. Having the solar panel for the lamps on the top of the solar light makes it easier to access and camouflage than the ones with the panel sticking out to the side. To give the solar panels access to as much light as possible Hubs used metal sheets to cut out as much of the metal as possible from the bottom of the waste paper basket. This is how he cut them out.
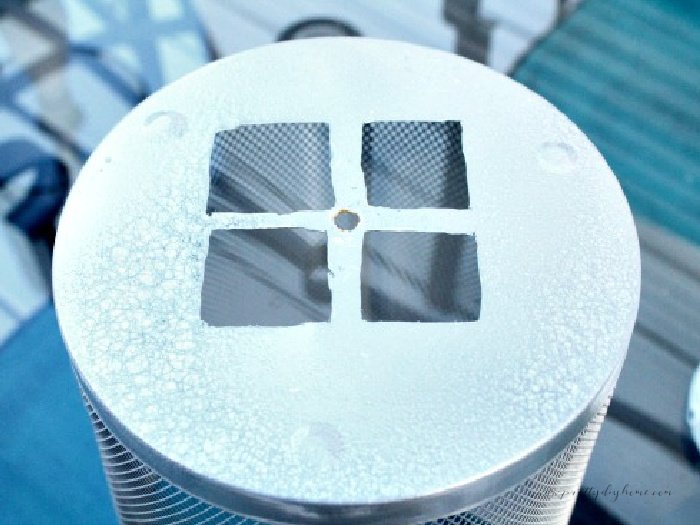
Hubs cut these out using a small Dremel with a tiny cut-off blade. Depending on the basket you find, you may be able to cut them with tin snips. The central piece he cut out with a simple drill.
Painting the Lamp
Use masking tape to cover the solar light and lamp shade bracket. Then paint the entire lamp stand right up to the solar light any way you choose. I used Rustoleum white chalk paint because I had some leftovers. This lamp was originally very dark brown so it took two coats of white chalk paint. I let the paint dry for an hour between coats. Once dry I sprayed it with three coats of polyurethane. Once painted I kept mine indoors for a couple of days to make sure the paint hardened enough to prevent rain damage.
The baskets and the lamp brackets were spray-painted metallic grey to match the top of the solar lantern. Follow the directions on your paint can.
Pin This to Have It!
Other Solar Lighting Ideas to Try
Tips for Installing Solar Lights
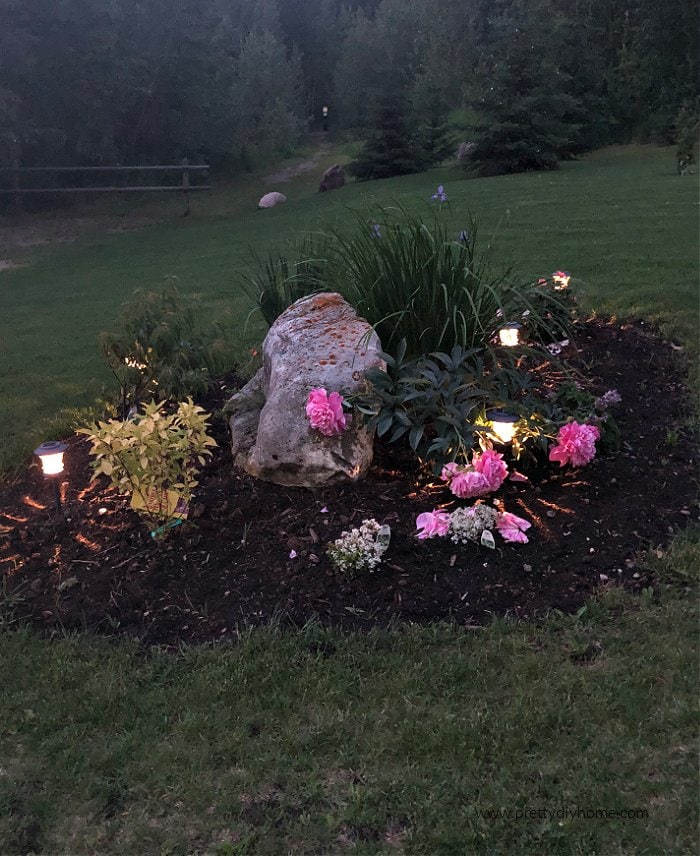
Solar lights for our yards can be so beautiful with a few simple steps. I added a few of them into our front yard for safety, and it works.
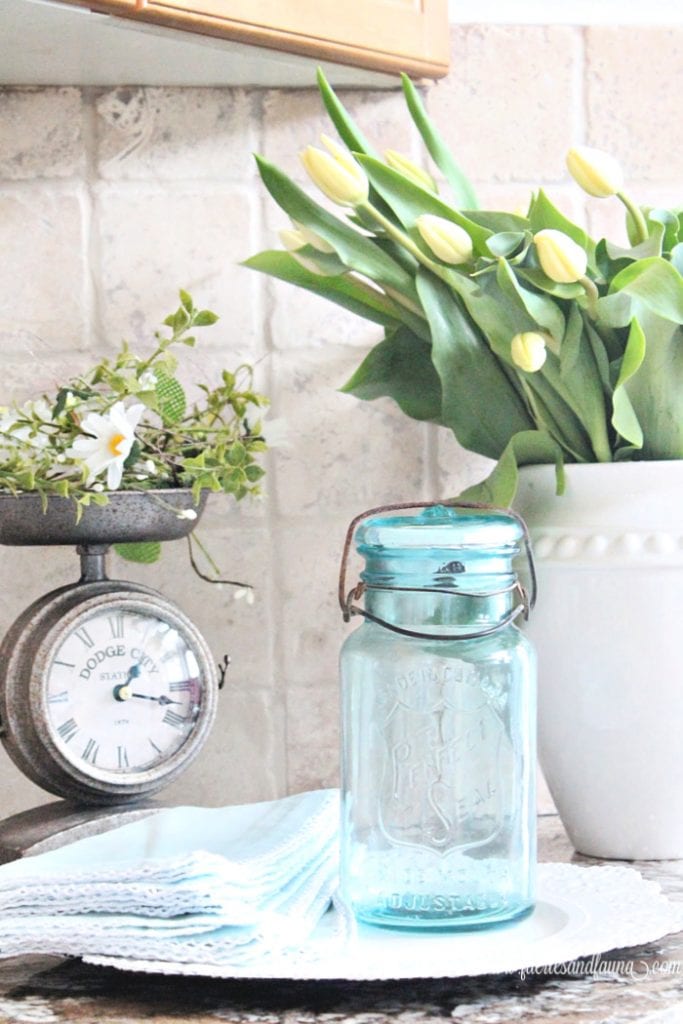
DIY Vintage Mason Jar Solar Light
This particular blue mason jar is my favorite, and I love to display it. I was able to convert it into a solar nightlight for our kitchen using a dollar store solar lamp. It would also be a great idea for camping but use affordable everyday mason jars.
It’s awesome that you have the classic looking lamp frame without it needing to be plugged in. It might be a fun party trick to leave some of the bottom wire exposed, so you can make people wonder how the lamp still works if the wire is cut!
What a great idea. I want to make one for my deck. Thank you so much for sharing.
Great idea Leanna. You know I love solar lights!
🙂 gwingal
This is such a great idea! An inexpensive way to add a lot of character to an outdoor space!
I can’t believe how easy it looks–and that they are solar powered! Now I want to do some for my back deck!
What a smart idea!! Pinned 🙂
This is a wonderful idea. What a great way to recycle
Love how these fit so beautifully into your ourdoor space Leanna. They seriously look so good and it must create such a lovely vibe at night
Hi Michelle: They lengthen the evenings by an hour or so. Hubs is especially in love with him. He laughs because he never knows what I am doing until its done.
You never cease to amaze me with your cleverness!!! Such a great idea and I bet they look just beautiful at night for you and hubby to enjoy your new deck area!
Thank you Sam. They are a nice addition. I am almost done the deck I just need to finish two more chairs and add a couple more potted plants. Thank you for commenting.
I love that lamp! What a great idea. I love lighting so this is super dreamy for me!
Right on Carolann. These are the first solar lights I have placed in my yard. I really like it in the early evening when they first turn on. I should probably add a couple more into the flower gardens. Thank you for commenting.
This is an excellent idea. It adds a nice ambiance to the space.
Hi Debra: The lamps make the deck look more like part of our overall living space. Thank you for your feedback. Enjoy your week lady.
What a fabulous idea for old lamps. I have several and I am working on living more eco-friendly so I love to reuse.
Hi Elise: I had not considered their use for indoors. I will have to think about where I could put them indoors.
This is a brilliant idea and they look so pretty! Pinned and shared
Thank you for sharing and commenting Marie. The best part of these lamps is their versatility, because their is no cord you can place them anywhere.
These solar lamps are so, so cute and functional, too! What a brilliant idea!
Carrie
curlycraftymom.com
They were too small for our living room and hadn’t made it to the thrift store yet. It took me awhile to figure out how to put a shade on them. Thank you for commenting.