DIY Shutters are Perfect for Decorating
DIY Shutters are Perfect for Farmhouse or Rustic Decor
DIY shutters for decor are pretty basic decor pieces, especially when painted white, but the possibilities for using them are fantastic. Sutters are instant billboards or act as a frame for other decor items. The best part is how rugged the homemade shutters are. You can use them indoors or out, hammer nail holes into them, or tie things to them. Shutters protect walls from hole smark, add height and layers to vignettes. I wanted some tall shutters for a very very long time, but couldn’t find any for a reasonable price, so I waited.
One day in July my youngest son offered to spend a day in the shop making things with me, I couldn’t run out there fast enough. He builds things really quickly, it went by far too fast. We had a great day, besides building these shutters with me, he made me a large faux window for backdrops. Both have proven to be very handy, I really love having them.
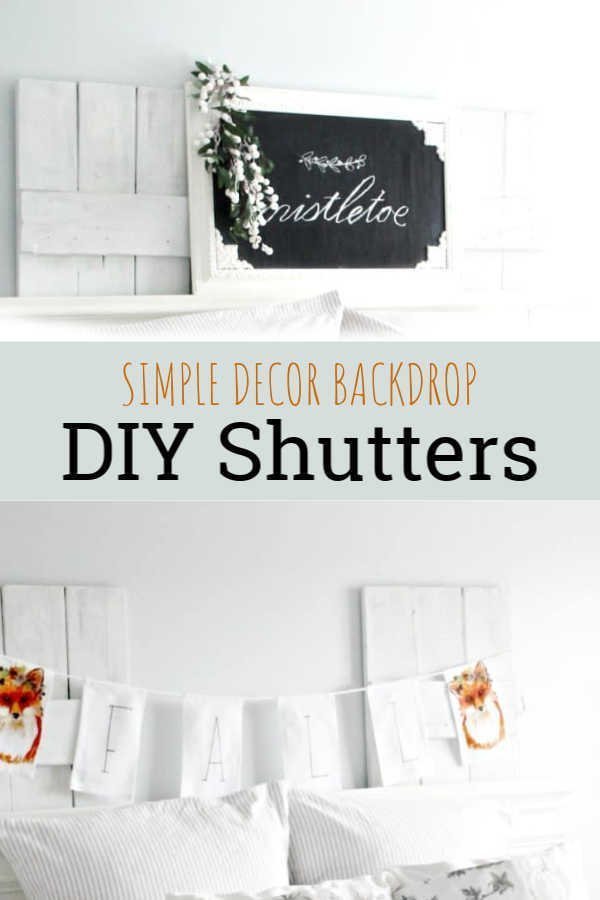
My DIY shutters are propped up behind our guest bed, they help fill in the awkward area above the headboard and are beyond handy for displaying other decor items.
These handmade shutters are built using very inexpensive reclaimed wood from Habitat for Humanity. They cost $7 for both as the reclaimed 1 by 6″ wood was $1.00 each.
To make two shutters you need:
7 – 1 by 6″ boards, screws, and paint.
80 and 120 grit sandpaper and sander.
Building a DIY Shutter
The boards we found were six feet long, so we kept them at that length. We just made sure the ends were even. If not, trim the ends of your boards a little bit.
To prevent slivers sand your boards with 80 then 120 grit sandpaper.
Line three boards up beside each other. Make sure the ends are flush.
Measure 9″ from the top, and from the bottom, and mark with a pencil.
You can measure the distance across the three boards (16″), and cut two pieces of wood to match. Or place the board across the other three boards like shown above. Don’t measure just make a pencil mark where you want your cut to be.
To attach the two cross pieces, line up the cross piece board so there is 9″ from the top of the shutter to the top of the cross piece.
Place your screws into the cross pieces in a symmetrical pattern, making sure each board had screws in it. I placed a total of six screws into each cross piece.
Line up the bottom cross piece so that it is 9 inches from the bottom of the shutter, and screw in place.
Finishing the DIY Shutters
These handmade shutters are meant to be rustic. Don’t fuss about the painting at all. Give them two coats of white paint, let each coat dry. Once dry sand in spots to make them look aged and worn.
I am starting to decorate the guest room for Christmas, so far I have hung a chalkboard between the two shutters using a heavy duty fishing line to suspend the board. Lights and garland may be added as well. I love the shutters because I can staple, or hammer holes into them as much as I want to, and no one will complain about house damage.
Like it? Please Pin!
Related Posts
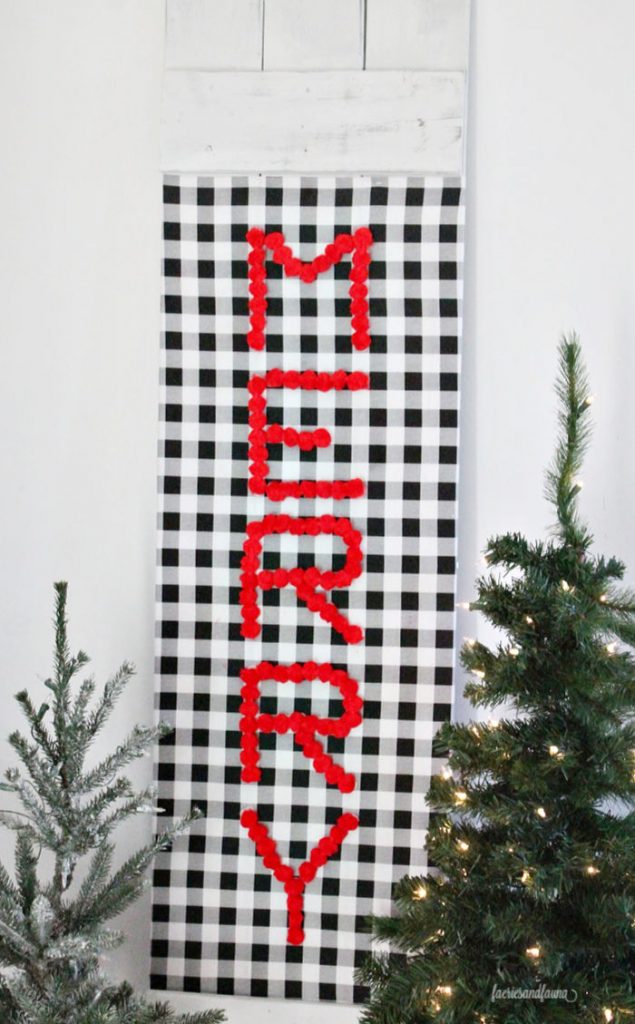
Another year I used one of these shutters, some fabric and pom poms and created this No Mess Buffalo Check Christmas Sign


I saw these on Pinterest and just had to come see how you made them. For the longest time I’ve been wanting shutters to hang on the wall in our dining room and they’re as scarce as hen’s teeth here in South Africa. And isn’t it lovely that your son made them for you too. That makes them extra special
These ones are super simple Michelle. Another idea I want to try is updated old bi-fold closet doors. Hopefully, they are easier to find.
I like shutters also. They are a nice back drop. That was a good idea to make your own so they are exactly the right size.