
DIY Vintage Christmas Wall Decor Using a Silver Tray
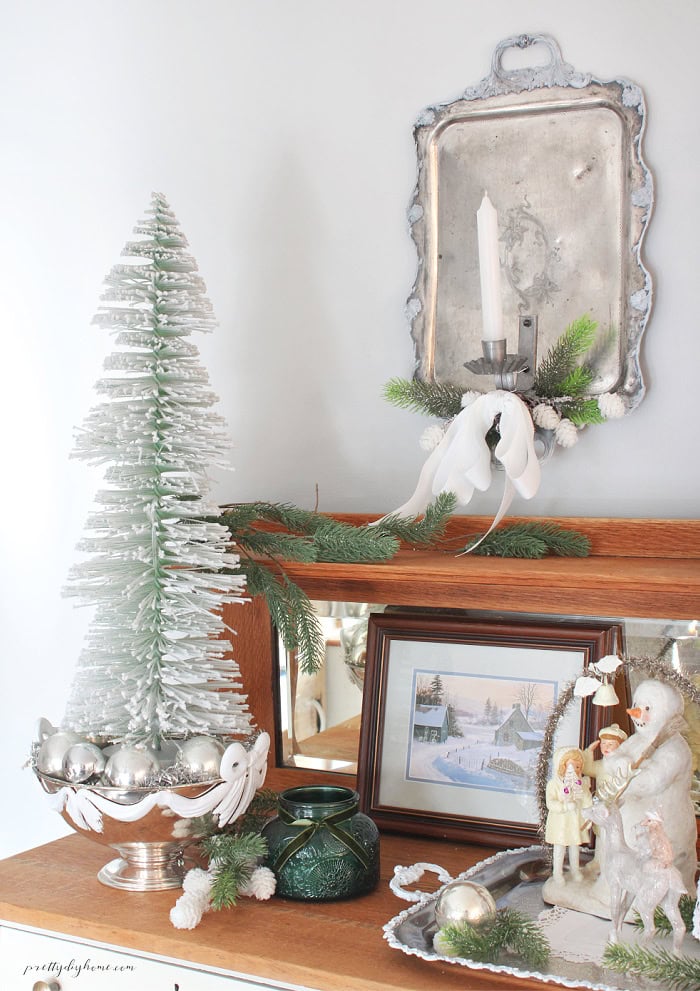
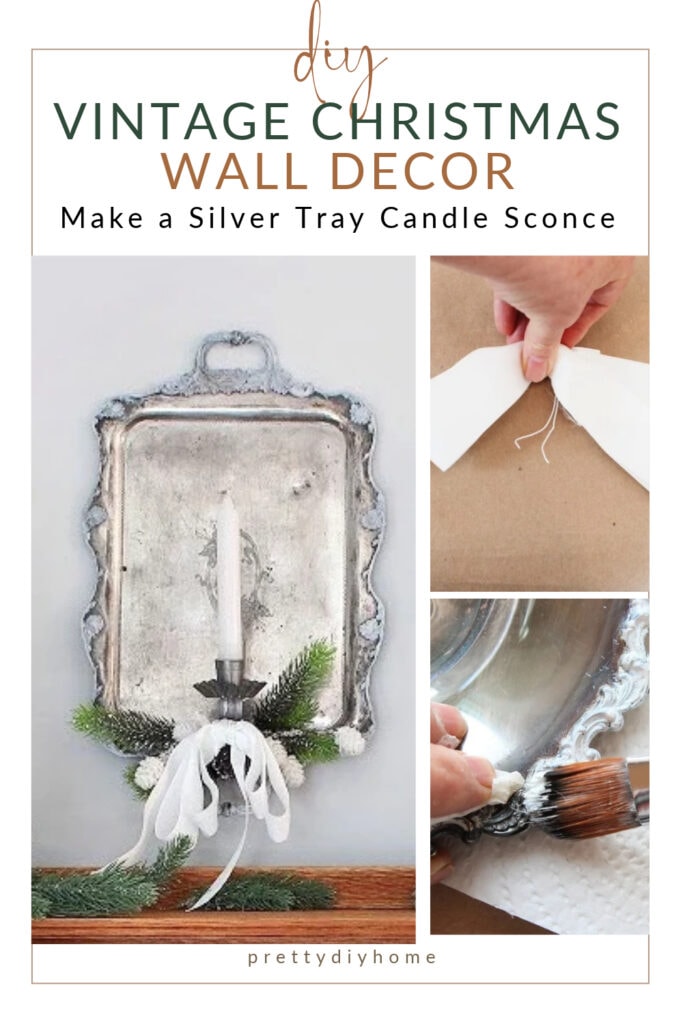
You can make some beautiful vintage Christmas wall decor using an old silverplate tray. I’m excited to share how I turned one into a Christmas candle sconce and incorporated it into my dining room Christmas display.
One of the reasons I wanted to decorate with silver this Christmas is how beautifully it reflects light and brightens a room. Paired with white Christmas decorations, the shiny silver creates a bright, cheerful look that’s especially pretty during the holidays.
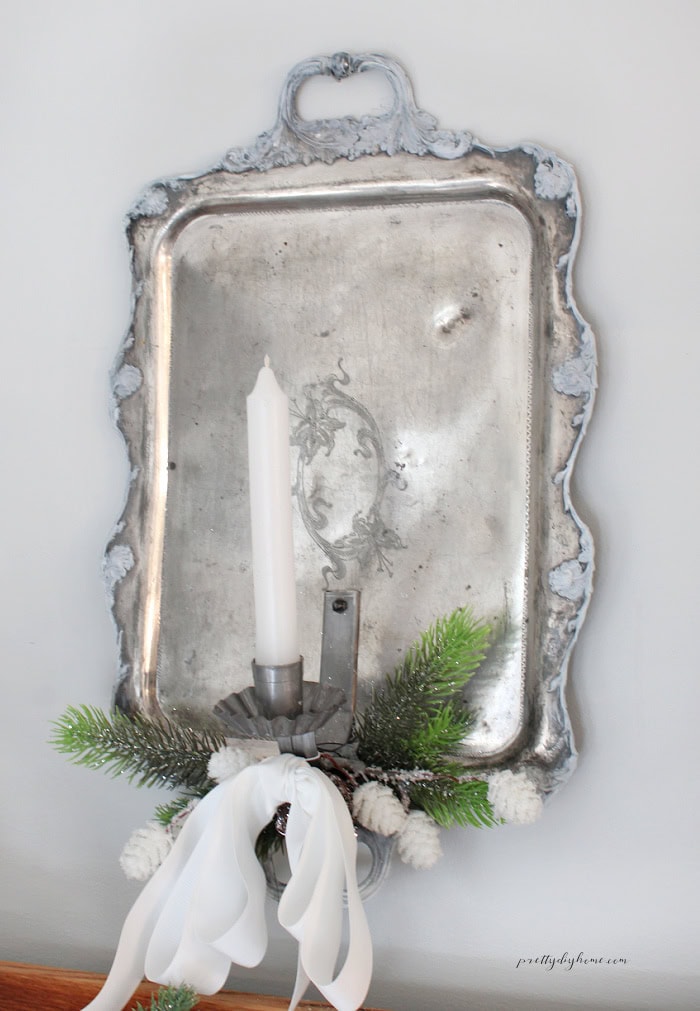
DIY Vintage Christmas Wall Decor Tutorial
Supplies I Used
If you plan to light the candle, I recommend using a flameless taper candle instead of a real flame. The greenery and ribbon are close to the candle, so a flameless option is much safer.
- Vintage silverplate serving tray
- Thrifted metal candle sconce
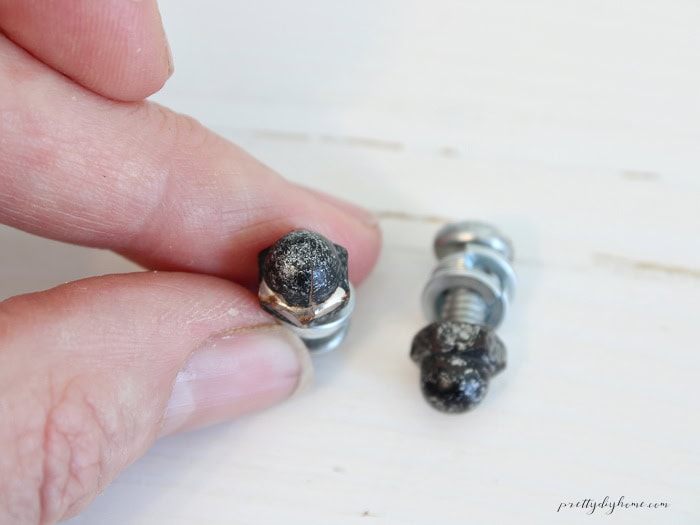
- Mounting bolts and acorn nuts
- Silver polish
- Fusion Mineral Paint in Picket Fence
- White fabric ribbon
- White taper candle
- Evergreen greenery
- Silver Rub ’n Buff (optional)
- Two vintage silverplate bowls and an additional serving tray (for the buffet display)
I chose acorn nuts because their rounded ends give the mounting hardware a more decorative, finished look. They’re especially nice for this project since the hardware is visible.
Tools
- Soft cloths and nail brush
- Small paintbrush
- Ruler and Sharpie
- Hacksaw and metal file
- Drill and metal drill bit
- Paper towels
I also gathered some favourite vintage finds and Christmas decorations to create a pretty silver and white Christmas display on the dining room buffet.
Finding Inexpensive Vintage Pieces
The silverplate tray I’m using for the Christmas wall sconce was a gift from a friend. I found some of the other silver pieces at garage sales, including a tray and bowl I purchased together.
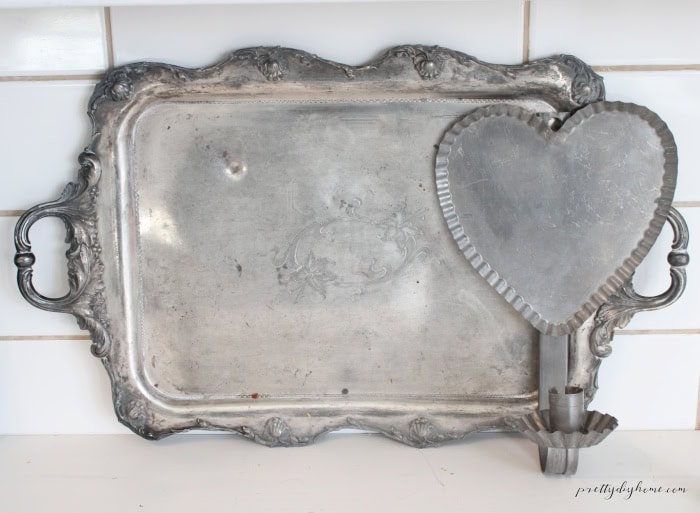
When you’re looking for vintage silverplate, don’t overlook pieces with scratches, dents, or tarnish. As long as you’re willing to embrace their imperfections, they can make beautiful Christmas decorations. My husband actually loved the dents in this old tray because he thought it looked like someone might have used it for target practice once upon a time!
How to Refresh a Silver-Plated Tray and Bowl
Step 1: Clean and Polish the Silver
Begin by wiping the tray and bowl with a warm, damp cloth and a little mild dish soap. Rinse, then dry with a soft cloth.
Use a gentle silver polish labelled suitable for silver-plated pieces, following the directions on the container. Work in small sections with a soft cloth or the recommended applicator. Use light pressure and pay particular attention to the decorative details, where dirt and old polish can build up.
Remove the polish as directed and buff with a soft cloth. Make sure no residue remains and the surface is dry.
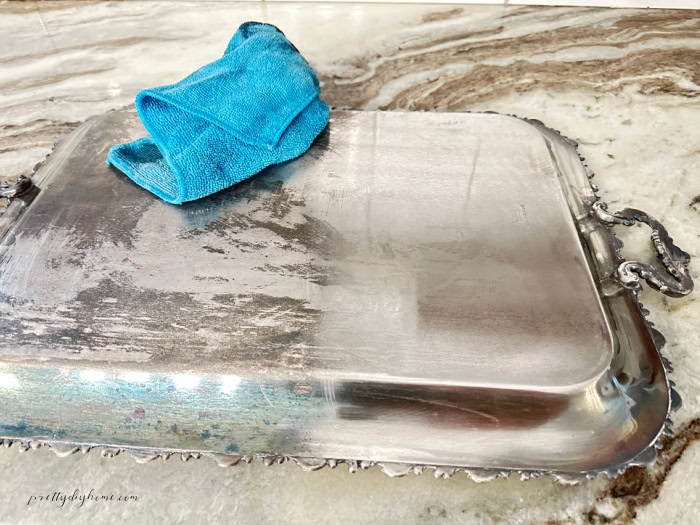
Step 2: Touch Up Worn Areas with Silver Rub ’n Buff
I liked the aged look of my silverplate tray, especially since it matched the old candle sconce so nicely. Whether you want your silver looking shiny and new or prefer a little character is entirely up to you.
If your tray has worn or discoloured spots you’d rather hide, you can use a little silver Rub ’n Buff to blend them in or brighten up certain areas. It’s completely optional.
Just avoid using Rub ’n Buff on any details you plan to paint white. It’s wax-based, so the paint may have trouble sticking to it.
Step 3: Prepare the Metal Candle Sconce
The old metal candle sconce had a heart-shaped backing that needed to come off before we could attach it to the silver tray. We marked where we wanted to cut with a Sharpie, and my husband used a hacksaw to remove the heart-shaped section.
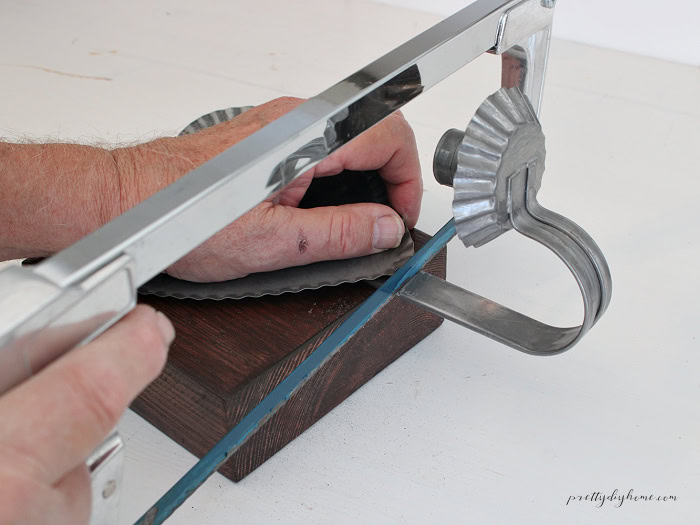
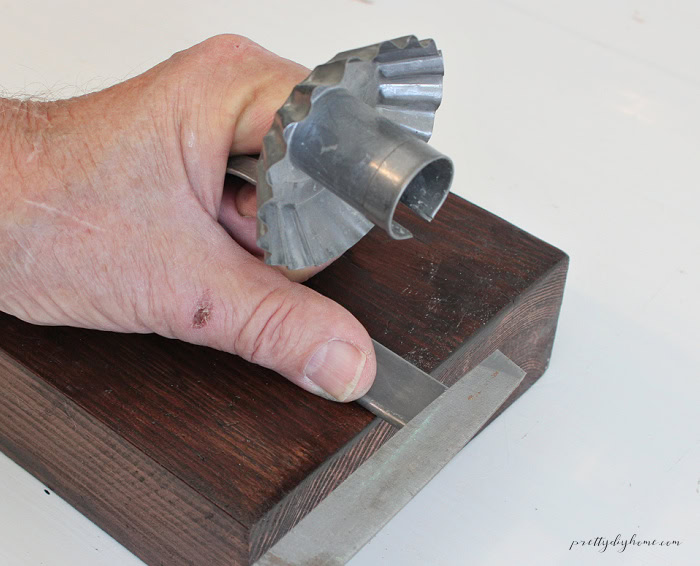
Once the heart-shaped backing was removed, my husband used a metal file to smooth the cut edges. He wore safety glasses to protect his eyes from metal filings. Afterward, I put on gloves and used a damp paper towel to carefully wipe away the little metal bits.
Next, we used a Sharpie to mark two mounting holes on the candle sconce, one near the top and the other near the bottom, just above the curved section.
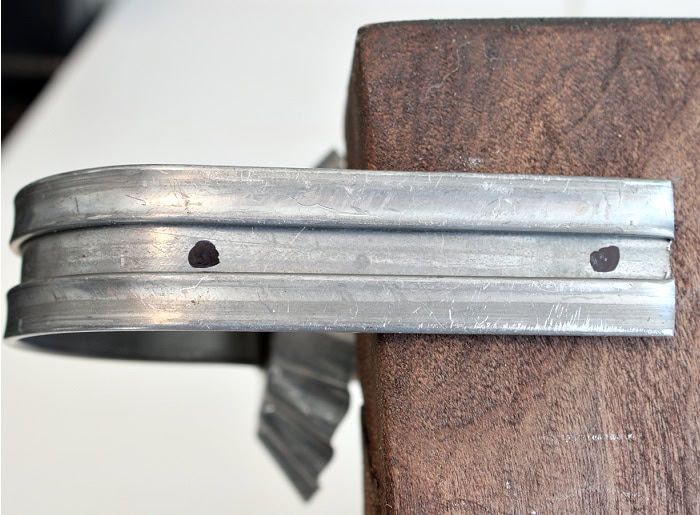
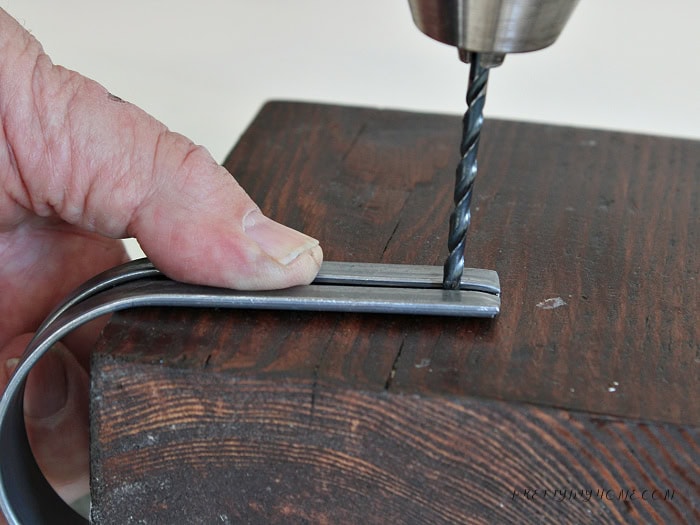
My husband then used a drill with a metal drill bit to make the two holes where we had marked them. He made sure the sconce was held securely while drilling.
Step 4: Attach the Candle Sconce to the Silver Tray
With the candle sconce prepared, we measured the silver tray to find the centre and positioned the sconce where we wanted it. We checked that it was straight and centred before using a Sharpie to mark where the mounting holes needed to go.
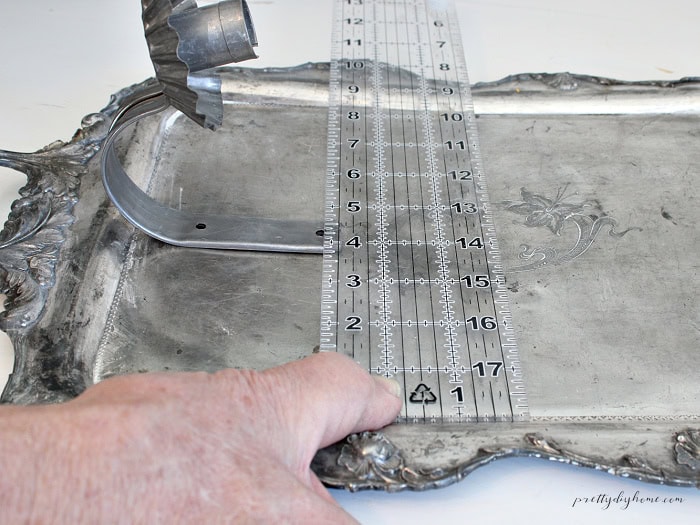
Once the holes were marked, my husband removed the candle sconce and carefully drilled through the silver tray at each mark.
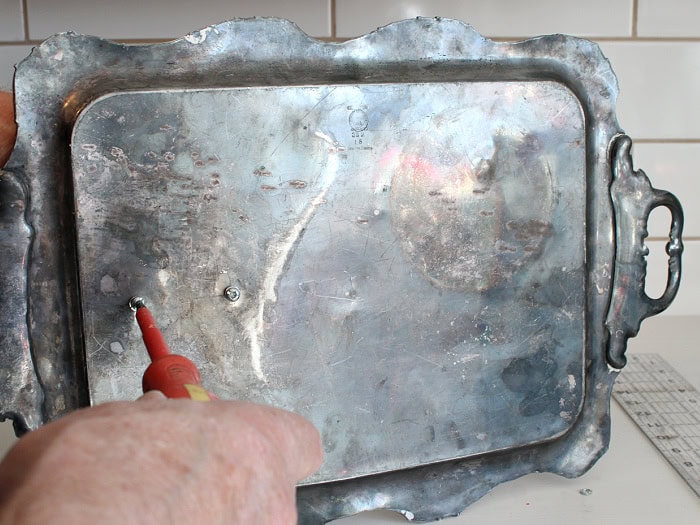
Finally, we attached the candle sconce to the silver tray using the mounting hardware and acorn nuts, making sure everything was securely fastened.
Step 5: Dry Brush the Decorative Details White
Use a small artist’s brush to add white paint to the raised decorative details. I’m using Fusion Mineral Paint in Picket Fence.
Pick up a little paint with your brush, then wipe most of it off onto a paper towel. Lightly dab or skim the brush over the raised details, letting some of the silver show through for a soft, aged finish.
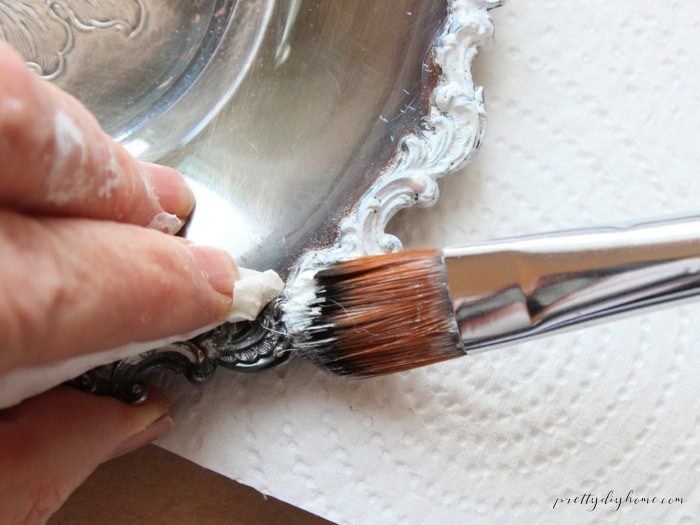
Build up the white slowly, adding more wherever you want the details to stand out. You don’t need to outline every shape or follow the edges perfectly. Keep the paper towel slightly damp so you can wipe away mistakes or remove any paint you’ve applied too thickly while it’s still wet.
Step 6: Seal the Painted Details (Optional)
I’m leaving my painted details unsealed. If you prefer to seal yours, I recommend Fusion Tough Coat because its non-yellowing formula keeps the white looking white. Follow the product’s drying and application instructions, applying it only to the painted details and leaving the surrounding silver uncovered.
Step 7: Paint the Silver Bowls and Serving Tray
Repeat the cleaning and polishing steps on the two silverplate bowls and the additional serving tray. Once they’re clean and dry, use the same white dry-brushing technique to highlight their decorative details.
One of my bowls has a beautiful raised ribbon design that I especially wanted to highlight, so I left the rest of the bowl silver and painted just the ribbon details.
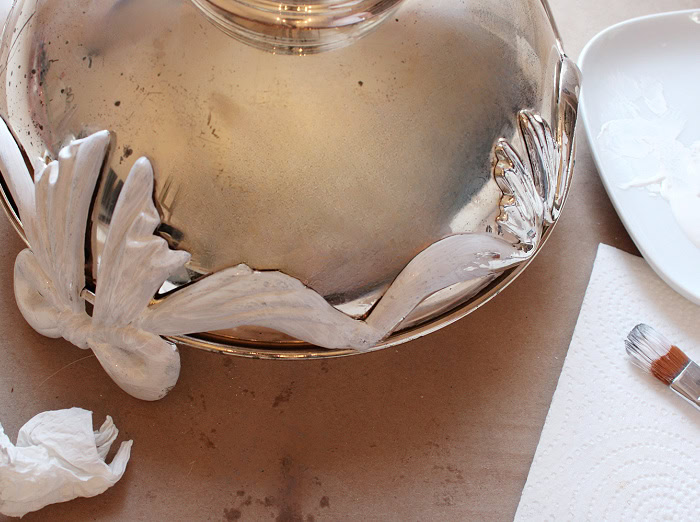
If your silver pieces don’t have raised designs, you can still add a few touches of white paint to help tie them into your Christmas display.
Step 8: Make the White Ribbon Bow and Add the Greenery
To make the bow, cut two pieces of white fabric ribbon, one 18 inches long and the other 14 inches long. Cut another 18-inch piece for the bow tails. You’ll also need about 6 inches of white floral wire.
Fold both ends of the longest ribbon piece toward the centre, overlapping them slightly. You can glue the ends together, but I recommend a few stitches instead. Sewing makes the ribbon much easier to pinch and gather than glue does. Repeat with the shorter piece of ribbon.
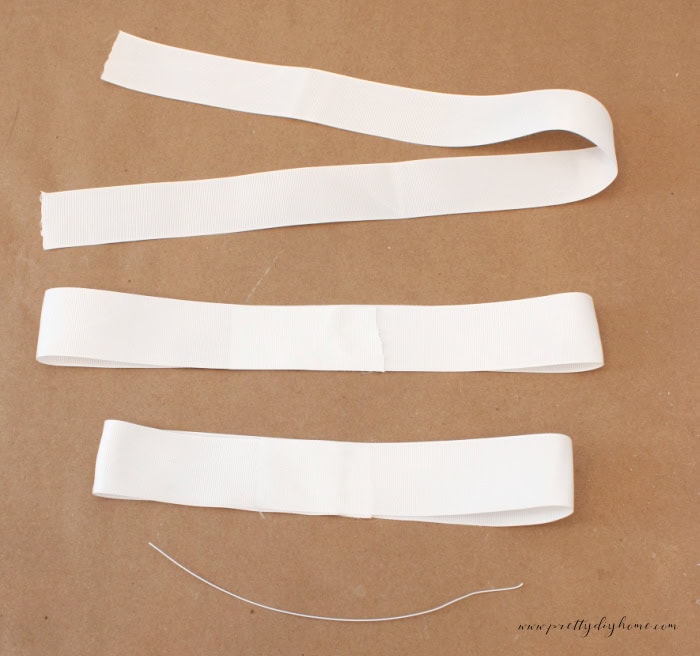
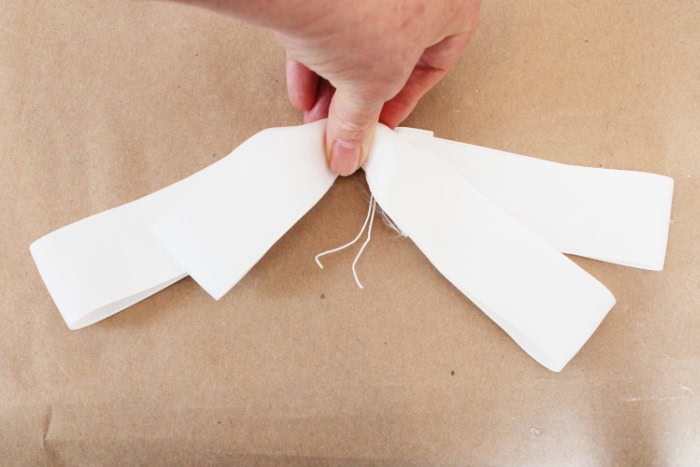
Place the two ribbon loops on top of the ribbon tails, then pinch all three pieces together in the centre. Wrap the floral wire around the middle and twist it tightly at the back to hold everything in place. Tie a small piece of ribbon around the centre to hide the wire.
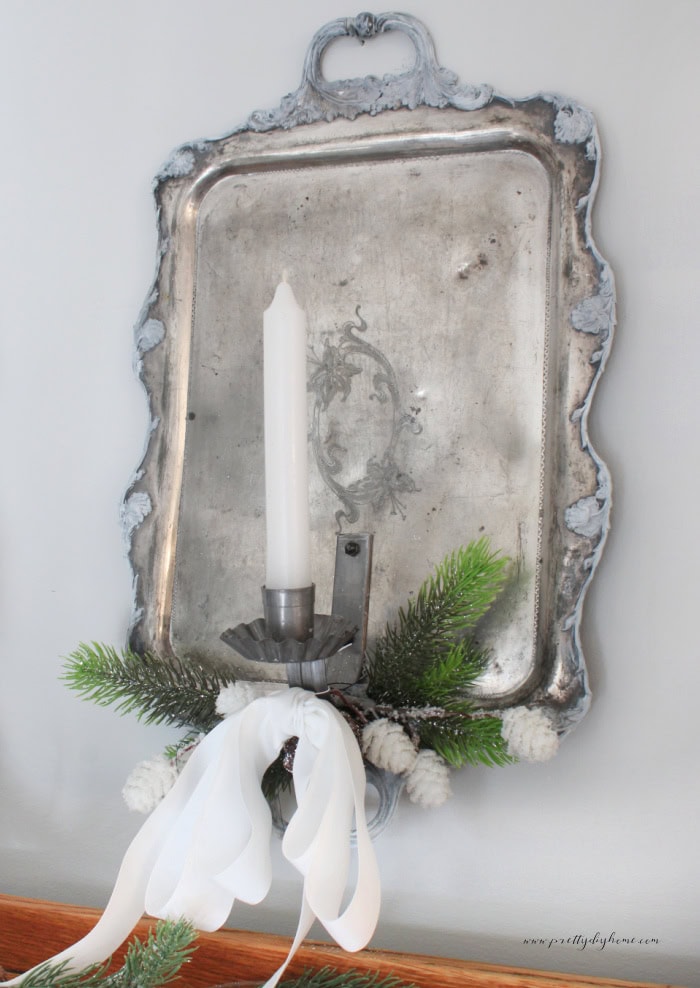
Next, arrange two small sprigs of evergreen greenery along the bottom of the silver tray, keeping them as symmetrical as possible. Secure them with floral wire, then wire the finished white bow over the greenery at the front of the tray.
Styling a Vintage Silver and White Christmas Buffet
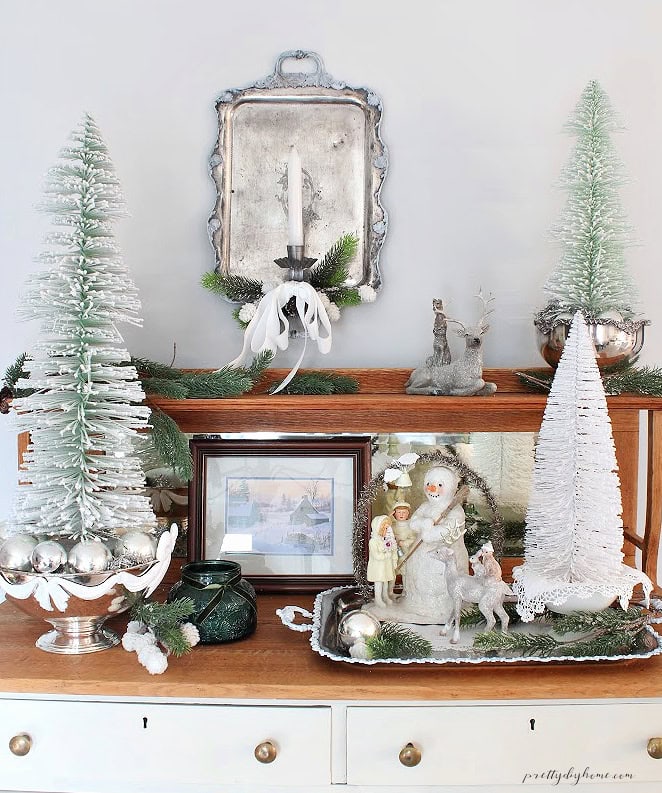
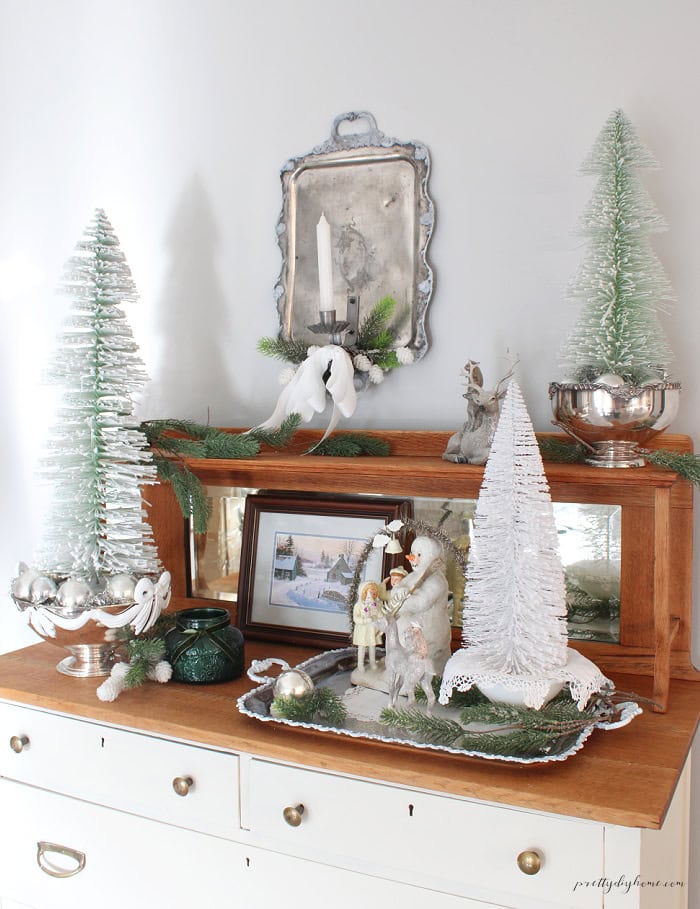
Once the silver tray was finished, I hung it above my dining room buffet and arranged the other silverplate pieces in an asymmetrical display.
I placed a tall bottlebrush Christmas tree in the larger silver bowl and filled the space around it with vintage silver Christmas balls and garland. I did the same with the smaller bowl, using a smaller bottlebrush tree.
For the third tree, which is white, I used a milk glass candy dish with a pretty little doily underneath.
I shopped my home for the rest of the decorations, including a thrifted winter scene in a pretty frame, a green jar candle from last year, and a little snowman with children. The snowman was an inexpensive thrift store find from last Christmas, and it’s become one of my favourite Christmas decorations.
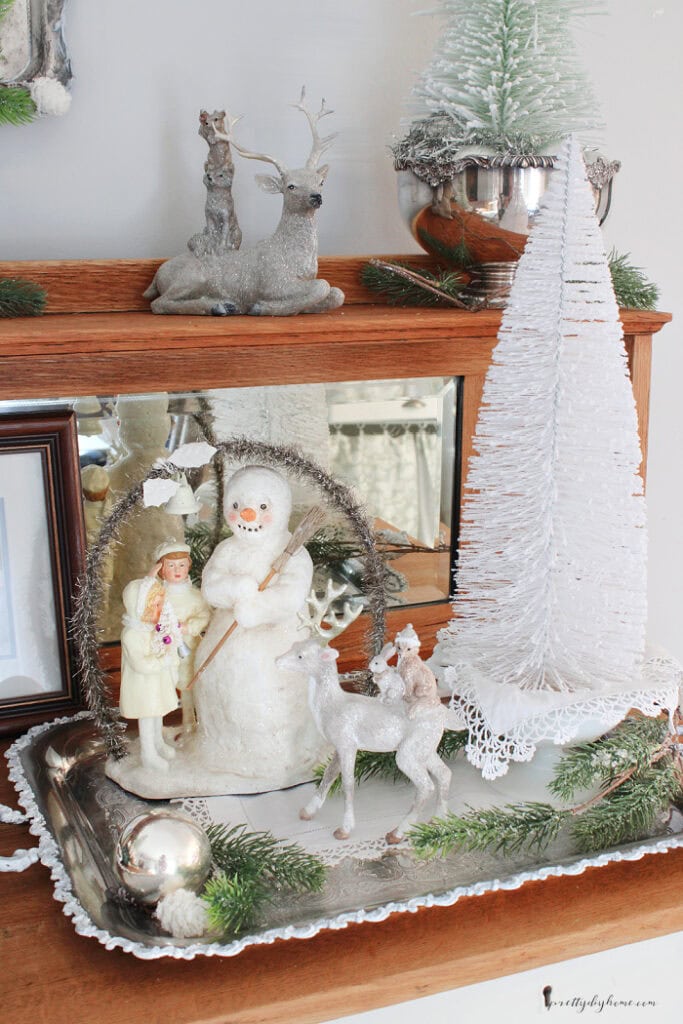
I love how the silver adds a little elegance, while the white keeps everything feeling light and bright. Mixing in newer bottlebrush trees and a simple green candle gives the display a fresh look without losing that old-fashioned Christmas charm.
Vintage Christmas decorations are everywhere this year, from brightly coloured Santas and reindeer to cheerful little elves. They’re fun and nostalgic, but I’ve always preferred a more elegant vintage Christmas look with soft whites, creams, deep greens, and natural wood tones.
Both styles bring back memories of Christmases from generations past, just in different ways. I love how decorating with old silverplate, treasured ornaments, and a few newer pieces lets me capture that old-fashioned Christmas feeling while still keeping everything fresh and pretty.
Whatever your favourite Christmas style, I hope this project gives you a few ideas for decorating with vintage pieces you already have or find while thrifting.
More Vintage Christmas DIY Decorating Ideas

Thrift Store Christmas Angel DIY
This pretty Christmas angel started as a thrift store Willow Tree angel find. With a little sparkle and a touch of glamour, she got a lovely Christmas makeover. Now she sits quietly on a corner cabinet, adding a little vintage Christmas charm.

Vintage Mason Jar Christmas Centerpiece
Mason jars have been around for generations, and I’ve used them in so many decorating projects over the years. They’re perfect for last-minute Christmas decorating, especially when you’re on a budget. This vintage Christmas centerpiece also includes a free Yes, Virginia, There Is a Santa Claus printable that you can pop into a thrift store frame for another easy Christmas decoration.