
Dollar Tree Plunger Witch Broom DIY for Outdoors
I am creating a witch theme for our front yard this Halloween, beginning with the Halloween witch prop I made last year and two pool noodle Halloween candles. This year I want to add a few more easy outdoor Halloween decorations, including a couple of different witch broom styles.
What you’ll love about this Witch’s Broom Stick:
How to Make a Dollar Tree Witch Broom
Have you seen the small witches’ brooms people are making with Dollar Tree plungers? These plungers are the perfect start for making larger witch brooms. I then added a longer handle, some cement for stability, and some Dollar Tree embellishments. Let’s begin with the supply list.
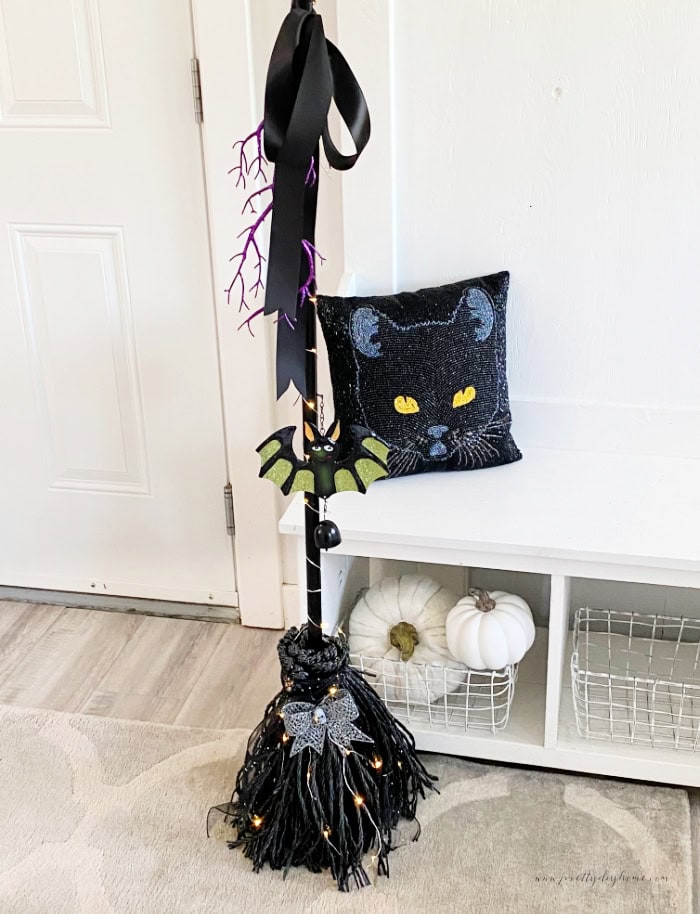
Witch’s Broomstick Supplies
This list is for one witch’s broomstick, although I made two. Since most of the supplies came from Dollar Tree, each broom cost me about $9.
- 1 Dollar Tree plunger
- 1 Dollar Tree broomstick
- 4 Dollar Tree black poly ropes from the automotive section
- 3 cups Quikrete concrete or Plaster of Paris
- Hot glue gun
- 13-inch piece of scrap wood or a long Dollar Tree sign
- Black zip ties
- 4 feet black shiny satin ribbon
- Battery-operated Halloween string lights
- Dollar Tree embellishments such as a small rat, glittery spider, glittery bat signs, and skeleton ribbon.
Step 1: Make the Witch Broom Stand Up
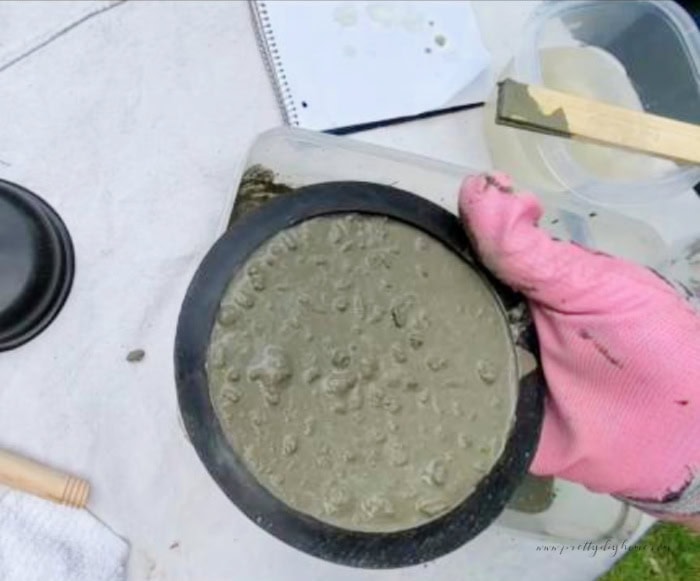
The first step is to remove the plunger handle and mix two cups of concrete according to the instructions on your package. Mine said 66 lbs / 23 liters, so I skipped the math. A flat container works much better for mixing the concrete, and I found that using the plunger handle worked well.
Use 3 cups of concrete with 1/2 cup of water, adding a little more water or concrete as needed. Stir until you have a thick concrete mixture. Pour it into the rubber end of the plunger and let it dry. Mine took about an hour.
Step 2: Add the Broom Handle
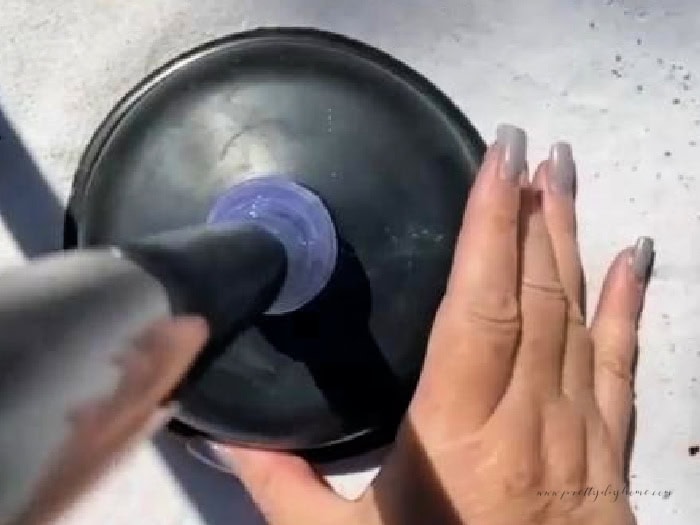
I assumed the broom handle would fit into the top of the plunger, but it didn’t. Fill the top of the plunger with hot glue, then slowly twist the broom handle into the opening, allowing the glue to work into the corkscrew shape. Don’t worry about any overflow because we’ll be covering the plunger later. Make sure the handle is standing straight, then set it aside to harden.
Step 3: Attach the Lights and Make the Skirt
Having lights is optional, but I used some old battery-operated Christmas lights on mine. Begin by attaching the lights to the bottom of your broom using packing tape. Cut a piece of dark scrap fabric about 13 by 24 inches. Fold one short side back to form a crease. Glue this section to the rubber plunger in front of the battery pack, then do the same thing on the other side.
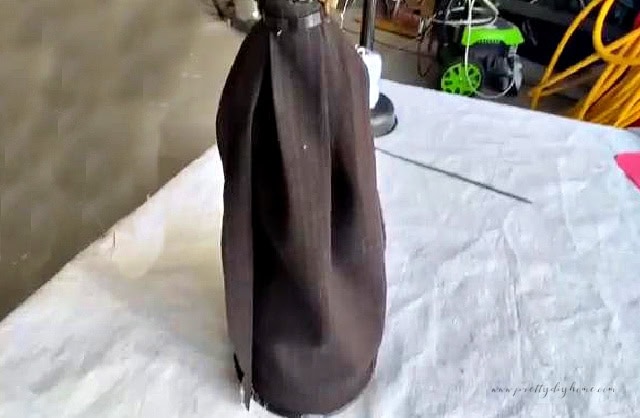
Gather the top of your fabric and cinch it tightly using a black zip tie. Even if you choose not to add lights to your witch’s broom, I recommend adding the skirt to hide the plunger and the top of the broom handle.
Step 4: Make the Broom Head Bristle Bundles
While the glue dries, decide how long you want your broom head to be. Mine is 13 inches long. Cut a piece of scrap wood to that length. If you don’t have scrap wood, use a Dollar Tree sign instead, but not cardboard. We will use it to make the bristles into bundles that can be tied to the broom.
- Cut a two-foot piece of black rope for the wrapping, and set aside.
- Wrap the black cord around the wood block placing the wraps as close together as possible.
- When you get to the end cut off about a foot long you will use this to glue your bundle
- The end where you started wrapping will become the bottom of your broom. At the upper end, which will become the top of the broom head, apply hot glue about one inch from the top of the bundle, across the entire width. Add a cross piece of cord, let it cool, and repeat on the other side.
- Once your hot glue is cool, cut open the bottom of your bundle and remove it from the wood block. If you have difficulty, use a paint scraper to lift the bundle off the wood.
- Fold the bristles over and tie a knot at each side with the cross pieces. Decide which tail is the longest on each side, and cut the rest off to reduce the bulk of your bundle. Hot glue the ends to secure them.
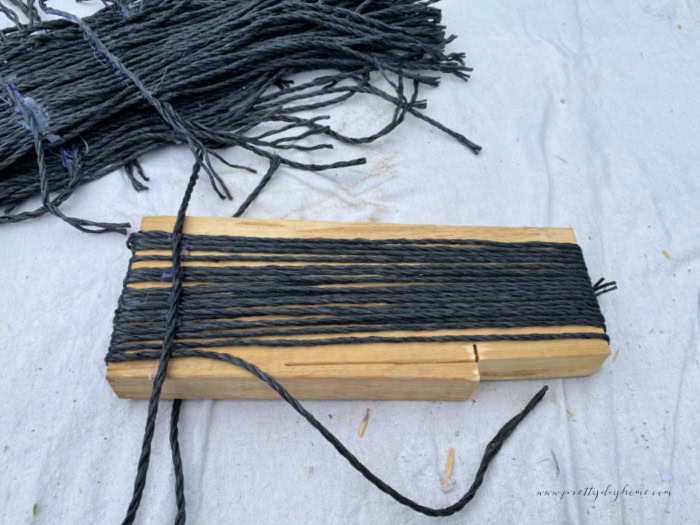
Repeat these steps for every bundle. This is much easier than trying to make the bundles individually and then wrap them around the broom handle.
Step 5: Attach the Bristles
Attach each of your bristle bundles to the broom, tying two bundles opposite each other first. Then attach two more bundles on the remaining sides. Once all the bristles are attached, use a zip tie to cinch them tightly around the broom handle.
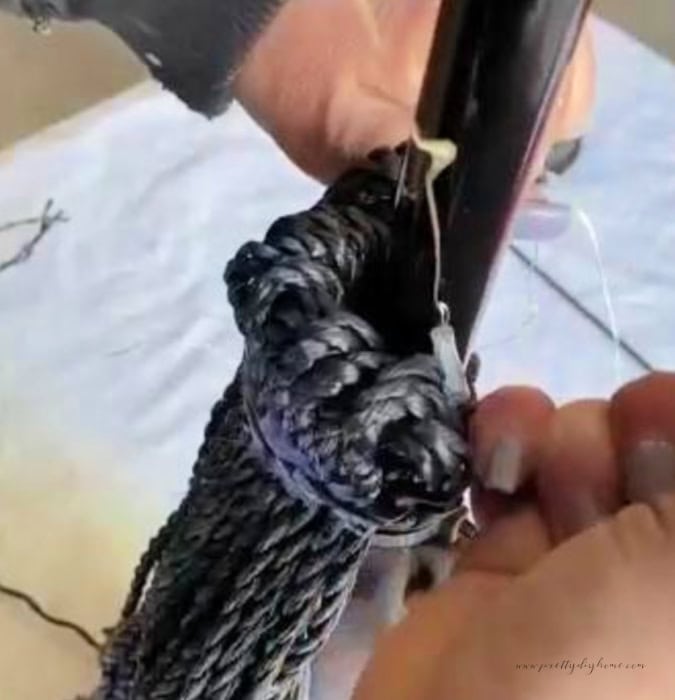
Using a glue gun, tame any wild bristles by gluing and clamping them to a neighbouring bristle or to the fabric skirt until the glue cools.
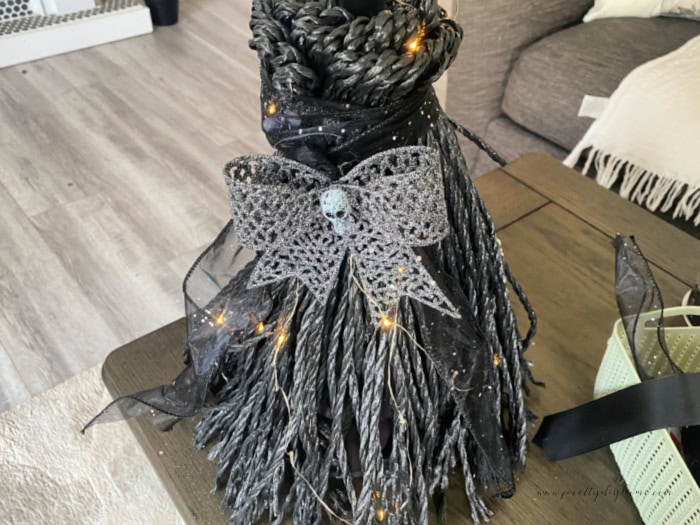
Step 6: Decorate the Witch Broom
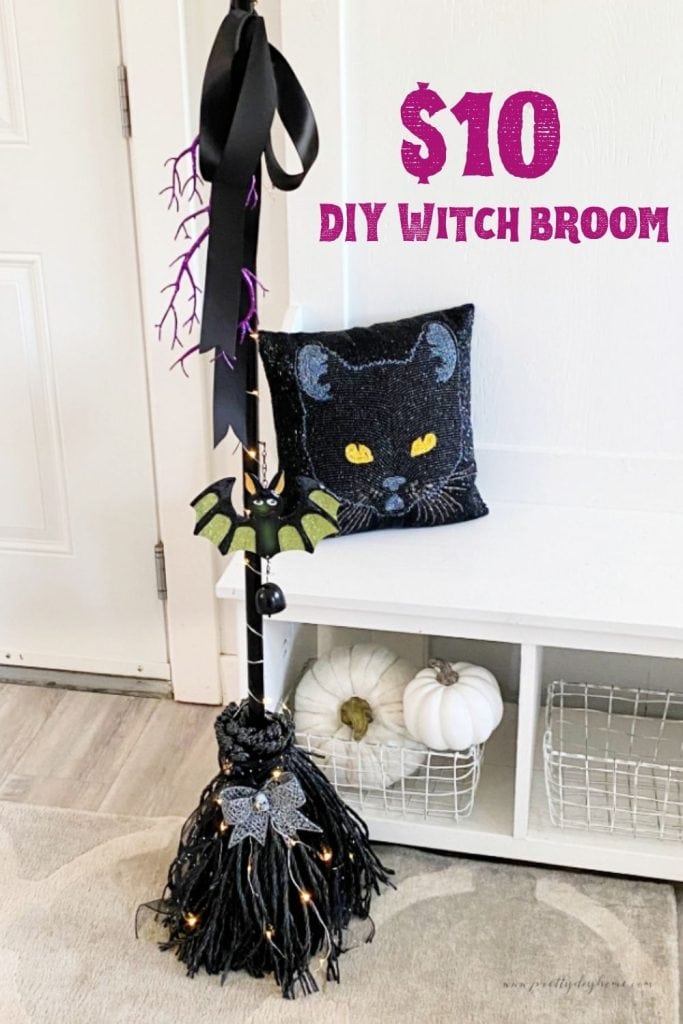
This is always the most fun. To make this broom more fun than spooky, I used sparkles, fairy lights, and pretty ribbons. I wrapped the ribbon around the zip ties and top of the broom and tied it into bows. Then I added Dollar Tree accessories such as sparkly skulls and glittery bats.
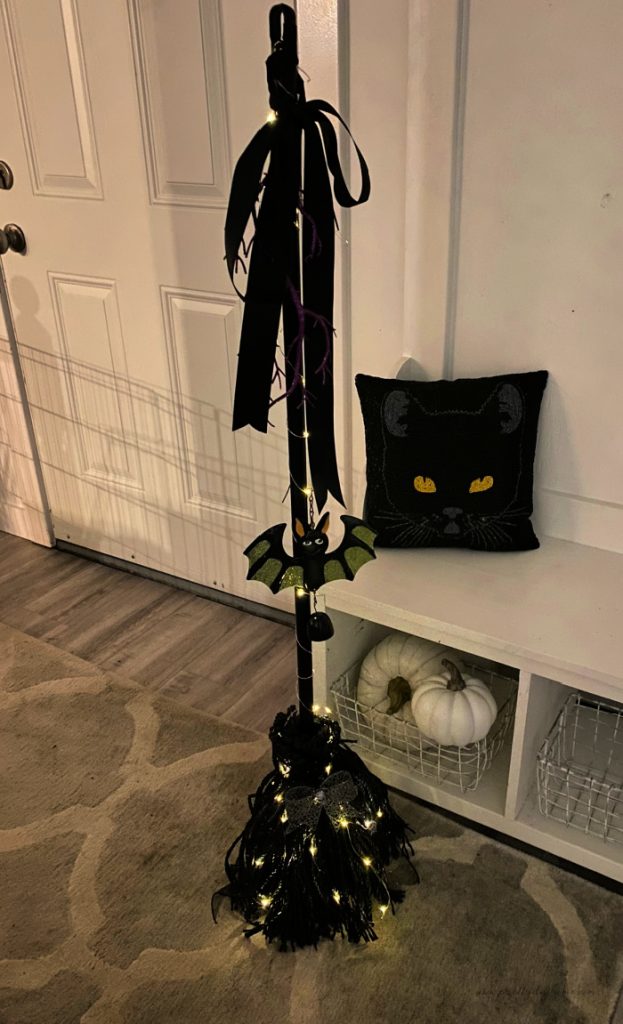
Dollar Tree Witch Broom at Night
Most Halloween decorations come to life at night, but they can be difficult to capture with a camera. This is how the broom looks at dusk with the fairy lights twinkling. It’s spooky without being scary, and I hope you love it as much as I do.
Video Step by Step Tutorial
In this video tutorial, I show you each step for making this fun Dollar Tree witch broom.
The latest on YouTube:
I had so much fun making this Dollar Tree witch broom, and I love how it turned out. The weighted base makes it easy to use outdoors, while the fairy lights and sparkly decorations keep it fun instead of too spooky. It will be perfect with the rest of my witch-themed Halloween decorations in the front yard.
Love this Dollar Tree witch broom DIY? Save it to your Halloween Pinterest board so you can find it when you’re ready to make your own outdoor witch broom with lights and sparkly Halloween details.
More Dollar Tree Outdoor Halloween DIY Ideas
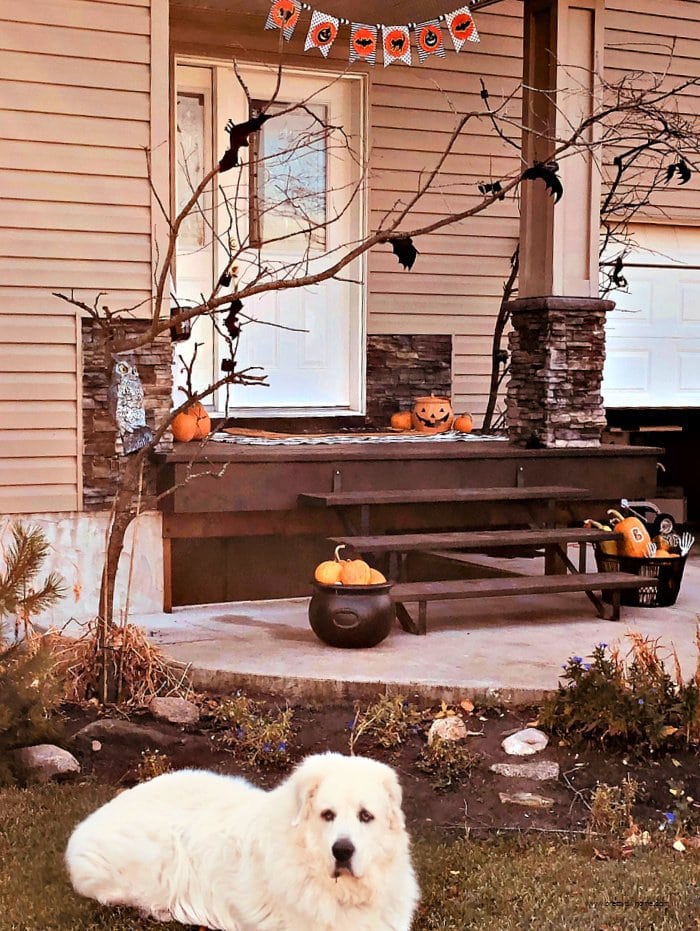
How to Make a Creepy Outdoor DIY Halloween Tree
This DIY Halloween tree is a great option for a front porch or yard that doesn’t have trees of its own. It adds height and a spooky backdrop using inexpensive Dollar Tree supplies.
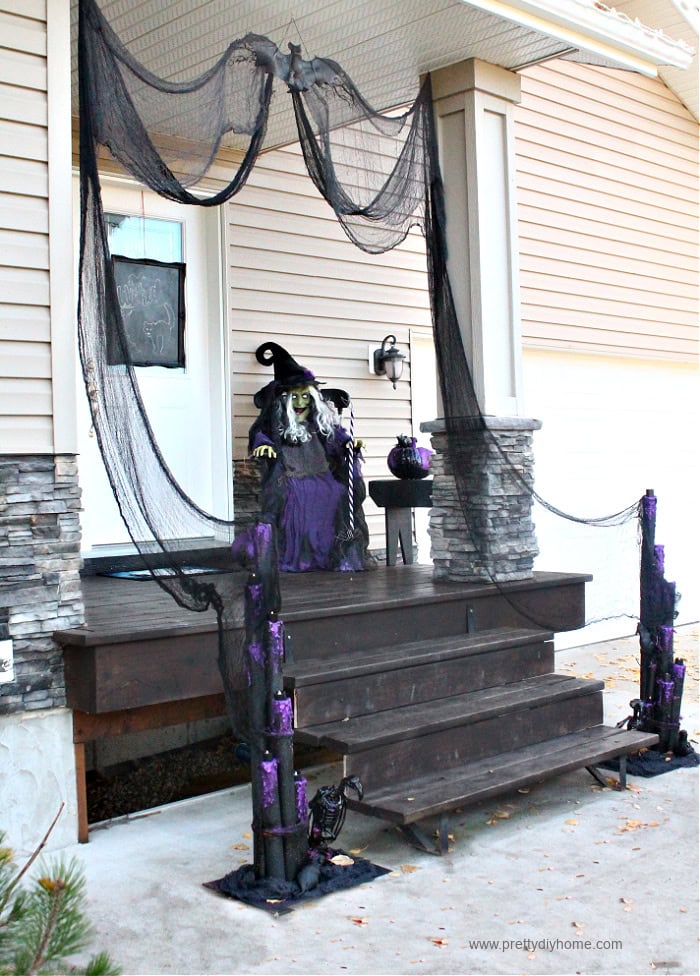
DIY Halloween Pool Noodle Candles
These Dollar Tree DIY Halloween pool noodle candles are an inexpensive way to add height and lighting to your outdoor Halloween decorations.
This is the best idea I’ve seen for making witches broomsticks bristles!! I’ve seen someone undo a ton of twine, someone gather a ton of thin sticks, someone just cut up thin pieces of cloth etc etc and none of the ideas were something I liked athletically lol not being mean all their broomsticks were beautiful! I just LOVE this idea and seems like something that doesn’t either take 4 hours or having to go out to the woods somewhere to find… The cement and plunger idea is brilliant too, I would never be able to come up with something like that to make it bottom heavy tbh I’d probably finish and realize it doesn’t stand n end up leaning it against something I just started diying maybe a month ago and it’s so frustrating how uncreative I’ve become since I was a kid, ig years of not feeding that part of my brain it just died or something?!? I’m hoping as the months go by I can come up with my own ideas and not spend an hour looking up other people’s ideas… Or at least not be so stressed when things aren’t coming out perfectly and always feeling like my projects aren’t good enough, do those feelings ever go away?
Anyways tysm for the bristle and dollar tree Halloween decor ideas I have the perfect branch I want to turn into a broomstick and put wooden signs going up it saying either the scary movie st signs or saying if the broom fits… I seen both in stores and I’m gonna tryyyyy to recreate it Happy Halloween
Thank you, I was excited when I found that rope. I appreciate you taking the time to tell me. Much appreciated. Leanna