DIY Christmas Gift Farmhouse Wooden Beads
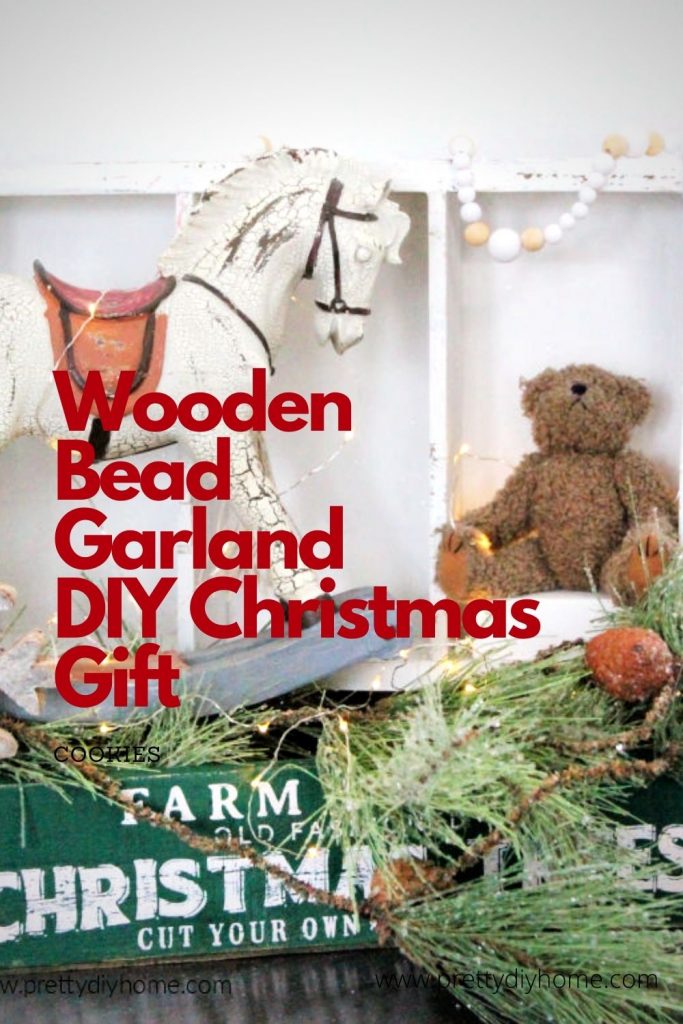
My absolute favorite decor store had its Christmas grand opening last week and there were all types of farmhouse bead garlands everywhere. Gorgeous and pricey and actually worth it, but a handmade gift is always more special don’t you think. So I decided to make a farmhouse decor basket for my daughter in law starting with this garland.
I am super excited, but this year even more so, I can’t wait to start spreading joyful, sparkly, and pretty ideas.

Buying Wood Beads
My beads were purchased at Michaels I bought two containers one in white and one in natural. They did not have any black beads which are very trendy this year, so I have to get busy painting some black.

After purchasing the wood beads sort them by size. Once you know how many of each size bead you have create a pattern. Using my bead numbers I came up with the following stringing pattern. Start with 2 tiny white, 1 small white, medium natural, large white. Reverse the pattern with another medium natural, a small white and two tiny white beads. Repeat starting with two tiny beads. Continue string the beads until its as long as you like or you run out of beads.
Stringing the Wood Beads
Decide how long you want your garland to be and cut your twine two feet longer. This one is two feet long so I cut my twine 4 feet.
To string the beads you will need a large eyed needle. I like to string the thin twine onto a large eyed needle so I only have to thread a needle once, instead of all those beads one at a time. Test the needle to make sure it fits through the smallest bead.
Starting the Farmhouse Wood Bead Garland
Start by folding one end of your jute so that you have a six inch tail.
Pinch the loop end and push the jute through your first bead. Tie two knots, the first one before the bead, so that you have a 1/2 inch loop. Tie the second knot after the bead.

Thread the two ends of jute through the next bead. To do this I twisted the two ends of the jute together. Wet them and pushed through the bead. I pulled on the first string that came through, and the second one followed. It this doesn’t work, use a large needle to push the jute through, or a set of tweezers to pull them both through.

Using the longer thread tie a simple knot around the shorter thread. Once knotted, trim off the rest of the short thread.
Continue stringing your beads by whatever pattern you like, making sure to tie a knot between each bead.
Ending the Farmhouse Wood Bead Garland
Once your reach six inches from the end of you twine, create a 1/2 inch loop in the twine near the last bead. Wrap the twine to form a knot, and then trim the excess twine.


Making Tassels for the Wood Bead Garland
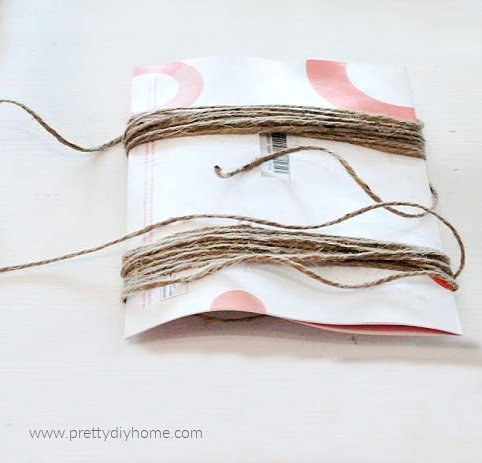
Now the farmhouse wood bead string is finished decide how long you want your tassels to be. Find or cut a piece of cardboard the length you like. Mine are five inches long.
Starting at one end wrap the twine 15 times around the cardboard ending at the same end as you started.

Cut the twine at along the edge where the two twine tails are, remove from the cardboard. Holding the bunch together feed all the just strips through the 1/2 inch loop. Fold so the ends are even.

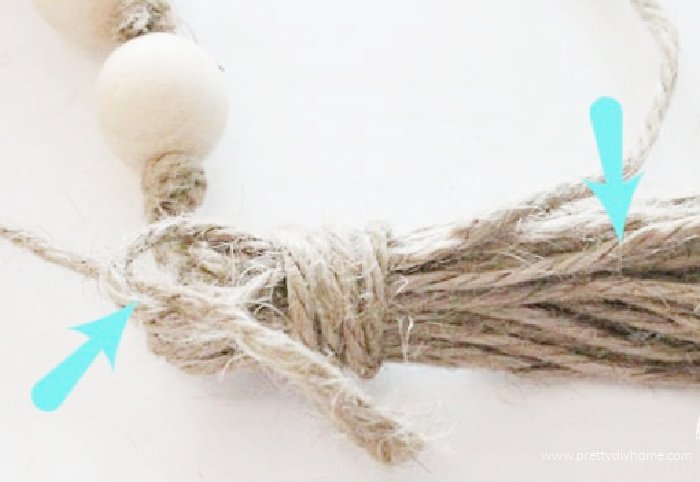
Cut an 8 inch piece of yarn. Make a loop about three inches from the end. Place this over the loop over the bundle so the loops align. Pull the short end downwards and hold in place with one hand.
With the other hand wrap the longer length of twine around the bundle several times.

Once the twine is wrapped around the bundle 5 or six times, take the end of the twine from the back and thread it upwards through the loop.

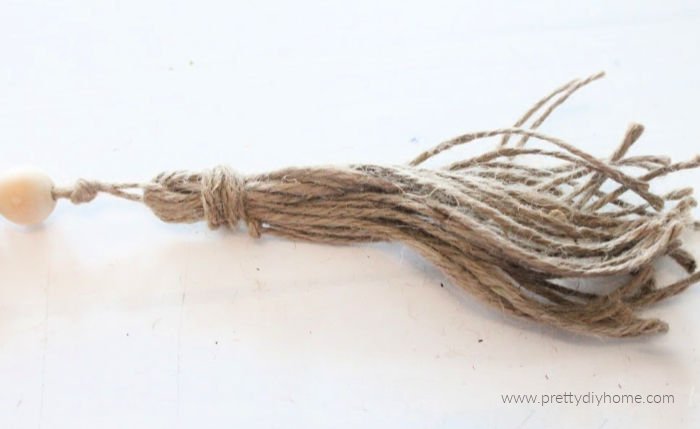
Now grab the other end of the twine, that you placed downwards at the beginning. Pull on it drawing the loop through the wraps. Once the other end is pulled through tighten and trim any excess.

Do the same thing for the other end.

Like this Simple DIY Christmas Idea? Pin it for Later?

More DIY Gift Ideas for You

I love the wooden bead garlands! There are so many uses for them!
The bead garland is so much fun, I’m going to have to make some myself.
That’s so lovely Leanna and handmade gifts are always the best in my humble opinion. I’m sure your DIL will treasure her garland for many years
Your handmade bead garland is lovely. It’s always fun to make items in a more budget friendly way that purchasing them would be.
Thank you Beverly. I am making a few of them for gifts and am hopeful they are appreciated.
With wooden garlands being all the rage these days, who wouldn’t love to receive such a pretty garland. I bet your DIL will be thrilled with her gift. The Christmas vignette you displayed them on is so pretty too, Leanna!
Thank you Marie. I have it up on out entertainment unit and Hubs even liked it. I need to make another set of beads for myself to finish it. Funny how sometimes a display just needs a little bit of something more eh?