
How to Dry Orange Slices in a Dehydrator
There is something so vintage and nostalgic about dried orange slices. They are perfect for cottagecore Christmas, rustic Christmas, farmhouse Christmas, vintage Christmas, and natural Christmas decor. Best of all, they are inexpensive and very easy to make.
Learning how to dry orange slices in a dehydrator is my favorite method because the low, steady heat helps them dry evenly while keeping their bright color and pretty translucent glow. Once dried, they can be used for Christmas ornaments, garlands, wreaths, gift wrapping, and all sorts of natural holiday decor.
What you’ll love about this method:
This tutorial uses a dehydrator and a mandoline. A mandoline makes it easy to quickly cut even orange slices of the same thickness, but you can use a sharp knife instead if that’s what you have on hand.
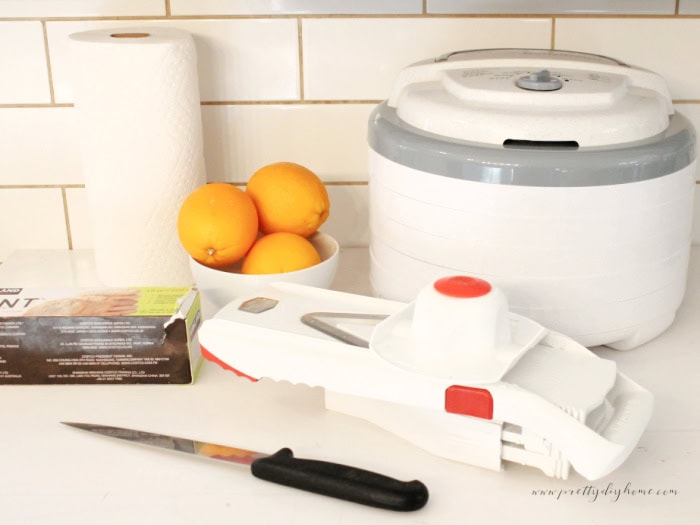
You will need:
- Fresh oranges
- Sharp knife or mandoline
- Food dehydrator
- Paper towels
- Parchment paper for easy cleaning
Choosing Oranges and Slice Size
I often see dried oranges at craft fairs, but I never bought any because I found them rather small and, to be honest, a little shriveled looking. When making these, I started with nice, firm 3-inch navel oranges from the USA.
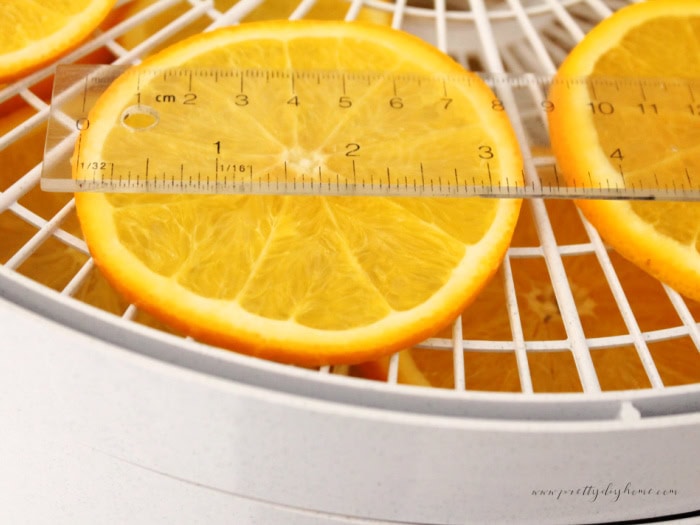
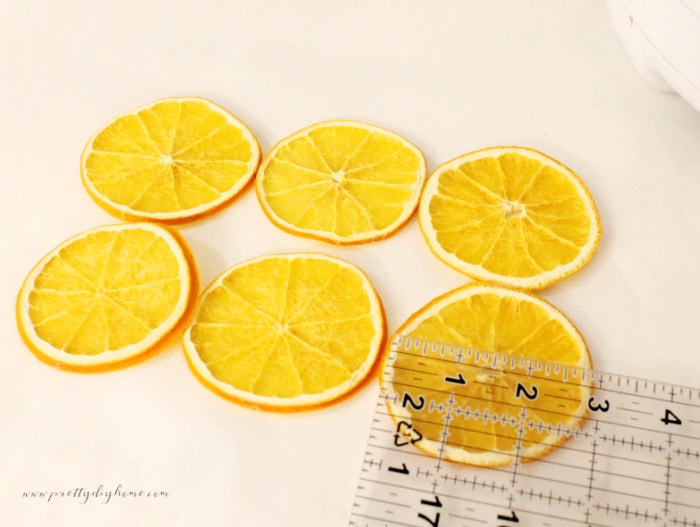
Slice the oranges into even rounds about 1/4 inch thick. Thinner slices dry faster but can turn brittle, while thicker slices take longer and may not dry evenly. A consistent 1/4-inch thickness gives you brightly colored, translucent slices that hold their shape and color well.
Cutting the Oranges
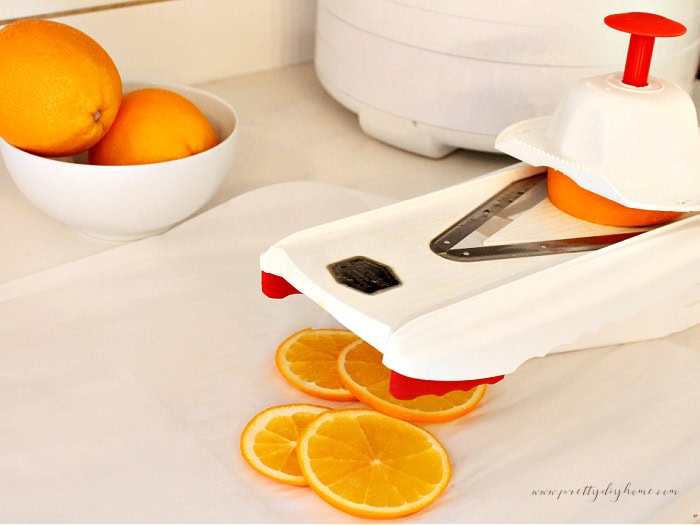
You can use a sharp knife to cut all your oranges, but I am fortunate to have a mandoline. It makes slicing the oranges very quick, and each one ends up exactly the same thickness. Consistent slices help them dry evenly and keep that pretty translucent glow once they are dried.
How to Dry Orange Slices in a Dehydrator
Step 1: Prepare the Oranges
Gather about three firm navel oranges and set up your cutting area. I sliced mine over parchment paper to make cleanup easier.
Step 2: Blot the Oranges
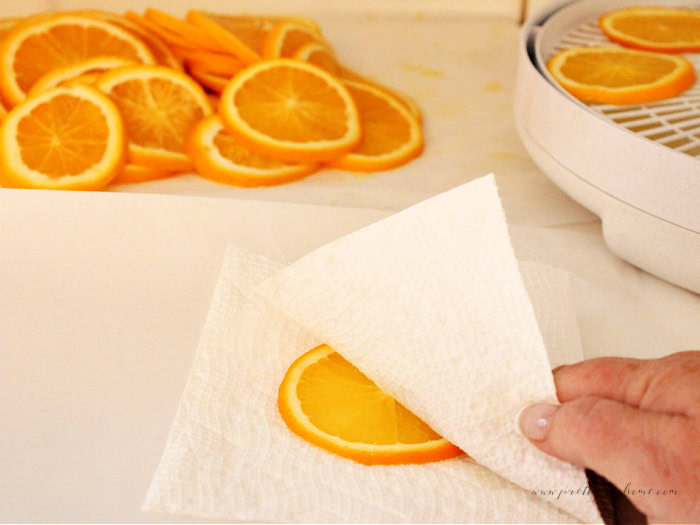
Lay a strip of paper towel on your work surface and place an orange slice on top. Fold the paper towel over and press gently to absorb the excess moisture. Repeat with the next orange slice, replacing the paper towel as needed.
Step 3: Arrange on Dehydrator Trays
Place the orange slices in a single layer on your dehydrator trays, leaving a little space between them for good airflow.
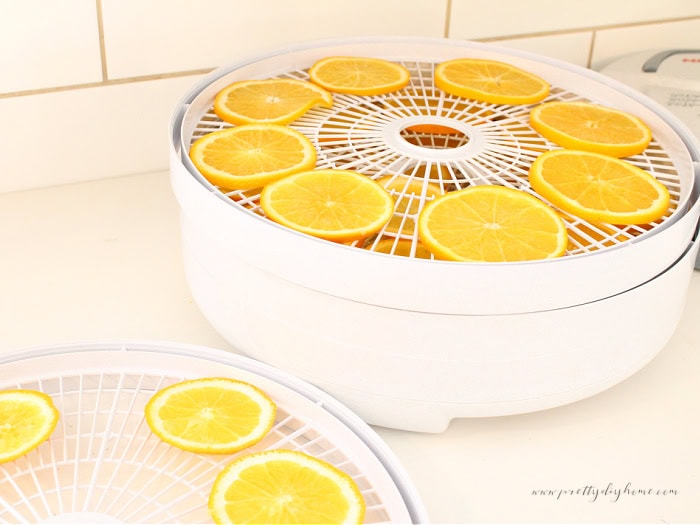
Set the dehydrator to 135°F, the setting for fruits and vegetables.
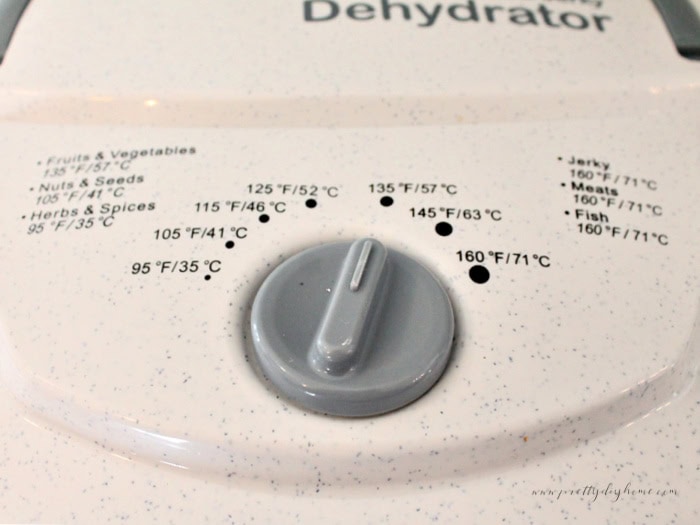
Step 4: Dry the Oranges
Plan for about 9 to 11 hours of drying time. After six hours, I checked the oranges and noticed they were already quite dry on top. They looked almost the same as when I started, but felt much firmer and slightly leathery to the touch. At this point, flip the slices so both sides can continue drying evenly.
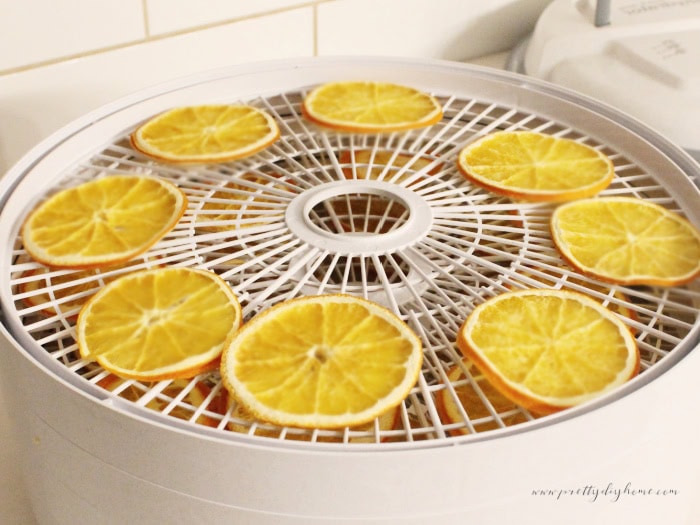
Mine were ready after about nine hours. The orange slices should feel dry and leathery but not brittle, with no soft or damp spots remaining.
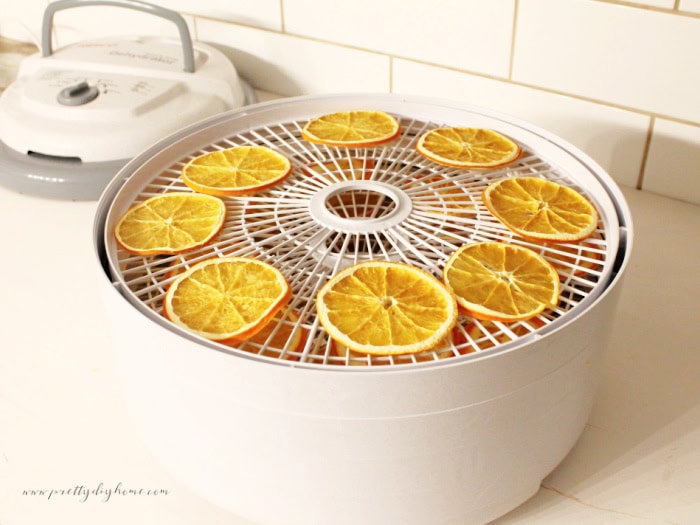
Step 5: Cool and Store
Let the slices cool completely, about 20 to 30 minutes. Once cool, wrap them in small bundles separated with parchment paper, and store in an airtight container until ready to use.
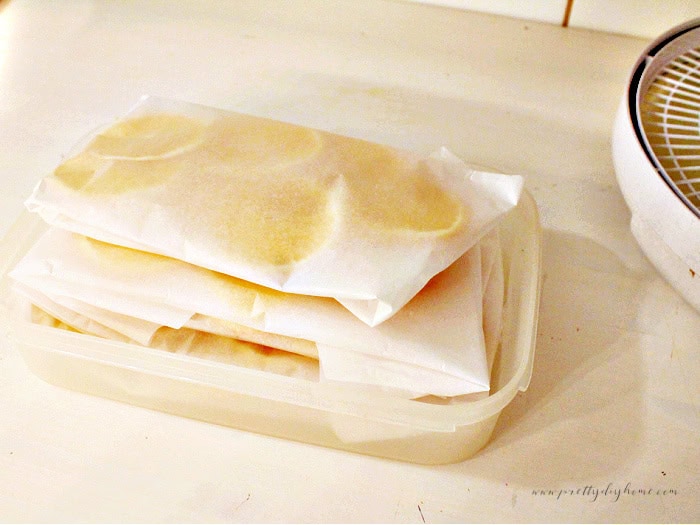
Why Not Use the Oven
You can certainly dry orange slices in the oven, but it can take several hours, and the results may be less even. Even on the lowest temperature setting, ovens can run too hot and cause the oranges to curl, brown, or lose their color. They also tie up the oven for hours when you could be baking something else. My new oven has a hidden bottom burner, so it tends to heat unevenly.
A dehydrator circulates warm air evenly at a steady temperature, which helps the slices dry slowly and keep their bright color. It also lets you make several trays at once without heating the kitchen.
Note: Air fryers can work for a few slices in a pinch, but their small size and higher heat can make it harder to dry the oranges slowly and evenly. A dehydrator gives the prettiest, most even results.
Ways to Use Dried Orange Slices
Dried oranges pair with cinnamon sticks like chocolate goes with peanut butter. If you’re wondering how to use them, start with that combination. Add a bit of ribbon and a small piece of faux greenery and you’ve got a simple Christmas decoration almost ready to use.
Here are a few simple ways I’ve been using dried oranges this season. I combined assorted dried orange slices with cinnamon sticks, bay leaves, and star anise, then strung them onto wire to tuck into garlands and hang in different spots around our home.
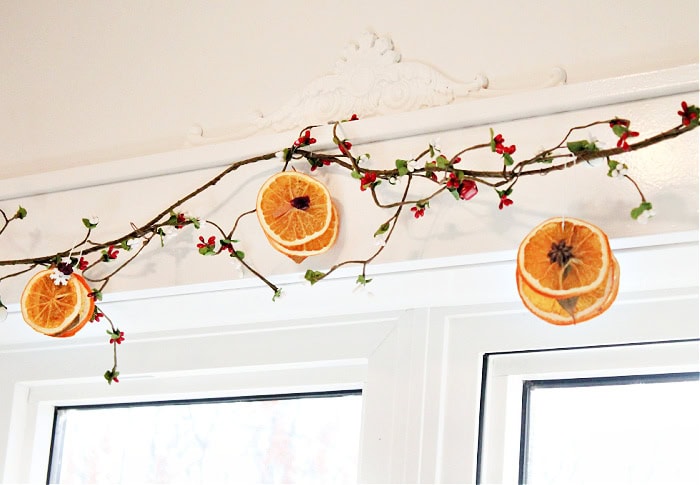
I used mine for simple Christmas ornaments and tucked them into garlands and other holiday decorations around the house.
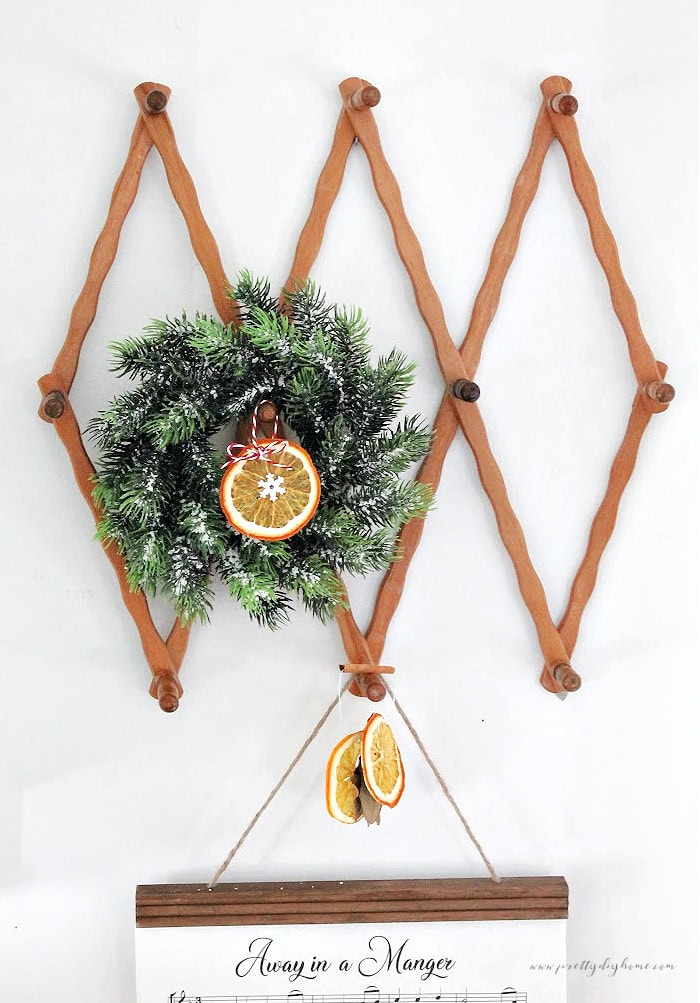
You can also use dried orange slices for wreaths, garlands, table decor, gift wrapping, ornaments, and simple Christmas vignettes.
They keep well for months, so you can make a batch ahead and have them ready for holiday projects.
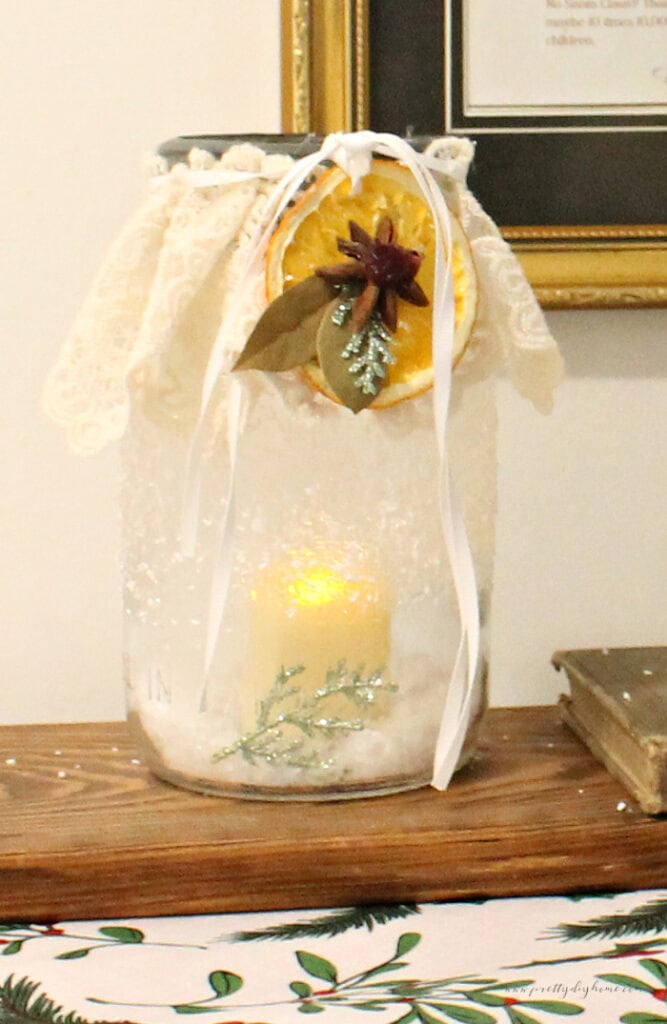
If you enjoyed this idea, make sure to save it to your Christmas Crafts or Natural Christmas Décor board on Pinterest. Dried orange slices are one of those simple projects that always look warm and nostalgic. They add color, texture, and a handmade touch to Christmas decorating.
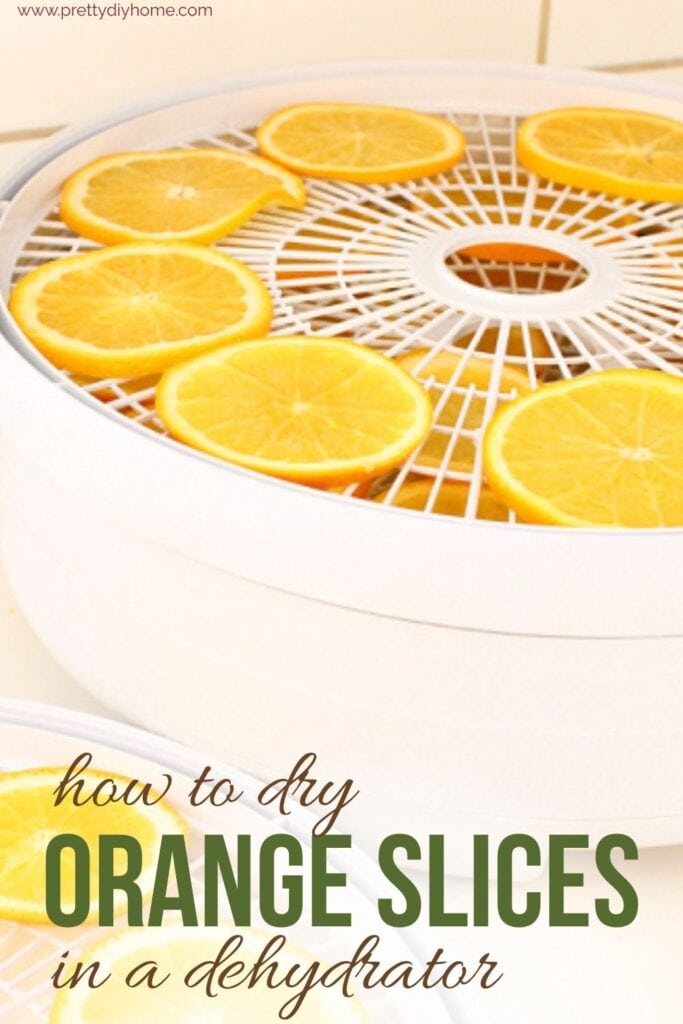
Drying orange slices is one of those little Christmas projects that feels timeless and cozy. It’s an easy way to add something natural and homemade to your holiday decorating without spending much at all. Once you start making them, you’ll find so many ways to use them throughout your Christmas decor. I hope this tutorial inspires you to make a few for your own home this year.
If you love decorating with cinnamon too, you may also like my DIY Christmas Garland with Cinnamon Sticks. It’s an easy, inexpensive garland made with cinnamon sticks, wood beads, buttons, and twine.