Wood Charcuterie Board
How to Make a Charcuterie Board Out of Wood
A wood charcuterie board is so convenient for serving, protecting countertops and tables from heat, and as decor elements in kitchens. I only had one large one for serving and after having one, I am hooked. If you don’t yet own a charcuterie board, you will love them I promise. Today I am going to share how to build a charcuterie board out of wood. After that there are a bunch of other charcuterie board ideas in different styles for your to take a peak at and choose your favorite.
If your going to be serving directly on wood you don’t want to use your regular cutting board as the flavours of the stronger items such as chopped onions can get into the blade marks, and then transfer the flavour when being served on. Notsuch a big deal for meat and cheese trays, but I love doing fruit charcuteries, and dessert boards, and I am terrified to get an after taste of onion. Thankfully you can make the charcuteries yourself for very little cost.
What is a Charcuterie Board?
Charcuterie boards are a trendy revival of an old french way of serving smoked, or pickled preserved meats. Its a fancy way of saying meat and cheese tray or serving tray. Then us girls got ahold of the idea and made a wonderful assortment of pretty charcuterie trays for desserts, pavlovas, fruit trays, and even breakfast trays.
In my own modern definition its a pretty gathering of assorted goodies placed out on a wooden board.
Supplies for Making a Wood Charcuterie Board
Choosing the Wood
Non porous hardwoods are your best choice, stay away from oak as I know its porous, we used birch as its light coloured, but you can use walnut, cherry, maple. Some hardwoods are super pricey but birch is very reasonable. You know me, functional for the least cost.
1 inch thick hardwood board 8″ wide
Free downloadable handle pattern
60, 150 grit sandpaper (sander)
Butcher block oil and Conditioner
Clean rags
Drill with 3/8″ bit
Jigsaw or scroll saw
Mitre saw
How to Make a Charcuterie Board Out of Wood
Printing and Transferring the Pattern
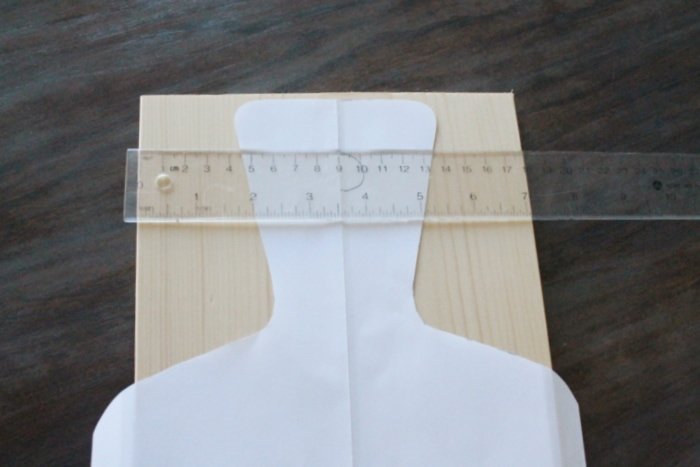
When transferring the pattern you want to make sure it is identical on both sides. So the downloadable pattern is a half pattern. Print the pattern out, fold a second piece of paper in half, line the pattern up to the fold and trace.
Once traced cut out the pattern and unfold.

Decide how long you want your board to be, ours are 24″ and 23″ long, but you can make yours as long or short as you want. Cut squarely across the wood to whatever length you want using the mitre saw.
Making sure the new pattern is centered and square. I found center and then lined it up with the fold in the pattern. Draw around the pattern on to the board.
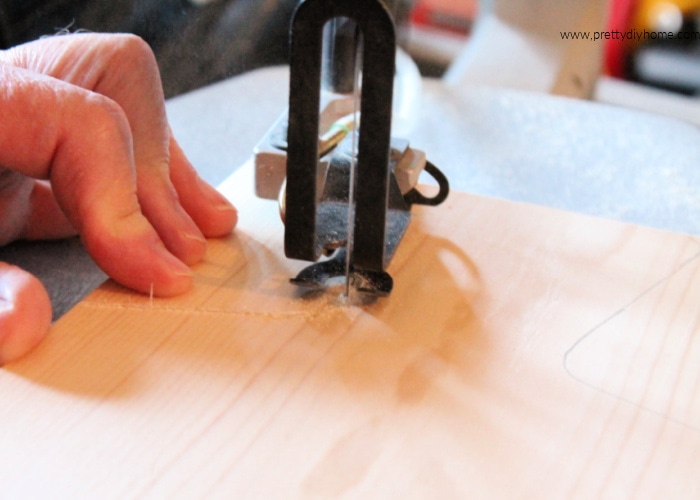
Cut out the handle using either a scroll saw, or a jig saw. It took Hubs about 10 minutes for each board.
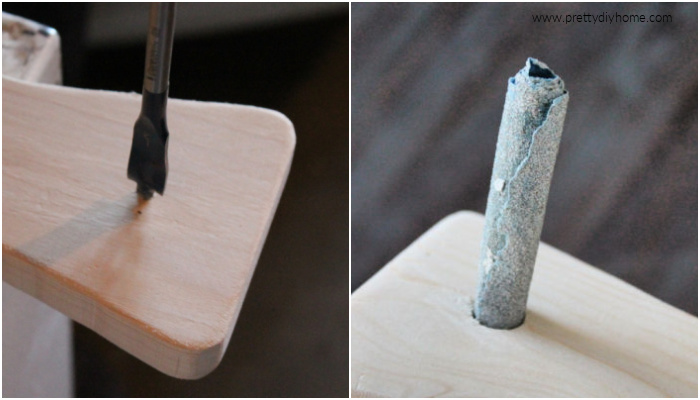
Drill out the hole in the hand with a drill and 3/8 inch bit. Then roll a piece of 60 grit sandpaper into a tube and sand the inside of the hole.
Sand the the front, back and all the edges using a sander, first with 60 grit and then 150 grit sandpaper.
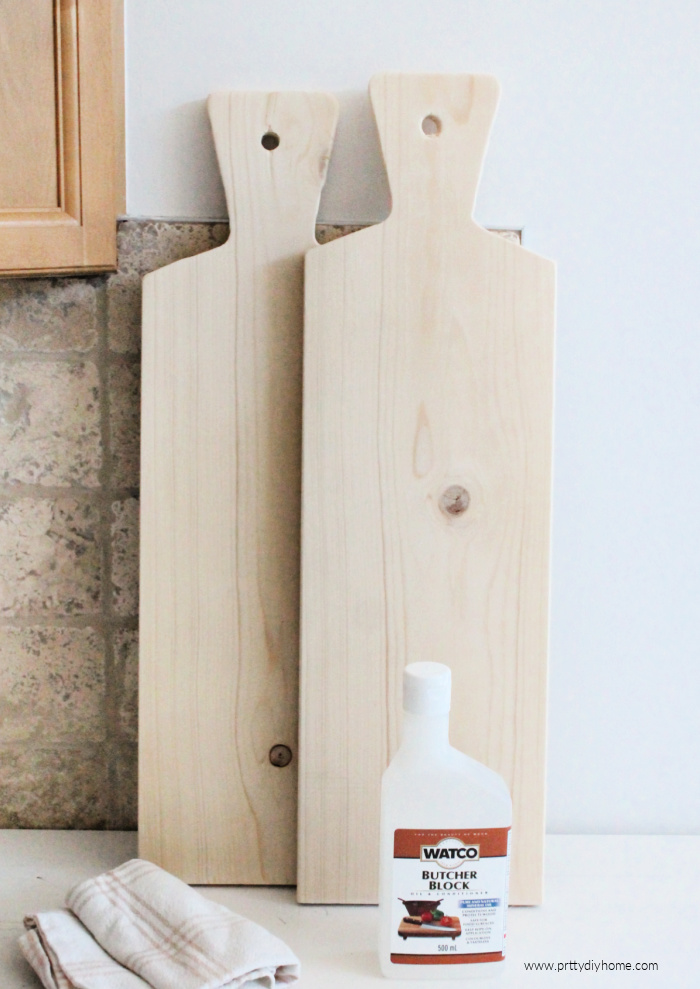
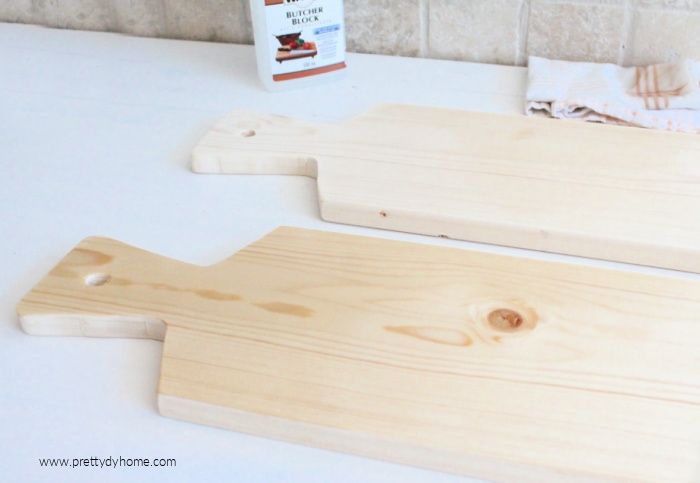
Using a clean rag remove the dust. This is how they look before finishing, the birch wood is so light.
Sealing and Finishing a Charcuterie Board
I recently bought a really nice round charcuterie board, so cute only to find a sticker that said it wasn’t food safe. Argh!!! In order to make wood food safe you need to stain and seal it with something natural. In the links farther down this post that you can stain them with wine, tea stain, or do like I did leave them unstained.
To seal them I found food safe grade butcher block conditioner at Home Depot. Mine cost $15 in Canada so I bet in the USA you can find it for $10. It only used maybe half a cup of the oil for both these boards.
Follow the manufacturers instructions for whatever oil you purchase. Pour a liberal amount of the butcher block oil onto a clean rag. Then apply by wiping it on with a clean rag. I let mine sit for 10 minutes before wiping it off, then allowed it to dry about four hours before it was dry to the touch.
Repeat for the other sides. Once dry apply a second coat.
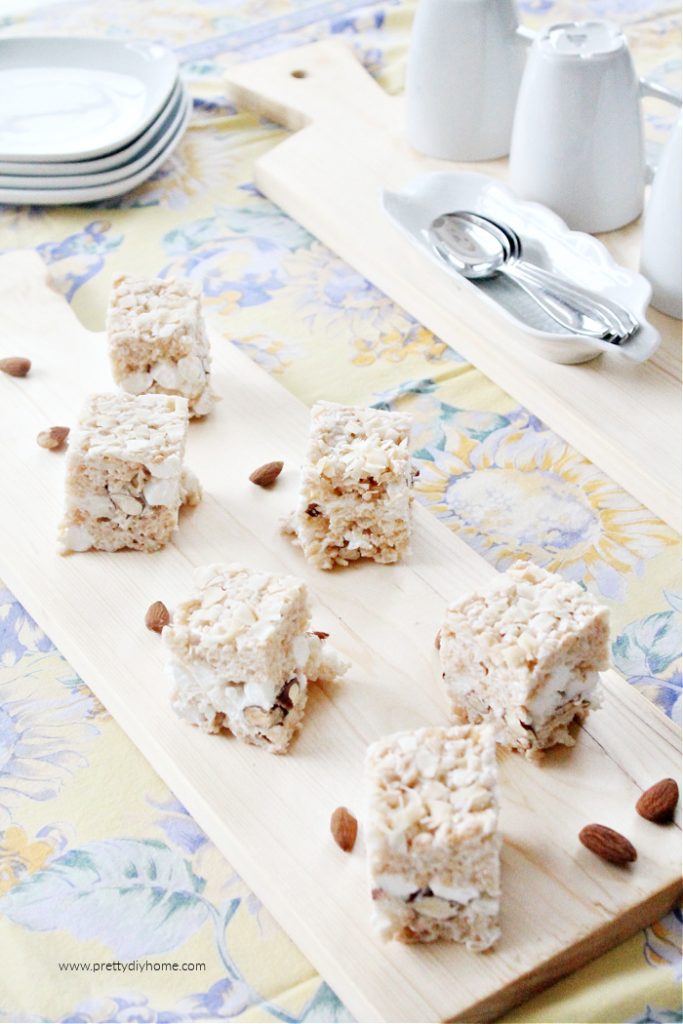
The oil darkens the wood a little bit, the front one in the picture below is oiled.
After the second coat I let the serving board dry overnight before using them.
Other DIY Wood Charcuterie Board Ideas
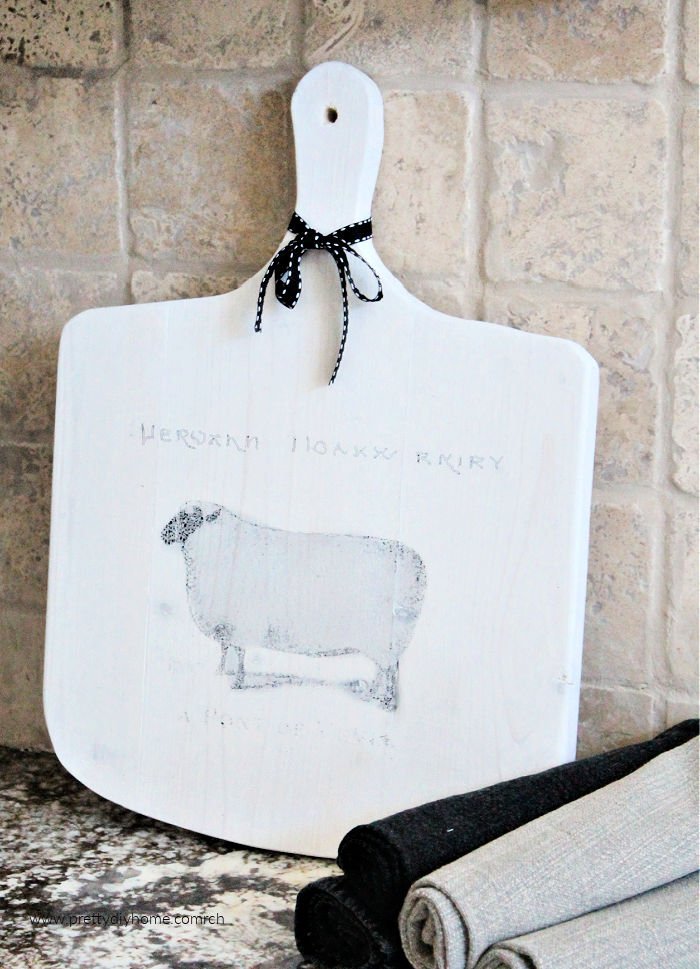
This is another style of wood cutting board that I created except this one had a graphic.
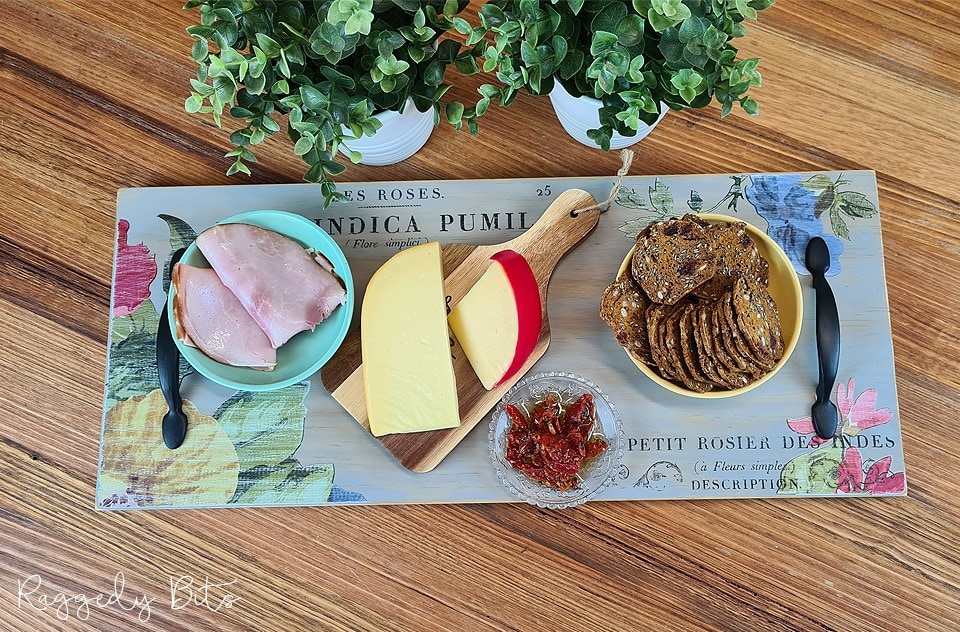
I love the french motif and wording on this very Vintage Farmhouse Charcuterie Board from my friend Sam at Raggedy Bits
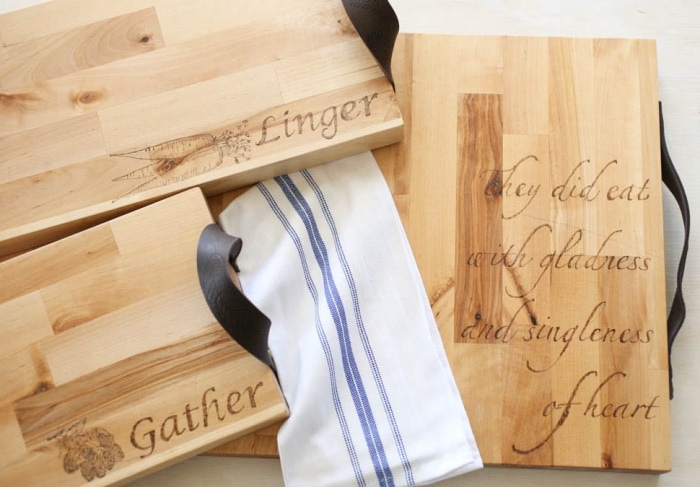
Jennifer from the Everyday Farmhouse does a great job of describine the different woods and finishes you can use. Her DIY Leather Handled Charcuterie Board features a beautiful leather handle and wording.
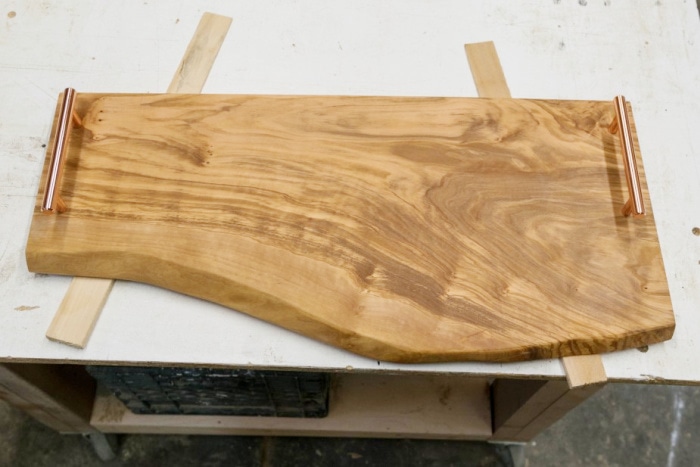
Zac Builds shares a step by step tutorial working with a thick live slab of wood and then staining it with red wine. This Wine Stained Live Edged Charcuterie Board is a show piece that I can imagine as the focal point on my dining side table. Its rustic and lovely.
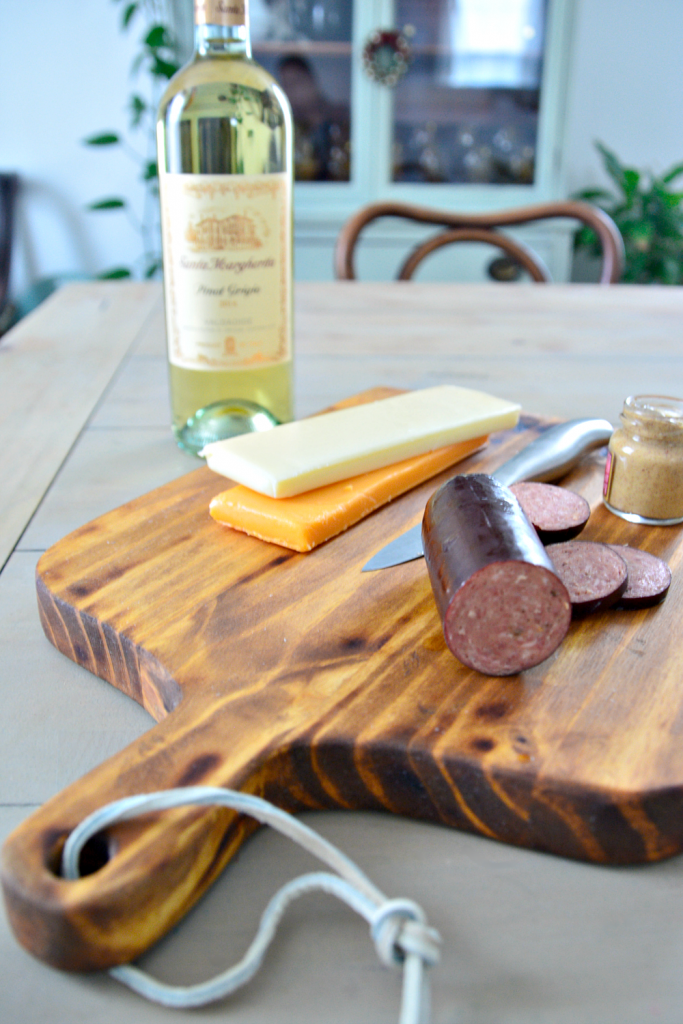
What a beautiful gift idea. I would be doing cartwheels of joy if I received a handmade gift like this DIY Naturally Stained New Wood Cutting Board from Petal and Ply. I love her all natural stain idea for new wood.
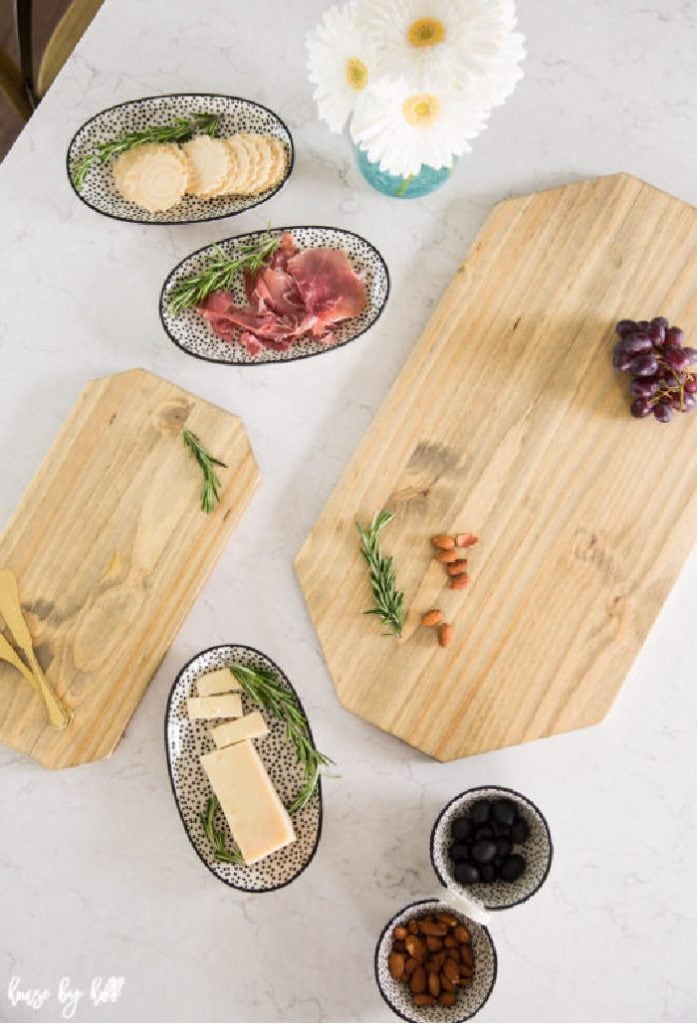
I love these simple DIY Charcuterie Boards from April at House by Hoff, they are pretty, functional and very easy to make as they are designed for the beginning woodworkers like me.
I absolutely LOVE your charcuterie boards, Leanna! They turned out so beautiful and can’t wait to try this. These would also make great gifts!!
What a great idea for WNW! Congrats on this new round-up opportunity, Leanna! Love your board! If you have time, be sure to share at Tuesday Turn About! Hugs!