How to Make a Messy Bow
Make a Coordinated Messy Bow
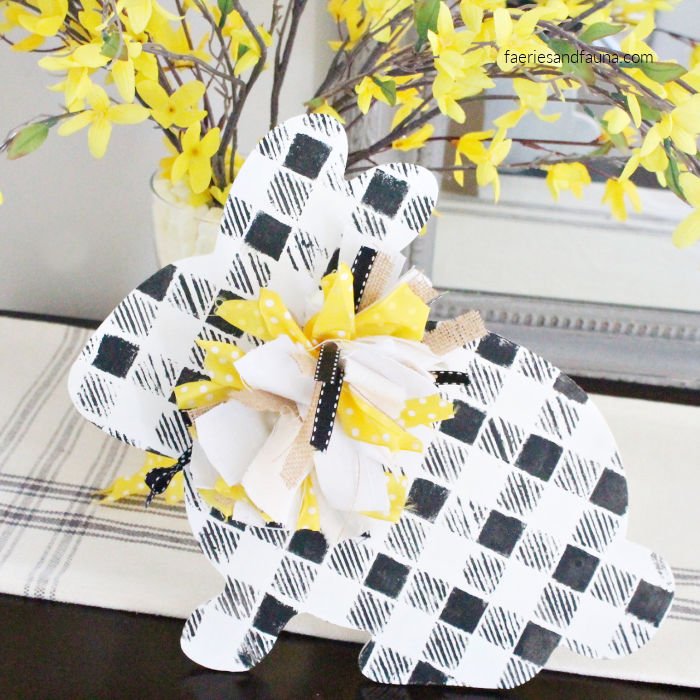
Messy bows are such a fun and different bow style. They are very versatile because you can make them with left over fabric, bits of ribbon, burlap strips, and even add wool or twine to them. This Easter I have decided to play with various style of messy bows starting with this farmhouse inspired one, using muslin, drop cloth and burlap. Such a great way to use up bits of leftover fabric.

Supplies for a DIY Messy Bow
An assortment of coordinating fabric strips or ribbon strips. The more fabric the bigger the bow.
Florists wire, or dental floss
Tutorial for Making a Messy Bow
Start by deciding how large you want your DIY messy bow to be. Then double it and add two inches for overlap. To make this five inches wide messy bow, cut your fabric strips 12 inches long.
For this bow I used five different fabrics for this messy bow.

The way I make messy bows is a little different and coordinated than other examples I have seen. I prefer to stack my ribbon so the colours of the ribbon is spread out and not bunched up. The bow is still messy but more coordinated doing it this way. By taking the time to layer the different fabrics the colours and patterns will be more evenly distributed.
How to Make a Messy Bow
Cut and then stack all your strips.

Once the strips are stacked.

Place one end in your hand, then grab the other end of the ribbons and overlap them. Make sure the good side of the fabric is outwards.

Once together wrap a piece of wire or dental floss around the center of the ribbon. Tie tightly. As I was working with alone I found it easier to tie the ends of the cloth together first.

Next cut the ends of the loops.

The bow will be flat, to fluff it grab each individual ribbon and twist them in different directions. I found that some of the fabric tore if I twisted it too much against the wire. It was kind of a pain but didn’t show om the final ribbon as it was so thick to begin with.

To tie the ribbon to the Easter bunny I used ribbon and wrapped it around the center of the messy ribbon first, and then the Easter Bunny.
A Small Messy Bow
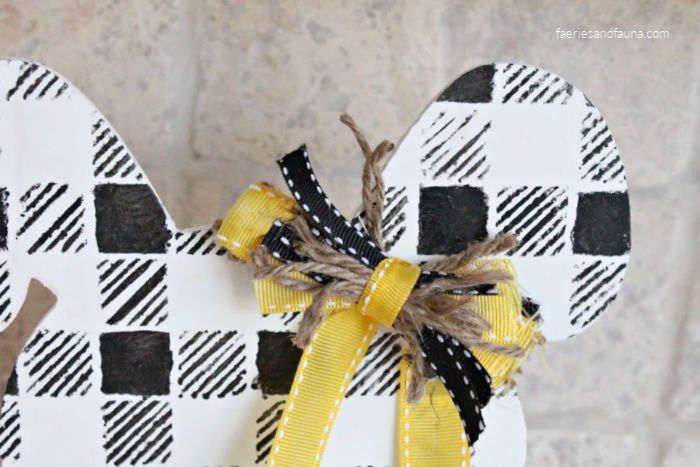
Besides their casual cuteness and cheap price I really enjoy how versatile messy bows are. Here is a small one I made. For this one I used four kinds of fabric or ribbons, and twine.

The process is the same, except when using twine its harder to hold on to so I cut it a couple of inches longer. Once put together trim excess twine off.

Please Pin for Later


This is so cute and fun! Such a great way to use those scraps and tails of ribbon and fabric you have leftover. These bows just give you the casual look you sometimes want to go with!
I’m terrible at making bows without using a bow maker tool but these cute messy bows, thanks to your awesome tutorial, I think I could make. Pinned (I love your pin designs by the way)
I just love this messy bow! A perfect addition to any craft or DIY project to add a little something special!
I’ve never heard of “messy bows” before! These are cute. I think another variation on them would be to cut V’s in the ends of the ribbons before you tie them together. But would they still look messy enough?? Depends on your preference, I guess.
Thanks for the tutorial, Leanna.
I considered doing the fish tail ends to the ribbons as well, you’d have to do them right at the end. I think they would be really cute. Thanks for commenting.