
Large Wooden Christmas Angel DIY
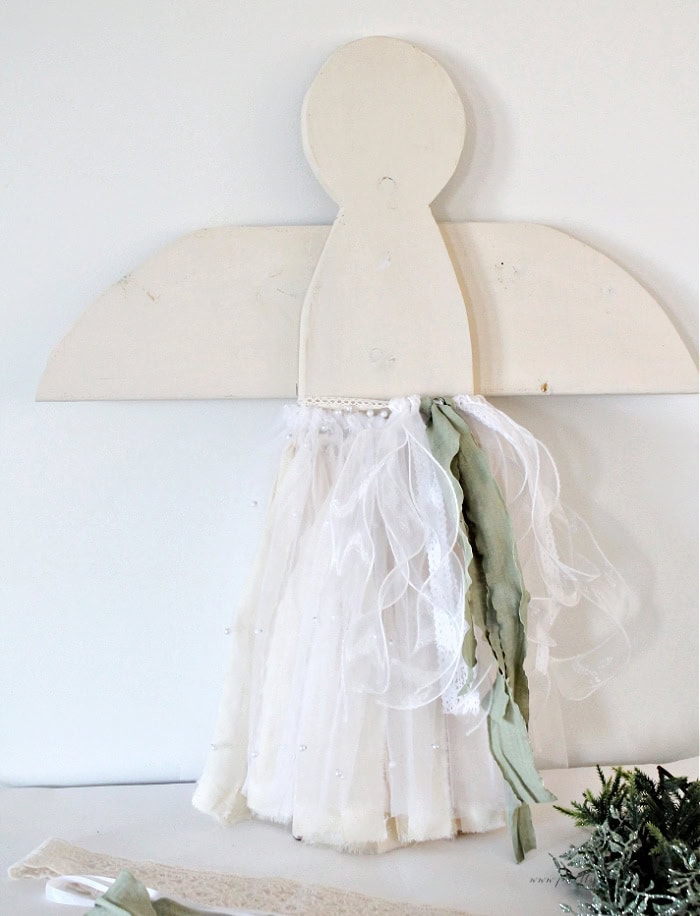
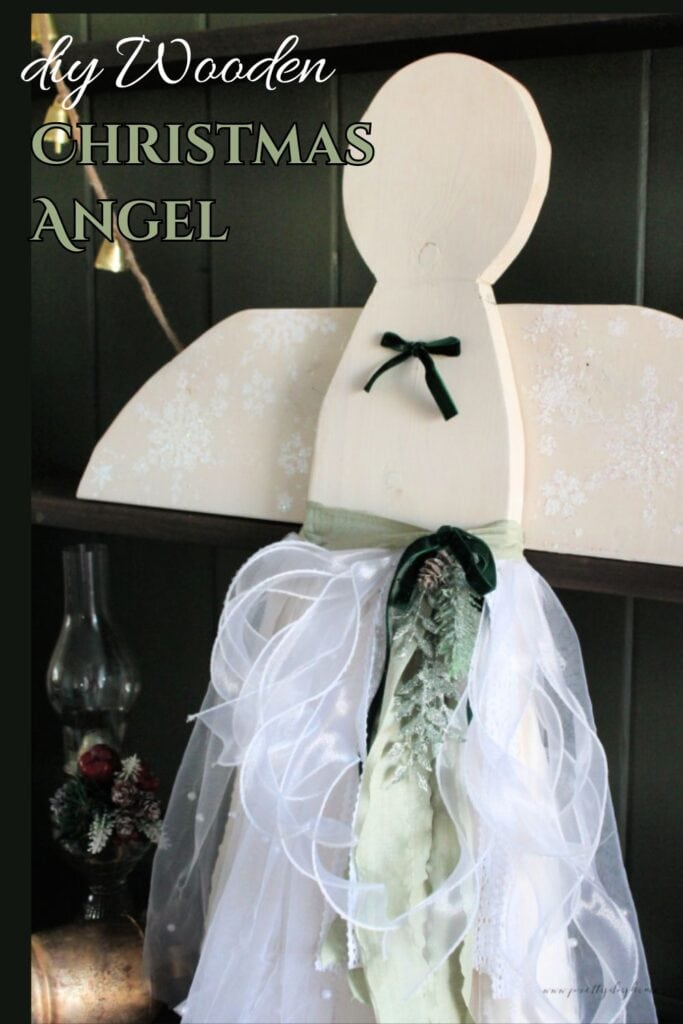
If you love soft, neutral Christmas decor, this DIY wooden Christmas angel is a lovely project to make for the holidays. I made mine from scrap wood using a simple angel shape, then dressed her in layers of muslin, pearl tulle, lace, and soft green ribbon. I am also sharing the free wooden angel pattern so you can make one of your own.
I actually started her last year, but set her aside because I could not decide how to make her stand out from the simple rustic angels you see at craft fairs. When I pulled her out again, I finally knew what she needed: soft fabric layers, a little sparkle, and plenty of vintage cottage charm.
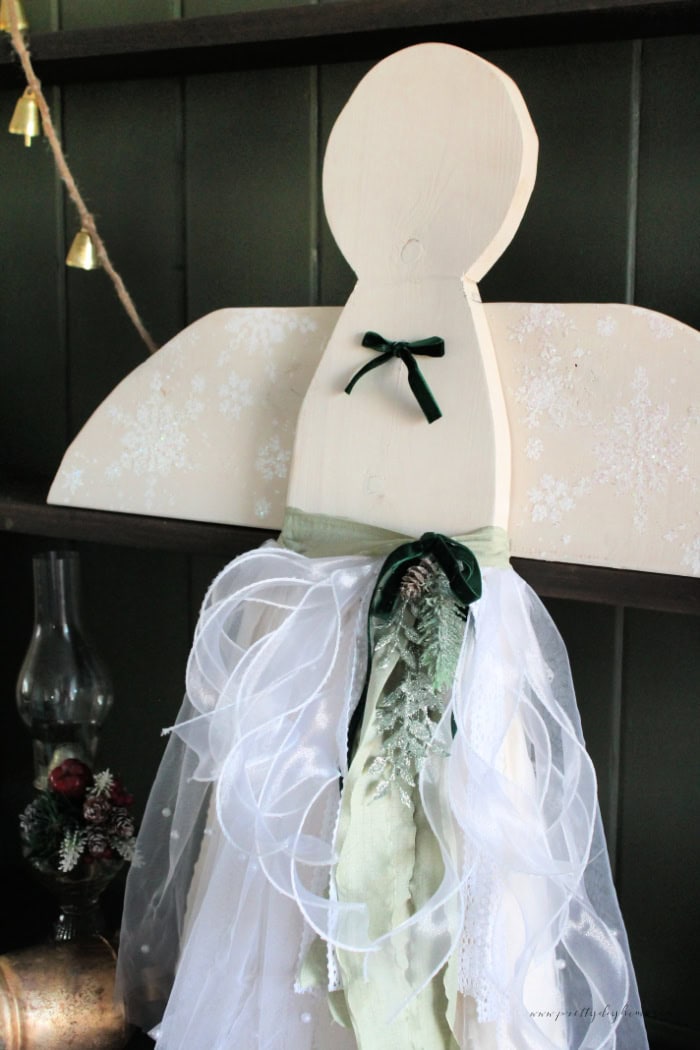
Here is how to make your own wooden Christmas angel using the free pattern.
Supplies for the Wooden Christmas Angel
- Free wooden angel pattern
- 1×6 scrap lumber or any smooth one-inch board
- Jigsaw
- 120-grit sandpaper
- Paintbrush and soft rag
- Fusion Mineral Paint in Limestone or any soft cream
- Small screws for attaching wings
- Scissors
- Ruler
- Hot glue gun (optional)
For the Fabric Skirt
- Muslin fabric (about 30 × 30 inches)
- Pearl tulle fabric (30 × 14 inches)
- Three pieces of one-inch cotton lace (15 inches long each)
- Assorted ribbons and lace in white, cream, and soft green
- Sewing machine with zigzag stitch (optional)
For the Wing Details
- Small stencil (snowflake or star)
- White acrylic paint
- Fine iridescent glitter
- Stencil brush
Step 1: Download and Transfer the Angel Pattern
Begin by downloading the pattern and transferring it onto a piece of scrap wood. I made my angel using 1 × 6 lumber I already had on hand, but any smooth one-inch thick board will do.
The free wooden angel pattern prints on standard letter-size paper and is meant to be used as a guide. Trace the head, neck, and upper body, then extend the sides of the body straight down to make the angel as tall as you like. For the wings, use the printed shape as your starting point and lengthen it by hand to suit the size of your angel.
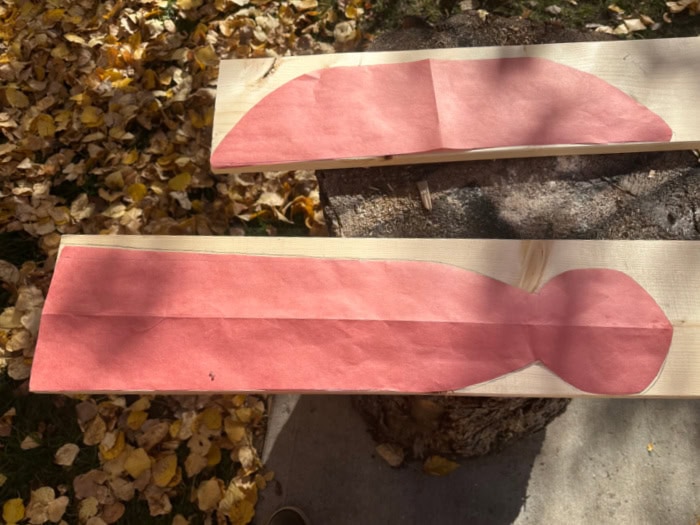
When your outline is ready, use a soft pencil or carbon paper to transfer it onto the wood. Keep the lines light but visible. Do not worry about making it perfect. Small variations simply make your angel unique.
Step 2: Cut the Angel from Scrap Wood
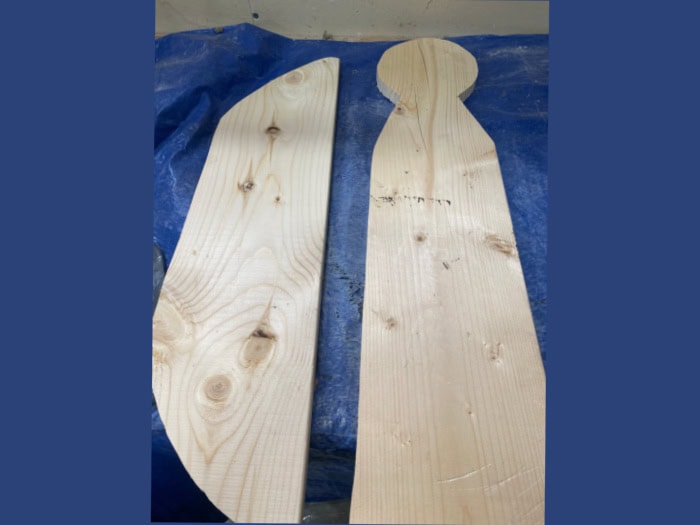
Once the pattern is traced, clamp the board securely to your work surface and use a jigsaw to carefully cut out the angel. Move slowly around the curves of the head and wings, letting the saw do the work.
Sand the edges smooth with 120-grit sandpaper. Remove any slivers and soften the edges by hand so they feel slightly rounded. If the cuts are rough or uneven, use an electric sander to smooth out any bumps before painting.
Step 3: Whitewash the Wooden Angel
I used Fusion Mineral Paint in Limestone, but any light cream color will work. Mix about 1 tablespoon of paint with 2 tablespoons of water to create a thin whitewash. Brush it on in light, even strokes, then wipe back the excess with a soft rag.
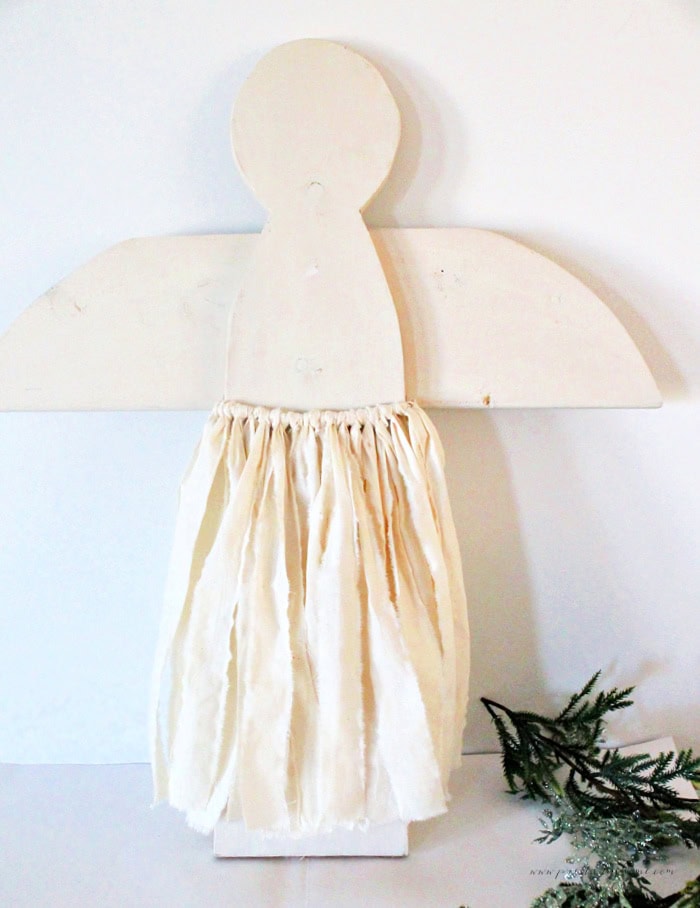
The whitewash lets the wood grain peek through and gives the angel a soft, aged finish that suits cottagecore and vintage Christmas décor.
For my angel, I gave her one coat of whitewash.
Step 4: Attach the Wooden Wings
Once the body and wings are painted and dry, place the wings flat against the back of the angel and adjust them until you like the position. I prefer the top of the wings to sit just below the head so they flow naturally with the shape of the body.
When you are happy with the placement, use two or three small wood screws to secure the wings from the back. Make sure the screws are short enough that they do not poke through to the front.
Step 5: Prepare the Fabrics and Ribbons
Prepare the Muslin
Start by checking that your muslin tears easily along the grain, since you will be tearing it into strips rather than cutting each one. Iron the muslin smooth so it is flat and easy to measure. Cut a square of muslin 30 inches wide by 30 inches long.
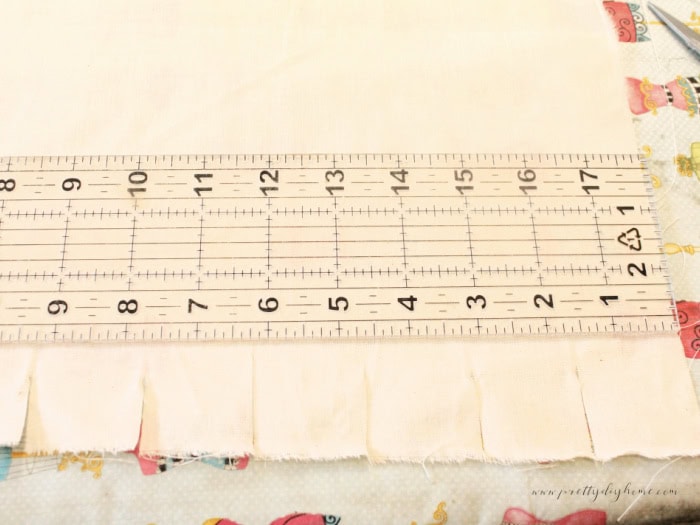
Working across the width, make small snips every 1½ inches along one edge. Once all the snips are made, carefully tear each strip along the grain to create long pieces with softly frayed edges. You should end up with twenty strips, each measuring 1½ inches by 30 inches.
Prepare the Pearl Tulle Overlay
Cut a piece 30 inches wide by 14 inches long, leaving a one-inch margin for the top fold. Make sure the bottom edge is very straight since it will be left unfinished. Choose your neatest cut edge for the bottom hem.
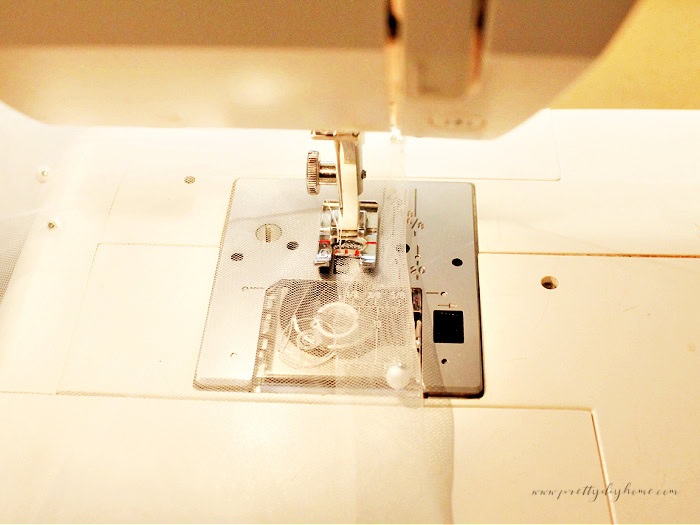
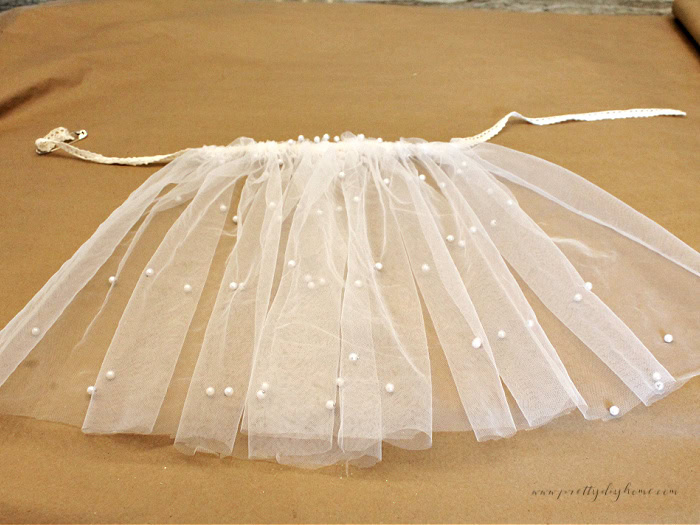
Fold over the top edge once and iron carefully to set the crease. Be gentle so you do not melt the tulle. Stitch the fold using a zigzag stitch, then thread a 15-inch piece of one-inch lace through the top edge to create a gathered overlay. Set this aside.
Gather Your Ribbons
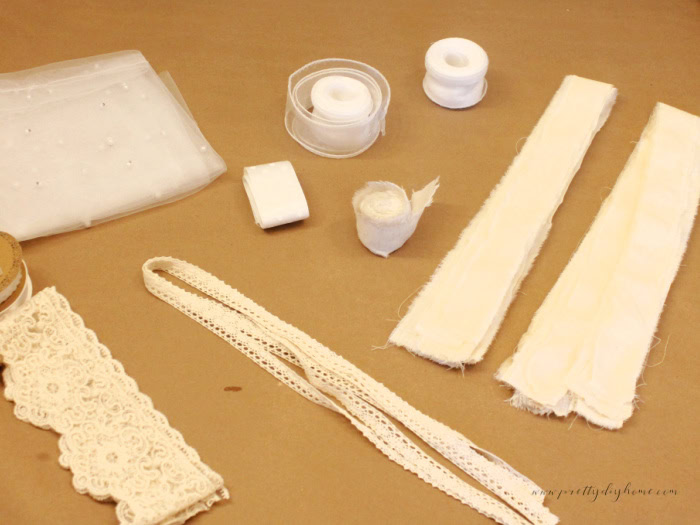
For the ribbon layer, gather whatever lace and trims you have on hand in white, cream, and soft green. My white and green ribbons came from leftover Temu ribbon, and the rest were garage sale finds. The mix of textures gives the angel more character.
Step 6: Prepare the Muslin Strips
Set Up the Lace Ties
If you like a tidy look, you can iron the muslin strips again after tearing them, but it is optional. I pressed mine lightly to smooth the edges before tying.
Next, cut three 15-inch pieces of one-inch cotton lace. I used lace from Dollar Tree, but any cotton trim will work. These will form the base ties for the skirt.
Before tying on the strips, pull the lace taut and secure both ends. I pinned mine to the paper backdrop while taking photos, but you can hold the ends down with something heavy, like a can of tomatoes. Keeping the lace taut makes tying much easier.
Tie the Muslin Strips
To attach the strips, start by lining up the ends of the lace and folding it in half to find the center.
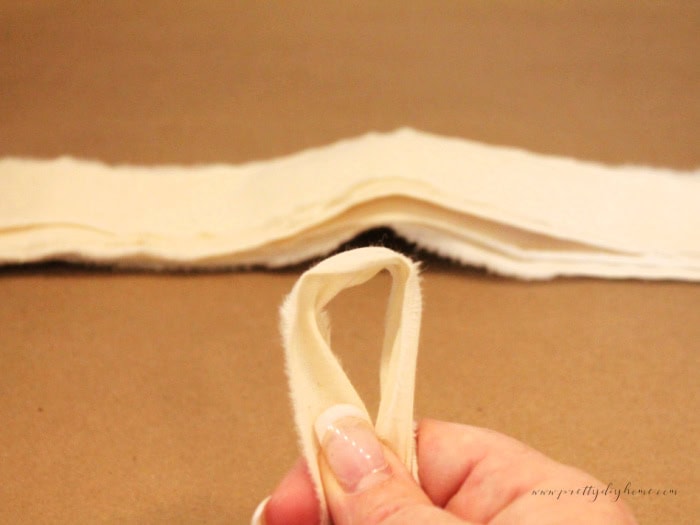
Here are the four stages of tying the loop knot:
- Fold the muslin strip in half and place the loop under the lace.
- Fold the ends over and pull them through the loop from the bottom.
- Pull gently to tighten.
- Neaten the knot and make sure the bottoms stay even.
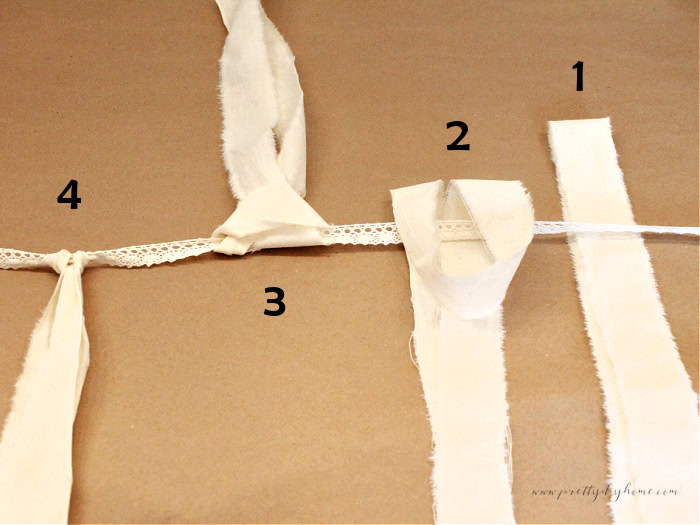
Do not worry about perfect spacing yet. You can adjust the strips after all twenty are tied.
Step 7: Add the Fabric Overlay and Ribbons
I am sharing detailed instructions for how I tied the ribbons on my angel. You can also add another cross piece of ribbon and tie on whatever trims you like. This is an easy place to personalize your angel.
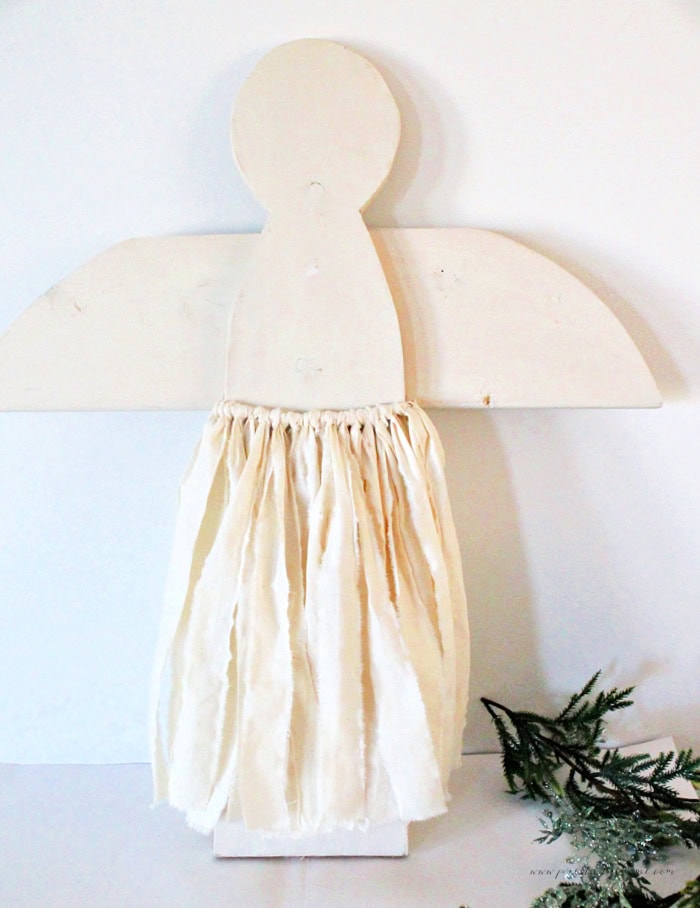
Row One – Add the Muslin Layer
I gathered the muslin strips close together and moved them around until I found the center, keeping the lengths even across the bottom. Then I centered the muslin layer on the front of the angel, positioning it so the skirt sits about an inch above the bottom edge. I tightened the lace and tied a simple loose loop knot at the back.
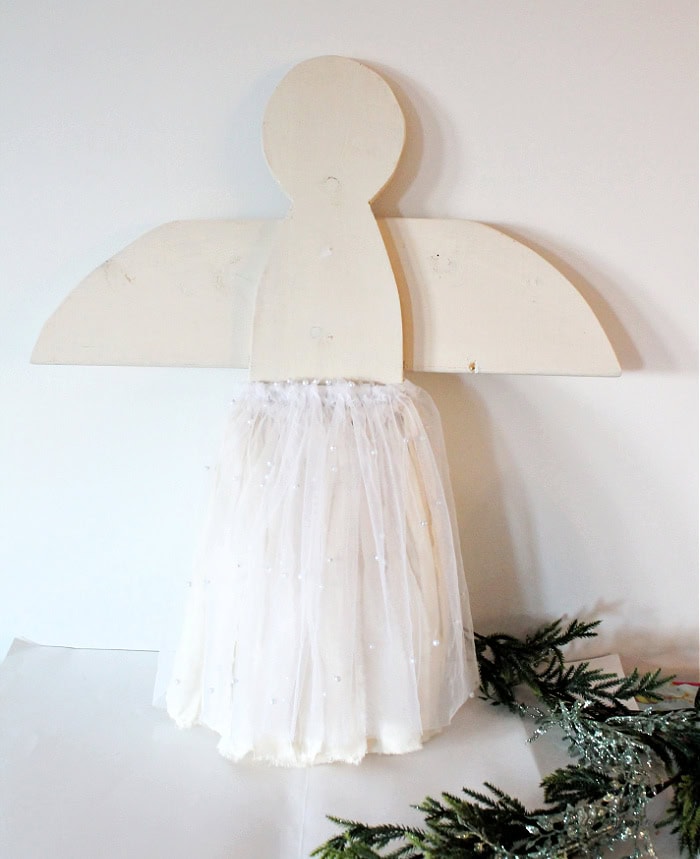
Row Two – Add the Pearl Tulle Overlay
I gathered and centered the tulle the same way and tied it just above the muslin layer. The sheer fabric softens the muslin and adds a delicate shimmer.
Row Three – Add the Ribbon Layer
I created a third tie-on for the loose, frilly ribbon layer. I tied the ribbons onto only part of the lace so they would fall mostly to one side when wrapped around the angel. I staggered the ribbon ends by an inch or two, folding them in the same way as the muslin strips. I tied the ribbons in pairs, six pairs in total, then added two soft green ribbons near the middle.
Step 8: Add Glittery Snowflakes to the Wings
My large wooden Christmas angel now hangs in our entryway, where she adds so much light and softness to the space. The mix of muslin, pearl tulle, and ribbon layers catches the light, and the glittered wings sparkle every time someone walks by.
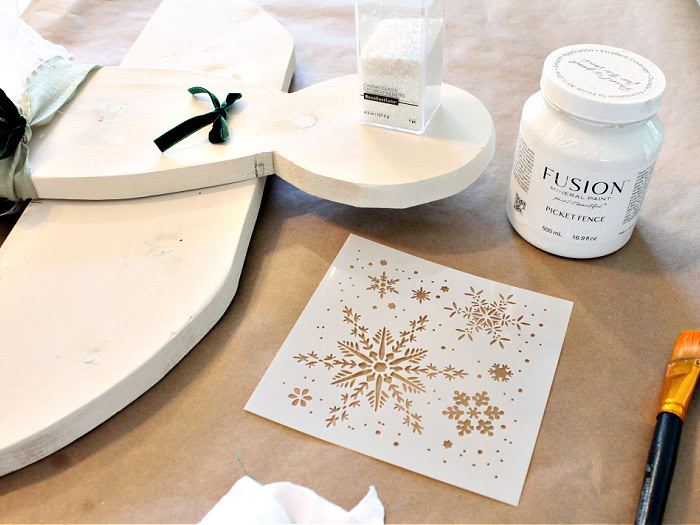
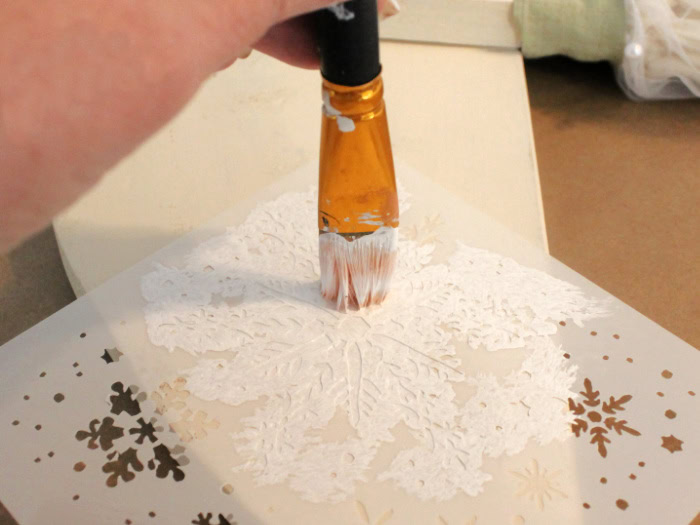
To add the sparkle, I used a small stencil and quickly stippled on white paint, then immediately sprinkled fine iridescent glitter over it before the paint dried. I followed no pattern at all, just added snowflakes wherever there was room. The effect is soft and whimsical, like fresh snow resting on her wings.
Whether you leave her simple and serene or add the snowflake sparkle, she will bring a little bit of handmade warmth to your Christmas decorating this year.
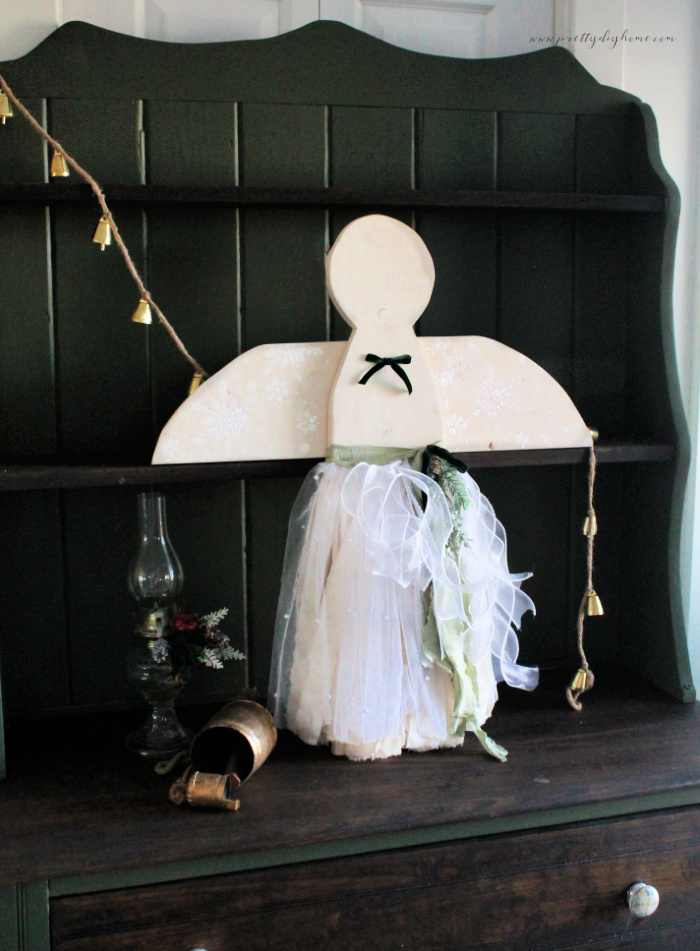
And just like that, she is all done.
If you like this project, don’t forget to save it to your Christmas crafting board on Pinterest so you can find it again later.
More White and Sparkly Christmas Inspiration
If you enjoy making Christmas decor with a soft vintage look, you may also like my Thrift Store Christmas Angel, another simple angel project with plenty of sparkle. Or try my Wooden DIY Gingerbread Men from Scrap Wood, a fun Christmas project that also includes a free printable pattern.
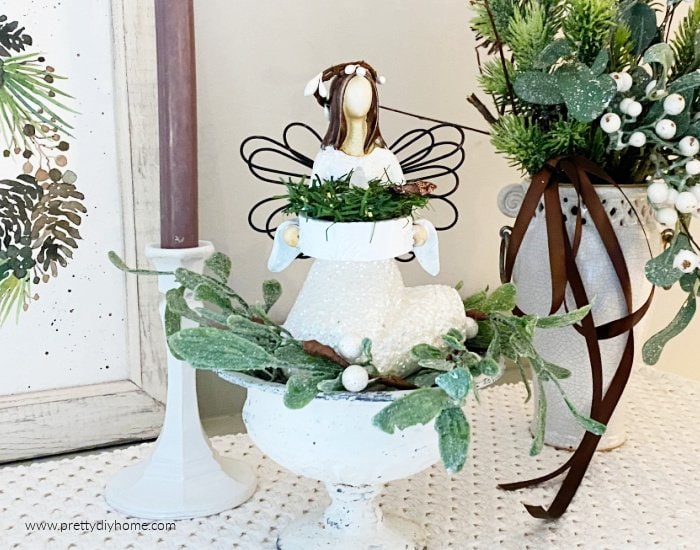
Thrift Store Christmas Angel
This little sparkly angel was a thrift store find. With a little paint, glitter, and greenery, she became a simple Christmas decoration I still enjoy bringing out each year.
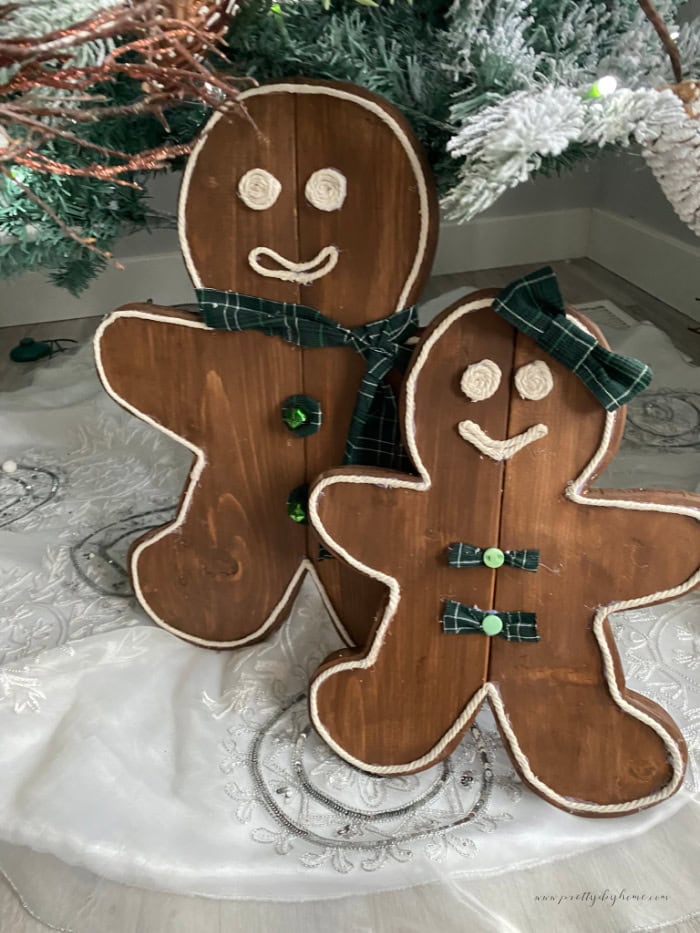
Wooden DIY Gingerbread Men from Scrap Wood
If you enjoy making Christmas decor from scrap wood, you may also like my DIY Gingerbread Man Decorations. They include a free printable pattern and are another easy way to turn leftover wood into handmade Christmas decor.