
How to Make Pumpkin Puree from a Fresh Pumpkin
Homemade Pumpkin Puree from Fresh Pumpkins
Have you ever wondered how to make pumpkin puree from a fresh pumpkin? It’s much easier than you might think, and it will save you an amazing amount of money if you make lots of pumpkin desserts.
Homemade pumpkin puree has a mild, fresh flavor and works beautifully in pumpkin pies, muffins, cookies, and other fall recipes. It also freezes really well, so you can make a large batch and save the extra for later.
As a bonus, don’t throw away those beautiful natural pumpkin stems. I preserve mine to use in fall crafts and handmade pumpkins, and I’ll show you how later in the post.

I called around to a few local organic gardens and asked if I could get several small pie pumpkins with long natural stems. They were kind enough to cut the stems extra long for me. Aren’t they lovely?
How to Make Pumpkin Puree
Pumpkin puree is simply cooked pumpkin that has been blended or mashed until smooth. Homemade pumpkin puree can replace canned pumpkin cup for cup in your favorite pumpkin recipes, and I find the flavor fresher and lighter than commercially canned pumpkin.
One or two small pie pumpkins will usually give you enough puree for a large pumpkin pie. I used five small organic pie pumpkins for this post because I wanted plenty of extra pumpkin puree to freeze for later.
Choosing the Best Pumpkins for Puree
If possible, choose pie pumpkins or sugar pumpkins for making pumpkin puree. They are naturally sweeter and contain less moisture than large carving pumpkins.
If you can’t find pie or sugar pumpkins at the grocery store or farmers market, go ahead and use any smaller pumpkin. Even jack-o’-lantern pumpkins will work. They contain more moisture and take a little more effort, but the finished puree is still good. I didn’t even know about sugar pumpkins until about ten years ago, and everyone still raved about my pumpkin pies.
If you have a garden, pie pumpkins are also easy to grow. Since moving and having our own garden, I’ve found pie pumpkin varieties easy to buy at the local nursery, and they grow well for us.
Choose a ripe pumpkin with little or no green showing. If your pumpkin is still green in spots, place it in a dry sunny location with the green side facing the sun.
What You Need to Make Pumpkin Puree
Besides the pumpkin, you only need a few simple kitchen tools you probably already have on hand:
- Large sharp knife
- Cutting board
- Large baking sheet
- Parchment paper
- Food processor, or potato masher
- Fine mesh strainer and cheesecloth
- Airtight containers or Ziploc bags
How to Make Pumpkin Puree
This pumpkin puree recipe is very easy and uses just one ingredient: fresh pumpkin. We’ll start by preparing the whole pumpkin for roasting.
Step 1: Wash and Cut the Pumpkin
Wash the pumpkins really well. Pumpkin stems can be surprisingly prickly, so protect your hands with gloves or a towel while handling them.
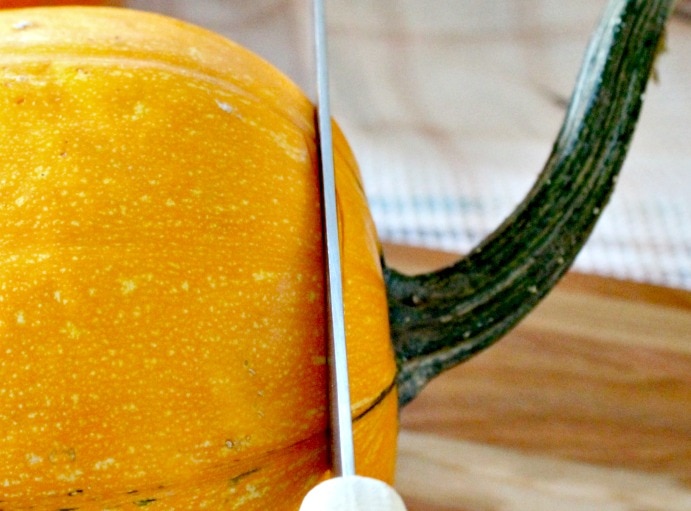
Cut the stems off the top of each pumpkin and set them aside to preserve for later. Real pumpkin stems are perfect for DIY fabric pumpkins and other fall crafts.
Cut each pumpkin in half.

Step 2: Remove the Seeds and Stringy Pulp
Use a large spoon or ice cream scoop to remove the pumpkin seeds and stringy pulp from the center of each pumpkin half. I find an ice cream scoop works especially well because the sturdy edge makes scraping the inside of the pumpkin quick and easy.
Once the seeds and stringy bits are removed, cut the pumpkin into smaller pieces so they fit comfortably on your baking sheet.

Step 3: Roast the Fresh Pumpkin
Place the pumpkin pieces cut side up on a parchment-lined baking sheet. Bake at 350°F for about 45 minutes, or until the pumpkin flesh is soft and easily pierced with a fork.
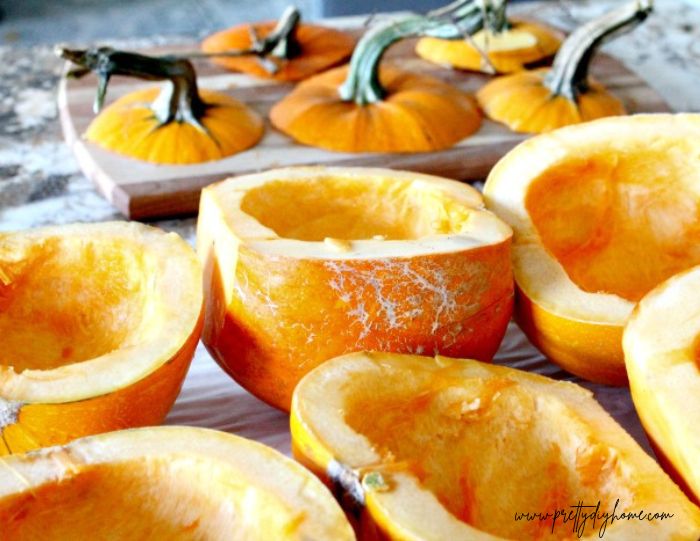
Remove the pumpkin from the oven and let it cool until it is comfortable to handle.
Remove from the oven and let cool a little bit.
Step 4: Scoop Out the Cooked Pumpkin
Even after baking, the outer skin of the pumpkin stays quite firm. Use a large spoon to scoop the soft cooked pumpkin flesh away from the skin and transfer it to a food processor. Blend until smooth.
If you don’t have a food processor, mash the cooked pumpkin very well with a potato masher until the puree is smooth.
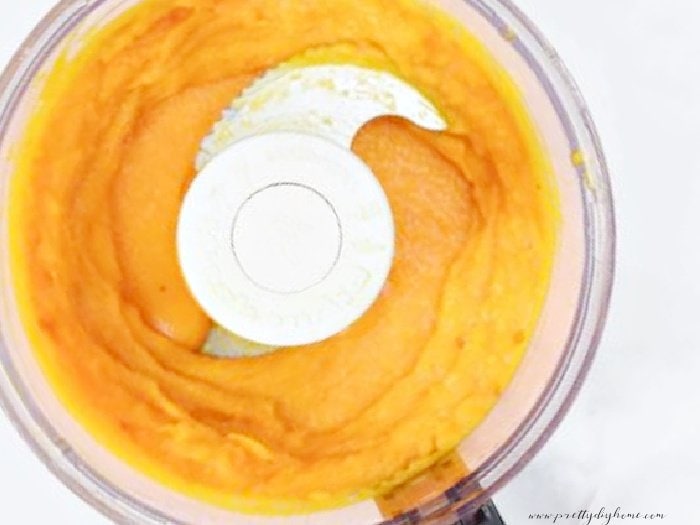
At this stage, the pumpkin puree will look quite watery. That’s normal, and the next step is to drain off the excess moisture so the puree becomes thicker and better suited for baking.
Step 5: Blend and Drain the Pumpkin Puree
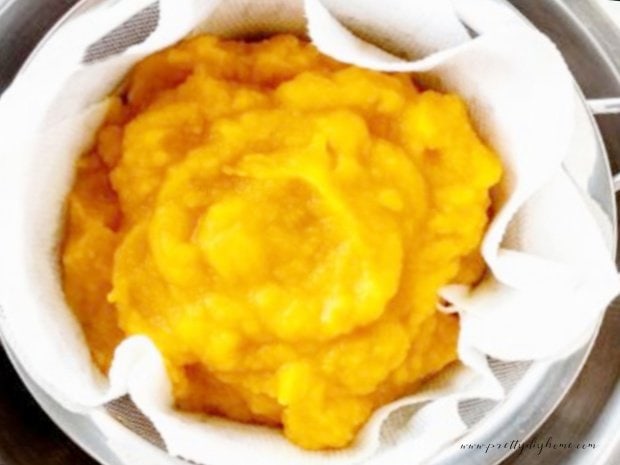
To remove the excess moisture, place the pumpkin puree in a fine mesh strainer set over a bowl. Let it drain until the puree becomes thicker.
Give it an occasional stir or gently press the puree with the back of a large wooden spoon or a potato masher to help release the extra liquid.
You can save the drained pumpkin liquid to add to soup or broth, although I usually discard mine.
How to Store and Freeze Homemade Pumpkin Puree
If you’re using the homemade pumpkin puree right away, store it in an airtight container in the refrigerator. If a little liquid separates while it sits, simply pour off the excess and give the puree a good stir before using it.
For longer storage, pumpkin puree freezes very well. Since many pumpkin recipes use about 2 cups, I like to freeze mine in 2-cup portions so they’re ready to thaw and use.
Measure the puree into freezer bags, remove as much air as possible, label each bag with the date, and lay the bags flat in the freezer. Freezing them flat makes them easier to stack and store once they are frozen solid.
Frozen pumpkin puree can be kept in the freezer for 3 to 6 months.
To thaw pumpkin puree, place the sealed freezer bag in a bowl of cold water for about 10 to 15 minutes, or transfer it to the refrigerator the night before you plan to use it.

How to Preserve Pumpkin Stems for Crafts
One of the best bonuses of making homemade pumpkin puree is getting to save those beautiful real pumpkin stems for fall crafts.
How to Remove and Clean Pumpkin Stems
Use a very sharp knife to carefully cut the stem away from the top section of the pumpkin.
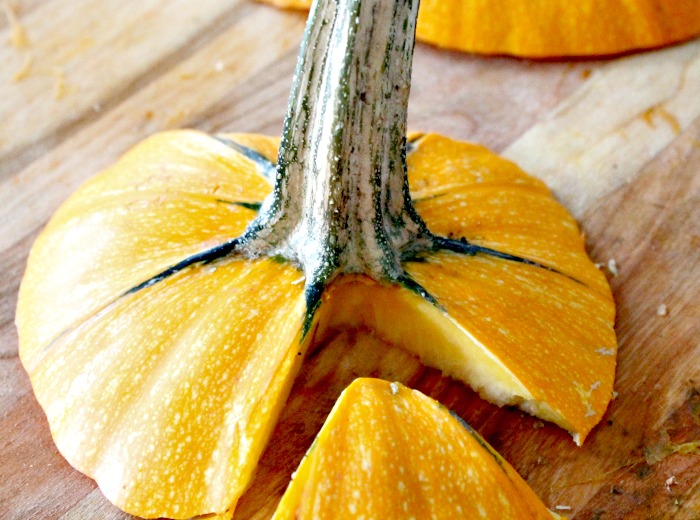
Once the stem is removed, hold it with a towel or cloth to protect your hands from the prickly surface. Carefully trim away any remaining pumpkin flesh from around the base of the stem.
How to Air Dry Pumpkin Stems
Place the cleaned pumpkin stems in a cool, dry, dark place and let them dry naturally for about 8 weeks.
Once they are completely dry, lightly sand the stems with fine sandpaper to remove any prickly spots or small dried bits of pumpkin still attached near the base.

After drying, store the pumpkin stems in a dry container until you’re ready to use them for fall crafts.

How to Dry Pumpkin Stems in the Oven
If you want to use your pumpkin stems sooner, you can dry them in the oven instead of waiting several weeks for them to air dry.
Place the cleaned stems on a parchment-lined baking sheet and dry them in a low oven for about 2 to 3 hours. The stems may become lighter and change color slightly as they dry, which is fine, especially if you plan to paint or stain them for a craft.
I usually prefer to let mine dry naturally, but oven drying works well when you need the stems for a project right away.

Pumpkin Puree Recipe
Ingredients
- 1 small pie pumpkin (small pumpkins) or as many as you like I did 5
Instructions
- Wash the pumpkins really well. Just a note of caution, pumpkin stems are surprisingly pricklish, protect your hands with gloves or a towel when handling them.

- Cut the stems off the top and set aside, so you can preserve them for crafts.

- Cut the pumpkin in half.
- Remove the pumpkin seed using an icing scroop. Keep the seeds to roast if you like. Toss the stringy bits out.
- Lay the pumpkins open side up on a parchment lined baking sheet. Bake at 350 F for about 45 minutes until soft and easy to pierce with a fork.
- Let cool a little bit to avoid burning, scoop out the inside of the baked pumpkin(s.)
- Place the pumpkin in a food processor, if you don’t have one, you can mash the pumpkin really well instead.

- Line a large strainer with cheesecloth and place the fresh pumpkin puree to remove the excess water. The puree will thicken. You can help the process along by pushing on the pumpkin occasionally, but be patient.
- Use the fresh pumpkin puree in any pumpkin recipe you have.


Freezing
- Divide the pumpkin puree into two cup portions. Freeze each portion in a small freezer bag. Mark the date on the freezer bags, lay each bag flat and freeze.

Pumpkin Puree Recipes to Try
Homemade pumpkin puree can be used cup for cup in many recipes that call for canned pumpkin. Once you have a few portions tucked into the freezer, it is easy to pull one out for fall baking.
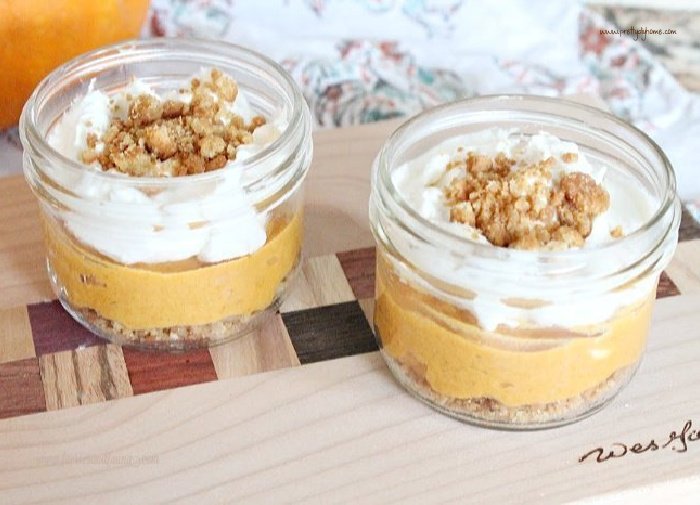
No Bake Pumpkin Cheesecake in a Jar
A creamy no bake pumpkin dessert layered into individual jars. It is an easy fall dessert and a delicious way to use homemade pumpkin puree.

Soft Pumpkin Cookies
Soft and chewy pumpkin sugar cookies with warm fall flavor. These are perfect for using a smaller amount of fresh pumpkin puree.
DIY Projects Using Real Pumpkin Stems
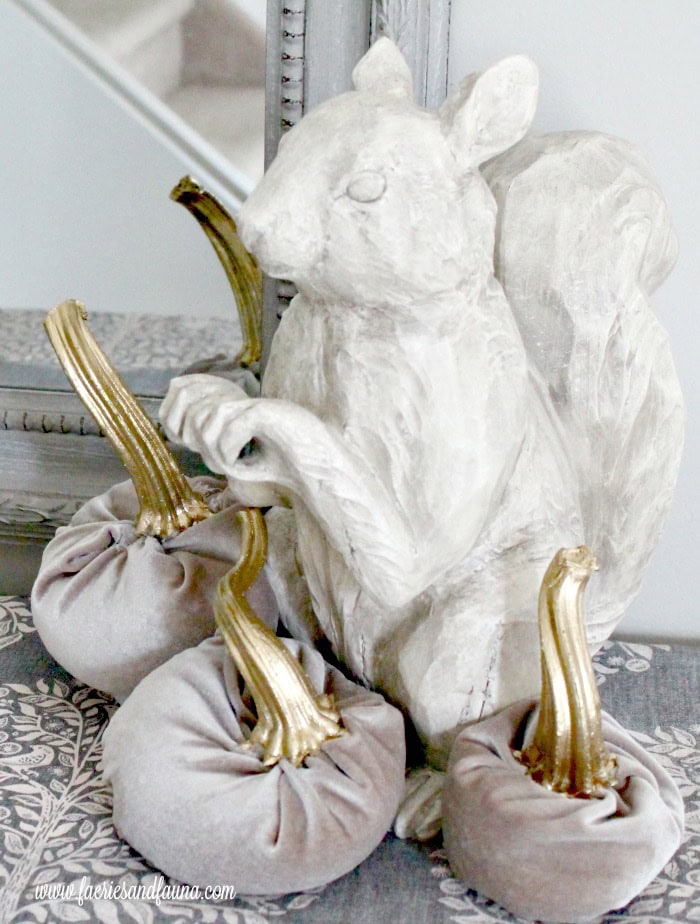
DIY Velvet Pumpkins
Real pumpkin stems add such a pretty natural finish to handmade fabric pumpkins. I used some of my preserved stems to make these high-end-inspired velvet pumpkins for fall decor.
this is such a great idea! I like how you used the ice cream scooper too!
Think I’m going to have to have a chit-chat with my local fruit and veg shop and ask him not to chop the stems off so I can try this!! What a great idea!!!
Ooooh, what a great post. Thanks for these tips.
Pinned this excellent tutorial to my Fall Ideas Board. Every year I forget to keep the stems of the pumpkins – you got some really fabulous stems there. I see fresh pumpkin pie in my house soon, thanks to you.
The fresh pumpkin pies taste better I promise. Now I have to hope that I can come up with a fresh and different idea for fabric pumpkins.
I’m saving this for next year. I love how you use every bit of the pumpkin and show us how.
Thanks Debra. The pumpkin is nicer when you make it yourself I am glad I picked up the habit again.
I had no idea that you could (or would want to) save pumpkin stems, but that is such a cool idea to use them for crafts the following year! I always learn something new here, thanks Leanna!
Hi Randi, I feel the same about your blog with the healthy life style posts.