DIY Farmhouse Sign for a Child’s Bedroom
DIY Lettered Sign Perfect for a Child’s Room
The little space above a headboard can be challenging. It took some brainstorming to find the perfect welcoming phrase for this little DIY kid’s wall art I wanted to add to my granddaughter’s guest room. I pondered nursery rhymes, favorite poets, favorite song lyrics, and nothing seemed to fit.
f

h
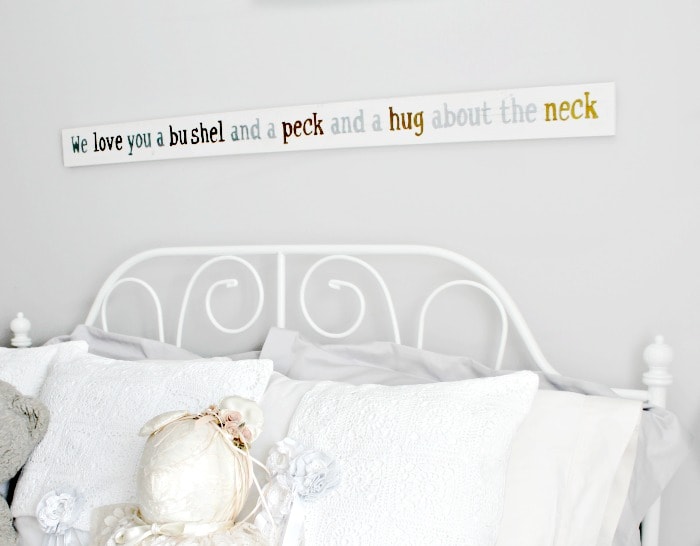
Eventually, I recalled the old songs from my very early childhood, which meant old country songs. If you’re old enough you may recall such pearls as “How much is that Little Doggie in the Window”, “Boob-i-lak”, and a “Bushel and a Peck”. Finally, I chose some lyrics from Bushel and a Peck and changed the singular ” I ” to the plural “We” so that Hubs was included. I am not about to sing the song to my little ones, but it was fun to remember riding a foot horse and having those songs sung to me.
Tutorial for a DIY Kid’s Wallart
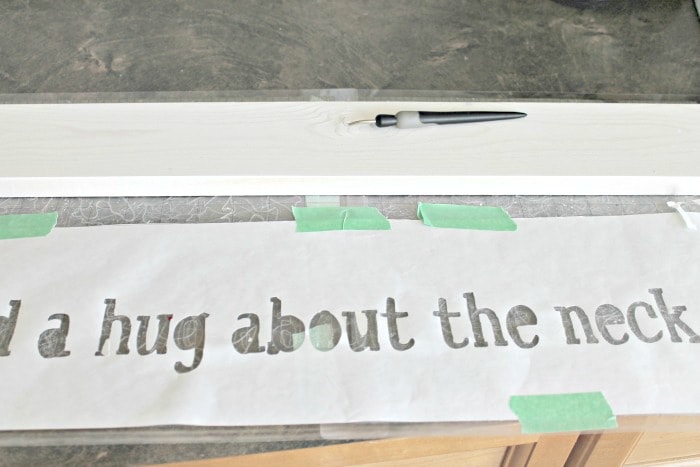
I have stencil paper and vinyl, but a four-foot length of vinyl would be costly. I decided to use freezer paper to make a stencil for wood. I saw quite a few tutorials on using freezer paper as a stencil on fabric, but none for making a large stencil on wood.
Supplies
[one-half-first]
4-foot length of 1 by 4 lumber
White stain
[/one-half-first]
[one-half]
Silhouette or Cricut Cutting Machine
Gold and Black Sharpee Pens
[/one-half]

The solution is to tape the cutting mats together as they flow through the cutting machine. You cannot simply run it through the machine without a cutting mat like you do vinyl because the freezer paper is thin.
Set the cutting machine settings to blade 1, speed 3, and thickness 2.
Run the freezer paper through the cutting machine using the add media setting. Pause the cutting when the first mat has processed through the cutting machine. Push the pause button, remove the first mat, and reattach it to the second mat with tape. Continue this until your stencil is cut.
It worked perfectly. I sanded and stained the wood, carefully placed the stencil, taped it securely and then coloured in the letters with gold and jiffy markers.

The picture outlines how I used gold to emphasis the subject matter words for emphasis.
Hanging the Farmhouse Sign

At first, I tried to hang the four foot wide wall art in the middle. It didn’t work the artwork wouldn’t stay level. I ended up putting two little screw eyes at each end of the sign. Then I measured the distance from the roof and marked the wall. Then I marked the distance between the two hooks, placed two little nails to match the markings and then hung the sign.m
The child’s guest room in our home is updated regularly. My granddaughters look forward to their special Christmas room every Christmas Eve, here are some other related ideas I have done in this room.
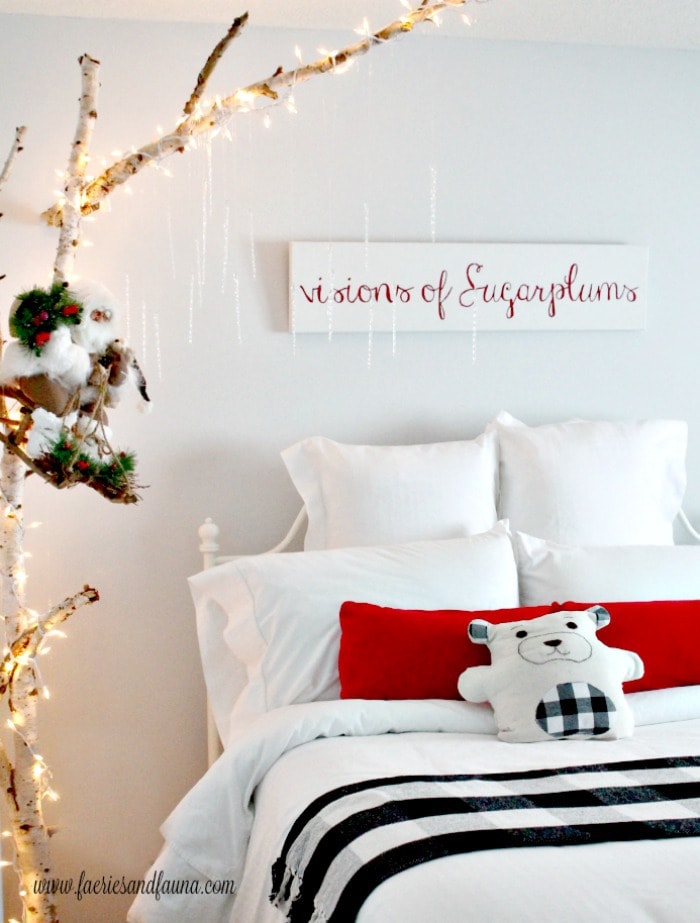
Visions of Sugarplums DIY Farmhouse Christmas Sign
This DIY shutter and vintage toy makeover now sit to the right of the girl’s guest bed.


I just love this sweet sign! Memories of my sweet mother singing this to me as a child came flooding back, thanks for the memory!
Thank you, I really enjoyed thinking about the old tunes, I am glad the sign made you have happy recollections. Funny how little things take you back. Leanna
Aaaawww…. What a wonderful way to say “Welcome”! I love this sign and would like to feature it today at Tuesdays with a Twist! -Marci @ Stone Cottage Adventures
Wow, this is terrific. Thank you so much for featuring me on Tuesdays with a Twist.
Very much appreciated. I am thrilled. Leanna
I like how you did this, I have never heard of a cut and scan, definitely going to have check into that! And freezer paper…who knew! I wonder if parchment paper would work? Or is that the same thing? Thanks so much for joining us at TaDa Thursday!!!
Hi Susanne, thank you for commenting. I would use parchment paper as a template for wood. I have seen several tutorials on using freezer paper for fabric and you melt the wax side of the freezer paper with an iron. For the wood I did not use an iron.
Leanna
That looks fantastic!! What a great job, and a lovely sign for your little ones.
Thank you for commenting. It’s cliche I know, but my grand daughters own me. I am very much looking forward to their sleep overs.
Simply Beautiful! I bought myself a cut n scan for Christmas last year but as I am not a DIYer I have yet to use it! YIKES. This is definitely an inspiration to make me think about it. Thank you. Also welcome to the party!!!
I really enjoy making personal signs for our home. Thank you for commenting.
Leanna