How to Clean and Update Thrifted Embroidered Wall Art
Thrift shopping can be both fun and addictive, especially when you stumble across a store with great prices and hidden gems. There’s something about the hunt that keeps you coming back. When you find a steal of a deal, it is hard to resist.
We have a local antique store that’s a real treasure trove, as long as you’re willing to take your time. It’s the kind of store where you have to search every booth and peek into every little nook and cranny, but the finds are always worth it.
Since Easter, I’ve been on the lookout for embroidered wall art to replace the framed Easter Bunny print I had up from Temu. I specifically wanted something with a vintage look, preferably in a gold or ornate frame to go with a cottage core or eclectic style.
I did find a few blank frames that I’ll probably makeover down the road, but let me start by sharing my favorite thrifted find from that day.
Vintage Needlepoint
If you enjoy a cozy cottage-style home or vintage decor, embroidered wall art like needlepoint is beautiful. Needlepoint is a handmade craft that’s easy to overlook, but it fits so well with the cottage core vibe. It’s stitched by hand, one tiny thread at a time, usually on a stiff canvas, and the designs are often feminine with homey subjects like teacups, florals, or cozy little scenes.
I love that someone likely spent weeks or months making this one, and now it gets a second life in my home. That’s what cottage core thrifting is all about to me: giving handmade things a place to shine again while keeping me on budget. I am so thankful to the woman who made this.
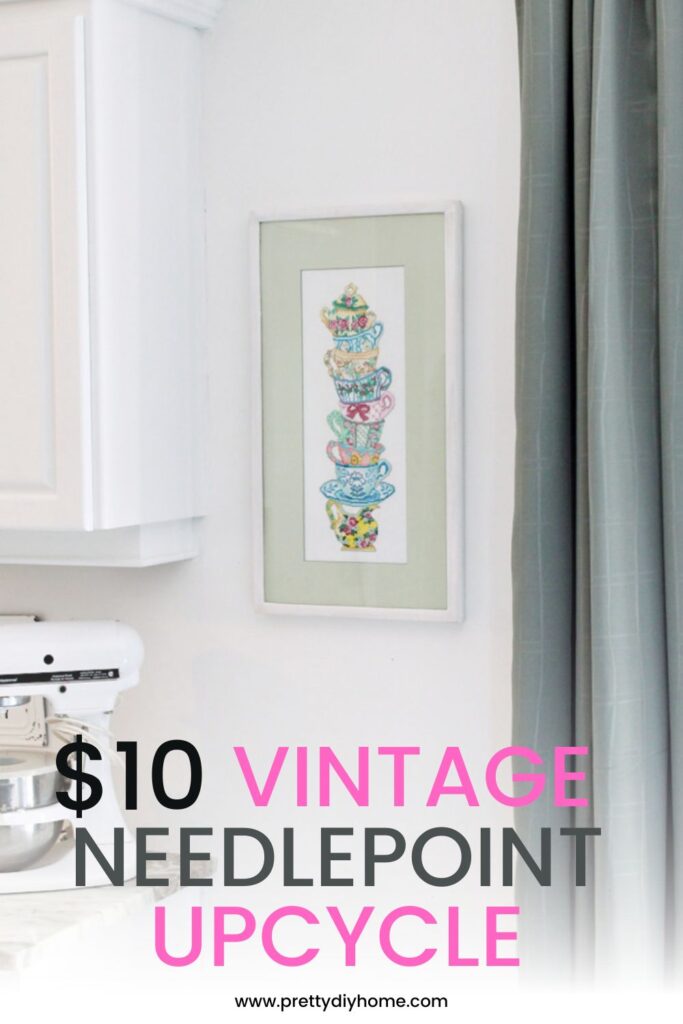
Hand-done needlepoint is perfect for cottage-style home décor, especially when it’s truly handmade and not machine-stitched. This piece is even more special thanks to the teacup theme stitched into it, and it’s going into my dining room, right in my country kitchen space.
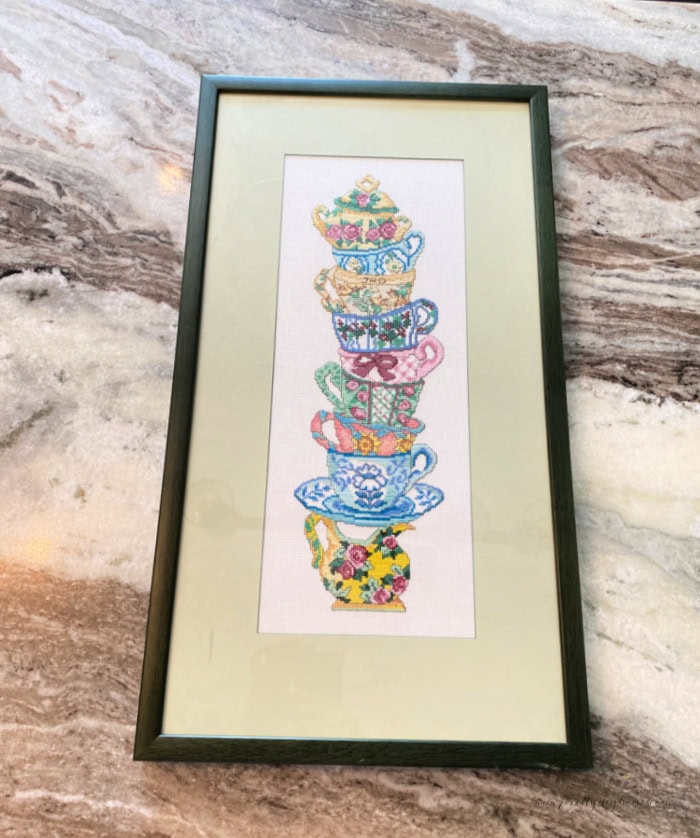
The Before
The needlepoint was professionally framed, and the style of the dark green wood makes me think it was probably done in the 70s or 80s. The glass was dusty, and the piece looked a bit dingy overall, but thankfully, the frame was real wood and didn’t smell smoky. I instantly wanted to give this embroidered wall art a second chance, and I’m so glad I did.
How to Clean and Update Embroidered Wall Art
Step 1: Take Apart the Frame
The first step was to take the whole picture apart to see how it had been assembled. It had a brown paper backing glued to the frame, glass on the front, and the needlepoint itself was stretched over a wooden board. The whole piece was held together with small black metal tabs (I’m not sure what they’re called, but I kept as many in the frame as I could). Once it was disassembled, I was ready to start cleaning.
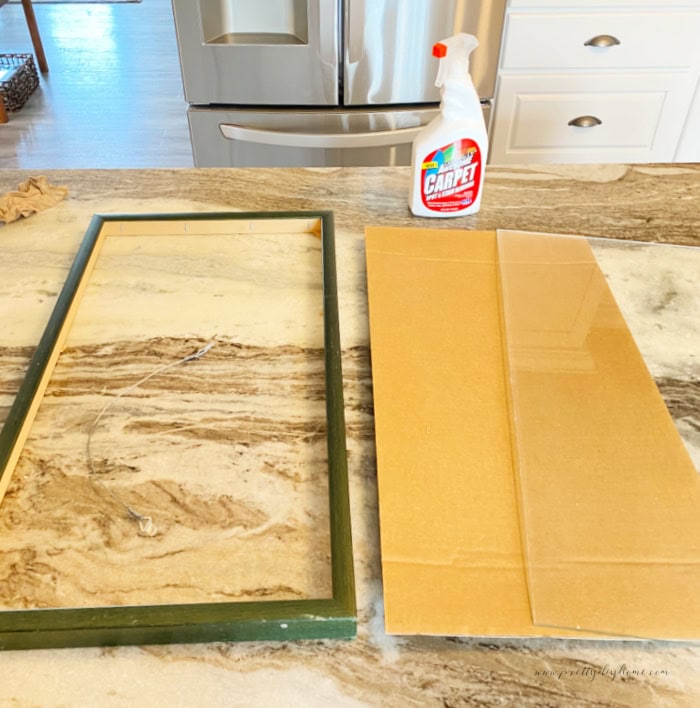
Step 2: Clean the Needlepoint Fabric
I started by wiping down the glass, crossing my fingers that it would be all it needed. It helped a little, but the picture still looked dingy. So I gently vacuumed the surface of the needlepoint and moved on to cleaning the fabric itself.
The needlepoint was stretched tightly over a board, and it looked like it might even be glued down. So sending it to the dry cleaners was not an option. I decided not to risk removing it from its backing and washing it. Instead, I cleaned it while it was still mounted.
My go-to for tricky fabric spots is Dollar Tree carpet cleaner. I’ve used it on everything from fabric placemats to my car seats, and it always works great. I sprayed a bit onto a clean white rag, then gently rubbed the white background areas of the needlepoint. It wasn’t difficult, just time-consuming.
You want to avoid getting the fabric too wet or stretching the Aida cloth background. To do this, I sprayed the cleaner onto my rag and worked in small sections. I gently rubbed with my finger, checked the rag for dirt, then moved to a clean spot and repeated the process until the entire white area was clean.
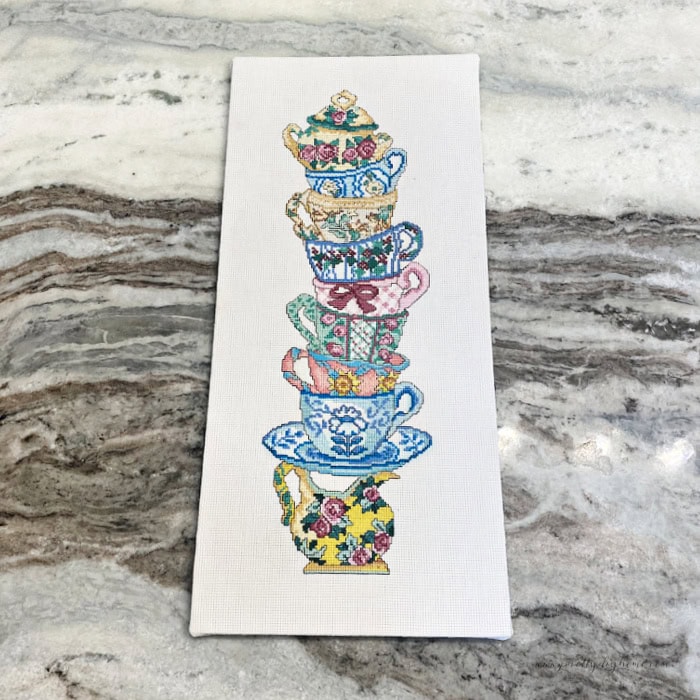
It worked surprisingly well. I let the piece dry overnight, and by morning it looked fresh and clean again. Since I applied the cleaner to the rag instead of spraying it directly, I was able to avoid getting the needlework itself too wet.
Step 3: Refinish the Wood Frame
I wanted the frame to have a softer, more natural look that would blend with the rest of my decor. I started by sanding off the old green paint, hoping to expose the raw wood underneath, but some areas ended up with a faint green tint that just wouldn’t come out.
To whitewash the frame, mix 1 tablespoon of white latex paint with 2 tablespoons of water. Give it a good mix, then brush it on. I let the whitewash dry for about 2 minutes before softly wiping the paint off. It took two coats to fully soften the green, but the lighter wood finish really brightened the look of the needlepoint.
The original green mat actually worked well just as it was. All it needed was a quick wipe-down with the same Dollar Tree carpet cleaner I used earlier, and it looked good as new.
Tip: You can change the color of a good-quality mat with paint, using a dry brush technique, so try that if your mat color doesn’t work for you.
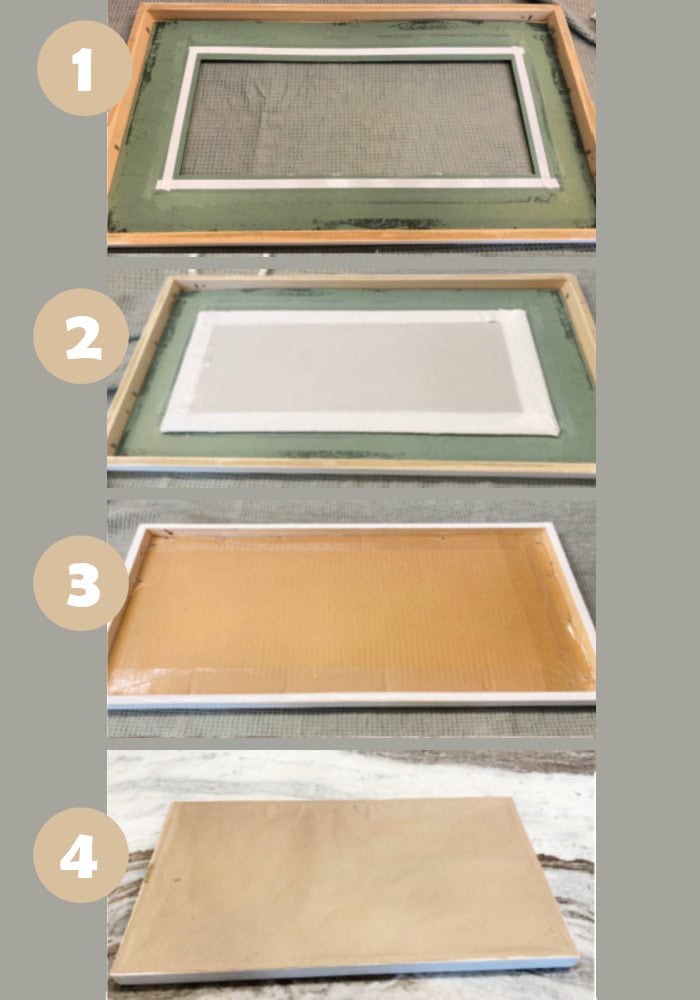
Step 4: Reassemble the Embroidered Wall Art
Once everything was clean and dry, I reassembled the artwork. I had to bend back the little metal tabs to make room for the glass. When replacing the glass, be careful. It is fragile and you do not want to force it and risk cracking it.
1 – Add the mat, then run double-sided tape around the edge of the mat opening.
2 – Place the needlepoint centered over the tape. Double check the placement from the front, then press it down gently but firmly.
3 – I was unable to reinsert several of the metal tabs, so after adding the cardboard backing, I secured it with clear packing tape around the edges
4 – Apply double-sided tape to the back of the frame and attach a cut to size piece of brown paper. It helps to press the paper in place at the center of each side first, then smooth it out toward the corners.
Finally, I added the hanger and hung the needlepoint.

Love how this vintage needlepoint and embroidered wall art piece came back to life? Go ahead and pin it so you’ve got the idea saved for the next time you come across an old frame or stitched piece that deserves a fresh start.
Other Thrift Store Upcycles
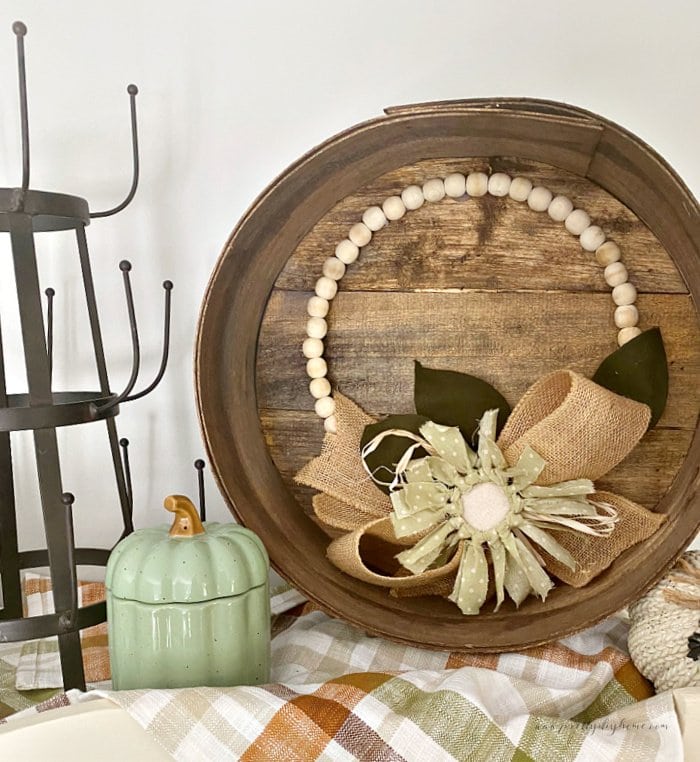
Thrift Store Cheese Box Restoration
This thrifted cheese box was such an inexpensive find, cleaned and stained, it’s a beautiful vintage decor piece I can use for backdrop and risers.
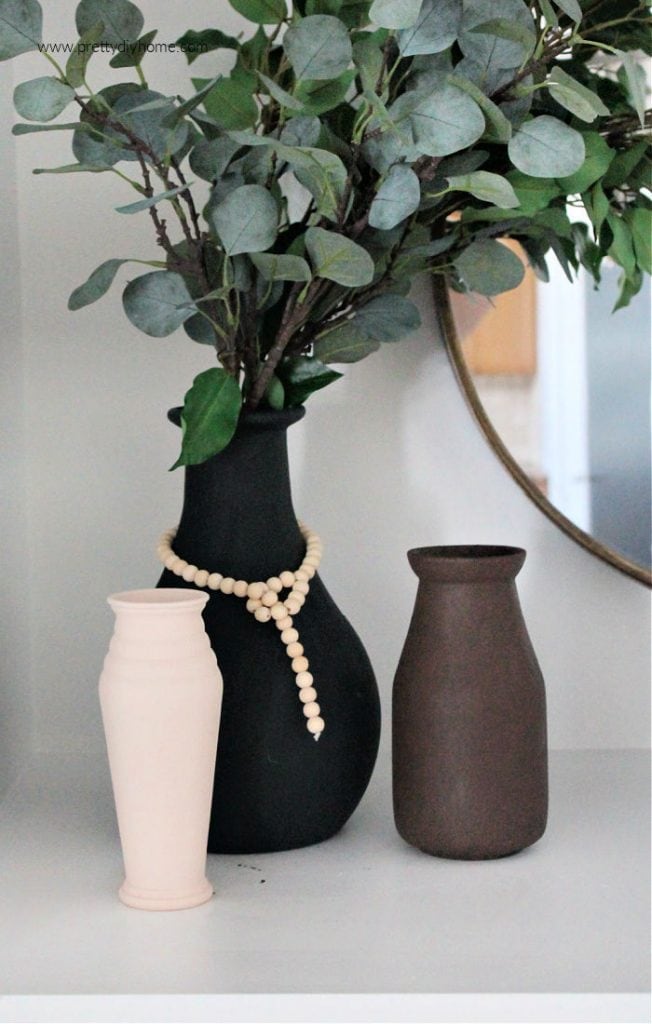
Thrifted Vase Upcycle
These glass vases from the thrift store were a fun upcycled DIY project. I played with some paint to give them a ceramic textured look. I still enjoy the three colors snuggled together on top of my entertainment center.