DIY Textured Vase Thrift Store Makeover
I’ll admit it, I’m the worst for falling in love with decor I have no business buying.
I spotted a set of vases in a local shop not long ago and immediately started mentally rearranging my mantel to justify bringing them home. They were exactly my style — simple, earthy, and textured.
Then I saw the price. One of them was $190. I very cautiously put it back, and that was the end of that.
Instead, I headed to the thrift store, did a little Pinterest research, and figured I could make something work. With a few well-shaped vases and a simple baking soda paint technique, I was able to give them a soft, textured finish that looks like stone or handmade pottery.
This DIY textured vase makeover cost me about $10, and I ended up with pieces I love just as much.

How to Make a DIY Textured Vase
This simple technique uses paint and baking soda to create a soft, textured finish that looks like stone or handmade pottery.
Supplies You’ll Need
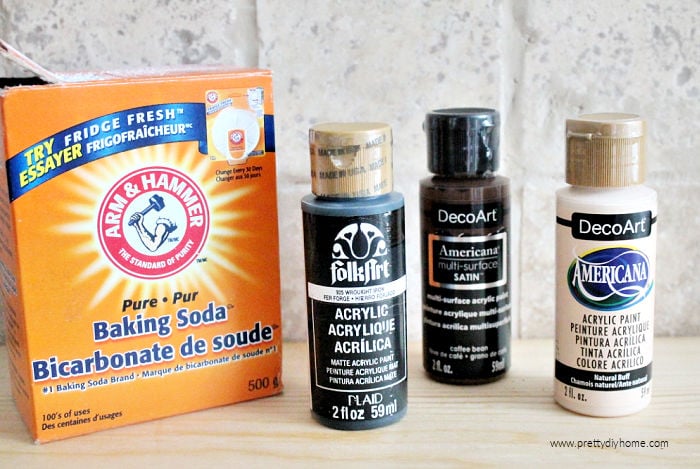
- Thrifted vases
- Acrylic or latex paint
- Baking soda
- Paintbrush
- Sandpaper (around 120 grit)
How to Create the Textured Vase Finish
Step 1: Prep the Vases
Make sure your vases are clean before you start. I ran mine through the dishwasher, but you can also wash them by hand and let them dry completely.
Once the vases are clean, lightly sand them with 120 grit sandpaper. You just need to scuff the surface to remove the shine and give the paint something to adhere to.
Step 2: Mix the Textured Paint
n a small jar you can easily wash out, mix your paint with baking soda. Some tutorials suggest using equal amounts, but I found that made the paint too thick and harder to work with.
My favorite mix was one 2 oz bottle of paint with 2 teaspoons of baking soda. You don’t need to be exact, just stir it well until you get a slightly thick, gritty consistency.
The more baking soda you add, the thicker the finish will be, but it can also make the paint harder to apply smoothly, so it’s best to start light and adjust if needed.
If you’re working in stages, make sure to cover your paint jar between coats. It will continue to thicken as it sits.
Step 3: Paint the Vases
Start by painting the outside of the vases first. For areas with texture or pattern, use a consistent vertical stroke so the finish looks even.
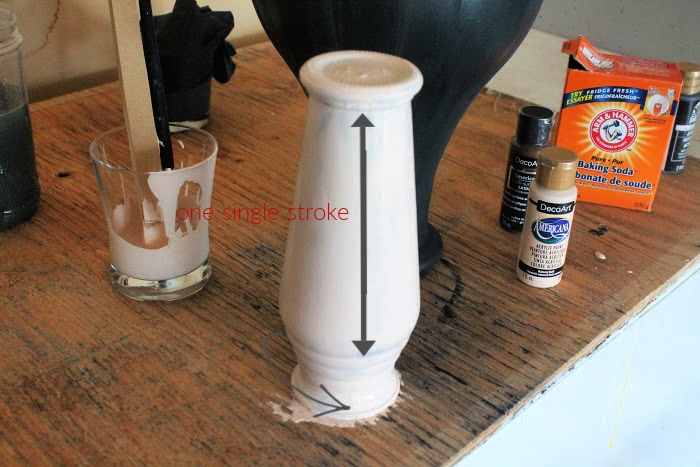
Place the vase upside down on your work surface and work your way from the base up toward the rim. This helps you avoid handling freshly painted areas and keeps the finish smooth.
Once the first coat is on, check for any missed spots or heavy areas and smooth them out. Let the first coat dry for about an hour.
Step 4: Second Coat
Once the first coat is fully dry, apply a second coat using the same technique.
You may notice some areas where the thicker paint lifts slightly or looks uneven. I found this happened more with the thicker mixes, especially on the darker vase. Just dab a small amount of paint over those spots to even out the finish.
Let the vases dry overnight before turning them over to paint the insides.
Step 5 – Paint the Inside of the Vases
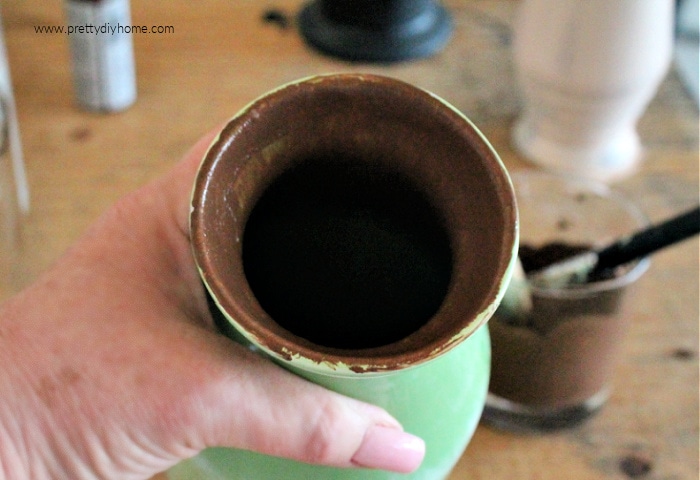
Once the outside is fully dry, turn the vases over and paint the insides.
I tried doing the inside first on one vase, but had to wait for it to dry before placing it face down. It does work both ways, but painting the outside first and then the inside is definitely quicker.
Optional Styling Idea
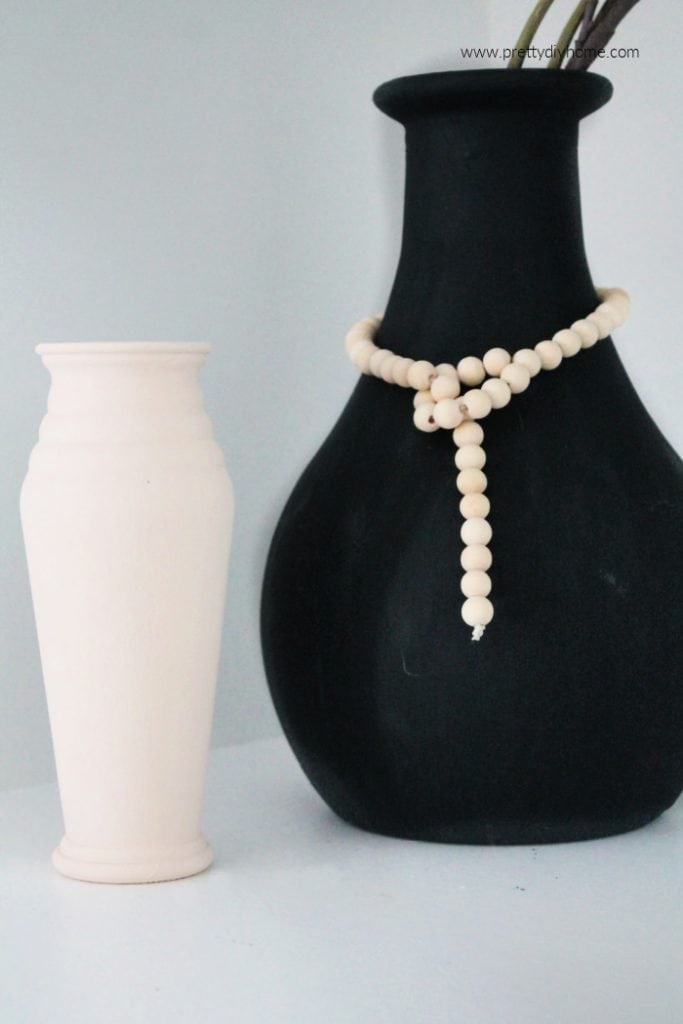
I am so happy with how the vases turned out, especially the large black one. I decided to dress it up a little with a simple farmhouse-style wooden bead string with a loop to hold it in place.
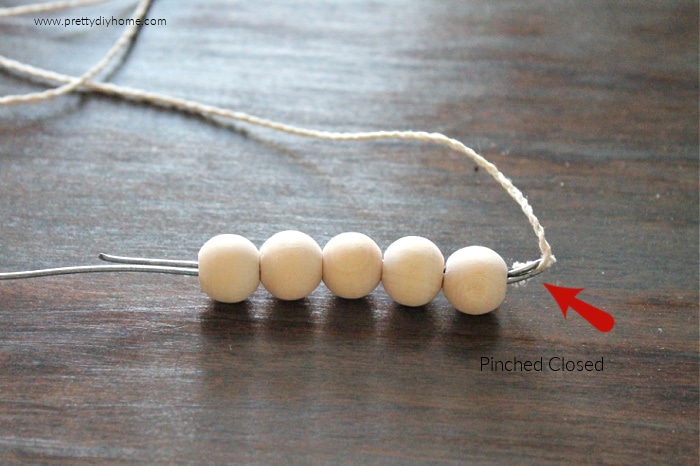
To make one, you’ll need about 24″ of twine, small wooden beads (dollar store), and a bit of fine wire.
Take one end of the twine and wrap it with the wire, then pinch it to secure it in place. This helps stiffen the end so it’s easier to thread through the small beads. Thread on 9 wooden beads.
Next, fold the twine in half and slide the beads down to the fold.
Fold the beads over to form a loop and twist to secure. Remove the wire, then wrap it again around both strands of twine. The remaining length will have two strands running through the beads.
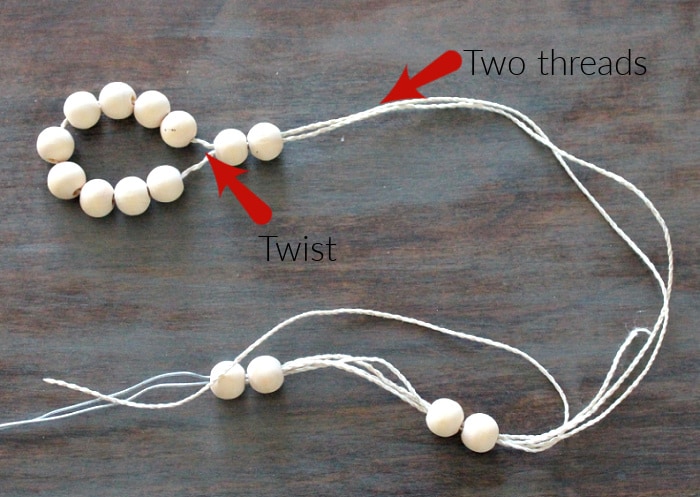
Continue stringing the beads until it’s the length you like for your vase. Push the beads together tightly and tie a simple knot at the end, making sure it’s large enough to hold them in place. Trim the ends and hang it around your vase.
You can see how the farmhouse beads help break up the black against my white wall.
Here are the three vases on my mantel. I love the earthy tones and the soft, textured finish.


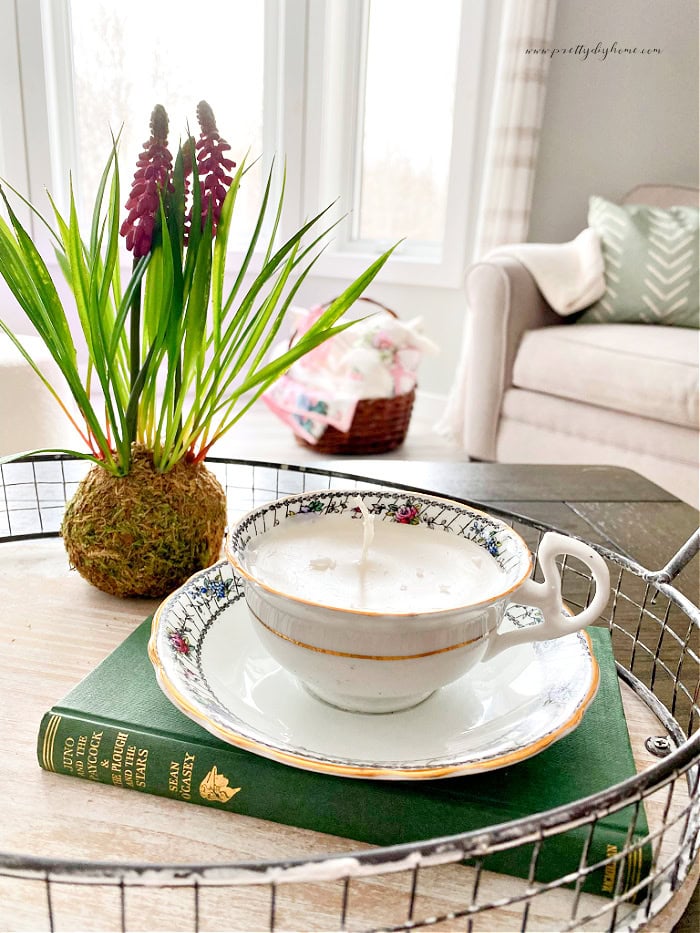
Teacup Candles
If you enjoy working with thrifted finds, these DIY teacup candles are another easy way to turn inexpensive pieces into something cozy and useful.
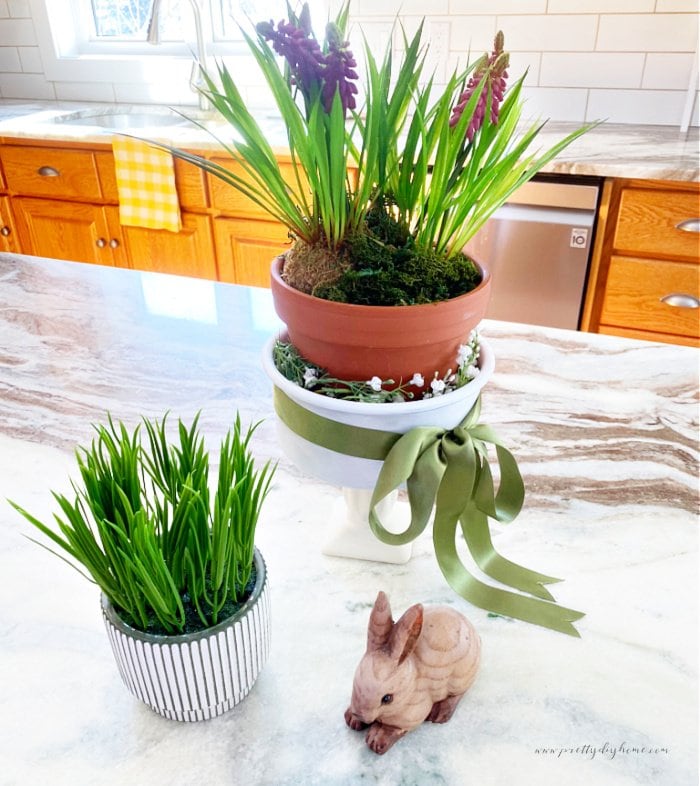
How to Make a Flower Bulb Pot
If you enjoy decorating with vases, this flowering bulb pot is a lovely way to add a bit of seasonal color using simple thrifted items and faux flowers.
Whooooa, $190 is a BIT steep. OMW that’s about what we pay on our home installment every month and we don’t stay in a teeny, tine house either,
Great job on the makeover. Those colours are so lovely together,
Yowsa, your prices are nothing like Canadas are. Everything here is so expensive. Our hydro alone is more than that. lol. AND you have all that amazing warm weather. Sigh.
So many great ideas here!!! I love how you made your faux ceramic vases!! Such a great way to breath some life into thrifted items!