How to Restore Old Wooden Boxes With Original Manufacturer’s Markings
Old wooden boxes are a reminder of a time when everyday items were built with care and craftsmanship. Before cardboard cartons and plastic packaging became common, many types of products were sold and transported in sturdy wooden boxes like these.
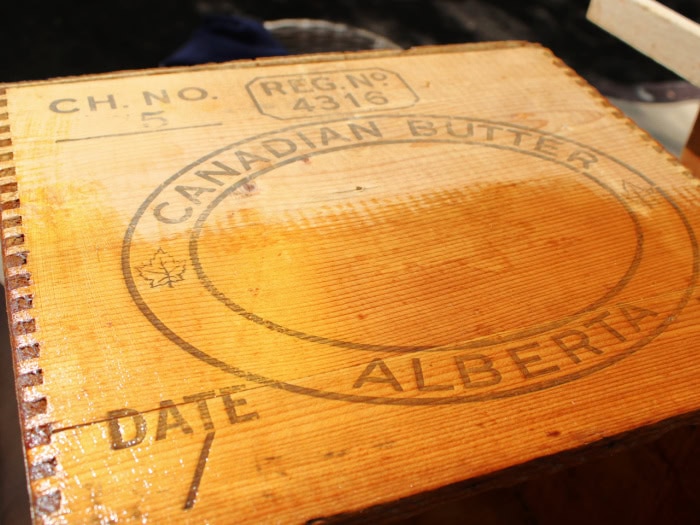
Luckily, my old boxes kept their original manufacturer’s markings. The lettering was likely applied using an industrial oil-based ink that soaked into the wood fibers, helping it survive decades of use, handling, and storage. It’s amazing to think these boxes likely date back to the 1930s, giving them nearly a century of history and character.
It never ceases to amaze me how much care went into even the most practical items years ago. Today, many pieces are quickly assembled with staples, nails, or particle board, but these simple wooden boxes were built with sturdy dovetail joints despite being intended for everyday use and shipping.
In many ways, these are my favorite kinds of antiques. Rather than being expensive or decorative pieces, they were hardworking items used in ordinary homes and businesses. Like ironstone bowls, stoneware crocks, and well worn kitchen tools, they tell the story of everyday people and the lives they lived. They remind me of the practical items my grandparents would have used and relied on every day.
Although originally built for practical purposes, old wooden boxes fit beautifully into today’s homes. They have gorgeous patina and color, make wonderful backdrops for vintage displays, and provide beautiful storage at the same time.
Here’s how I cleaned, repaired, and refreshed these old wooden boxes while bringing out their original character.
How to Restore Old Wooden Boxes
These old wooden boxes had survived for decades, but years of dust, dirt, and dry storage had left them looking tired. I love the solid, hardworking vintage look of the boxes. My goal wasn’t a makeover as much as it was a quick restoration to draw out their natural beauty and character.
The process is simple and inexpensive, but the transformation is remarkable.
Supplies Needed
The only item I purchased specifically for this project was the wood conditioner. Everything else was already in my workshop.
- Vintage wooden boxes
- Vacuum with brush attachment
- Warm water
- Murphy Oil Soap
- Soft cloths or rags
- Small bucket
- Wood glue
- Clamps
- 2-inch chip brush
- Wood conditioner
- Protective gloves
Step 1: Clean the Old Wooden Boxes
Typically, you’ll find these old boxes covered in years of dust, dirt, and grime from whatever barn, shed, or garage they came from. These ones were no exception.
Because the boxes still had their original manufacturer’s markings, I wanted to be especially careful during the cleaning process. I avoided pressure washers, abrasive scrubbers, and Mr. Clean Magic Erasers, all of which could potentially damage the old wood or remove the printed lettering.
Instead, I began by giving the boxes a thorough vacuuming to remove loose dirt and debris. Once the dust was removed, I gently scrubbed them using warm water and Murphy Oil Soap.
After the initial cleaning, I was finally able to assess what had been hidden beneath all that grime. The wood grain started to reappear, the manufacturer’s markings became much easier to read, and I could properly evaluate the condition of each box before moving on to the next step.
Here is how the boxes looked after a thorough cleaning.
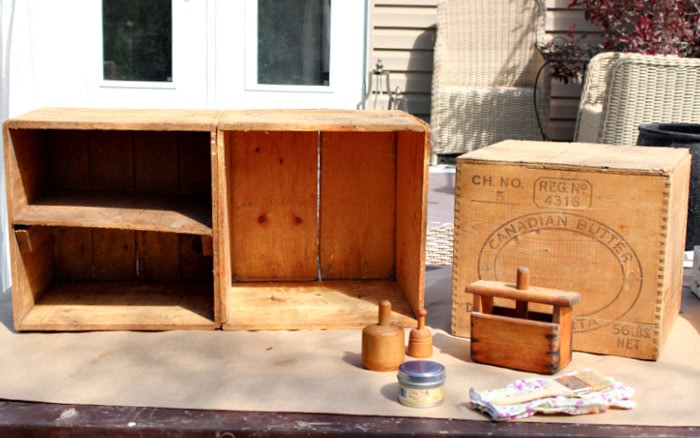
Step 2: Inspect the Boxes and Make Any Repairs
After the initial cleaning, I was finally able to assess what had been hidden beneath all that grime.
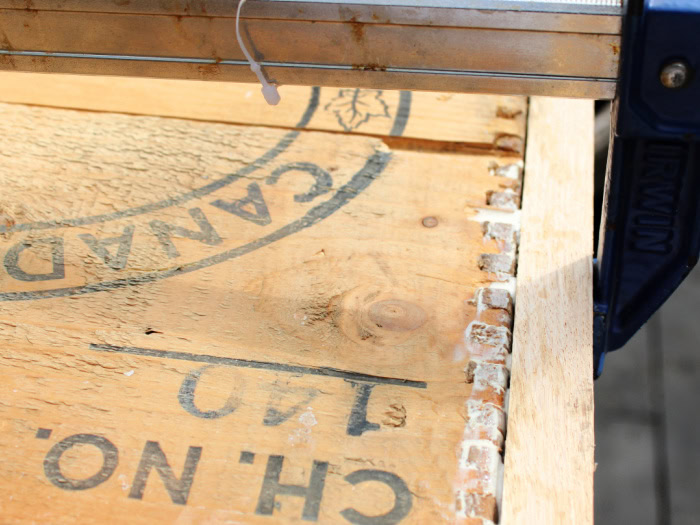
Overall, the boxes were in very good condition for their age. The wood was dry, but solid, and most of the original construction remained intact. One dovetail corner had separated, so I applied wood glue to the joint and clamped it until dry.
At some point in their history, two of the boxes had been joined together and one had a shelf added. I chose to keep them together and use them as a display shelf. The other box has the manufacturer’s mark printed upside down, making it perfect for use as a rustic riser.
One of my favorite discoveries was how well the original manufacturer’s markings had survived. The lettering cleaned up beautifully and remained surprisingly clear after all these years.
Step 3: Restore the Dry Wood
Once the repairs were complete, it was time to address the dry wood. Although the boxes had cleaned up beautifully, decades of storage had left the wood looking thirsty and dull.
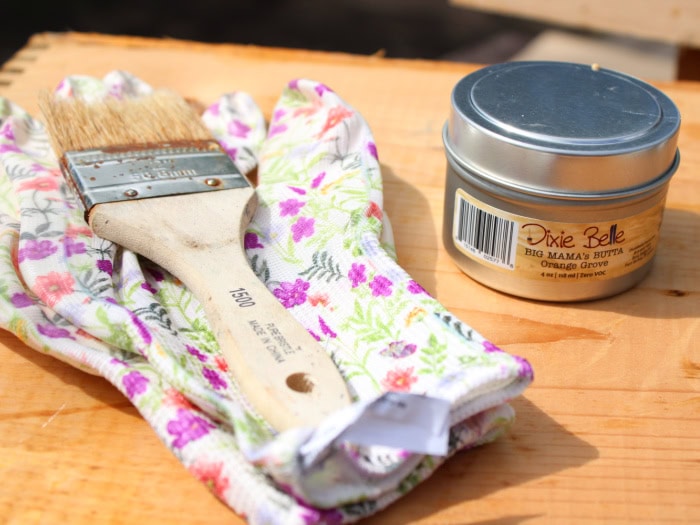
After doing some research on Pinterest, I came across a product called Big Mama’s Butta by Dixie Belle. Thankfully, a local restoration store carried it and recommended it as well. Since it was specifically designed to nourish dry wood without creating a heavy finish, it seemed like the perfect choice for this project.
To apply it, I used a 2-inch chip brush and wore gloves while working the conditioner into the wood grain. The old wood absorbed it quickly, and the difference was noticeable almost immediately. The grain became richer, the color deepened slightly, and the boxes started to regain the warmth and character that had been hidden by years of dryness.
Rather than making the boxes look new, the conditioner simply enhanced the beauty that was already there. Here is a photo showing one side treated and the other untreated. The difference was amazing.
Step 4: Let the Wood Absorb the Conditioner
I left the boxes to sit for several hours so the wood could absorb as much of the conditioner as possible. After sitting for several hours, the boxes still felt a bit greasy, so I used a soft cloth and buffed them.
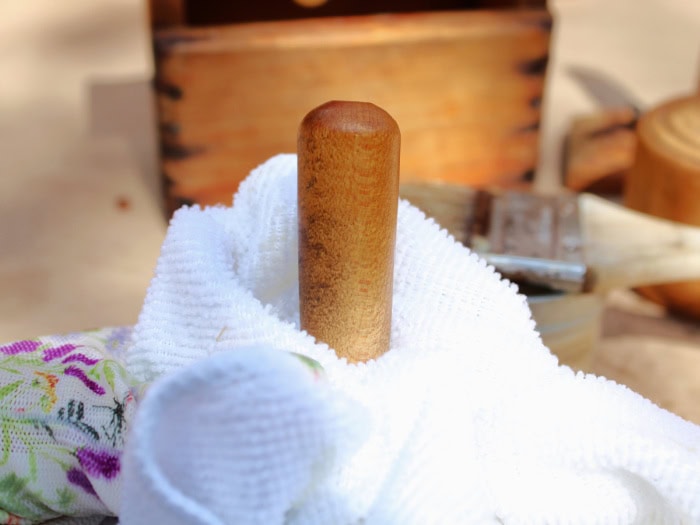
I followed the same process for all of the butter presses as well. The old wood absorbed the conditioner beautifully, bringing out the grain and restoring some of the warmth that had been hidden by years of dryness.
One thing I didn’t expect was how wonderful the boxes would smell afterwards. Big Mama’s Butta comes in several different scents, and on the recommendation of the restoration store, I chose the orange version.
Who would have thought an old wooden box could smell so nice? After years of dust, dryness, and storage, the fresh citrus scent was a shockingly pleasant surprise. That alone made the few minutes it took to freshen up these boxes well worth the effort.
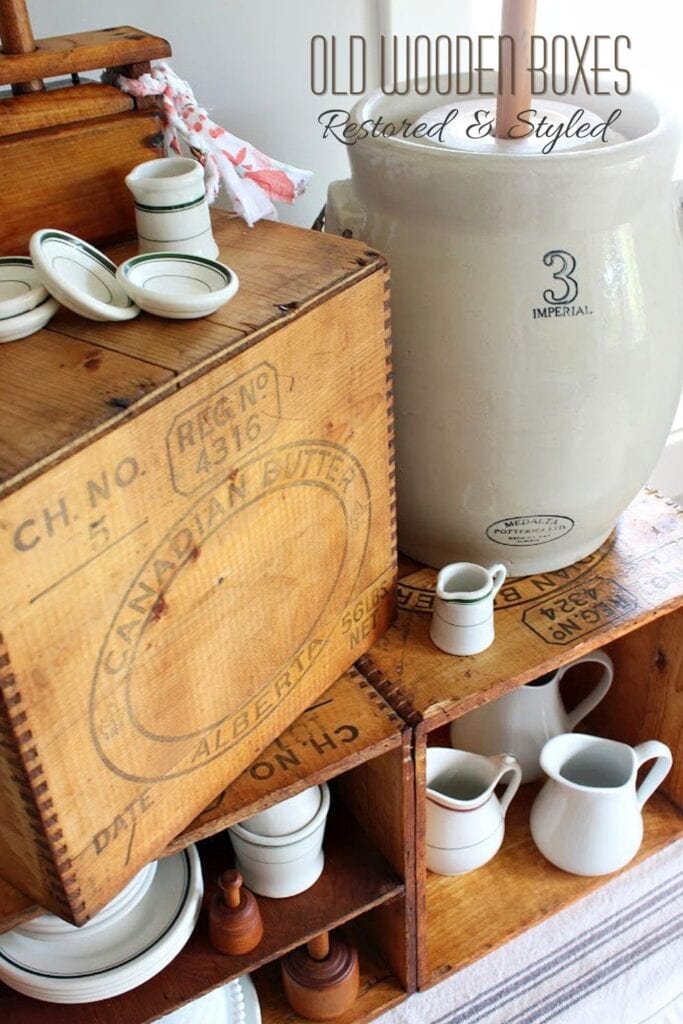
Vintage Decorating Ideas Using Old Wooden Boxes
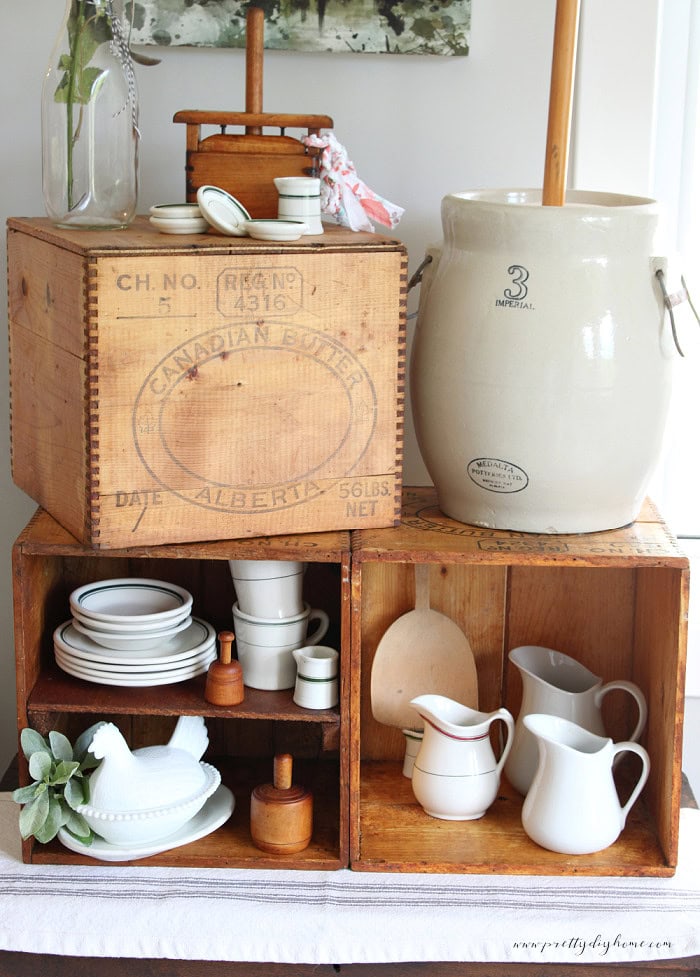
Now that the boxes were clean, repaired, and refreshed, it was time for my favorite part: decorating with them.
Although originally built for practical purposes, old wooden boxes now make wonderful decor in today’s home. Their real aged wood, original manufacturer’s markings, and timeworn character make them perfect for vintage displays or pretty storage.
As these boxes have Alberta butter manufacturing markings, I gathered a few other butter-related antiques to pair with them. I used several old butter presses I already had on hand, along with a butter paddle. I also added an ironstone butter churn, restaurant ware butter pats, and a few small creamers.

Together, these pieces help tell the story of traditional butter making while creating a display that feels intentional and meaningful.
Sadly, I haven’t found an old wooden creamery bowl yet, although it remains high on my antique shopping wish list.
Of course, these beautiful old wooden boxes can still be used for storage in a closet, under a table, or tucked onto a shelf. However, when turned on their sides, they become charming rustic cabinets perfect for displaying collections and treasured vintage finds.
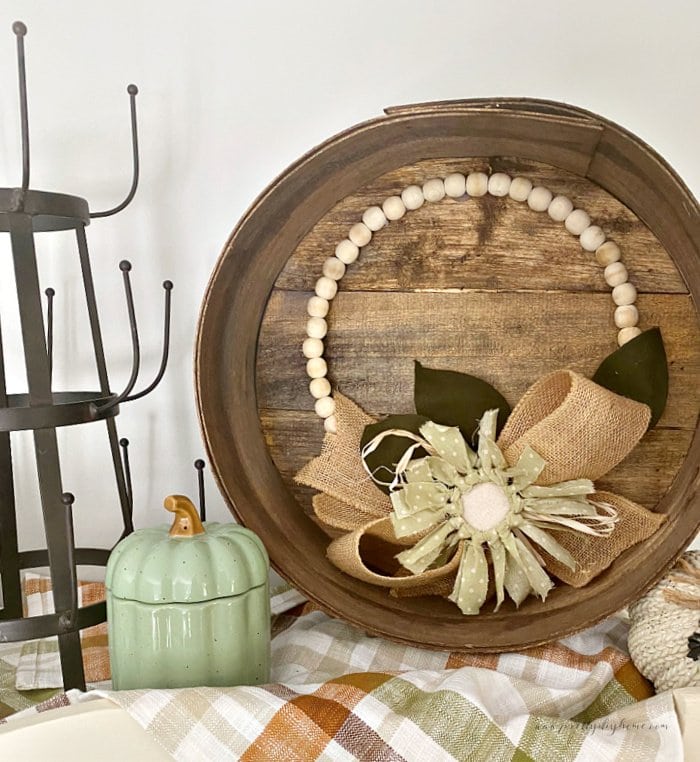
Wood boxes are fantastic for seasonal decorating, especially fall decor. Pumpkins, harvest items, crocks, corn, and other rustic autumn decorations seem made for old wooden boxes and their weathered charm. The neutral tones of aged wood work equally well with both soft neutral fall decor and more traditional fall displays, making them easy to incorporate into almost any decorating style.
One of the things I enjoy most about decorating with old wooden boxes is that they provide both a backdrop and a story. Whether filled with seasonal decor, vintage collections, or everyday treasures, they add warmth, character, and history that simply can’t be replicated by modern reproductions.
These old wooden butter boxes were too full of history to leave tucked away in storage. With a little cleaning, a simple repair, and some wood conditioner, they became beautiful vintage display pieces while keeping their original character and manufacturer’s markings.
Pin this project for later:
I hope this project inspires you to look a little closer at old wooden boxes before passing them by as cheap antiques. With a little care, they can become beautiful storage pieces and unique vintage decor while preserving the history that makes them special.
More Vintage Restoration and Decorating Ideas
How to Restore a Vintage Cheesebox
This little vintage cheesebox restoration took quite a bit more prep work to clean. I love having it for various vignettes and enjoy leaving it stacked on top of our entertainment center.

DIY Spring Centerpiece with a Vintage Glass Bundt Pan
Create a simple vintage centerpiece using a thrifted glass Bundt pan, greenery, and a few seasonal accents. It’s an easy way to add vintage charm to a kitchen island, dining table, or coffee table.