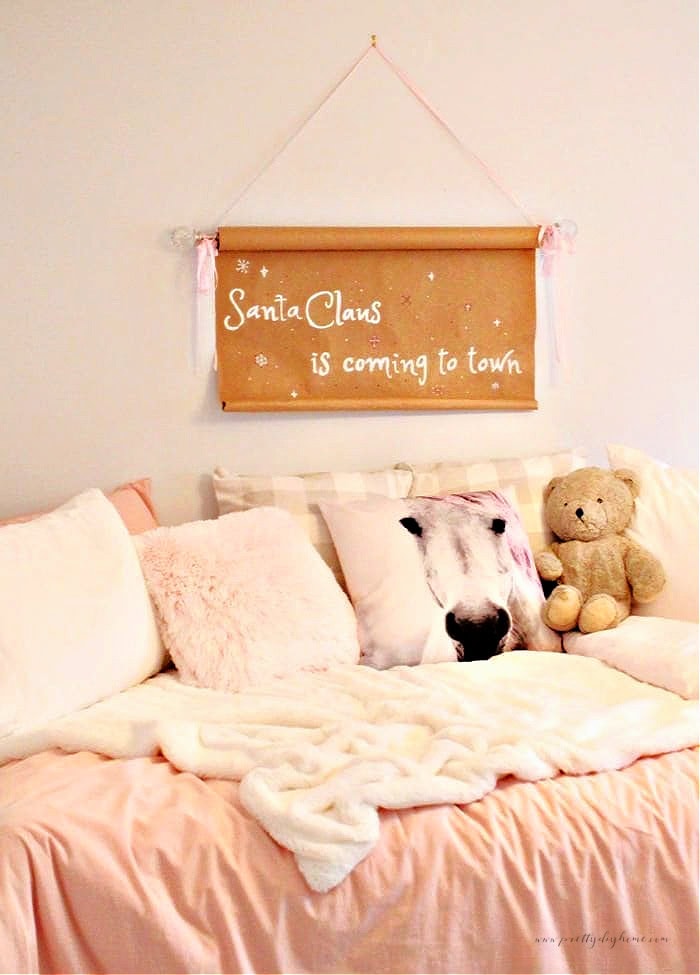
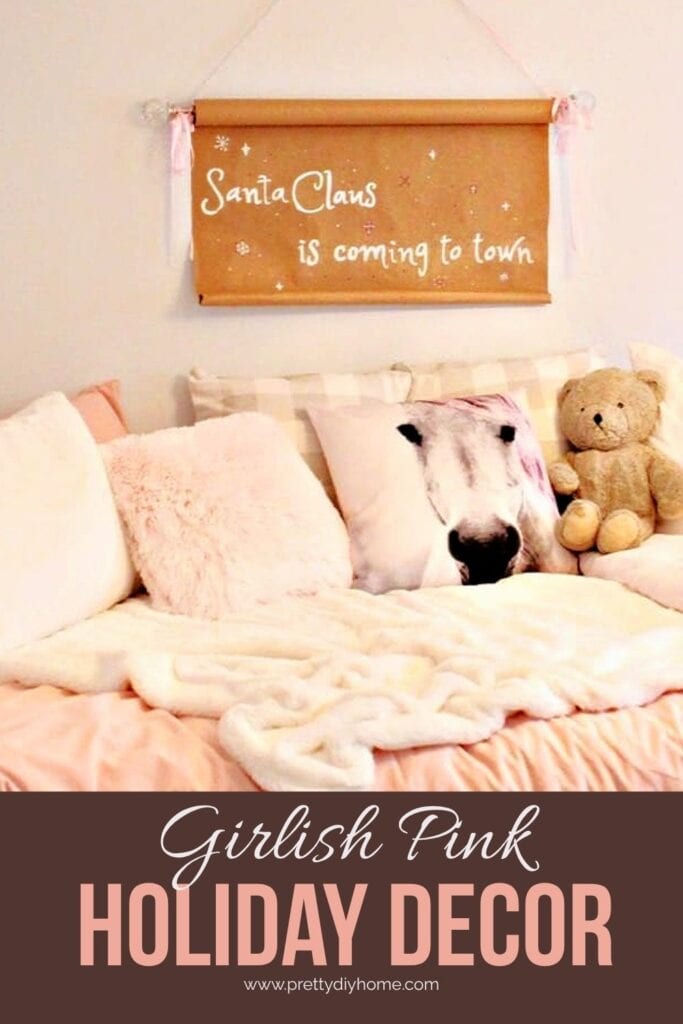
Pink Christmas Scroll Sign for a Little Girl’s Room
This DIY pink Christmas scroll sign is the finishing touch in my granddaughter’s holiday bedroom. Her little pink tree was already sparkling, but the wall above the bed still felt a bit bare. Since the saying Santa Claus Is Coming to Town fits perfectly in a child’s room, I decided to make a scroll sign that would fill the space without adding clutter. The best part is this project only costs a few dollars to make using Dollar Store supplies.
To keep this project as low-cost as possible, I shopped at Dollar Tree for almost everything. The scroll is just a roll of brown kraft paper with chalk pens and ribbon for the lettering and details. You can swap the ribbon or colors to match your own holiday style, but for this little girl’s room, I went with pretty soft pink accents.
Supplies for the Christmas Scroll Sign
Here’s what you’ll need to make this simple DIY Christmas scroll sign for over the bed:
- Wide roll of plain brown wrapping paper, about 30 inches wide
- Small curtain rod or a wooden dowel
- Pink ribbon for hanging
- Clear tape
- Clean white eraser
- Chalk and a ruler
- White chalk paint pens
- Pink paint pen
- Soft rag or paper towel

No Calligraphy Skills Needed
I love the look of calligraphy, but I have zero talent for it. Luckily, you don’t need any fancy lettering skills to make this scroll sign. Instead of trying to freehand the words, I traced a simple printable pattern onto the paper. It’s quick, inexpensive, and guarantees the letters come out neat every single time.
How to Make the Christmas Scroll Sign Lettering
Want a different saying? No problem, if you don’t want to use the free printable pattern, you can easily create your own in Canva. It’s free to use and has a wide assortment of fonts so you can design any Christmas phrase you like.
For this scroll, I made the template using two sheets of regular 8.5 by 11″ paper and the Princess Sofia font at size 250. If you’re more comfortable in Word than Canva, you can absolutely design your lettering there instead. To figure out the sizing, I measured my paper roll, which is 30″ wide. That meant I needed to keep the design to less than four sheets of standard 8.5″ paper laid side by side.
Tracing the Lettering onto the Scroll
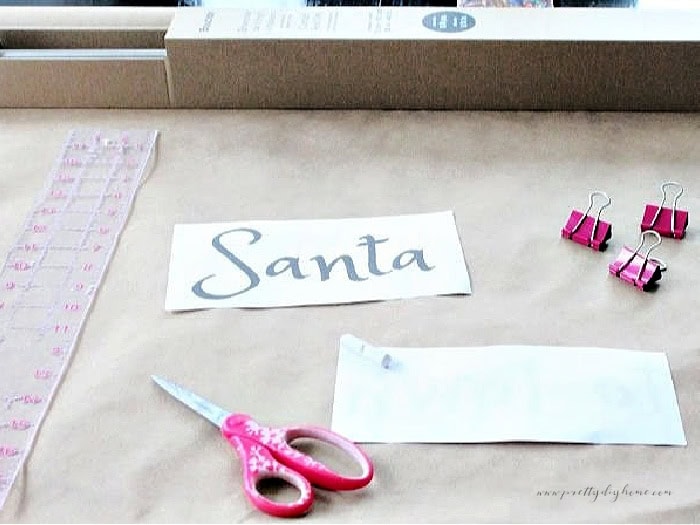
- Print out the template – Start by printing your design on regular 8.5 by 11″ sheets of paper. You’ll likely need two to four pages, depending on your phrase. Trim any margin if necessary so your letters line up perfectly.
- Roll out the paper – Pull about 36″ from the roll and lay it flat on your work surface. Use small weights or tape to keep the edges from curling. Don’t cut your paper yet.
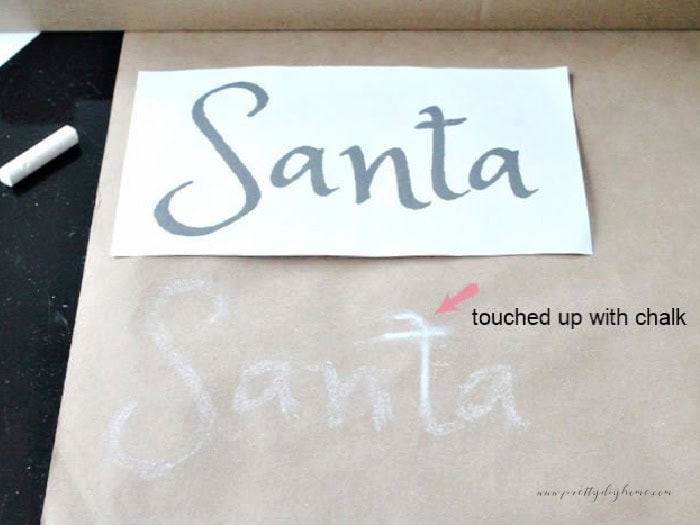
- Chalk the back of the template – Flip the printed sheets face down and trace over the letters. Holding the page against a window helps you see the letters as you trace. If the chalk doesn’t transfer completely, just touch up the missing areas with more chalk before moving on.
- Line up the pages, chalk side down – Place the template sheets chalk side down onto the kraft paper. Line up the words so the spacing looks straight, then secure the corner with bits of tape.
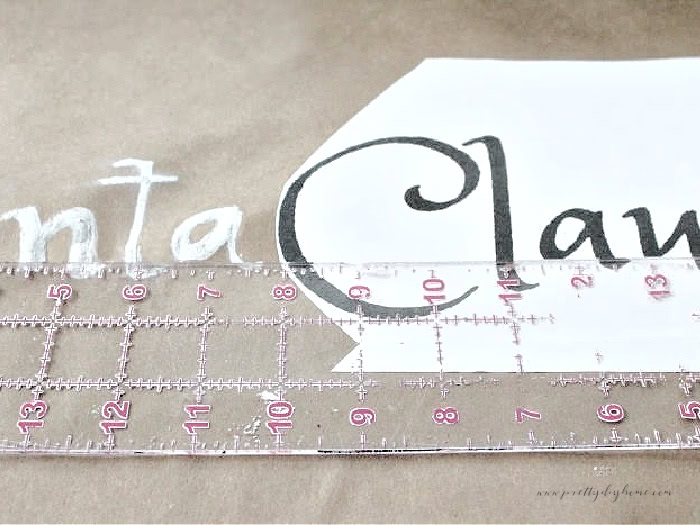
- Transfer the lettering – Rub firmly over each letter with your finger or a blunt pencil to transfer the chalk outlines onto the kraft paper. Peel back a corner to check if the lines are showing up clearly.
- Outline and fill in – Once the letters are transferred, trace over them with a white chalk paint pen. Fill in the letters slowly, letting the marker dry between strokes if needed.
Adding Pink Accents
Once the main lettering is finished, add some finishing pink details. This step is optional, but it ties the sign into a girlish holiday bedroom.
- Roll the bottom edge – Roll up the bottom of the paper scroll once or twice to give it a clean finish. Tape the ends of the roll on the back to hold it in place.
- Add ribbon for hanging – Cut a piece of ribbon about 48 inches long. Tie both ends of the ribbon to the curtain rod (or dowel) with secure knots to hold in place.
- Draw snowflakes and bursts – Using a pencil, lightly sketch where you’d like small snowflakes, dots, or starbursts around the lettering. Trace over them with a white chalk pen and add a pink highlight with a pink pen.
- Let dry – Allow the painted marking to dry fully, about an hour.
- Erase pencil smudges – With a clean white eraser, gently remove any leftover pencil lines you used for aligning or sketching the snowflakes.
Hanging the Christmas Scroll Sign
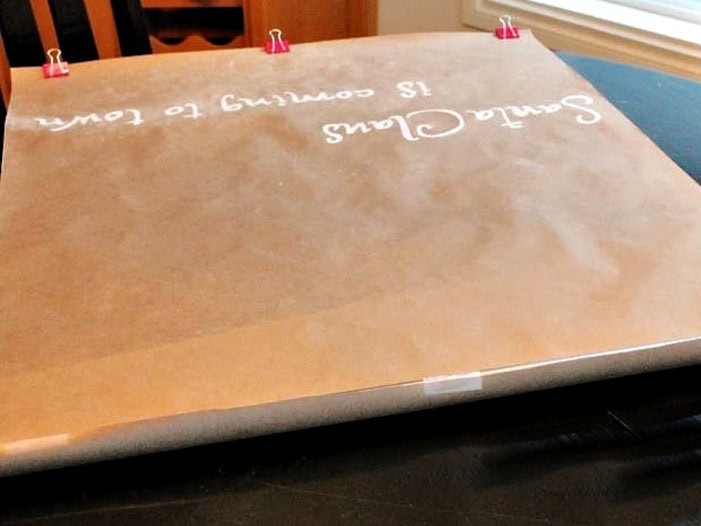
Cut the paper at least 48″ from the bottom. Place the curtain rod along the top of the paper, tape it to the curtain rod in the middle and both ends. Roll up the paper around the curtain rod.
Roll up the bottom of the paper scroll, and tape the ends of the tube to hold it in place.
To camouflage the knots at the end of the ribbons, add a festive decorative bow to each end. Cut two 12-inch pieces of ribbon. Wrap the ribbon around the end and tie in a bow, covering the knots.

Other DIY Christmas Signs to Try
I have made various Christmas signs for the holidays, some are last minute like this scroll sign, others I made for my mantel to help out my Christmas decor budget.

DIY Paper Scroll Hanger
This Joy to the world DIY Christmas sign was hung in the front entrance. The scroll sign is made the same way as this one, but we built a wood hanger to hold the sign. It has since become part of my craft room where we write notes, and use it like a sketch bulletin board. So handy.
This is so adorable Leanna and even more adorable that you have created it for your grandies! I’m sure that they are going to LOVE it!!
Omgosh this is so sweet. I love the reason you’re decorating! These are the best kinds of memories to make and will stay with your granddaughters forever. Pinned.
This is so sweet! Pinned
This is so pretty! I know the girls will love it!
This is a great idea and it’s such a sweet touch. I love the look of the paper scroll. What a fun way to use it.
There are so many usage possibilities for this sign scroll! What an inspiration! Thanks for sharing!
Oh wow! You make it seem so easy. I love the brown paper and how adorable this is for your precious granddaughter’s room. You are creating memories for them!
I like to decorate our guest room for my daughter and son-in-love to enjoy when they visit for Christmas. I had not decided on a theme this year but now I am thinking I need to make one of these!
Super cute sign for the holidays
Aren’t Grandmothers the best? I love being a grandmother to my three beautiful granddaughters. I love this scroll sign, I have always wanted to try and make one, now I think I will. Thank you for the inspiration!
That is beautiful! What wonderful memories you are creating for your girls. Pinned.