
How to Make a Creepy Outdoor DIY Halloween Tree
Who wants large creepy trees surrounding your front door any time of year but Halloween? But when October comes around, a large, gnarly, spooky tree becomes a fun Halloween tree. Halloween outdoor decor near the front porch adds a slightly ominous creepy feel for the trick-and-treaters and fun-loving neighbors.
These spooky and festive DIY Halloween yard decorations took us a couple of hours, and we had a great time puttering outdoors enjoying Fall while we did it.
With this spooky DIY Halloween tree, we can “plant” them just before Halloween and poof gone right afterward. Using branches and local dollar store supplies this Halloween outdoor decor idea is easy to make and inexpensive.
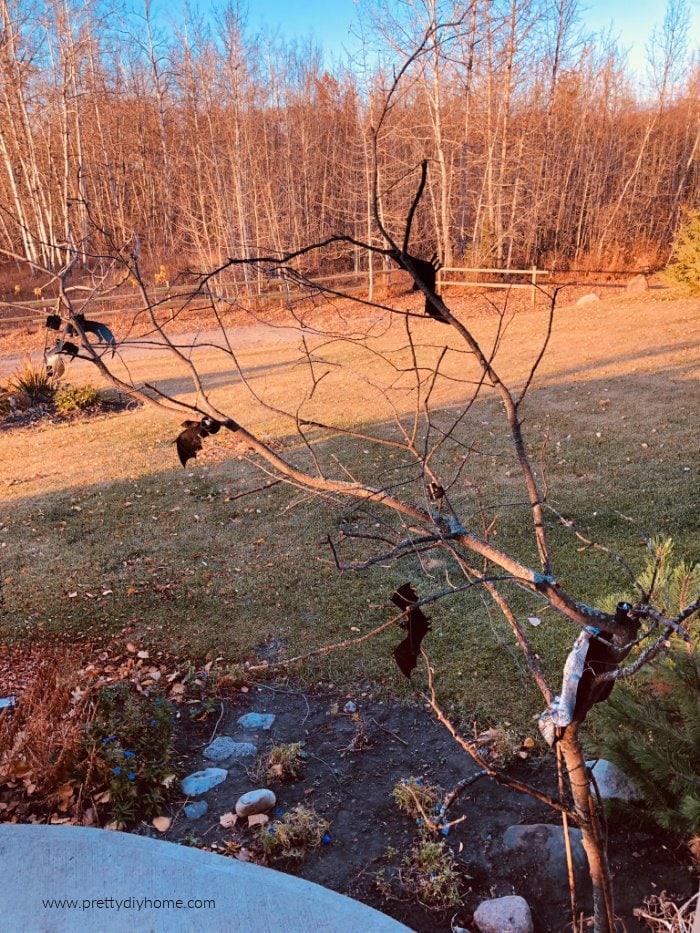
How to Make a Spooky Tree for Halloween
Creepy DIY Halloween Tree Supplies
We live surrounded by trees, so the first thing was to go for a walk and choose branches from several large windfall trees/branches in the forest. Take the whole family for a fun fall walk, you will inevitably find large dead branches in any forested area with deciduous trees. As long as you use fallen branches I doubt anyone would care if you took some from a city park either. Ask if you can, and don’t take live trees. It’s a great excuse for a Halloween-themed outing with the family. In total, the whole thing cost us $20 Canadian for our Halloween trees.
If your branches are light you can use black spray paint on your spooky trees. Just give them a quick spray to darken the light areas. As we used very large dead branches with dark grey bark, we didn’t need to use the black spray paint and saved the time it would take to paint them.
- Two large dead tree branches, or two small trees
- Dollar store plastic bats
- Dollar store black flameless candles
- Black plastic bags and Halloween black covers
- Large bucket, gravel/ cement/ bricks (optional)
- Black electrical tape
- Black zip ties
- Hot Glue
- Floral wire
- Bucket with weights or rebar
Step-by-Step Instructions
So now that you have your branches sorted out, you need to find the best place to “plant” them.
Placing the Creepy Tree Halloween Decorations
The creepy trees need to be somewhere near the walking path of the trick-and-treaters but safely placed far enough away to avoid dry branches poking the trick-and-treaters, especially the eyes. So instead of placing the tree (seen above) over top of the sidewalk and front porch entrance, we swung the large tree around so the branches were situated over the flower gardens.
Planting the Spooky Trees in Dirt
If your tree can be placed in a flower bed, or somewhere with dirt, great stuff, to “plant” your tree dig a one-foot-deep hole. Place the trunk of the tree in the hole, then fill the hole back in. To keep the tree sturdy pound in two 4′ or longer pieces of rebar into the ground on each side of the tree. Make sure the rebar is at least a foot down into the ground. Wrap the spooky tree trunk to each piece of the rebar using plastic zip ties. Make sure everything is very solid, you shouldn’t have any movement. If you do add more rebar, or pound the existing rebar deeper and add more plastic zip ties.
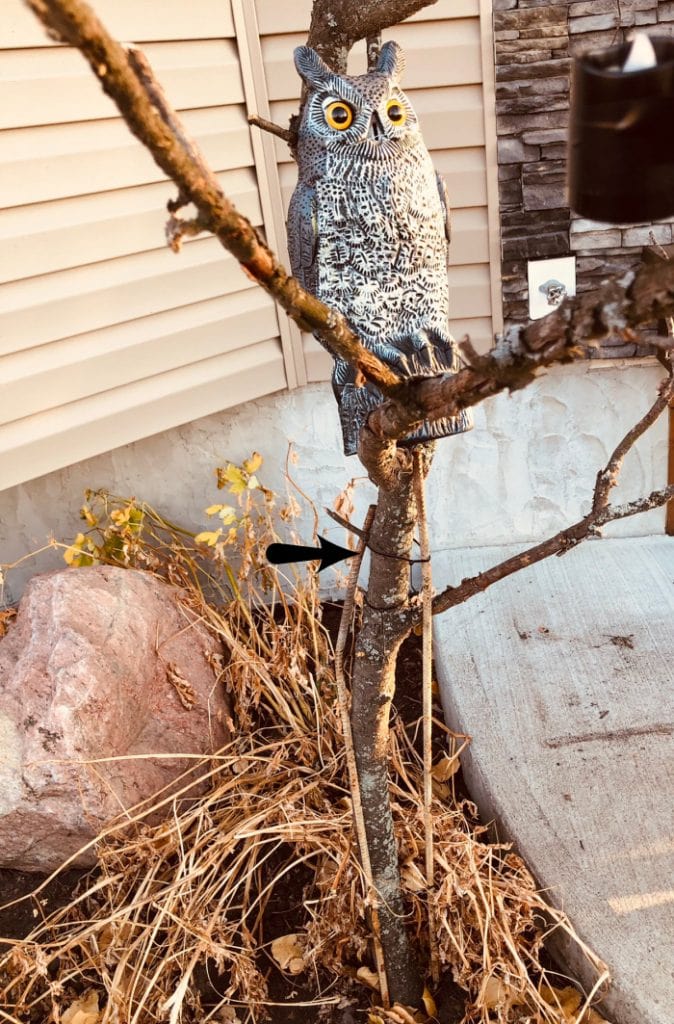
For this Halloween tree, we kept the dead foliage around the bottom to help camouflage the bottom of the tree. Leaves or more branches would work, but I don’t think leaving the rebar showing is that big of a deal, especially in the dark.
Planting the Spooky Trees on Concrete
If you have concrete near the front porch and can’t use rebar, use something for added weight at the base of the tree. Use a large bucket filled with bricks, rocks, or dry cement, as long as it’s heavy and you can pack it tightly. How much weight you need will depend on how large your tree branch is. It will be a bit of a test-and-see situation. To keep the tree solid, place the trunk of the tree into a large bucket before adding the weight.
Secondly, if using a bucket base they need to be close enough to your house that you can anchor them to the structure. After planting ours in a bucket we attached the side of the tree to our porch using florist wire and zip ties. Then we swung the tree branch out so the pathway to our front door stayed clear.
The last thing we did was camouflage the bucket by covering it all with a large black plastic bag. I then encircled mine with the black fabric I had in my stash, but it was not necessary to do so.
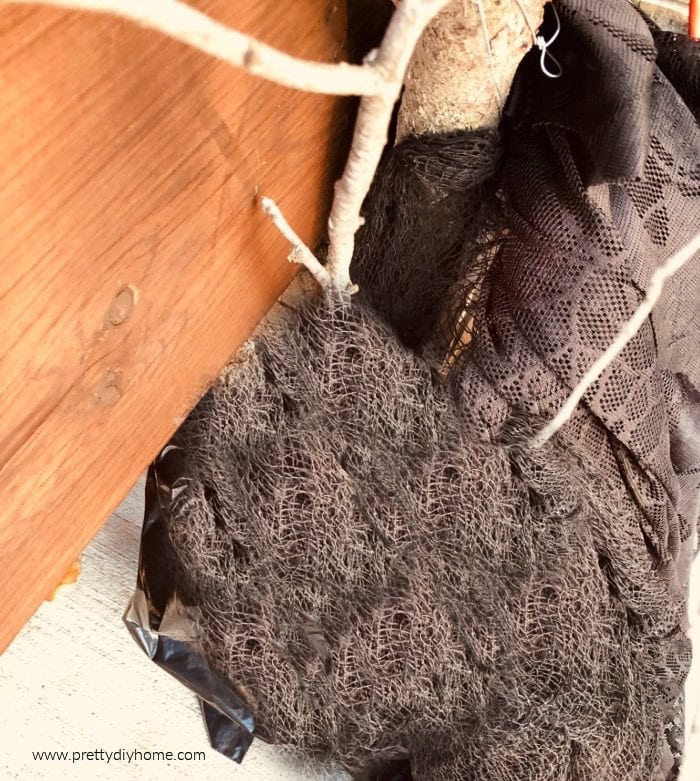
Then close the garbage bag over the bucket. We added some black Halloween cloth I had in our stash.
Note: We had two storms at our house since we first put in our spooky trees including one with a wind warning, and the Halloween trees stayed very well. The wiring held on both the trees and the decorations.
Adding Bats to the Spooky Tree
Bats are kind of cute, except for the germs and the catching in your hair part. Thankfully plastic bats don’t have any of those concerns so I find them adorable and fun with just a tad of spooky.
Place the bats wherever you like where they can hang down. Wire plastic bats by hand from the branches wherever you like. Make sure the strings that come with the bats are well connected. I made the knots on our looped strings larger so they wouldn’t pull through the bats and gave them a bit of hot glue for extra measure.

Hang the bats wherever you like making sure to spread them out. Attach each bat with a small piece of florist wire wrapped tightly around the branch and twisted to hold. Before hanging each bat I made sure the dollar store bat hangers were secure, by tying the knots larger at the end of the strings so they were less likely to pull through
We had a black owl from several years ago and black crows I wired on as well. If you want to notch up the creepy value, you could twist a bunch of plastic snakes around the branches. or spiders and fake spider webs. I thought about using snakes, but it was too creepy for me.I avoid all spiders even plastic ones.
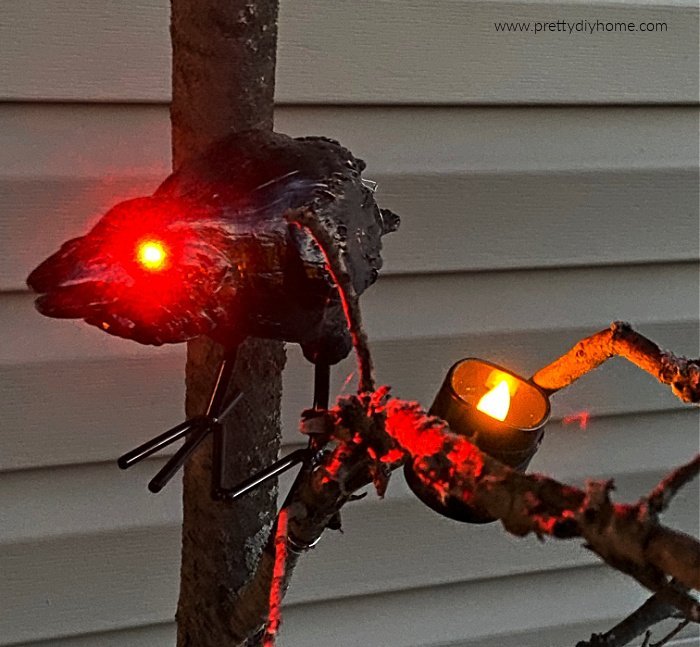
Adding Candles to the Spooky Tree
The little black votive-sized candles were 2 for $1.25 at the Dollar Tree. They come with batteries. Hubs attached them to the tree for me by placing them near two branches and then wrapping them securely with black electrical tape. The downside of these candles is that life is probably quite short, secondly, on Halloween night we will need to take a few minutes and turn each one on individually. I don’t mind doing that one bit, as it only takes five minutes to light up the entire tree.
The votives provide a little extra light in our front yard for Halloween, and they do a great job of letting the kids know there is decoration nearby.
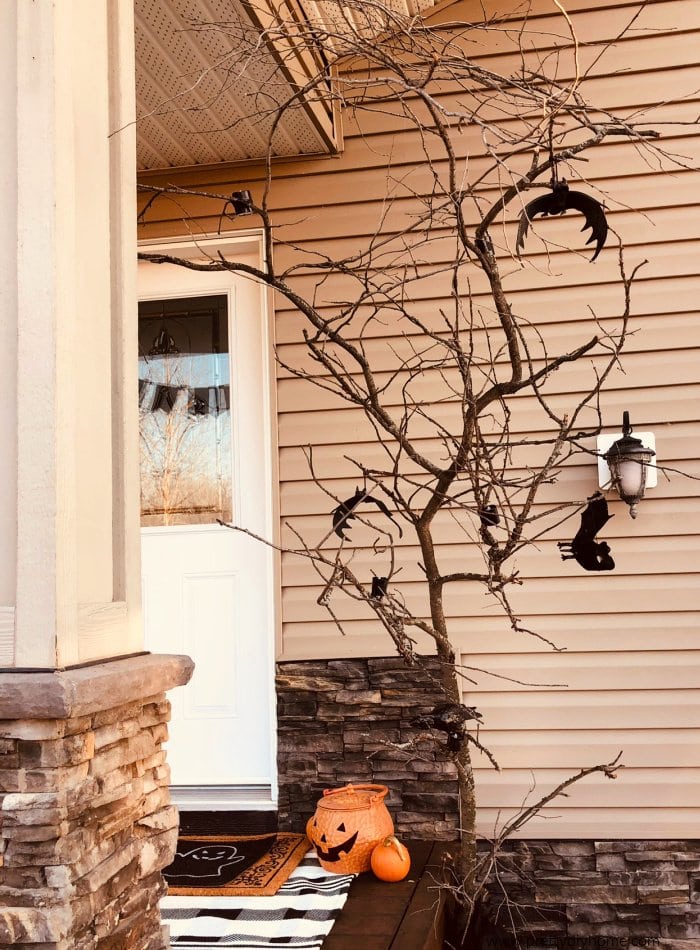
This Halloween tree is part of a few outdoor DIY Halloween decorations we made this year. As I get all the other DIY projects done and tutorials written I will link them below.
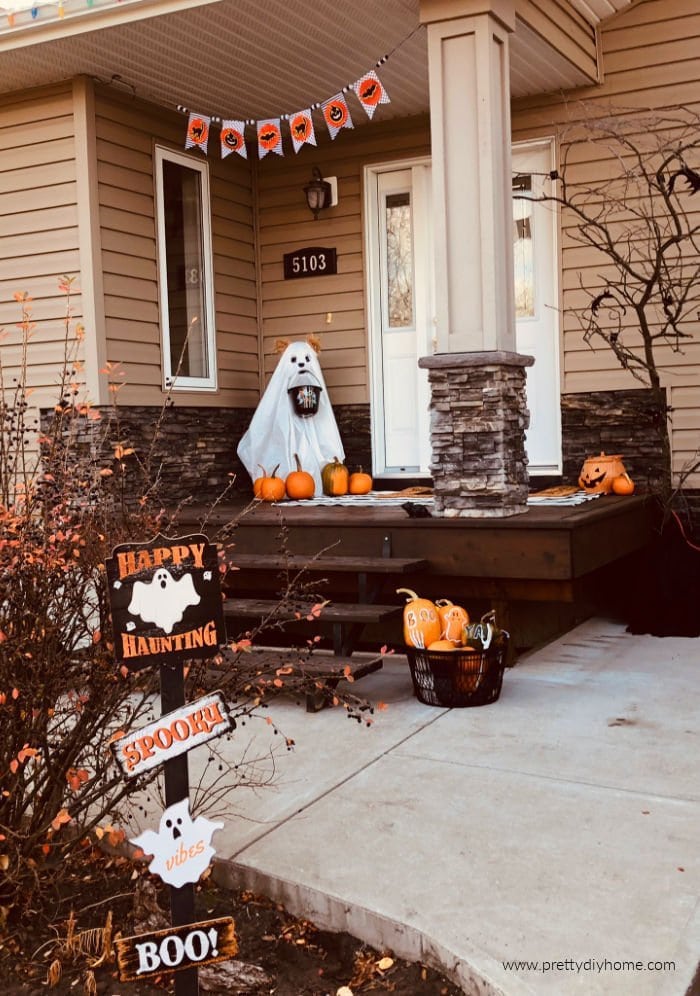
Here is an image of our completed Halloween porch.

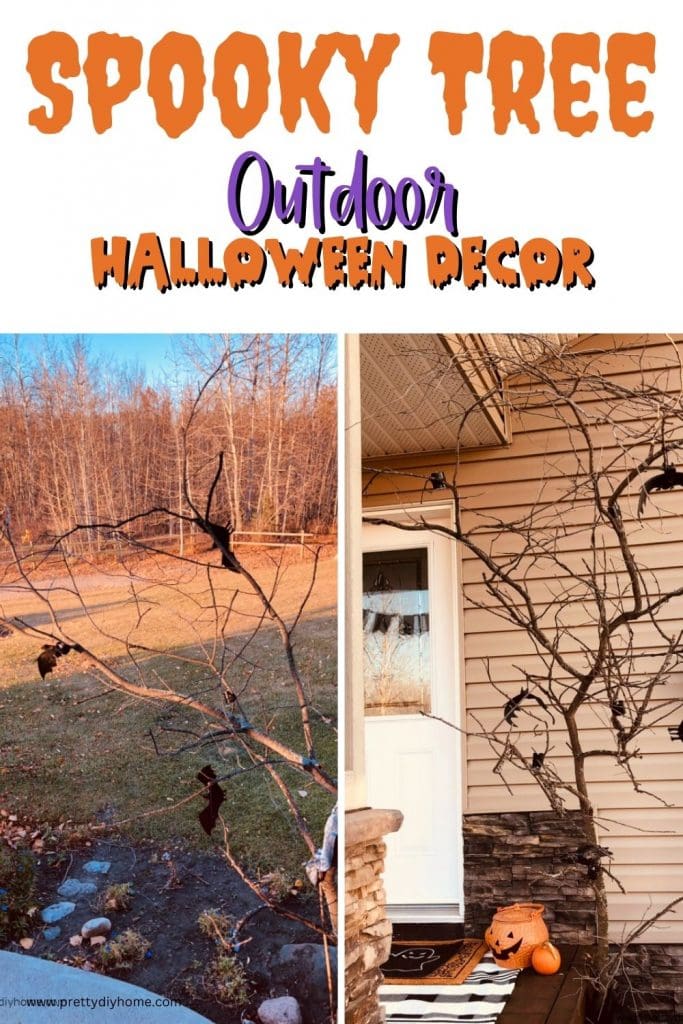
Other Halloween Outdoor Decor Ideas
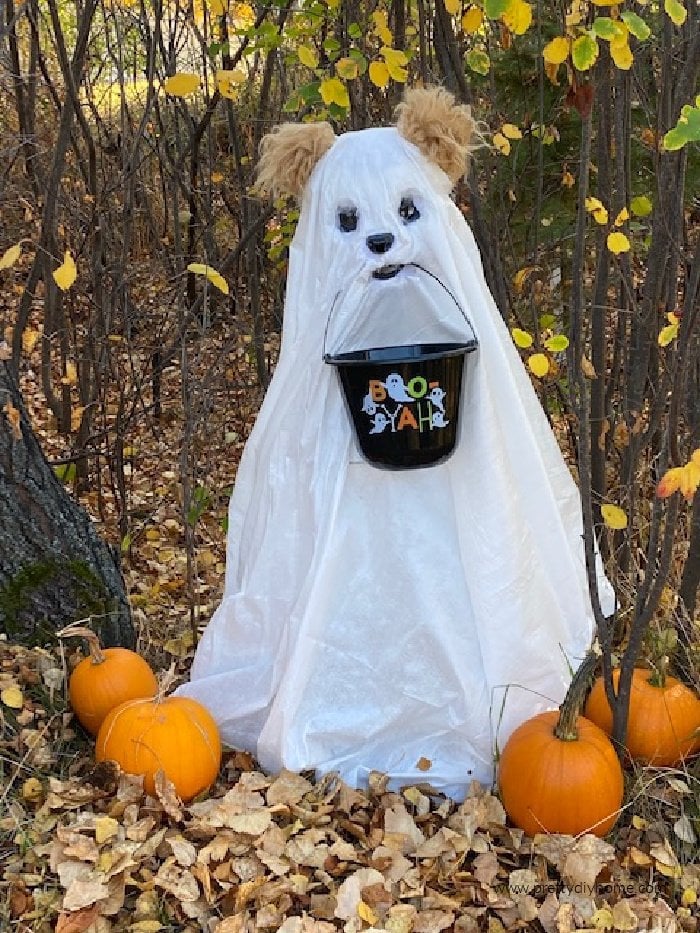
Halloween DIY Decoration Dog in Ghost Costume
This adorable dog in a ghost costume is made using Christmas lights, dollar store supplies, and a Halloween mask.
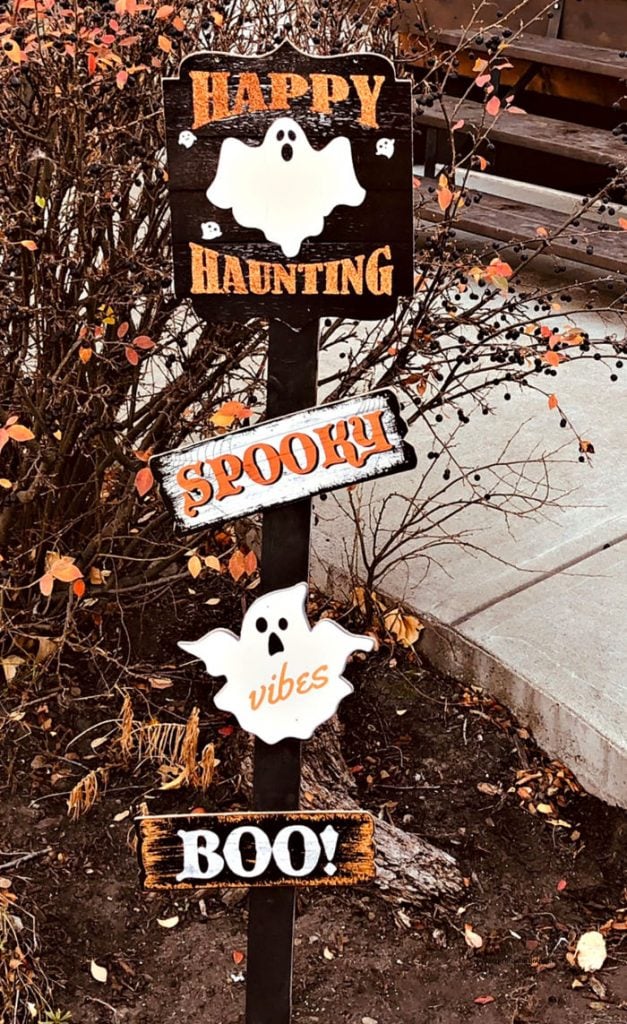
Halloween Outdoor Decorations DIY Sign
For less than $5 you can make this just a tad spooky DIY sign Halloween outdoor decoration. Its very easy to make using dollar store small signs, scrap wood and glue.

Halloween Doormat DIY
A last-minute Halloween doormat DIY porch decoration using a dollar store mat and some pens.