
DIY Halloween Witch Wands with Mini Spell Scrolls
Did you ever notice there are fairy wands everywhere for dress up and Halloween, all sparkly and covered in stars, but I have never seen a magic wand made just for witches? With my ongoing witchy theme for Halloween, I decided to fix that.
I grabbed a handful of old spindles from my stash and turned them into DIY witch wands with fun little spell scrolls tucked inside. They are easy to make, inexpensive, and you can use them for costumes, party favors, or Halloween decor.
I started them using bright traditional Halloween colors, but those colors aren’t my style. I did leave two of them that way, which I will give to the neighbour girls nearby to play with, but then I switched gears and made three more in black and white.
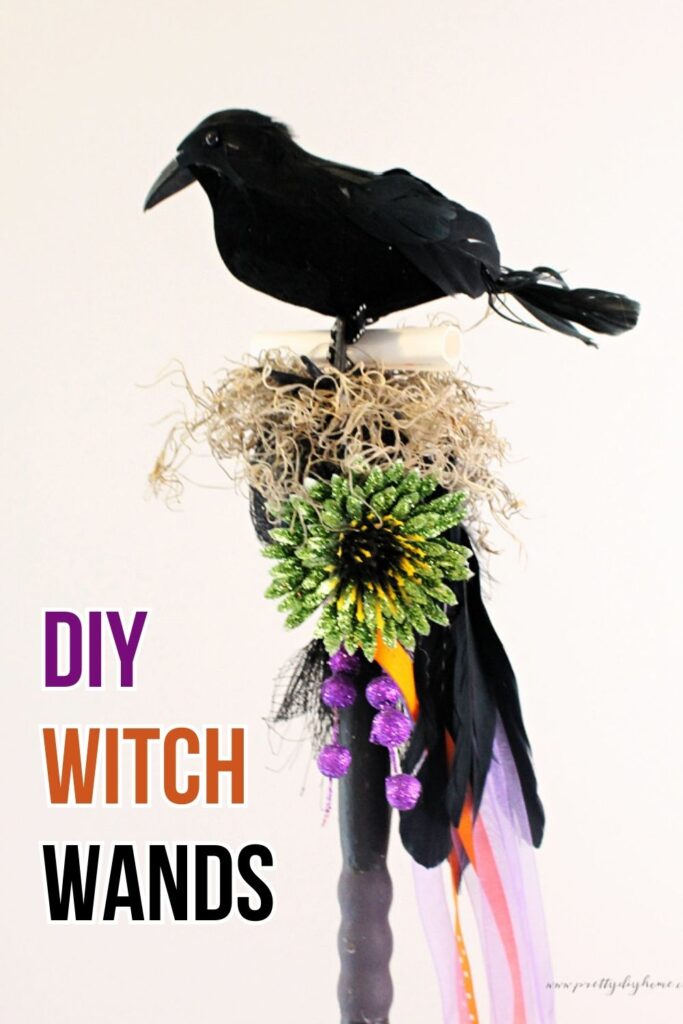
So in this post, I am sharing both styles. You can make the wands in bright traditional Halloween colors for costumes and kids, or try the black and white version if you want something softer. The steps are the same; it just comes down to the paint and embellishments you choose.
How to Make a Witch Wand DIY for Halloween
Witch Wand Supplies
- Wooden spindles (any size, but 8 to 12-inch spindles work best)
- Alternatively, you can use dollar store wooden dowels
- 120-grit sandpaper
- 1/3 inch artist’s brush (dollar store)
- Black, purple, or white paint.
- Top coat or varathane
- 2″ Styrofoam balls from the dollar store
- Hot glue gun and glue
- Small black crows (dollar store or Temu)
- Florist wire
- Halloween ribbon
- Craft paper for scrolls
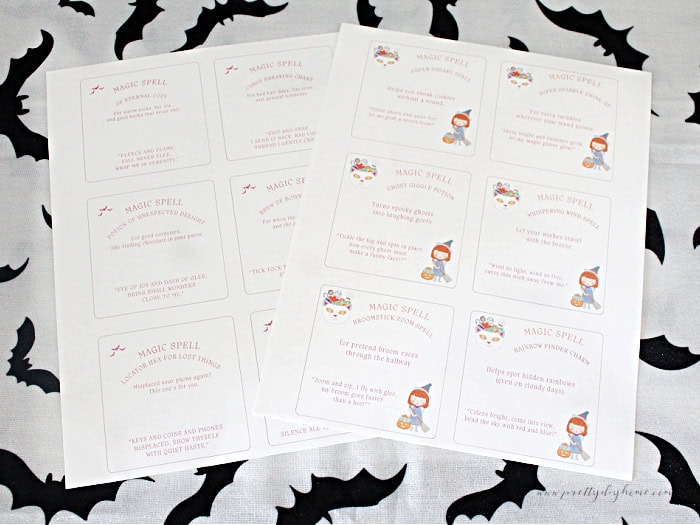
- Free printable spell scroll sayings
- Assorted embellishments, such as ribbon, feathers, moss, old jewelry, star picks, and Halloween picks
Step 1: Prepare the Spindles
Give the spindles a good wash with Dawn soap and water. Let them dry completely.
Trim the tips or any cracked ends off the spindles with a mitre saw or hand saw. Then sand with 120 grit sandpaper to make sure there are no slivers.
Step 2: Paint the Spindles
For the traditional version, paint your spindles in bold Halloween shades like black, purple, orange, or green. I painted mine in stripes using a small artist’s brush from the dollar store, holding the brush firmly in one hand while twisting the spindle in the other to form straight lines around the curves. It took two coats. Let the paint dry according to the manufacturer’s directions.
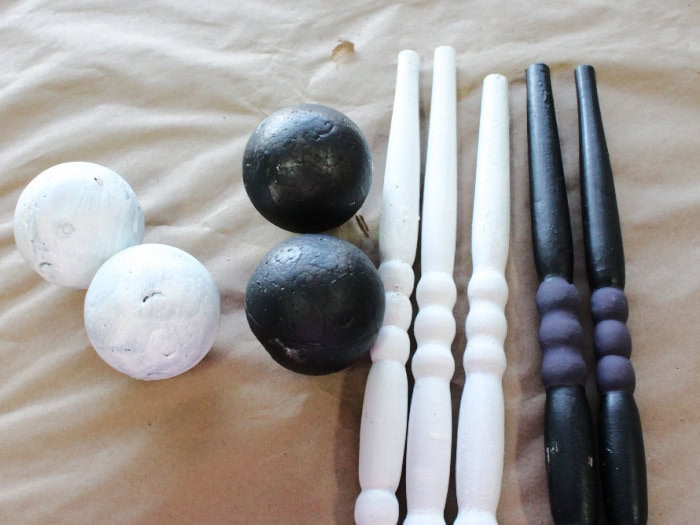
For the neutral version, I repainted the spindles with two coats of white paint to cover the dark purple and black. For your spindles, you could paint them solid white like mine, or add some light distressing if you prefer a more vintage look.
Spray a coat of Varathane over the spindles and let it dry according to the manufacturer’s directions.
Step 3: Create the Base for Embellishments
Next, cut a small hole in the bottom of the ball, being careful not to poke all the way through. Fill the hole with a combination of E6000 and hot glue, then insert the wooden spindle. Hold it in place until it feels secure, then let the glue dry completely.
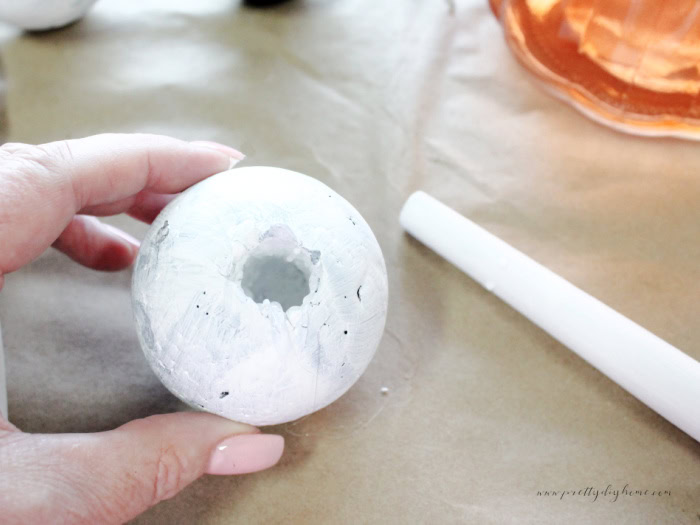
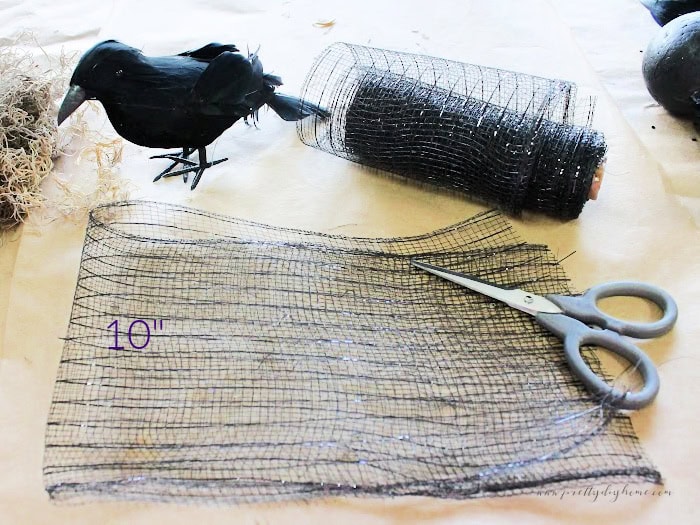
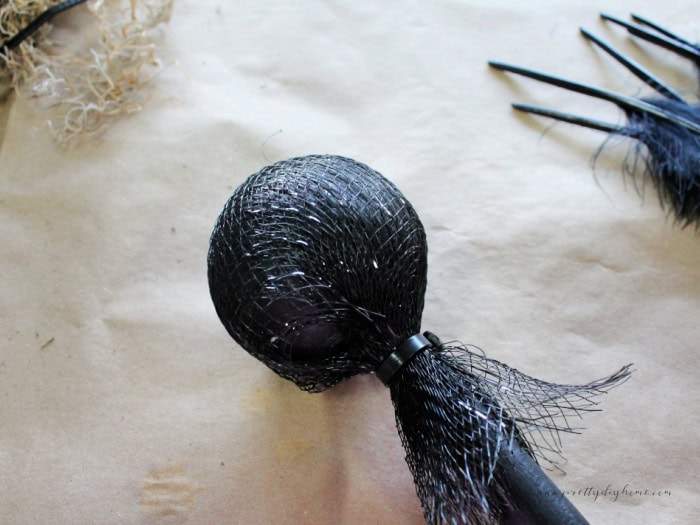
Attach a Styrofoam ball to the end of your spindle to give you more room for decorations. For the traditional version, paint the ball black before attaching it. I then wrapped it with Dollar Tree mesh, securing it firmly with a small zip tie. I used two pieces of mesh about 10 inches long, which left a bit of frill at the bottom.
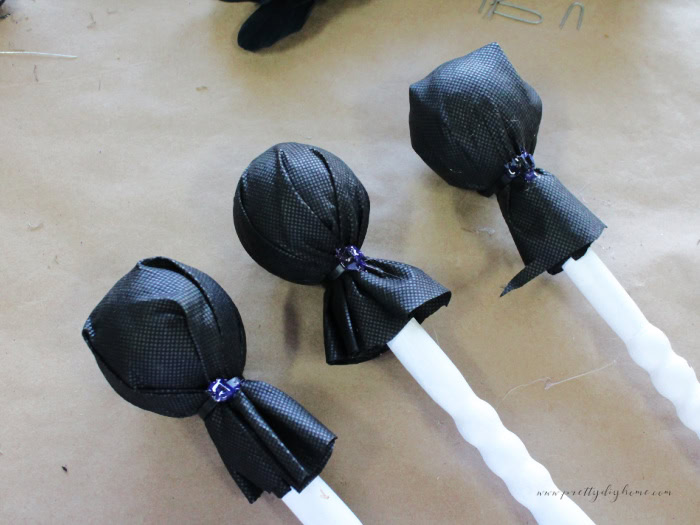
For the neutral version, I painted the balls first and then wrapped them in fabric, but you could skip the paint and simply cover them with fabric if you prefer.
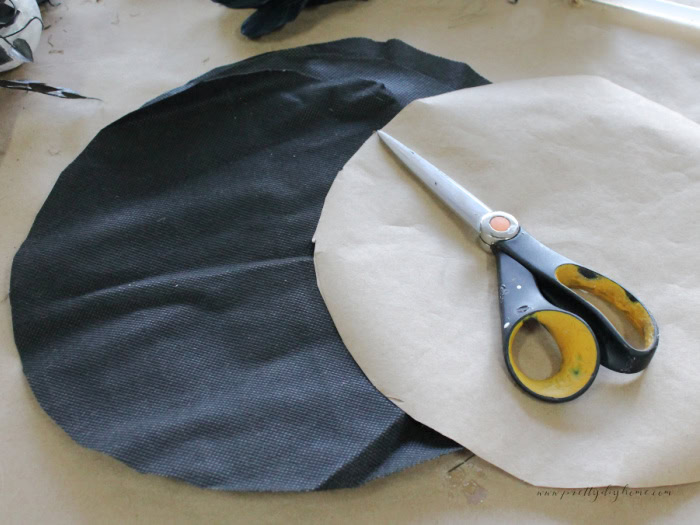
To cover the neutral witch wands, I used some black fabric scraps from dollar store garden weed fabric. I made an 11-inch circle pattern by tracing around a lid, then cut a fabric circle for each wand.
Step 4: Add Black Feathers
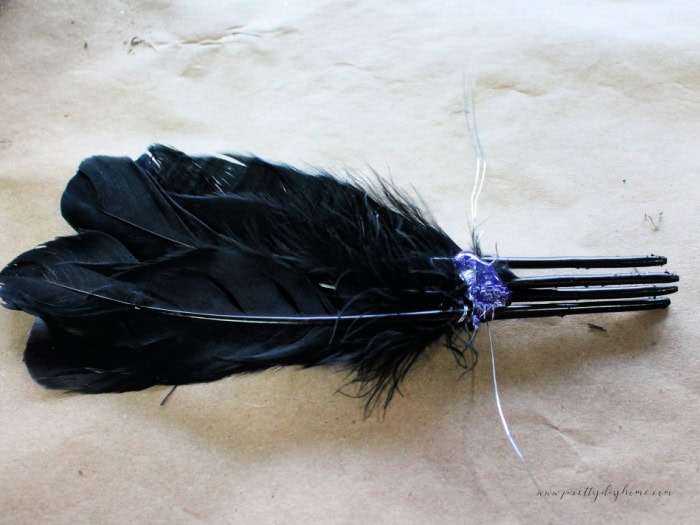
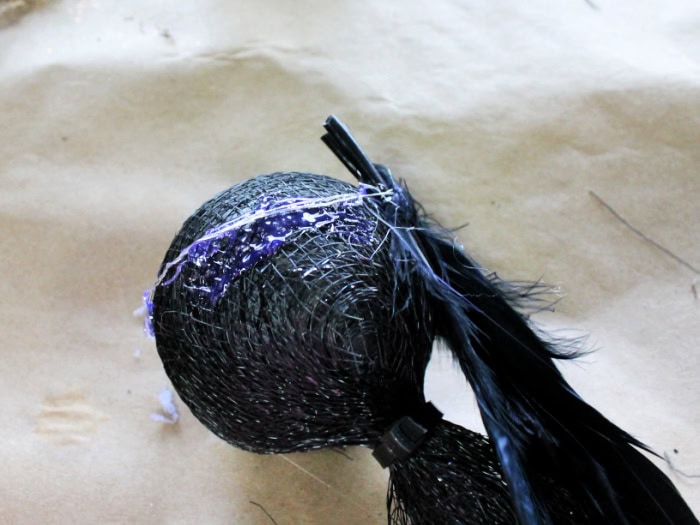
The traditional colored DIY witch wands have bundles of black feathers cascading down the sides for decoration. I left the feathers off the neutral wands, but they would be beautiful on those as well if you want to add them.
Take four feathers, line them up, and wrap them tightly with a foot-long piece of florist wire. Twist the wire to secure the feathers in place, then add a little hot glue and let it cool completely.
Once the feather bundle is set, use the remaining wire to wrap it around the base of the wand. Twist firmly and secure it with a little more hot glue.
Step 5: Add Raffia Nests
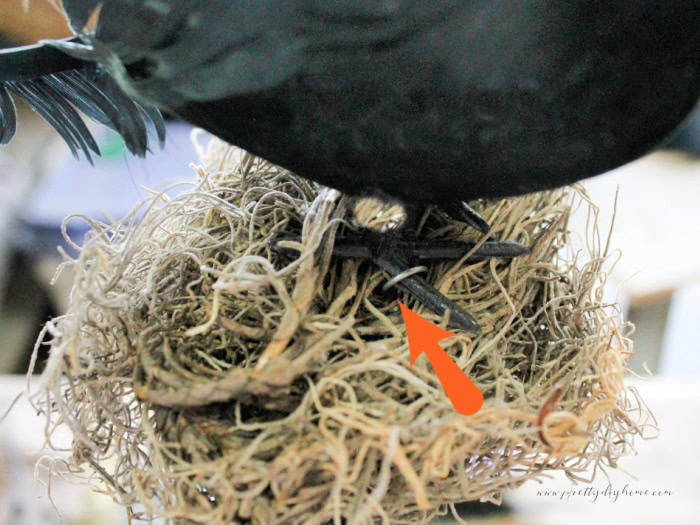
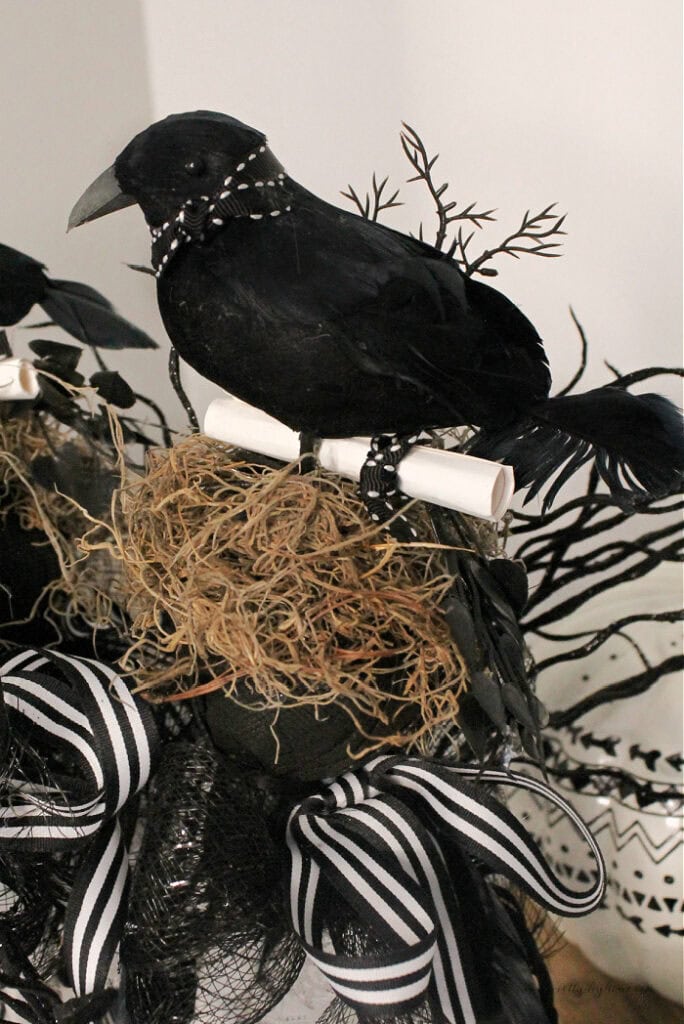
The black crow needed something to bridge the space between the ball and the bird. I tried a few ideas, like using a doily or lace, but the best option was to add raffia and create a little nest. It is easy to attach. Add plenty of hot glue under the raffia, press it in place, and trim it if needed.

Hint: You can also use florist pins to help secure the raffia if your wands are just for display. I left them out because hot glue works well on its own, and leaving out the pins makes the project safer for kids.
Step 6: Add Ribbon Cascades
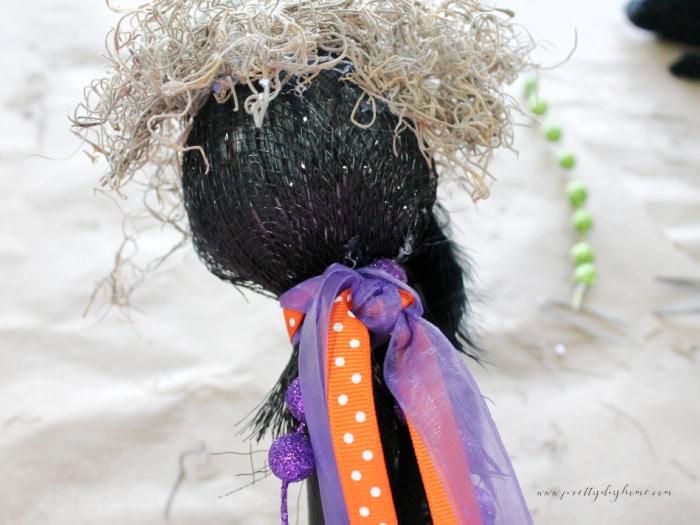
For the traditional wands, cut long strands of ribbon, add a pick of sparkling beads, and tie them around the top of the spindle to cover the zip tie. Let the ribbons hang long and flowing to give them a magical look. A mix of velvet, sheer, satin, and different colors creates lots of texture and movement.
For the neutral wands, instead of using feathers, I went with a more elaborate, feminine look to make them feel pretty instead of spooky.
I began by cutting two feet of six inch wide black mesh. I gathered it in folds to make it narrower and tied it around the zip tie at the top of the spindle, pulling it tight and sealing it with a dab of hot glue. I then finished tying the bow so the loops were the same size and left the ends trailing down for now.
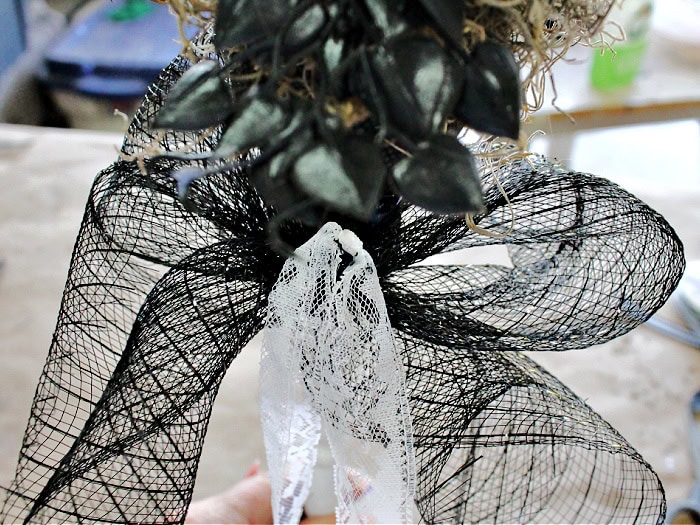
Next, I took a length of leftover vintage lace, cut it into three equal pieces, and threaded each length through the center of the mesh bow. Once threaded, I tied each piece into a knot. I had some striking black striped and soft white ribbon, so I cut two lengths about two feet each and tied a long, loopy bow, leaving long tails hanging down. I attached the ribbon with hot glue.
Step 7: Perch the Crow
Hot glue a mini black crow to the very top of each wand. Then cut two pieces of heavier gauge wire and bend each one into a U shape. Place a wire over each foot and push the ends into the Styrofoam ball for extra stability. If the wands are for children, I recommend still doing this step, but also adding plenty of hot glue under the raffia so the wire stays secure and will not come loose.
Step 8: Make the Mini Spell Scrolls
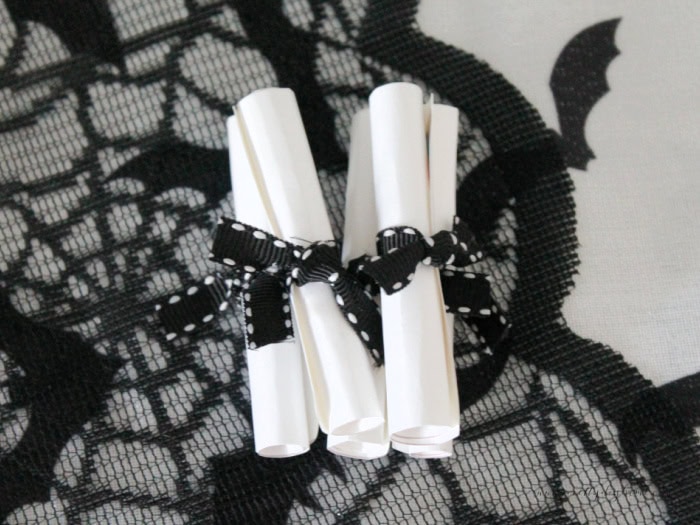
Print out the free paper scroll printables on craft paper and cut them into small rectangles. Roll them up tightly and tie them with thread or twine. Stick them at an angle near the bird’s legs so it looks like the crow is carrying a witch’s message.
Step 9: Add the Final Touches
Each little crow was tied with black ribbon to match the scrolls, and I tucked a small plastic flower underneath for a pretty finishing touch.
To display the neutral Halloween witch wands as home decor, I placed them in a clear vase with fairy lights and glittering black branches.
I loved making these DIY witch wands because each one turned out a little different. The traditional colors are fun and playful, while the black and white versions feel softer and more decorative. The little spell scrolls are my favorite detail, and I love that the wands can be used for Halloween decor, costumes, or party favors.
If you like this Halloween project, don’t forget to save it to Pinterest so you can find it again when you are ready to make your own witch wands. These DIY witch wands are a fun way to mix spooky and whimsical styles, and they’re easy to customize in bold or neutral colors.

More DIY Witch Crafts for Halloween
If you’re into a witchy theme for Halloween, here are a few of my other witch-themed tutorials.
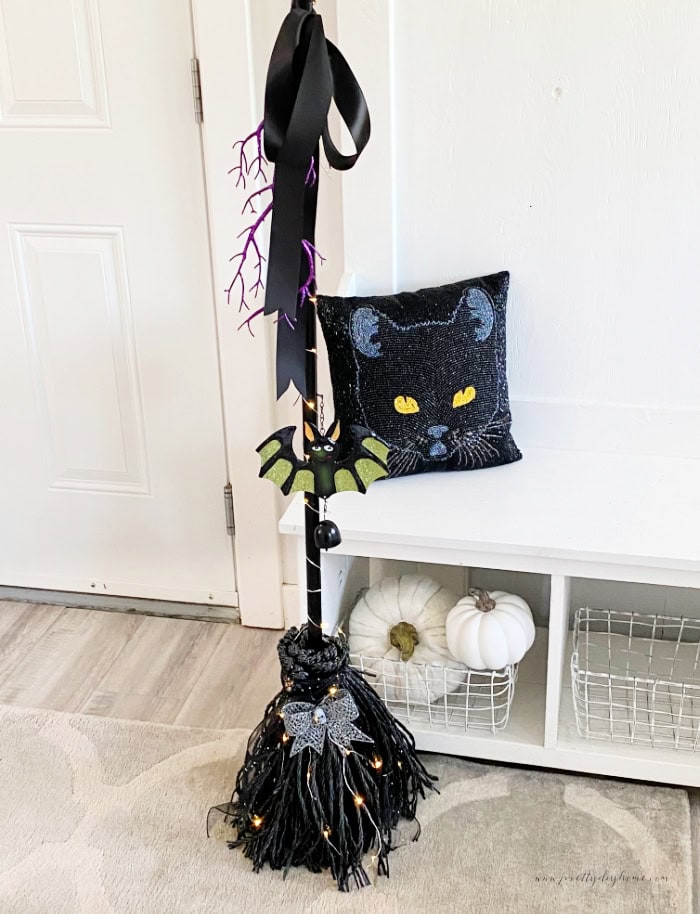
Dollar Tree Plunger Witch Broom DIY for Outdoors
This easy Dollar Tree witch broom is a fun outdoor Halloween project with a freestanding base, black bristles, ribbons, and lights.
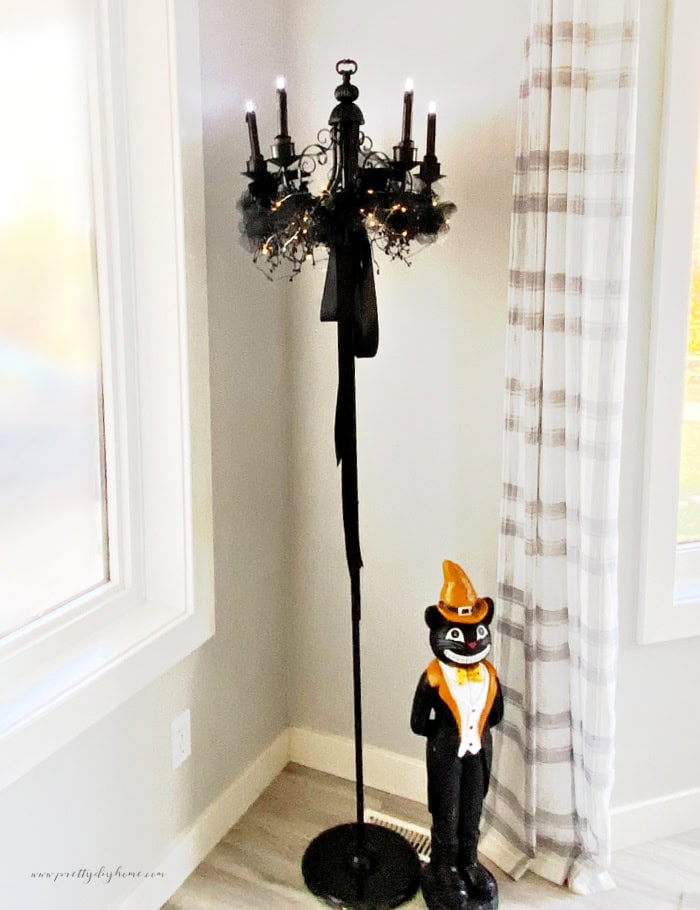
DIY Halloween Chandelier
Turn an old chandelier into a dramatic Halloween decoration using thrifted finds, black ribbon, fairy lights, crows, and candles.
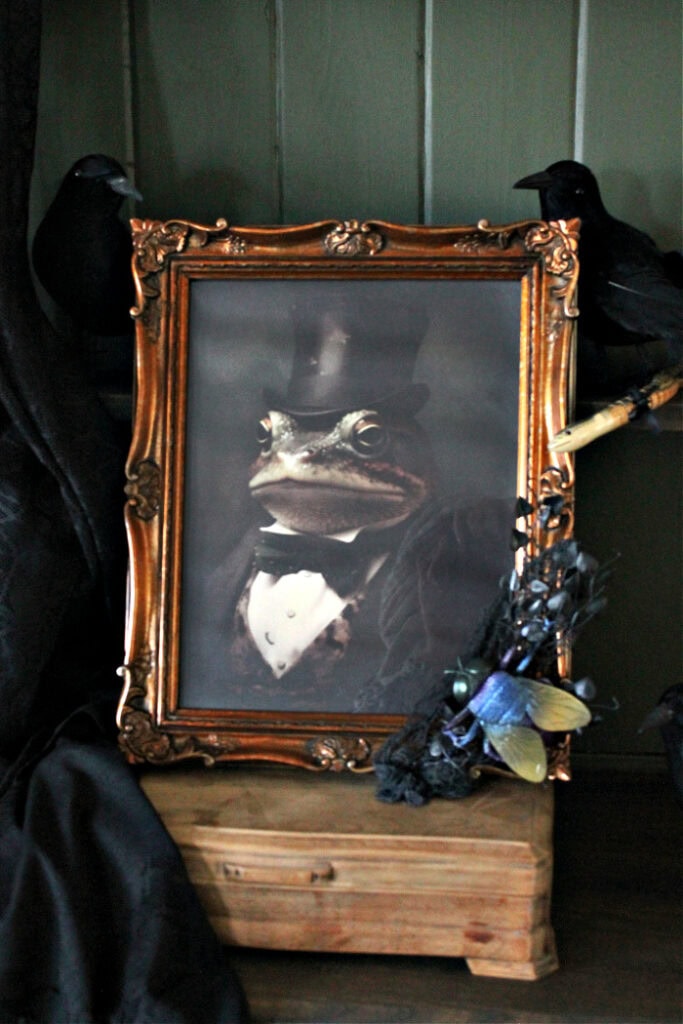
DIY Halloween Frog Art in an Upcycled Frame
This Halloween frog art project gives an old frame a fun witchy makeover and adds another playful piece to a witch themed Halloween display.