
DIY Halloween Chandelier and Outdoor Halloween Props
Our front yard is dark and hidden at the end of a cul-de-sac, and the city didn’t put in a street light. No problem, our Halloween yard decorations will provide more than enough sparkle and light for the trick-or-treaters, including this Halloween chandelier. We have the best time making Halloween decorations for our front yard using everyday things, thrifted finds, and Dollar Tree supplies. Creating during spooky season is just too much fun. I enjoy it more every year, and the neighbourhood kids seem to as well.
The moment I saw this broken old chandelier being given away at a garage sale, I knew it would make the perfect DIY Halloween chandelier for our front yard. Instead of simply hanging it from the front porch where there is plenty of light, I wanted to place it farther out in the yard where it could help draw trick-or-treaters toward our front door.
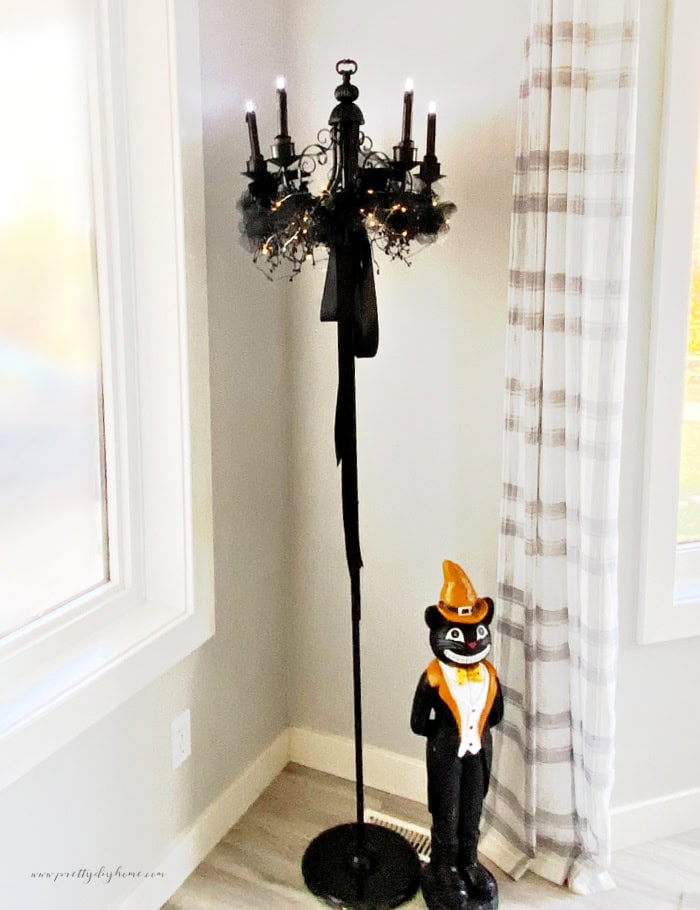
Outdoor Halloween decorations are too much fun to make and share. I love using everyday items, especially free ones, to make creepy props for Halloween. Years ago, when my boys were little, we raked up my brother’s yard, bagged the leaves, and made a full-sized graveyard in our front yard using the bags of leaves and cardboard tombstones. Now that we have Pinterest, it is so fun to create new Halloween props and ideas and share them.
In today’s post, I’ll start with a step-by-step tutorial on creating our spooky Halloween chandelier, followed by a few other props you might want to make.
How to Make a Halloween Chandelier on a Stand
The best part of this Halloween chandelier is the stand, which allows you to place it wherever you need it, indoors or outdoors.
Halloween Chandelier Supplies
This witchy Halloween DIY is simple to put together with a few supplies. You can easily swap out some of the decorations for items you already have on hand to make it even more budget-friendly. Here are the supplies we used. Some were thrifted, and the rest came from Dollar Tree.
- A free chandelier. I found mine at a garage sale because it no longer worked.
- A floor lamp with a base. I found mine at a thrift store for $10.
- A Dollar Tree black broom handle. We used it to lengthen the floor lamp pole, but you may not need one.
- 2 screws, 1/2 inch long
- Matte black paint – I used spray paint
- Assorted Dollar Tree Halloween decorations such as spiders, bones, skulls, painted moon shapes, or black roses.
- 4 feet of 1-inch-wide satin ribbon
- I used an old black bead garland. Any black garland or spray-painted garland will work.
- Dollar Tree black tulle
- Battery-operated fairy lights. I already had mine on hand, but Dollar Tree carries them in Halloween colors.
- Black pipe cleaners. These fill the light bulb sockets so the candles fit securely.
- Dollar Tree black florist wire and a hot glue gun for attaching the decorations.
- Drill and hacksaw
- Wire cutters
The Candles
You need to use battery-operated candles. I wanted black candles with a remote, but settled for white Dollar Tree candles instead. They are 2 for $1.50, but they don’t have a switch. You insert and remove the batteries to turn them on and off. For one night, I don’t mind, but I wanted to give you the heads up about them. If you use the Dollar Tree candles, you can make them black with Dollar Tree black tape. You also need 2 AAA batteries for each candle.
Step 1: Dismantle the Chandelier and Floor Lamp
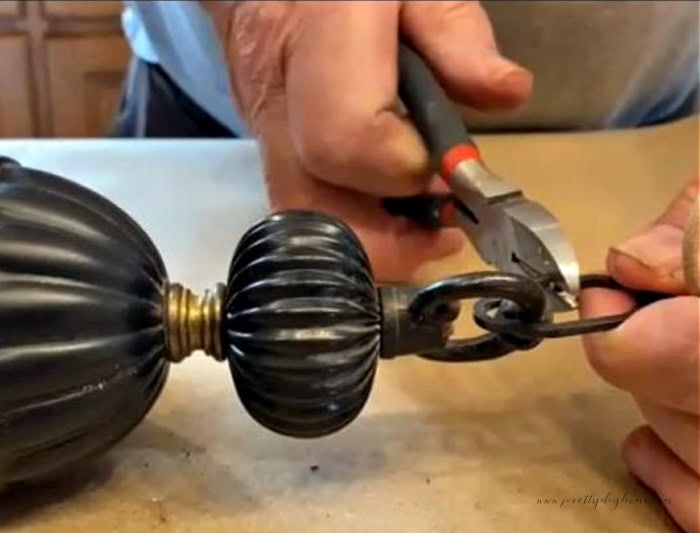
Our chandelier still had the chain used to hang it from the ceiling attached. Hubs took the top part of the chandelier off, cut the wires inside, and then pulled the remaining wires out. Using pliers, he pried the chain link apart and discarded it along with the ceiling attachment.
For the lamp, Hubs again dismantled the light bulb fixture on the top of the pole, removed the lamp mechanism, cut the wire, and then pulled the entire wire out through the bottom.
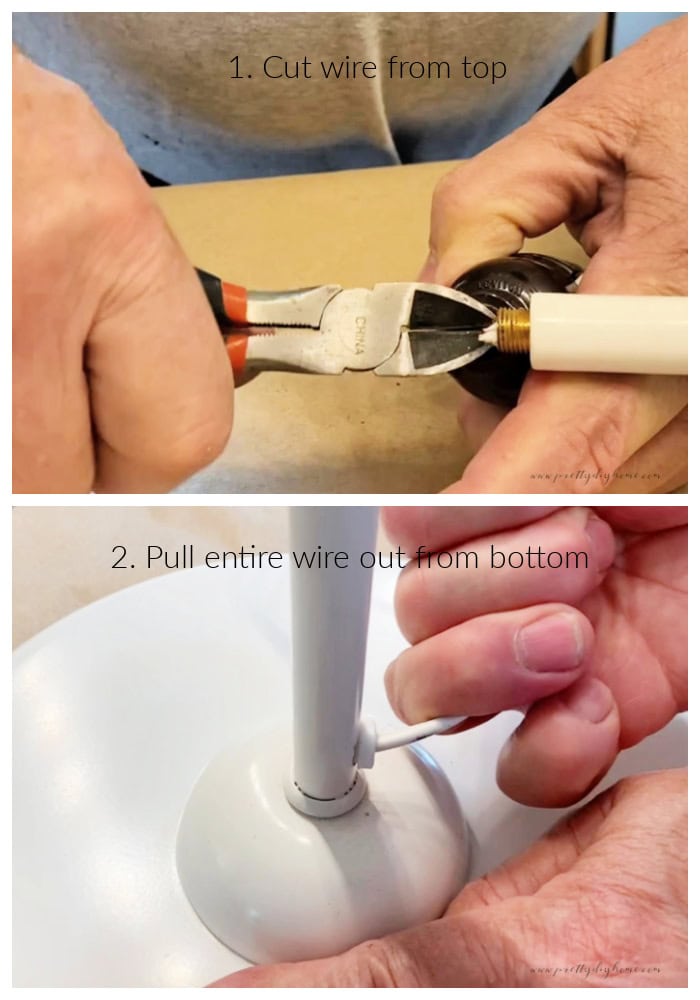
Ours pulled out in one long piece, and we ended up with just the base and the pole.
Step 2: Build the Halloween Chandelier Stand
Buying a cheap floor lamp is an easy way to get a stable base. To build it into a standing Halloween chandelier, we added a broom handle to widen the thin pole the original lamp stand came with.
Decide how high you want your chandelier. Slide the hollow black broom handle over the lamp pole and mark where you want the bottom of the broom handle to sit. Remove the broom handle and set it aside.
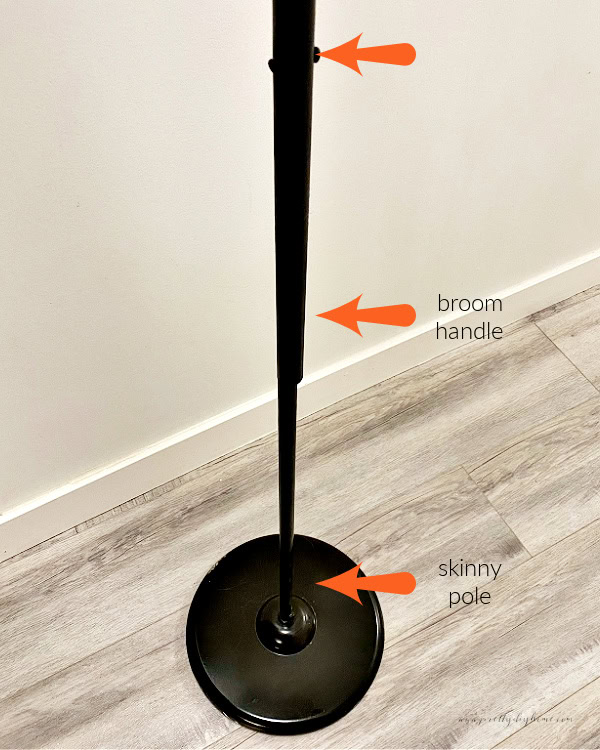
Next, screw the broom handle and pole together. Drill a hole in the lamp pole where you plan to attach them. Depending on the type and thickness of the lamp pole’s metal, this could take a couple of minutes. Once the lamp pole hole is drilled, align the black broom handle next to the lamp pole and drill a matching hole in the broom handle as well. Remove the top of the broom handle and cut off the screw end with a hacksaw.
Slide the broom handle over the lamp pole. Line up the holes and screw in two 1/2 inch screws, one from each direction.
Step 3: Attach the Halloween Chandelier
Take a look at your chandelier and remove any central portion of it you don’t need. Once we did that, there were four curved decorative wire pieces on the bottom. We placed those over the black broom handle of the stand. Wire them in place tightly and glue them if you like. Our chandelier fits down over the broom handle several inches, so we did not glue ours.
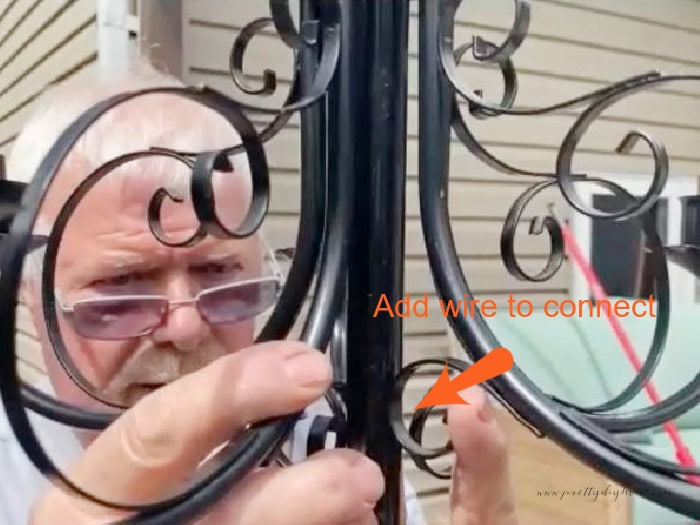
Spray the entire thing with two coats of black matte paint according to the manufacturer’s instructions. Let it dry overnight.
Step 4: Decorate the Halloween Chandelier
Black Ribbon: I used 4 feet of good quality black ribbon. I wrapped it over the wire used to attach the chandelier, hiding the wire, then tied it into a long dramatic bow.
Garland: My chandelier has a witchy goth vibe. I chose all black to make it elegant and a little gothic. I love the all black look, but you could make it fun with bright colors or even pink and white. For this year, I wanted to keep mine all black.
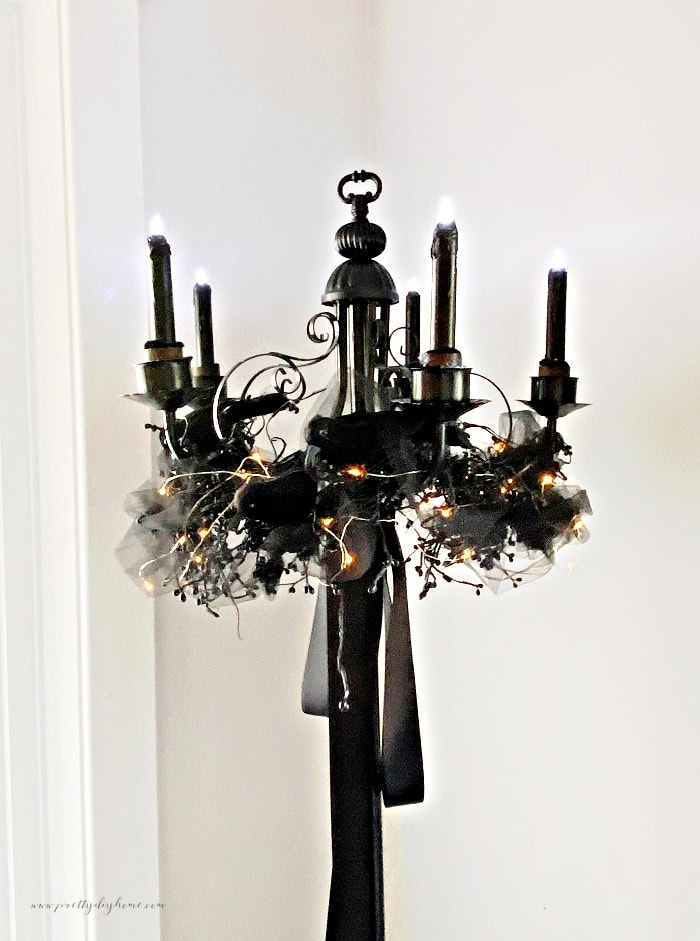
I had an old beaded black garland that had seen better days, so I used it as a base for the rest of the project. If you don’t have something similar, I recommend picking up a plain green wreath or garland from the thrift store and spray painting it black.
Fairy Lights: My battery fairy lights have a white battery pack, so I camouflaged it with black fabric or black tape, making sure the light switch was still accessible. Snuggle it in under the chandelier and attach it to the pole with wire or pipe cleaners.
Tulle: I used two pieces of tulle, each six feet long. Fold the tulle in half to get a double layer, gather it, and place it around the chandelier above the beaded garland. Use florist wire to attach it. Repeat with the second piece.
Embellishments: I used four black crows, placing them in pairs on each side. I considered adding white Dollar Tree bones, but decided they might make it a little too creepy, although they would be fun.
Step 5: Add the Candles
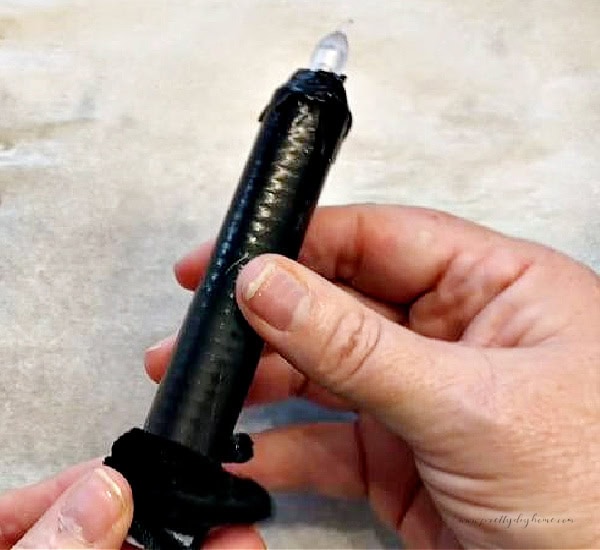
As I said, I chose Dollar Tree candles. To make them black, I wrapped them in black tape first, but left the bottom section uncovered so I could still access the batteries.
Because our chandelier had light bulbs, the opening for the candles was too large. To make them fit, wrap the bottom of each candle with repeated layers of black pipe cleaners. Insert them into the old light sockets and glue them in place along the inside edge of the socket.
I had black paint, but if we had to buy it, we still would have made this Halloween decoration for less than $25. I think that’s reasonable considering how elaborate and high-end it looks. To store it, we can remove the upper chandelier and place it in a tub for next year.
The latest on YouTube:
I had so much fun turning an old broken chandelier into this DIY Halloween chandelier. The stand makes it easy to place anywhere in the yard, and the black ribbon, tulle, crows, candles, and fairy lights give it just the right witchy look. Whether from necessity or not, I loved that most of the supplies were thrifted, free, or inexpensive Dollar Tree finds.
Love this DIY Halloween chandelier? Save it to your Halloween Pinterest board so you can find it later when you’re ready to make your own spooky outdoor chandelier using thrifted finds and Dollar Tree supplies.
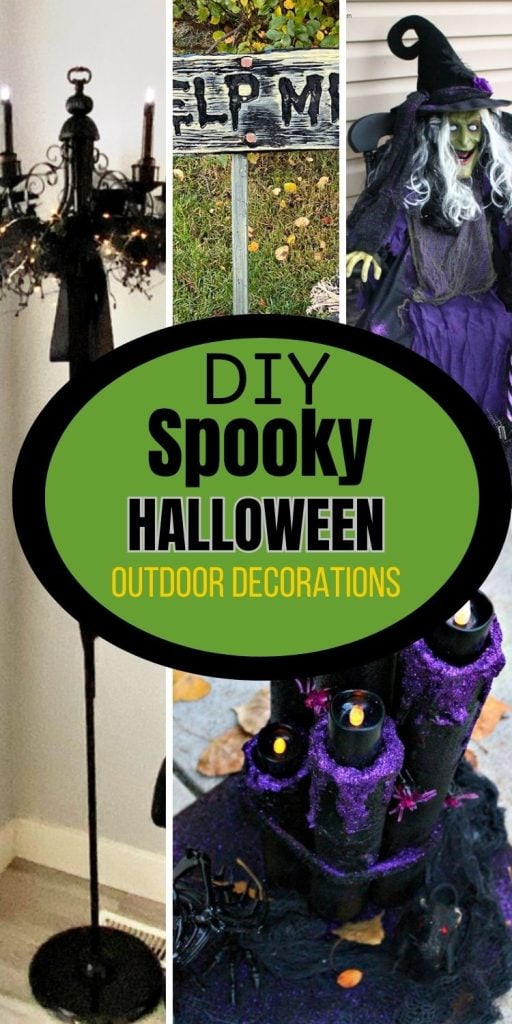
Some Other Creepy Props for Outdoors
Halloween Frogs
These adorable frogs were originally Dollar Store garden frogs, and they are solar lights. The step-by-step instructions for these little frogs are included in the Halloween Frogs DIY post.
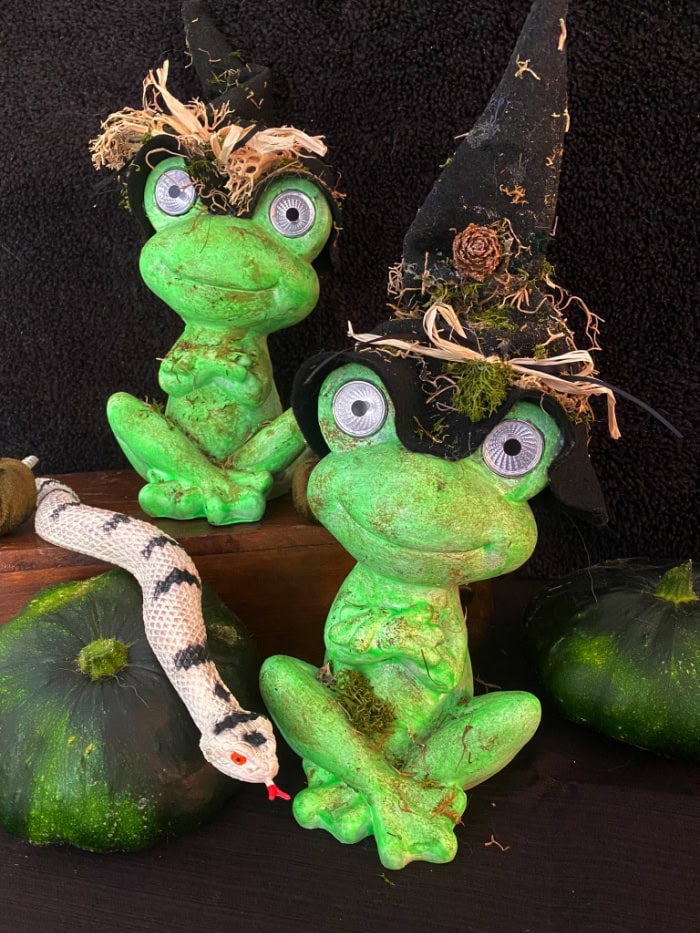
DIY Halloween Help Me Frogs with Sign
The Dollar Tree had this Help Me sign that was a great addition to my pair of Halloween frogs.
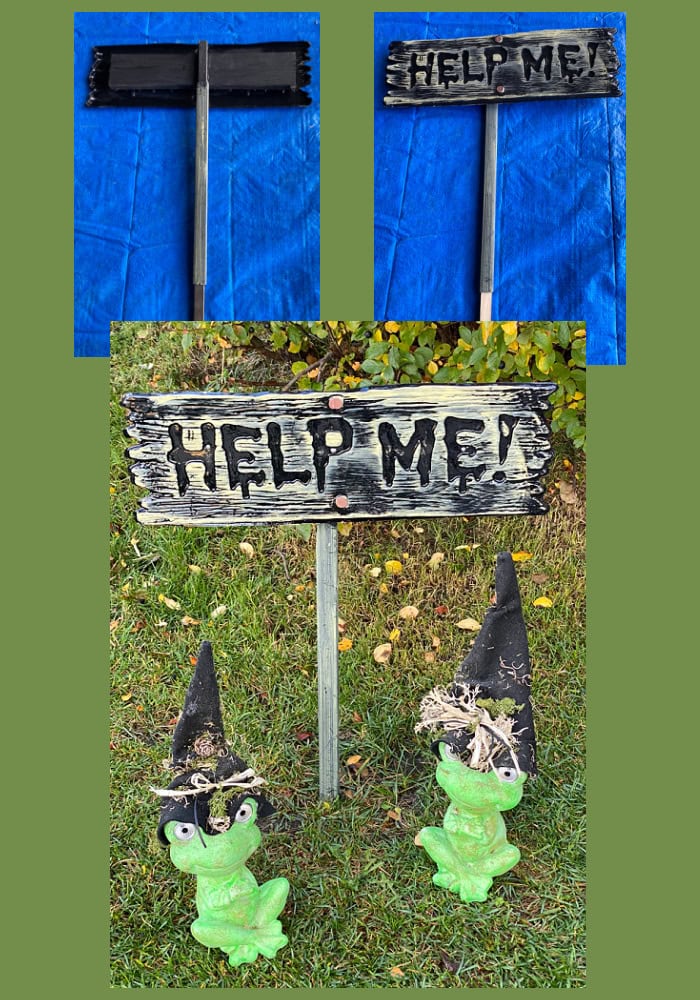
To strengthen the sign I placed a 1 by 3 behind it, applied glue, and covered it with the Dollar Tree plastic sign. Then Hubs cut a point at the end of a 1 by 2. I screwed them together and placed the plastic part over the 1 by 2 before pounding it in the ground.
Scary Tree Branches
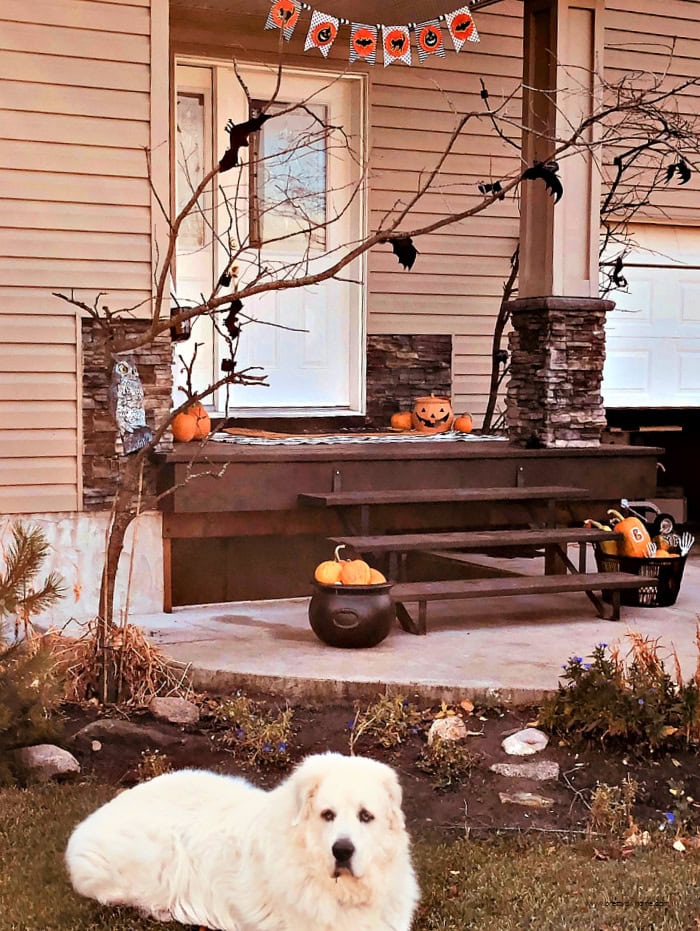
We live surrounded by trees, so using old branches is an inexpensive way to decorate for Halloween. Just grab some old dry tree branches and “plant” them near the front door. We didn’t even paint ours, although you could. We used fishing line to hold them in place and hung Dollar Tree bats from the branches with more fishing line. I have a full tutorial in this Scary Halloween branches post.
Large Halloween Candles from Pool Noodles
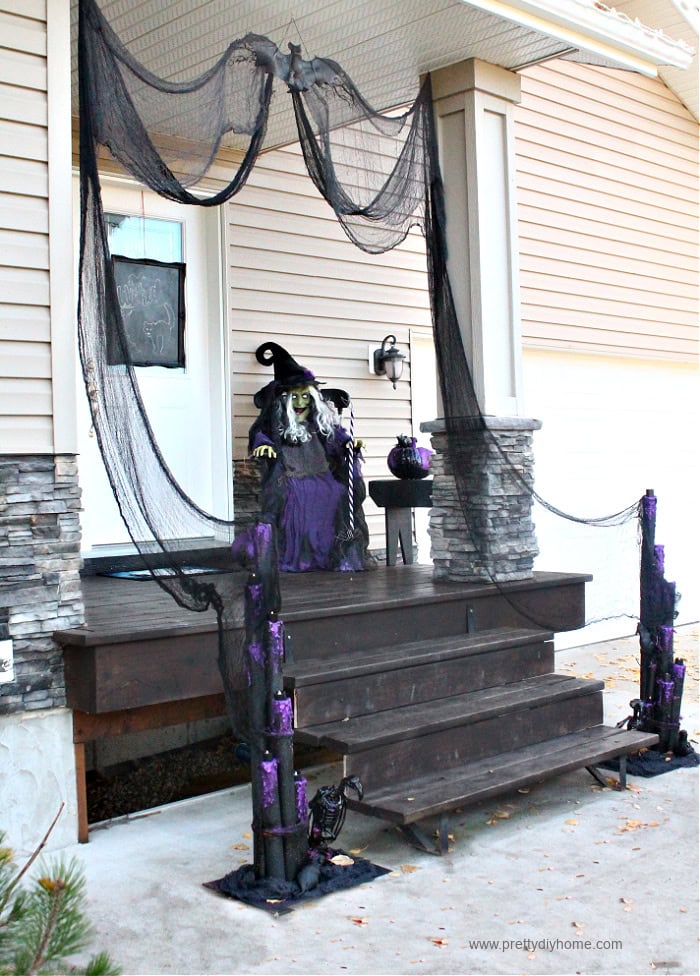
As I said, our yard is very dark, and adding lights really attracts the children to the front door. Last year I created this pair of very tall Halloween candles to sit on each side of our front steps. They kept well, and I am able to reuse them this year. I share the instructions in this Halloween Pool Noodles candle post.
.Halloween Witch in a Chair
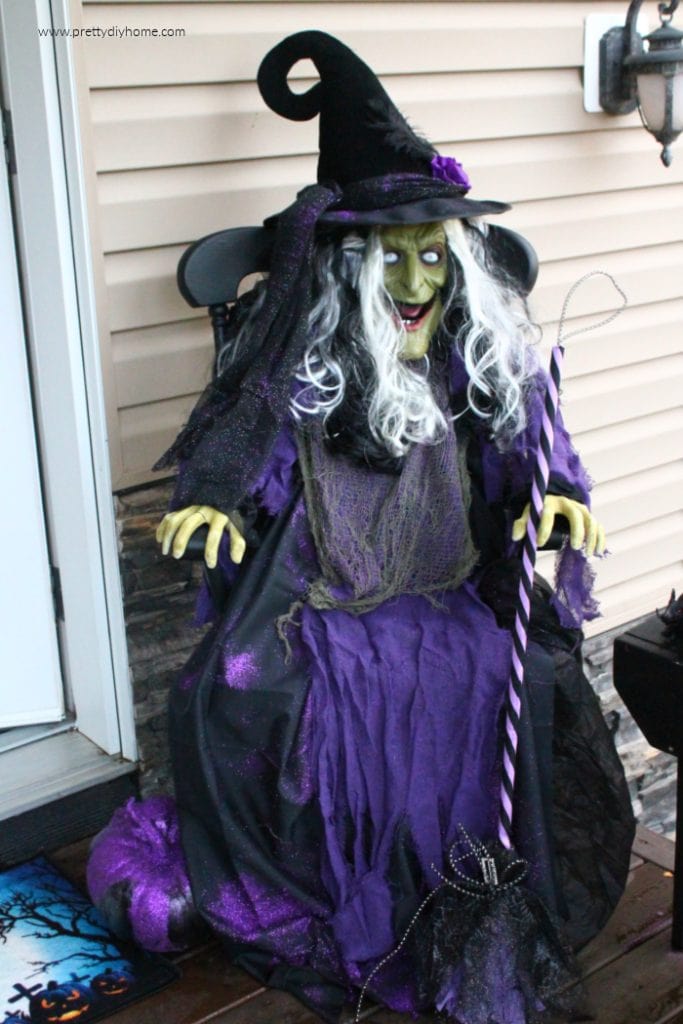
My home isn’t being decorated as much like a haunted house as it is a witches’ coven, with several witch-themed props in our front yard. I have a few more witch-themed decorations to add before Halloween. They are already made, but I haven’t written the posts yet. Here is a witch prop I made last year, sitting in a thrifted chair. The kids loved her because she is full-size. I will place the Halloween chandelier beside her at the end of our driveway.
Happy Spooky Season,
Leanna and Herman