Painting a Christmas Ornament DIY Tutorial
Christmas Ball Ornament Crafts
Can’t find that perfect ornament color? Here’s how to create your own easy custom painted Christmas ornaments using old unwanted ornaments, or dollar tree plastic ball ornaments.
By far my favorite part of Christmas preparation is Christmas decorating. Every year I enjoy doing something different with holiday decor. In the last year or two, I did lots of reds and buffalo checks in my home deco and have chosen to go in a very different direction this year. I want a more neutral theme with sage, browns, and creams. We do have an amazing greenhouse Christmas store that opens yearly during the holiday season, but I was not able to find sage green or brown ornaments
I checked Michaels and Home Goods, but instead of getting frustrated with never-ending shopping I decided to DIY another day and came home.
Hubs is busy creating in the garage, so I put the coffee pot on, joined in the mess, and began to paint Christmas ornaments in the custom colors. At this price point, it was more of a risk in wasting time than cost, but in the end, I loved how they turned out.
Making your own ornaments is a really fun way to get in the holiday spirit, and you can use any inexpensive plastic Christmas ornaments or old unwanted Christmas ball ornaments you already have on hand. From now on if I can’t find the perfect color, painting is a great way to add pops of the right color, I think this is especially true for simple Christmas balls.
DIY Ornaments Tutorial Using Paint
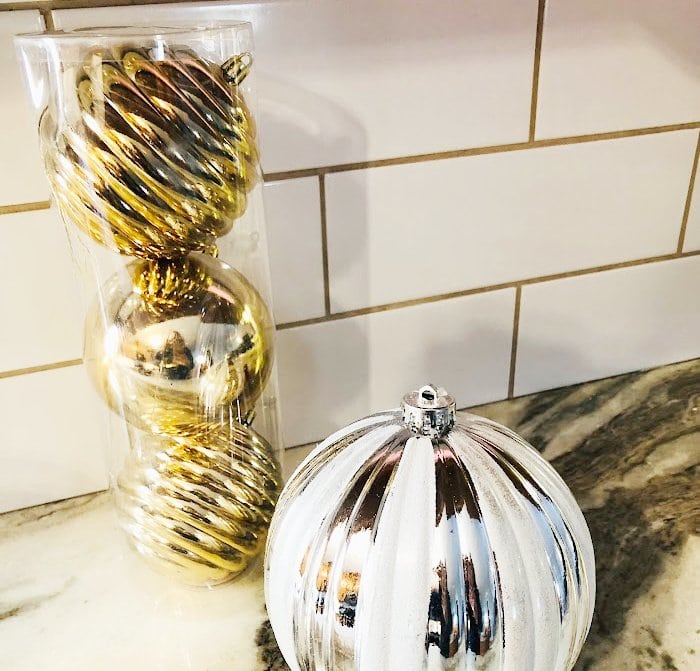
While shopping I noticed this year’s huge Christmas ornaments, five or six inches across and a solid shiny color. They were nothing fancy and $14.95 each. When I saw these giant balls at the dollar store for 4.00 each I scooped up six to paint.
Christmas Ornament DIY Supplies
Inexpensive Christmas balls
Fusion mineral paint or other matte paint in any color you want. I used the following paint colors. Green is Eucalyptus, White is Picket Fence, and the Brown is Chocolate
1-inch paint brush
120 grit sandpaper
gold spray paint (optional)
Spray on adhesive and glitter
E6000 glue or hot glue
The Christmas balls I purchased were garish bright green plastic dollar-store ornaments. Each package had 3-inch ornaments for $4.25. The color you choose doesn’t matter as we will be painting them white first. Look for ornaments that have a pattern in the plastic, they are incredibly beautiful when painted. I bet you saw many of these ornaments at the dollar store.
You can use any kind of paint you have on hand as long as it’s matte.
DIY Christmas Ornaments Tutorial
Preparing to Paint the Christmas Balls
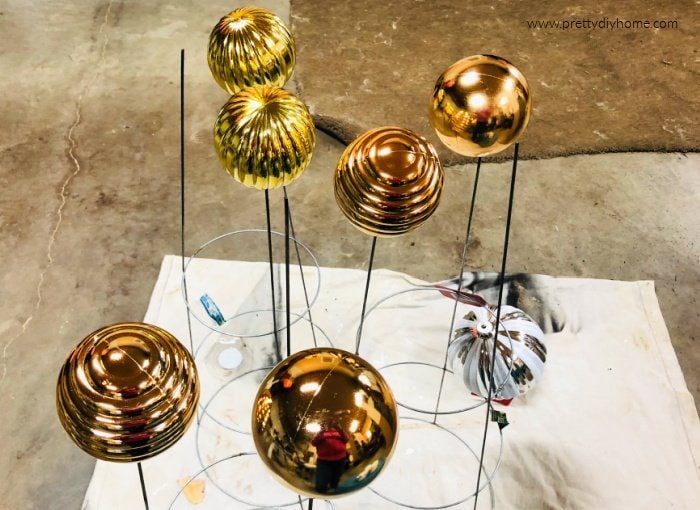
The first thing you need to figure out is where to place the plastic balls once painted. You need a place for them to dry where they won’t contact each other. I used tomato cages we had on hand, You could also push pencils inside a cardboard box. Make sure the holes are far enough apart that the Christmas balls won’t touch.
Before painting remove the ornament cap off of the Christmas balls and set aside. The ornament caps were easy to remove and came off with a soft tug. I sprayed mine with gold spray paint and let it dry before reattaching them. That’s optional, if you like the finish of your tops leave them as is.

Eucalyptus Green Christmas Ornaments
I made two different styles of Christmas balls for our Christmas tree, let start with the smaller eucalyptus green ornaments
Using a 1-inch wide dollar store artist’s brush paint the outside of the ornament with two coats of white paint, and then two coats of green. It took two coats to cover the original color of my ornaments, and then two coats of green for full coverage over the white..
Apply the paint as smoothly as you can, and then invert the ornament upside down onto a wire of the tomato cage. Let the painted Christmas ornaments dry for about an hour between coats, (or whatever is recommended on your paint container) While your paint is drying check for paint drips, especially on the bottom half of each ball. If you find any paint drips wipe them off with a dry brush before the paint hardens.
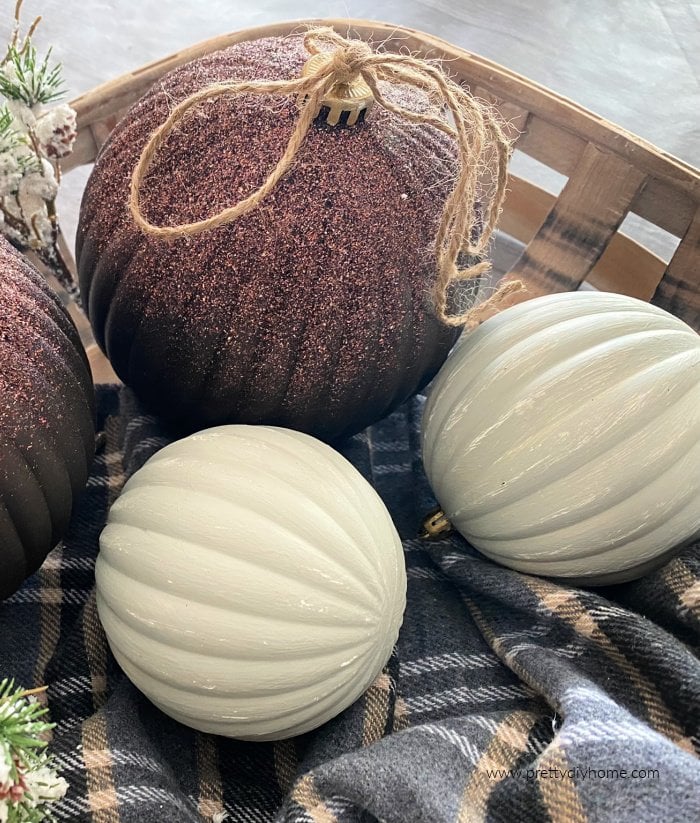
Once the Christmas balls are painted lightly distress each ornament with 120 grit sandpaper. Use a soft hand here, you want to lightly distress them so little bits of the white paint undercoat shows through. Here is another short video (in the frame this time) that shows me distressing one of the Christmas balls.
Reattaching the Ornament Tops
You don’t necessarily have to spray paint the top of your ornaments but I chose to spray paint mine in gold. I simply placed all the tops in a small box and spray-painted them twice drying them between coats.

Once dry I added little dabs of E6000 glue to the tops and snapped them back onto the Christmas balls, I love how the finished ornaments turned out.
Giant Christmas Glitter Ornament DIY
Making your ornaments is a really fun DIY project to get in the holiday spirit, ao paint the giant Christmas ornaments you need the same drying setup as the soft green Christmas ornaments.
Once you have a workspace set up remove the tops from the plastic ornaments and set aside. Paint the ornament with two or three coats of brown paint as needed for full coverage. This video is a better view of the painting process.
Once the paint is dry on the giant ornaments instead of distressing them we are going to add glitter.
Adding the glitter to the Christmas ball ornament can be very messy so begin by making a workspace by folding up a tarp and covering it with a plastic bag before adding the glitter.
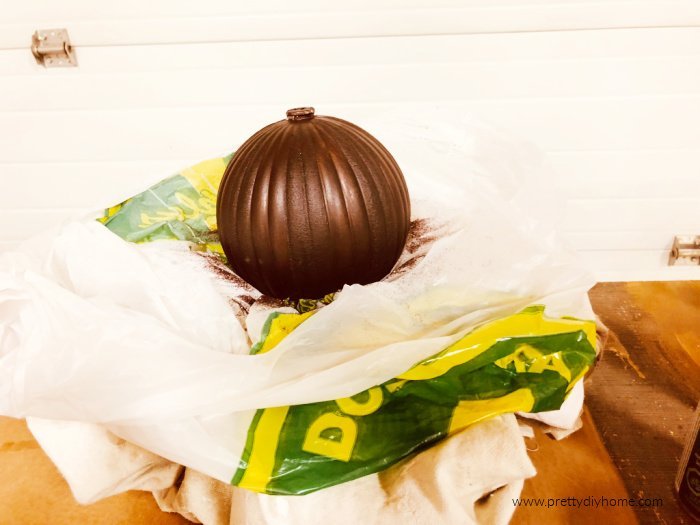
Once you have the workplace protected from the glitter spray just the top of the ornament with spray-on adhesive.
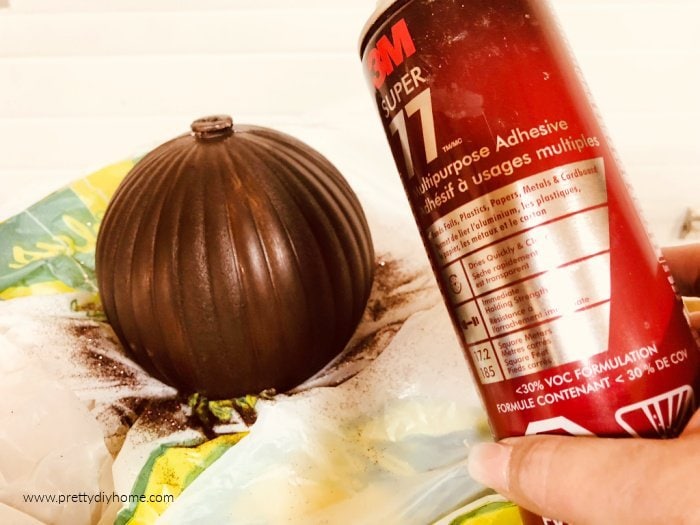
Immediately after adding the adhesive, cover the top of your ornament with the dollar store glitter.

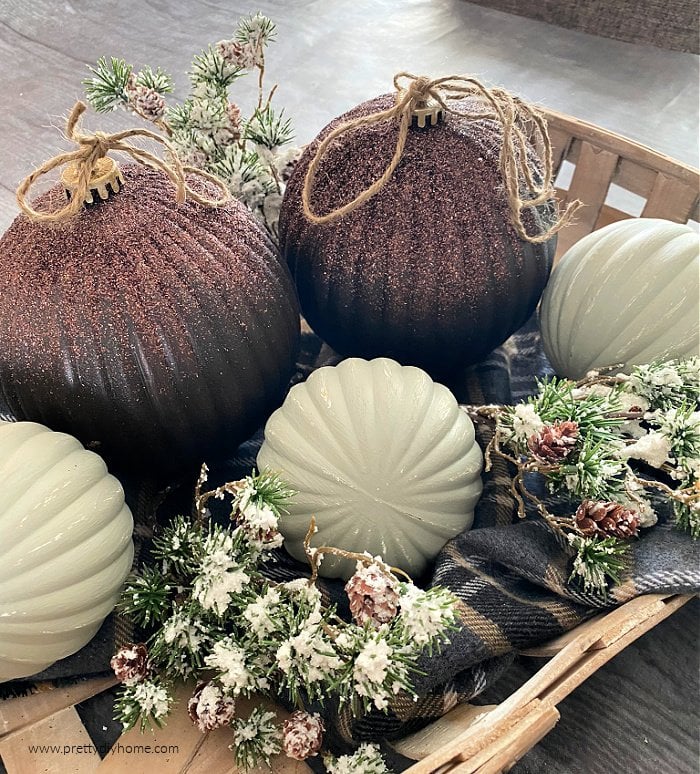
Adding the dark brown glitter to the dark brown Christmas ball gives it a little bit of a sheen. Keeping the colors the same kept the ornament looking more neutral. These huge Christmas balls are going to be placed towards the inside of my Christmas tree. The little bit of sparkle on top should look amazing.
Once painted, spray paint the ornament top gold with two coats of gold spray paint. Let dry and then attach with E6000 or hot glue.
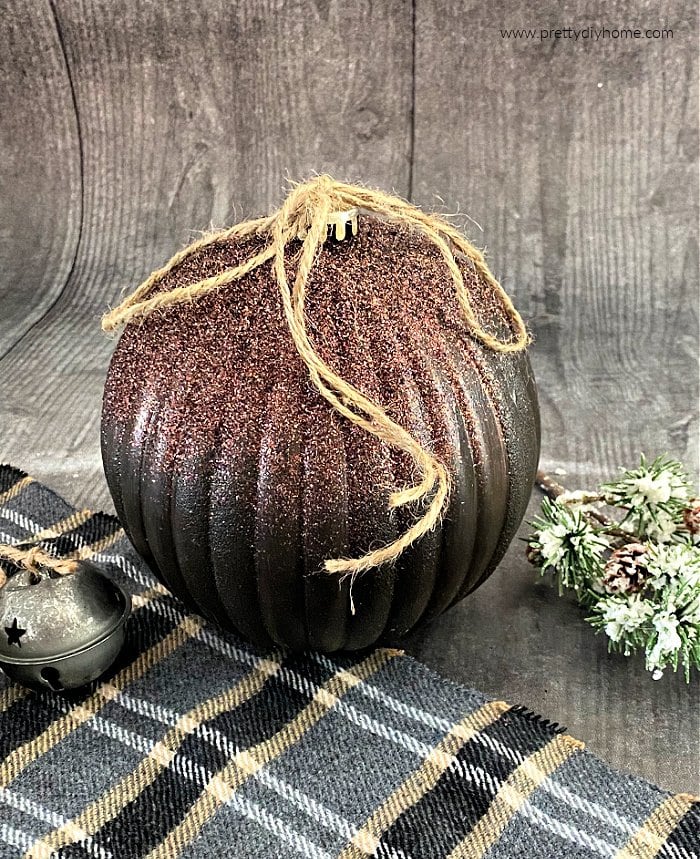
I think these chocolate brown Christmas ornaments would be beautiful tied on a tree with dark brown satin ribbon. I didn’t have any so I chose some simple twine for the picture. Next Christmas I will have the thin chocolate ribbon I need.
Don’t have time today. PIN THIS IDEA so you can make it later.

Other Christmas Ornament DIYs
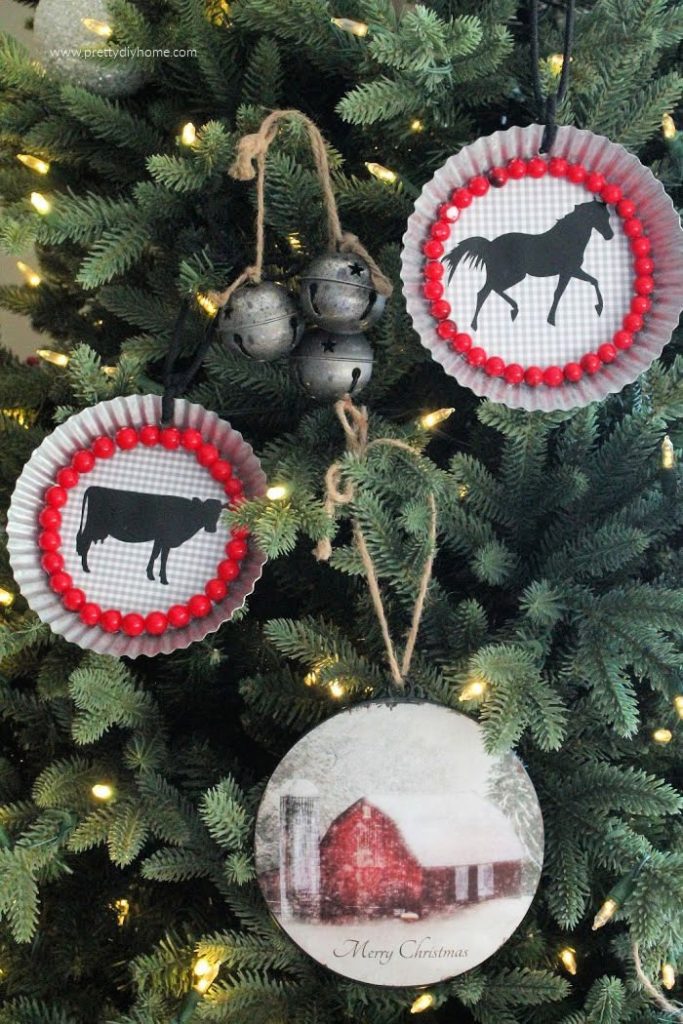
Galvanized DIY Farmhouse Christmas Ornaments
With some galvanized tart tins, red berries, and free printable animals you can create these large DIY Christmas tree ornaments.
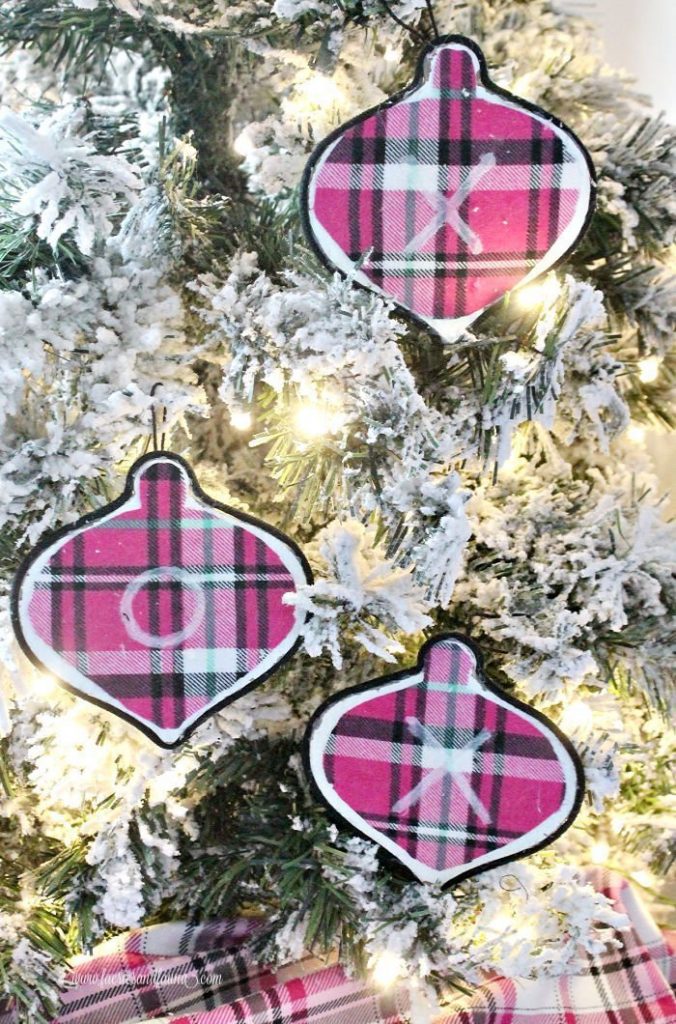
Flannel DIY Christmas Ornaments
These modern cozy-looking Christmas tree ornaments are obviously for a little girl’s Christmas tree. They are fun to create and easy to make kids can even help flatten the flannel and draw the hugs and kisses on them.
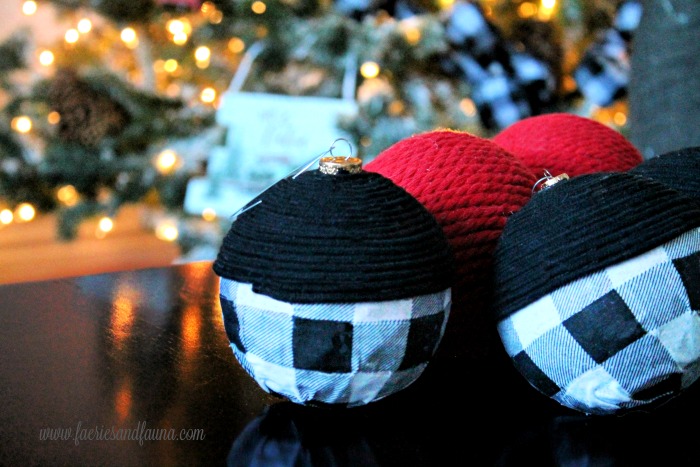
DIY Christmas Ornaments in Black and Buffalo Check
Don’t want to work with paint, how about trying these easy-to-make wrapped Christmas Ornaments DIY done with macrame cord and fabric?