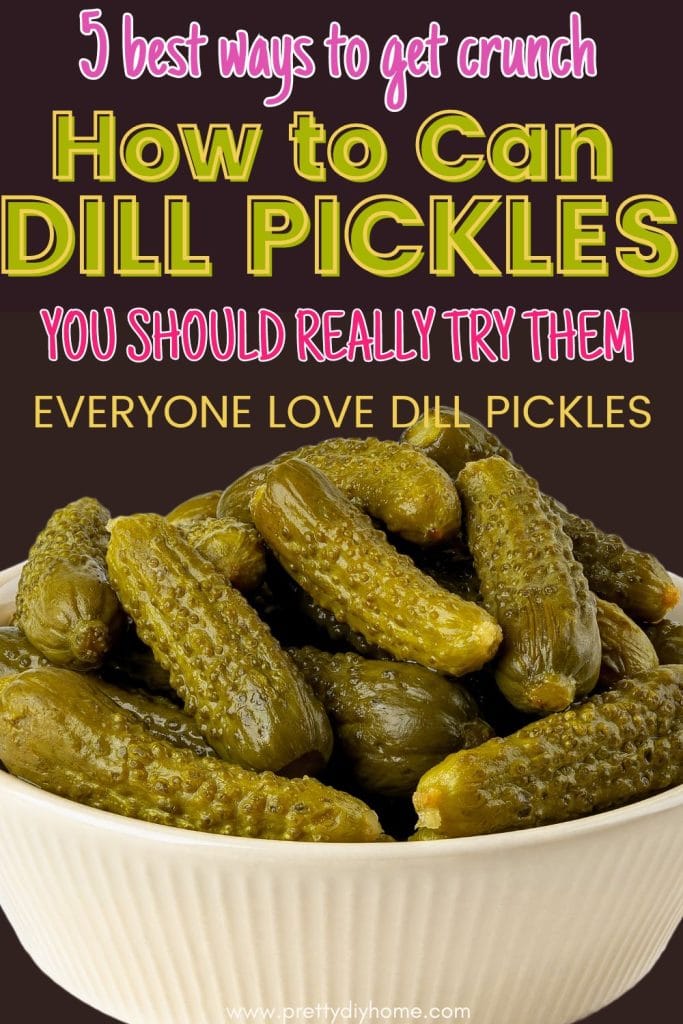
Crunchy Dill Pickles Canning Recipe
Of all the canned pickles, I think crunchy dill pickles are the easiest to make and the most loved. Who hasn’t eaten a dill pickle? Now that Hubs is retired and eating at home most of the time, I’ve dusted off my old-fashioned pickle canning recipes. Over the years, I’ve noticed that many canning recipes have become much more complicated. Jars are sterilized and then filled with unsterilized cucumbers; old canning recipes are relabeled as refrigerator pickles, and extra steps are added to make the pickles crunchy. This recipe is simple and no fuss, just the way canning used to be.
Canned foods fall into two basic categories: high acid and low acid. Pickles are high in acid, so there is no need to use a pressure canner. They are very easy to make. I promise, if you can boil water, you can make homemade pickles. Just pay attention to cleanliness. Clean counters, towels, jars, and well-washed hands help avoid bacteria as much as possible.
Note: One of the best online references for canning is the USDA’s Complete Guide to Home Canning It’s a great resource and free to use.
Canning Equipment
There are a few basic items needed for the canning process, no matter what you are making.
- Water bath canner with metal rack.
- Canning jar lifter tongs
- Wide-mouth funnel for adding brine to jars
- Sealable canning jars with rings and brand new lids. (Do not reuse canning lids.)
How to Make Crunchy Dill Pickles
Step 1: Purchasing Cucumbers
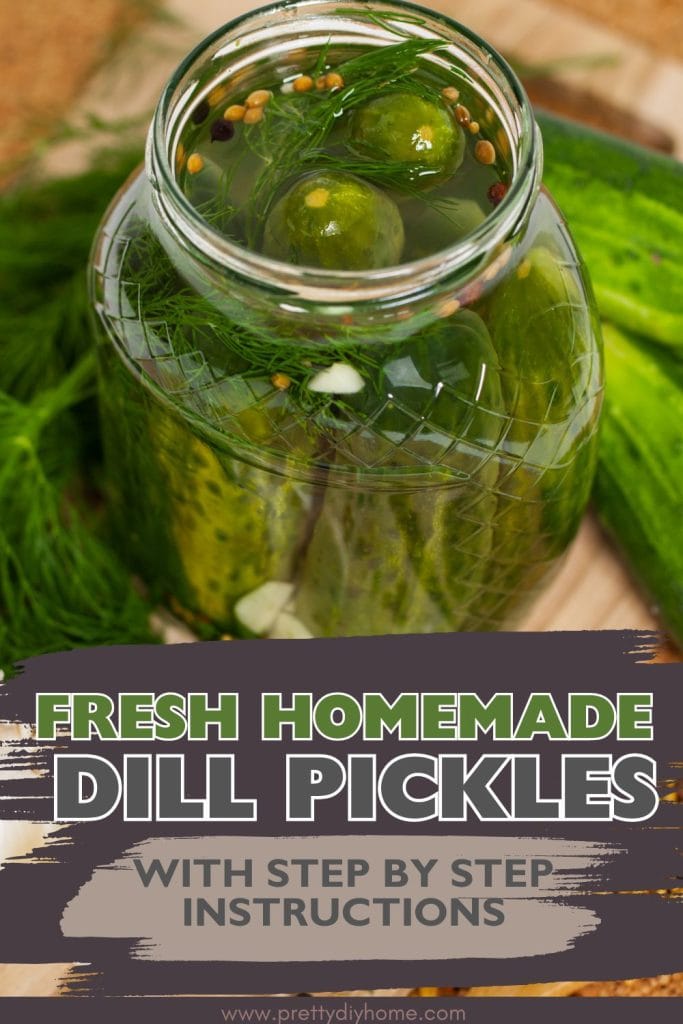
Everyone wants their dill pickles to be crunchy and crisp. The secret to crunchy dill pickles is the cucumbers you choose and how they are prepared.
Use cucumbers that are meant for pickling. Choose small varieties, about the size of your thumb. During canning season, grocery stores often carry them labeled as pickling cucumbers. This variety is commonly referred to as Kirby cucumbers and is easy to recognize by its small size and prickly skin.
Always use the freshest pickling cucumbers possible. For the best results, can them as soon as you can. The longer you wait, the more likely the pickles are to turn soft.
Store fresh cucumbers cold in the refrigerator, ideally in a pan of cold water, until you are ready to use them.
Step 2 – Sterilizing Jars and Lids for Pickles
The first step in any canning recipe is sterilizing the jars, lids, and rings. There are four ways to sterilize jars: in the oven, dishwasher, microwave, or on the stovetop. The method you choose often depends on how many jars you are preparing. Below are two common options.
How to Sterilize Jars and Lids with Boiling Water
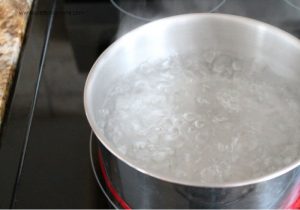
Wash and rinse your canning jars thoroughly, making sure all soap residue is removed. Take a very large pot and fill it with hot (not boiling) water. Place the jars open-side up into the pot and add enough water to cover the jars by at least one inch.
If there is room, you can place the rings and lids in the same pot. If not, place them in a second pot and boil them the same way.
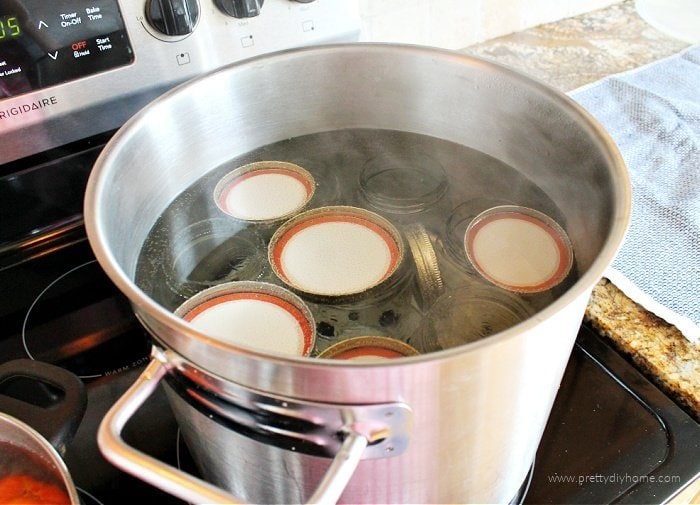
Bring the water to a full boil and boil continuously for ten minutes.
How to Sterilize Jars and Lids in the Dishwasher
Today I made a double batch of this dill pickle canning recipe, so I needed ten quart jars. Because this would require more than one pot of boiling water, I chose to sterilize my jars using the dishwasher with the heated drying cycle turned on.
When sterilizing jars in the dishwasher, do not add anything else besides the jars, lids, and rings. Time the cycle so the dishwasher finishes when you are ready to begin making the pickles.
Step 3 – Dill Pickle Canning Recipe
This old-fashioned dill pickle recipe uses very simple ingredients.
Pickling vinegar is a white vinegar that is more acidic than regular white vinegar, which helps the pickles stay crisp and shelf stable.
Pickling salt is pure sodium chloride without additives. Using pickling salt prevents the brine from becoming cloudy or dark.
Ingredients for 5 Quarts of Dill Pickles
- 5 lbs pickling cucumbers
- Fresh dill (green dill heads)
- 1 quart pickling vinegar (white vinegar)
- 1 pint of water
- 2/3 cup pickling salt
- 2 cups white sugar
- 5 fresh cloves of garlic (garlic)
Prepare the Pickling Cucumbers
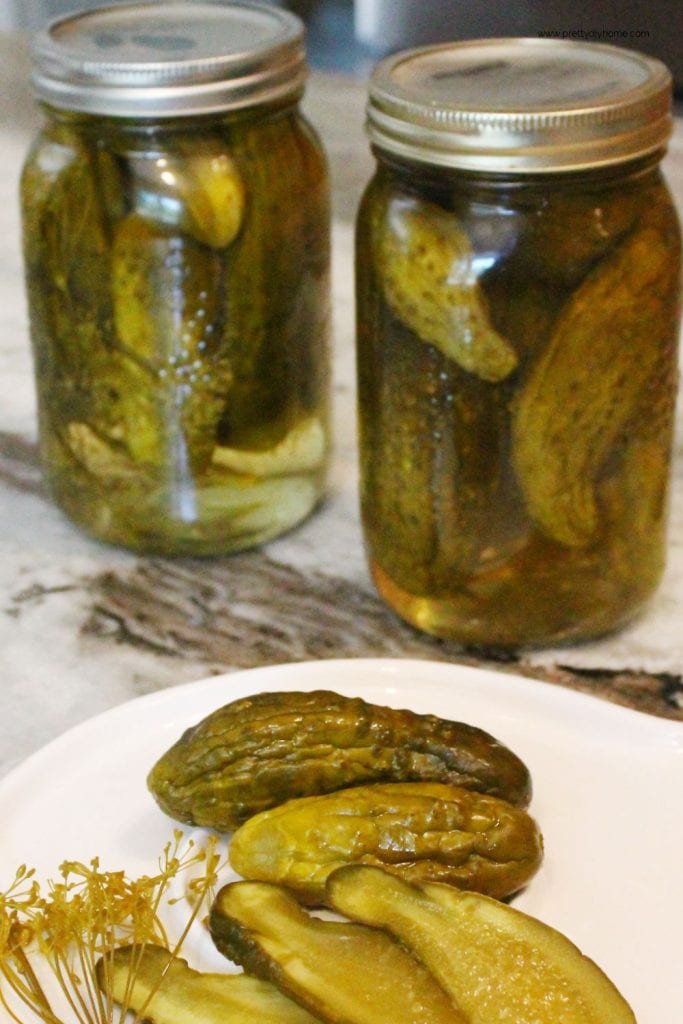
Avoid using large cucumbers or any with blemishes. I prefer making whole dill pickles, but you can cut them in halves or quarters if you like. This will not affect the final result.
Wash cucumbers well in cold water. Cut off the blossom end of each cucumber and prick each one a couple of times with a fork. Cover with a clean tea towel and set aside.
Make the Dill Pickle Brine
Combine the pickling vinegar, water, pickling salt, and sugar in a large saucepan over medium-high heat. Do not add the dill or garlic at this stage.
Stir until the salt and sugar are fully dissolved. Bring the mixture to a boil, then reduce to a simmer while you fill the jars.

Pack Cucumbers in Canning Jars
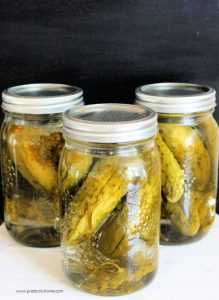
Place one sprig of dill in the bottom of each jar. Pack the jars tightly with cucumbers, then place a second sprig of dill on top. If making garlic dill pickles, add one peeled garlic clove to each jar.

Leave ½ inch of headspace at the top of each jar. Fill jars with the hot brine. Place a hot lid and ring on each jar and tighten.
Note:
We did not traditionally water bath dill pickles. As long as the hot brine sealed the jars, we considered them safe. Newer recipes that skip water bath canning are now often referred to as refrigerator pickles and are stored in the fridge once cooled.
Water Bath Canning
Some newer recipes recommend water bath canning pickles for 10 minutes or storing them in the refrigerator. If you feel more comfortable doing so, you may water bath can them.
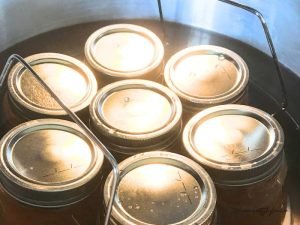
Fill a water bath canner with enough water to fully submerge the jars. Bring the water to a boil. Using a jar lifter, place the hot jars into the canner. Return to a full boil and process for 10 minutes.
Once processed, place jars onto a towel-covered rack and let cool completely. As the dill pickles cool, you will hear the jar lids “pop.” Once the jars are cool (24 hours), push the center of the lid to test if they have a good seal. If the lids push down, the seal failed and you must store the dill pickles in the fridge and use them within two months.
Be careful not to overprocess. The longer cucumbers are cooked, the softer the pickles will become.
Remove jars and place on a towel-lined surface. Let cool completely. You will hear the lids pop as they seal. After 24 hours, test the seals. If a lid does not seal, store the jar in the refrigerator and use within two months.
Step 4 – Storing Homemade Dill Pickles
Once you realize how easy this dill pickle canning recipe is to make, it becomes surprisingly fun. Hubs certainly enjoys it, and every batch brings a new variation to try. For best quality, allow pickles to cure before using and store sealed jars in a cool, dark place.
Crunchy Dill Pickles Canning Recipe
Ingredients
- 5 lbs small pickling cucumbers
- 1 bundle fresh dill sprigs 2 green sprig tops per jar
- 1 quart pickling vinegar don’t substitute
- 1 pint water
- ⅔ cup pickling salt don’t substitute
- 2 cups granulated sugar
- 5 cloves garlic optional 1 per each quart jar.
Instructions
Step 1: Prepare the Cucumbers
- Wash cucumbers well, cut off the blossom ends, and prick each cucumber a couple of times with a fork. Set aside.
Step 2: Sterilize the Jars
- Sterilize jars, lids, and rings using boiling water or the dishwasher. Keep jars hot until ready to fill.
Step 3: Make the Pickle Brine
- Combine pickling vinegar, water, pickling salt, and sugar in a saucepan. Heat until the salt and sugar dissolve, bring to a boil, then reduce to a simmer.
Step 4: Fill the Jars
- Place dill and optional garlic into hot jars. Pack jars tightly with cucumbers, leaving ½ inch headspace. Pour hot brine over cucumbers. Add lids and rings and tighten.

Step 5: Process or Cool
- Allow jars to seal naturally or process in a boiling water bath for 10 minutes if desired. Let jars cool completely and check seals before storing.
This crunchy dill pickle canning recipe uses simple ingredients and an old-fashioned method that really works. Be sure to read through the full post before you begin, then save it for later by pinning the image below.
Other Canning Recipes to Try

Dilled Pickled Carrots and Beans
The flavours of dill beans and carrots go very well together. I really lovexhaving this Dill Pickled Carrots and Beans recipe canned and ready in the pantry. It makes an easy side dish for everything from backyard barbecues to roast beef dinners.

Apple Butter Recipe
This Apple Butter Recipe is not only delicious with lots of flavour for Fall, its a great way to preserve apples, or crab apples. The recipe has cinnamon, allspice, and cloves or you can leave it plain. Any way you make it its fantastic on waffles, oatmeal, yogurt, toast and so forth.
What are the “seeds” at the top of the open jar? When you say tart, is it a different flavor than what people normally buy from the grocery store?
I’m a diabetic, that’s a lot of sugar or is it?
I don’t know if thats alot of sugar for a diabetic. I do know the dill pickles come out tart. I hope that helps?
My wife and I have used this recipe for the second year in a row and have to say they are amazing.
That’s exciting to hear Harold. I very much appreciate you taking the time to comment. Happy Canning!