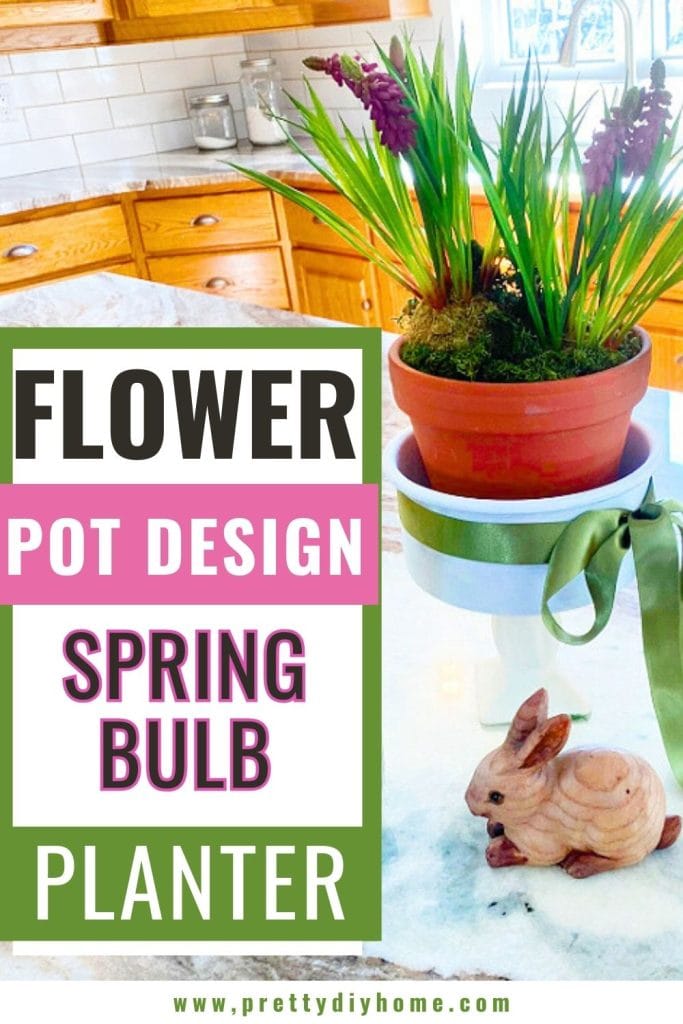
How to Make a Flower Bulb Pot for Spring Decor
Wow, it is surprisingly hard to decide what to call this rustic flowering bulb pot Spring craft. I added a mix of beautiful Spring flowers in a pot, but first I needed to create a container for a Spring bulb planter. Whatever you choose to call it, the end result is a lovely bulb planter idea for Spring, and I love how it looks on my kitchen counter.
This bulb pot started with a rusty cake tin and an old candlestick that I found at a local thrift store. Below are all the supplies I used to make this flowering bulb planter for Spring.
What you’ll love about this Spring DIY:
How to Make a Flower Bulb Pot
Spring arrives late every year where I live in Canada. For many of us, Mother’s Day is often the earliest safe time to plant outdoors. The good news is that our summers bring long hours of sunshine, even if the growing season starts later.
To help with the waiting, I like to start Spring planting indoors. Seeing fresh green leaves and bright Spring color again always feels magical and lifts my mood.
Flowering Bulb Pot Supplies
Besides the cake pan for the top and a wide candlestick for the base, you will need a few additional supplies to make this flower bulb planter. The size of the terracotta pot will depend on your cake pan. I used a 6-inch terracotta pot from the Dollar Store.
- Real pots of planted Spring bulbs or faux ones (depending on availability).
- Soft green moss
- Spring colored ribbon
- Terracotta dollar store pot
- Scrap paper
- Small amounts of cream and white paint
- E6000 glue (hot glue optional)
- Small paint brush
Step 1: Assemble the Flower Bulb Plant Pot
Wash both parts of your flower planter thoroughly. I ran mine through the dishwasher. Once dry, apply E6000 glue to the top of the candlestick and center it on the bottom of the cake pan. Let it dry completely.
If you do not want to wait overnight for the E6000 to cure, add a small amount of hot glue as well. The hot glue will set within minutes, allowing you to start painting the flower bulb pot right away.
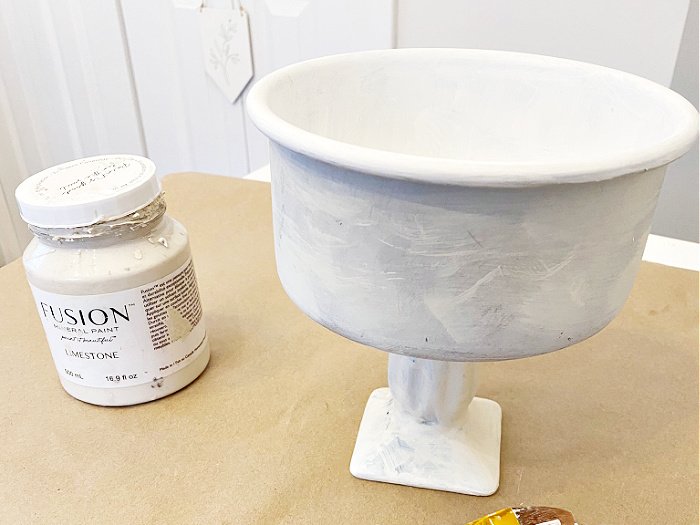
Step 2: Paint the Bulb Planter
Once the glue has adhered, you can begin painting the bulb planter. Paint the lower candlestick portion with two to three coats of cream paint, allowing it to dry between coats.
The inside of my cake pan was rusty, so I covered it with two coats of Picket Fence white Fusion Mineral Paint.
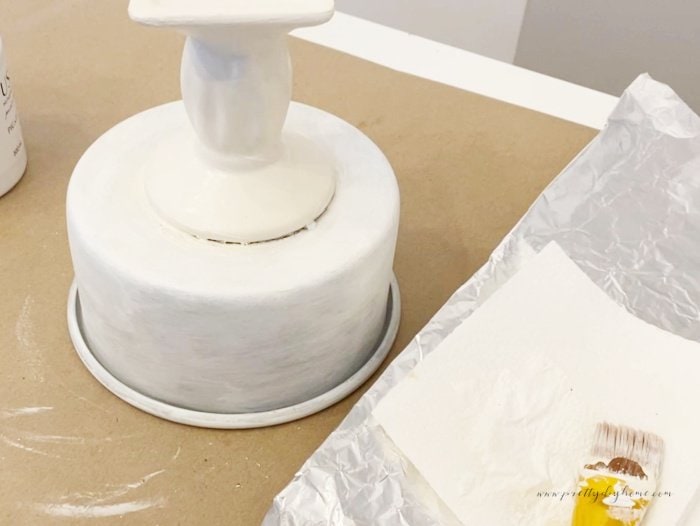
For the upper portion of the bulb pot, I used a light dry brush technique to allow some of the metal to show through. If your upper section is in rough shape, you may prefer to paint it a solid color instead. I dry brushed mine first with cream paint and then with white.
How to Dry Brush
Dry brushing is a painting technique where you apply very small amounts of paint in light layers, creating a whispy textured finish.
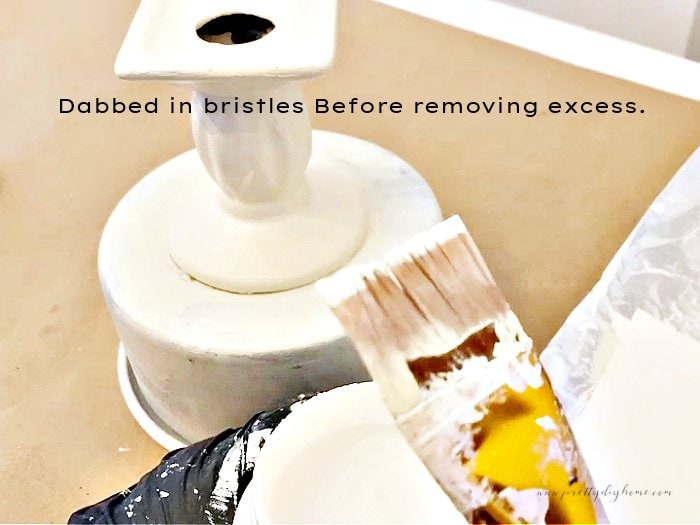
Use a stiff small paintbrush or a chippy brush if you have one. Dip just the tip of the brush into the paint, then wipe most of it off on a paper towel. Once the brush is almost dry, lightly brush the paint onto the pan using short strokes.
Build up the paint until about a third of the outside and bottom of the flower bulb pot are covered. Let it dry. The thin layers dry quickly.
Repeat the same process using white paint, layering it until you achieve the look you want. I also demonstrate this technique in the YouTube video if you want to see it in action.
Once finished, allow the flower bulb pot to dry overnight so the E6000 fully cures before decorating.
Step 3: Prepare the Pot for Planting
Because our weather was still minus 20 with plenty of snow, there were no fresh potted Spring plants available yet. The old me would pout about it (okay, I still do a little), but last year I discovered a local shop that carries beautiful faux Spring bulbs. Until real ones are available, I am happily using those.
Whether you use real or faux Spring bulbs, start by placing a 5-inch terracotta pot inside the flower bulb planter.
Step 4: Add Real Spring Bulbs
If you are using real Spring bulbs, choose bulbs planted in a 5 to 6-inch container.
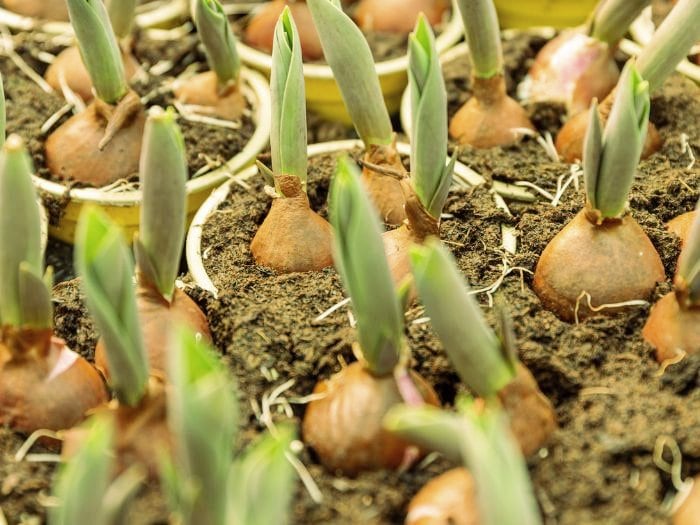
Water the bulbs in their container first, then place the container into the terracotta pot and cover the top with moss. Water lightly each day. If possible, select bulbs that already have blooms forming so you can enjoy flowers sooner.
Step 5: Add Faux Spring Bulbs
Here is why we do not have Spring flowers at our house in March. Even with feet of snow still outside, it makes the indoor flower pots feel extra special and loved.

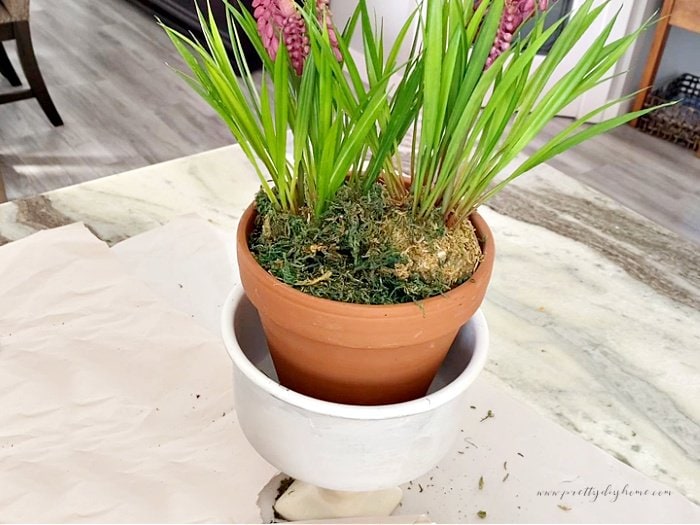
Begin with your painted flower pot, then place the terracotta pot inside. Add a little crumpled scrap paper to help hold the faux bulbs in place.
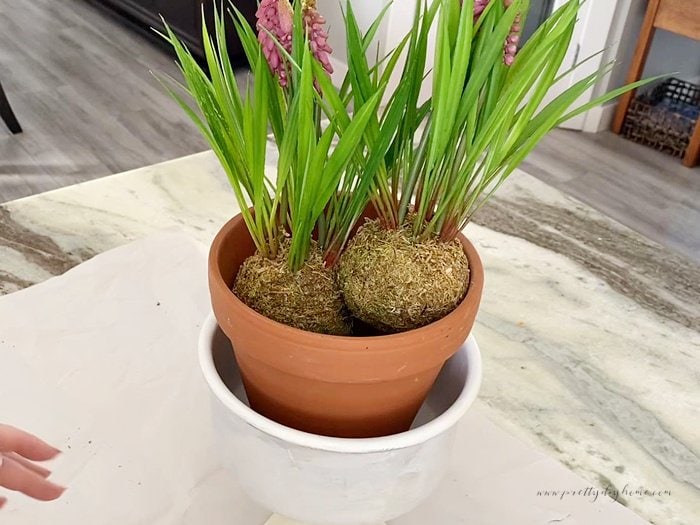
Once positioned, cover the base with dark green moss. I used reindeer moss from the Dollar Tree.
Step 6: Add Final Decorative Touches
To finish the bulb plant pot, I added a soft green satin ribbon and a few sprigs of baby’s breath. If you do not have baby’s breath, try styling it with and without to see the difference.
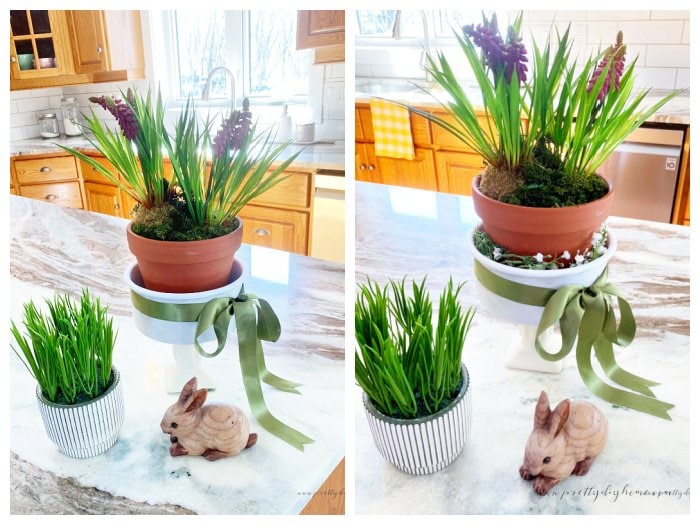
After tucking the florals into place, the final touch is a large, loopy green satin bow with fishtail cut ends.

Video Tutorial
If you prefer to watch the process instead of reading the steps, I have shared a short video tutorial on YouTube that walks through making this flowering bulb pot from start to finish.
The latest on Youtube:
If this Spring bulb pot inspired you, pin it to Pinterest so you can revisit it when the season rolls around.
Other Spring Pots and Planter Ideas
Moss and Terracotta Spring Centerpiece
Transferring real potted bulbs to a terracotta container is one of the best ways to make Spring bulbs last longer. This moss and terracotta centerpiece is a great way to add color to early Spring.
Clay Pot Lantern
How to make a clay pot lantern for your garden, with a clay pot, florals, and an inexpensive lantern cover