
DIY Outdoor Halloween Sign
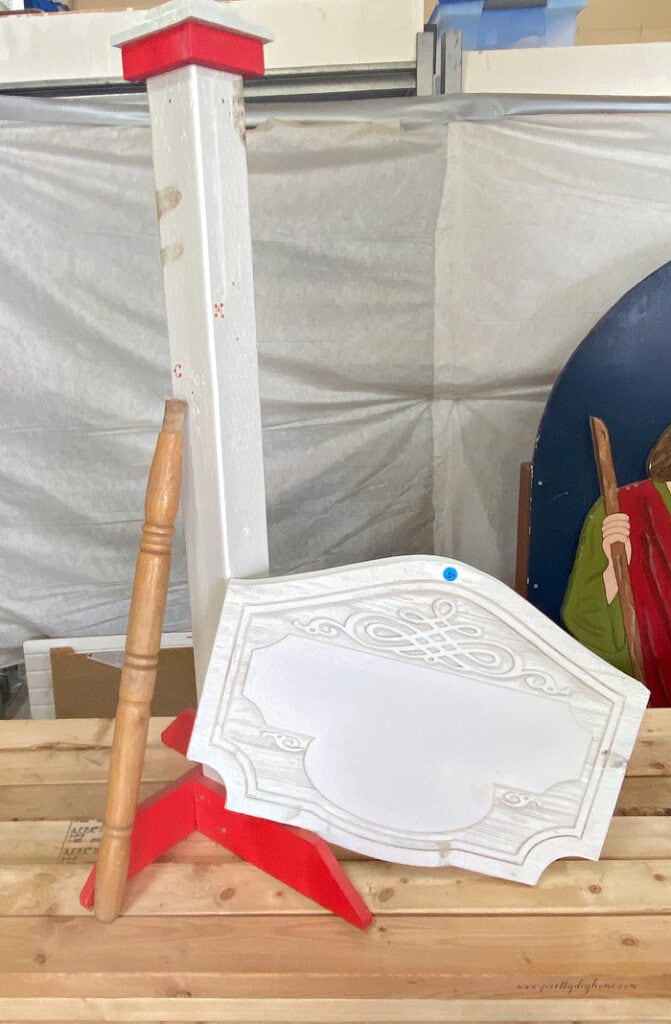
This DIY outdoor Halloween sign started with a funny little Christmas pole I found at a thrift store for only $4. It was definitely homemade and could easily be replicated with a fence post and cap, but for that price I grabbed it.
I’m pretty sure it was once a child’s stocking holder. I removed the parts I didn’t want but kept the post, base, and cap. Later, I found a blank sign at a garage sale and added a spindle from my stash.
What We Started With
Here’s what we started with: the post is 4 feet tall, and the spindle is 24 inches long.
How to Build This DIY Halloween Sign with Lumber
If you don’t find a thrifted post like mine, you can easily recreate the same look with basic lumber and a few simple supplies.
Supplies
Wood and Hardware
- 4×4 post
- Wooden dowel or spindle
- Scrap lumber for the base
- Scrap lumber for the top trim
- Sign board
- Post cap
- Screws and hooks
- Halloween chain
- Small Dollar Tree witch decoration
- Black glitter
Tools We Used
- Drill
- Spade bit
- Saw
- Measuring tape
- Paintbrushes
Painting and Finishing Supplies
- Black exterior paint
- Bright Halloween green paint
- Dark purple paint
- E6000 glue
- Orange permanent vinyl
Step 1: Build the Post Base
Start by cutting the lumber for the post and base. These measurements will give you a sturdy freestanding sign similar in size to mine.
- Post: Cut one 4×4 to 42 inches long.
- Spindle: Cut one wooden dowel or spindle to 27 inches long.
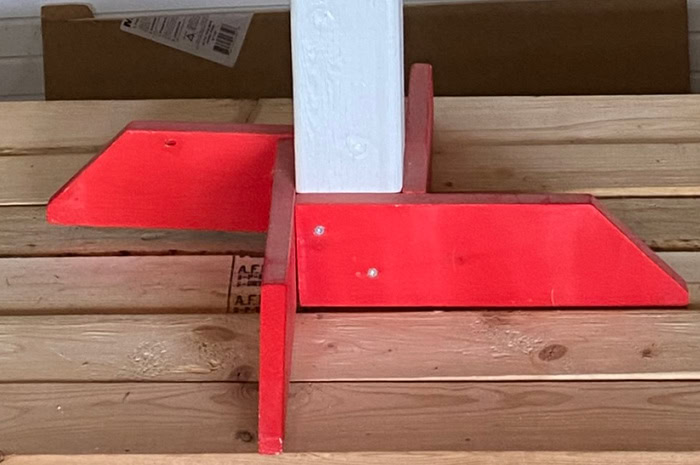
- Base pieces: Cut four pieces of 1×3 lumber to 12 inches long, with the outer ends cut at 45 degrees.
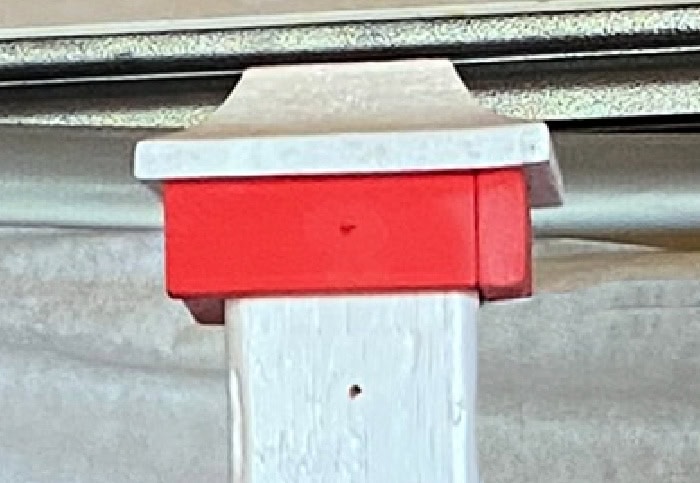
- Top support blocks: Cut four pieces of 1×2 lumber to 4 inches long.
- Sign board: Cut a piece of thin plywood or MDF to the size you want. About 24 by 18 inches works well with these proportions
Once all the pieces are cut, start with the base. Place the first base piece flush with the back edge of the 4×4 post and secure it with two screws. Fit the next piece snugly against it and attach it the same way. Repeat with the remaining two sides until all four base pieces are secure.
Step 2: Add the Cap and Details
Just like the base, fit the first 1×2 block flush with the edge of the post and secure it with screws. Place the next block snug against the first and repeat until all four sides are covered. Set the post cap on top and attach it with air nails or wood glue.
Step 3: Add the Spindle or Dowel Hanger
Use a spade bit slightly larger than the end of your spindle or dowel so it slides in easily. Drill a hole about 1 inch deep and 4 inches down from the top of the post, angling it slightly downward to help support the weight of the sign. Apply E6000 to the end of the spindle, insert it into the hole, and let it dry overnight.
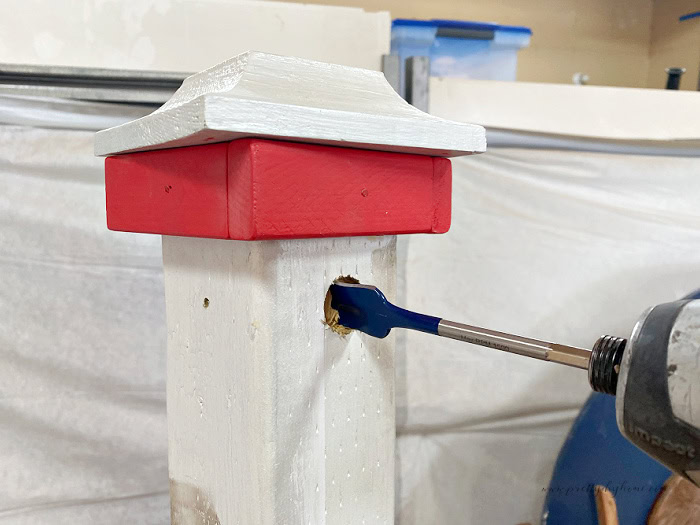
With the post assembled, set it aside while you prepare the sign board and add the “Candy for the Brave” lettering.
Add the “Candy for the Brave” Lettering
Lettering Supplies
- Orange permanent vinyl
- Transfer tape
- Cricut machine (Explore, Maker, or Joy)
- StandardGrip mat
- Weeding tool
- Scraper tool or an old credit card
- Access to Cricut Design Space
Prepare the Sign Board
Now we can start on the sign board. You can use a purchased sign, repurpose a wood-framed picture, attach a Dollar Store sign to plywood, or cut your own from plywood or MDF. Choose a size that fits your spindle and leaves enough room for the lettering.
Paint the Sign Board and Stand
Give the sign board and stand two coats of black paint, letting the paint dry between coats. I used Fusion Mineral Paint in Coal Black, but any good black exterior paint will work.
Once the black paint was dry, I added bright Halloween green to the raised trim and decorative details, then brushed dark purple over the recessed areas to give the sign more depth. Let everything dry completely before adding the vinyl lettering.
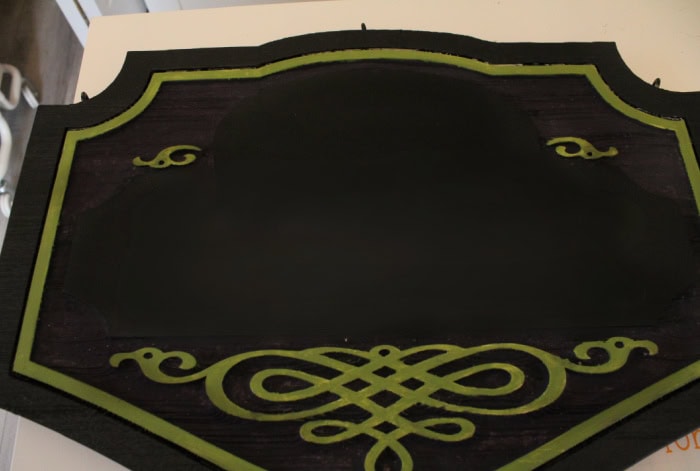
Adding the Vinyl Lettering
Step 1: Measure and Set Up the Text
Measure the area on your sign where you want the lettering to go. In Cricut Design Space, type Candy, for the, and Brave in separate text boxes so you can size and position each line individually.
I used BFC Pumpkin Spice for Candy and for the, and BFC Midnight for Brave so the last word would stand out.
Step 2: Prepare for Cutting
Adjust the text sizes to fit your sign, then arrange the words exactly where you want them. If you are cutting everything from the same orange vinyl, select all the text and click Attach to keep the layout in place. Then click Make to continue.
Step 3: Cut the Vinyl
When prompted in Cricut Design Space, place the orange permanent vinyl on a StandardGrip mat, smoothing out any bubbles. Load the mat into your Cricut with the fine point blade installed and select Vinyl from the material settings.
Press Go and let the machine cut the design. Before unloading the mat, check that the vinyl has cut cleanly. If needed, press the play button again to repeat the cut in the same position.
Step 4: Weed the Design
After cutting, remove the vinyl from the machine and trim away any excess. I like to leave the vinyl backing on the mat while I weed because it keeps everything steady.
Use a weeding tool to remove the unwanted vinyl, starting with the larger areas and then the small pieces inside letters like a, e, and o. I also trim away larger pieces of weeded vinyl as I go so they don’t stick back onto the design.
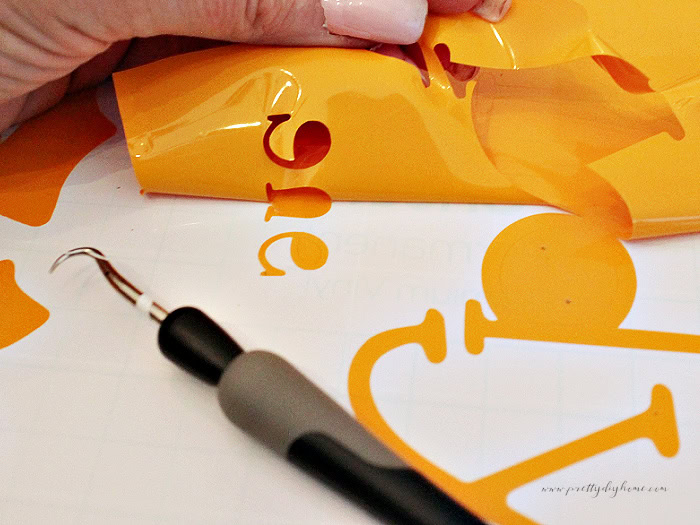
Step 5: Transfer the Vinyl
Cut a piece of transfer tape slightly larger than your design. Peel the backing off the transfer tape and place it over the vinyl lettering. Use a scraper tool or an old credit card to press firmly over the entire design, making sure all the letters adhere to the transfer tape.
Next, flip the mat over and slowly peel away the vinyl backing, leaving the letters attached to the transfer tape.
To center the lettering, lightly fold the transfer tape in half to make a small crease at the center. Mark the center of your sign with chalk, then line up the two center marks. Press the design into place, smooth it down with the scraper tool, and carefully peel away the transfer tape.
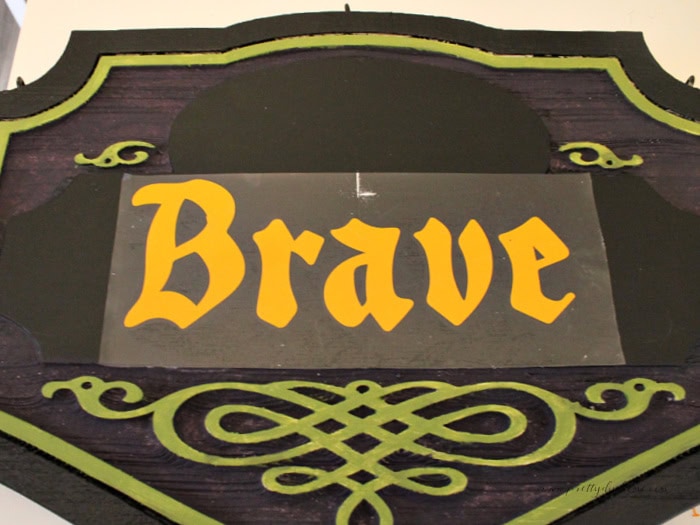
Repeat the same process to apply “Candy” and “for the,” positioning them above “Brave” to complete the lettering.
For a little extra Halloween sparkle, I added a small Dollar Tree witch to the front of the sign and accented it with black glitter.
Hang the Halloween Sign
Attach three hooks evenly across the top edge of the sign, one at each end and one in the middle. Add three matching hooks along the underside of the spindle. Hang the sign with Dollar Store plastic Halloween chain, then adjust it until the sign is centered and hanging straight.
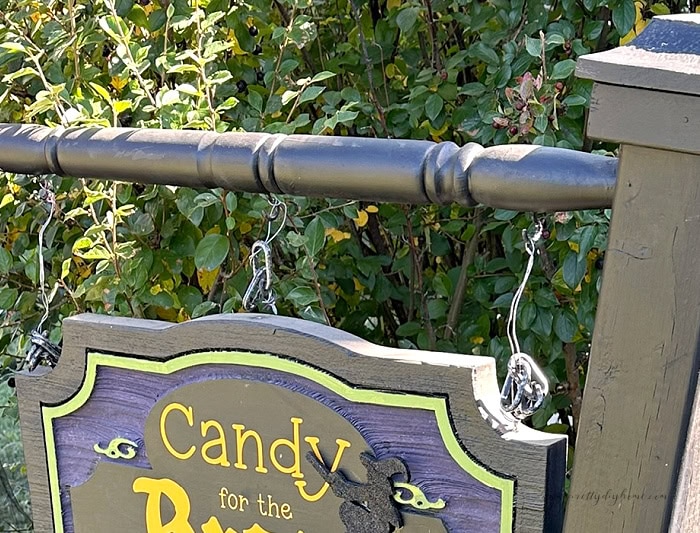
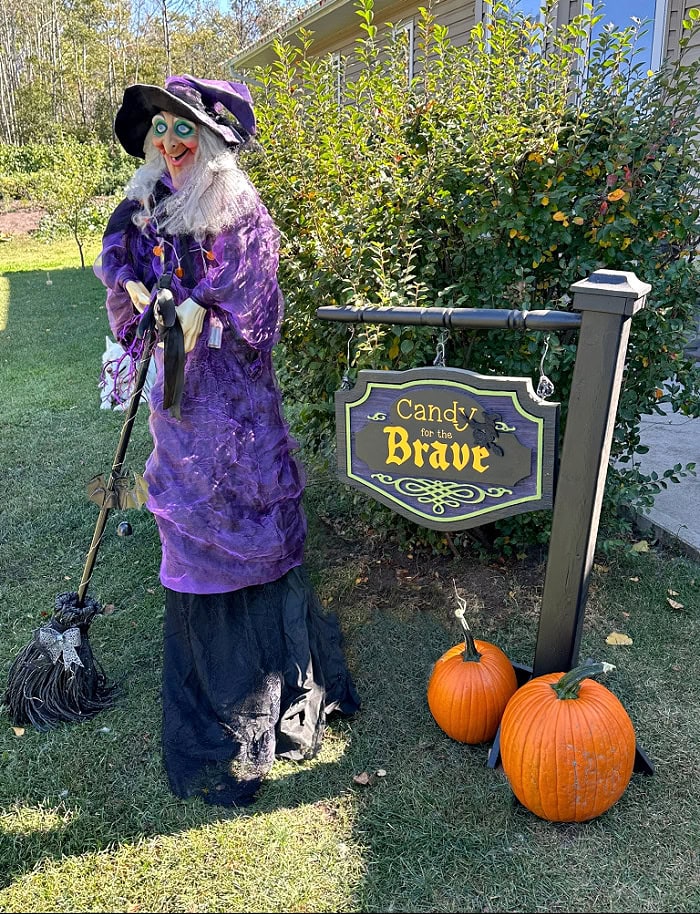
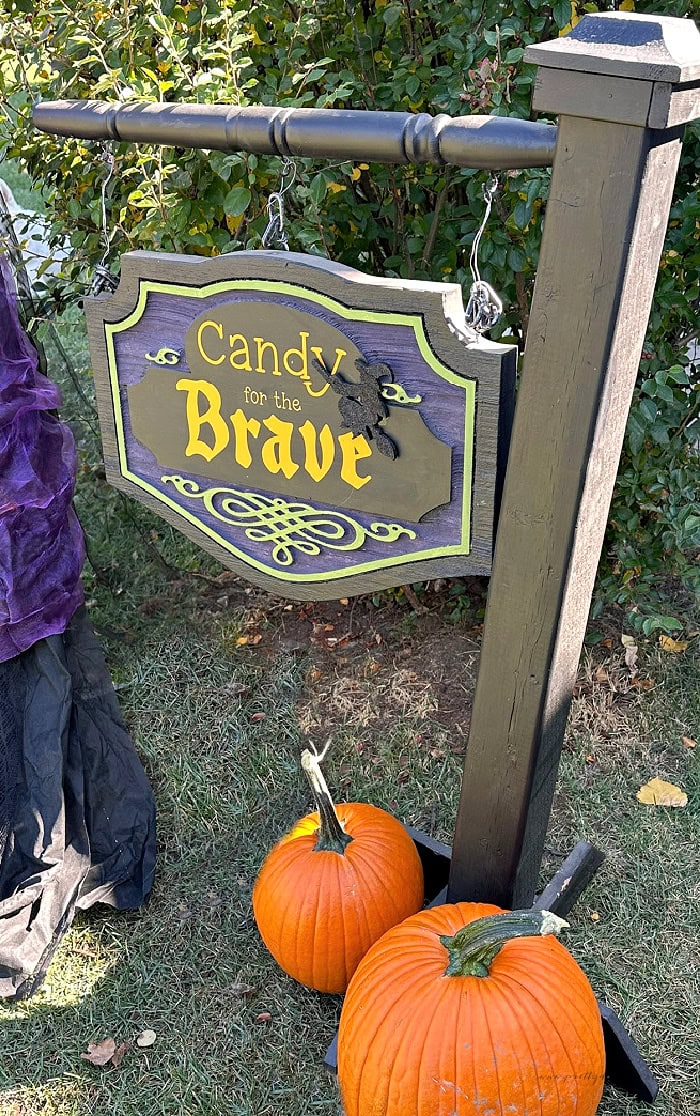
I love how this thrift store find turned into such a fun outdoor Halloween decoration. The “Candy for the Brave” saying is a little different from the usual Halloween signs, and because this one is larger and more elaborate than most store-bought versions, it has much more presence on the porch or near the front door.
The bright green, purple, and orange give it plenty of Halloween color, while the tall post and hanging sign make the whole display easy to spot.
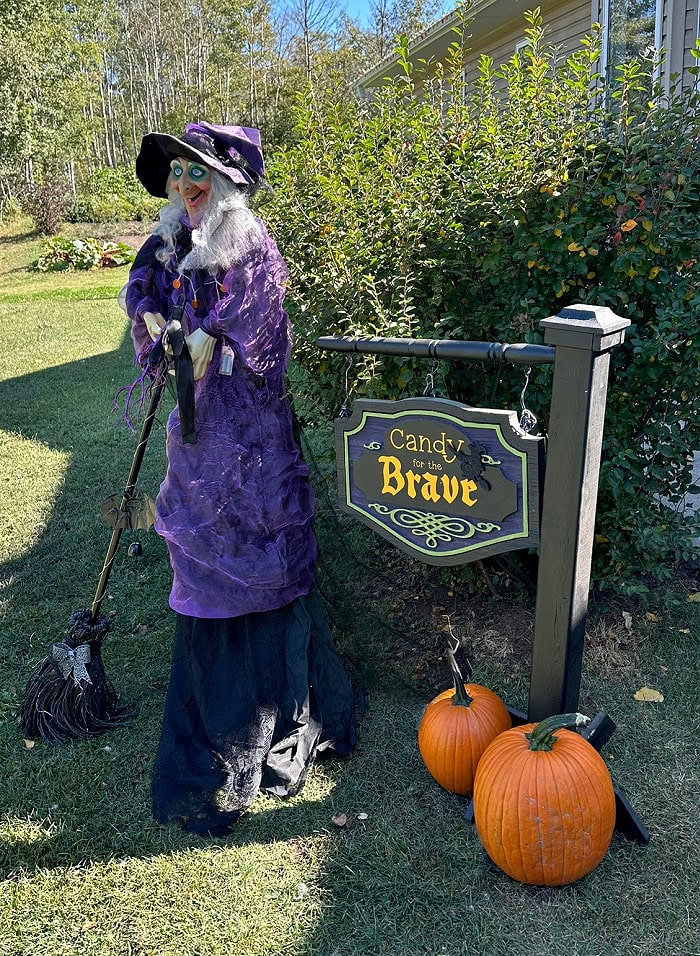
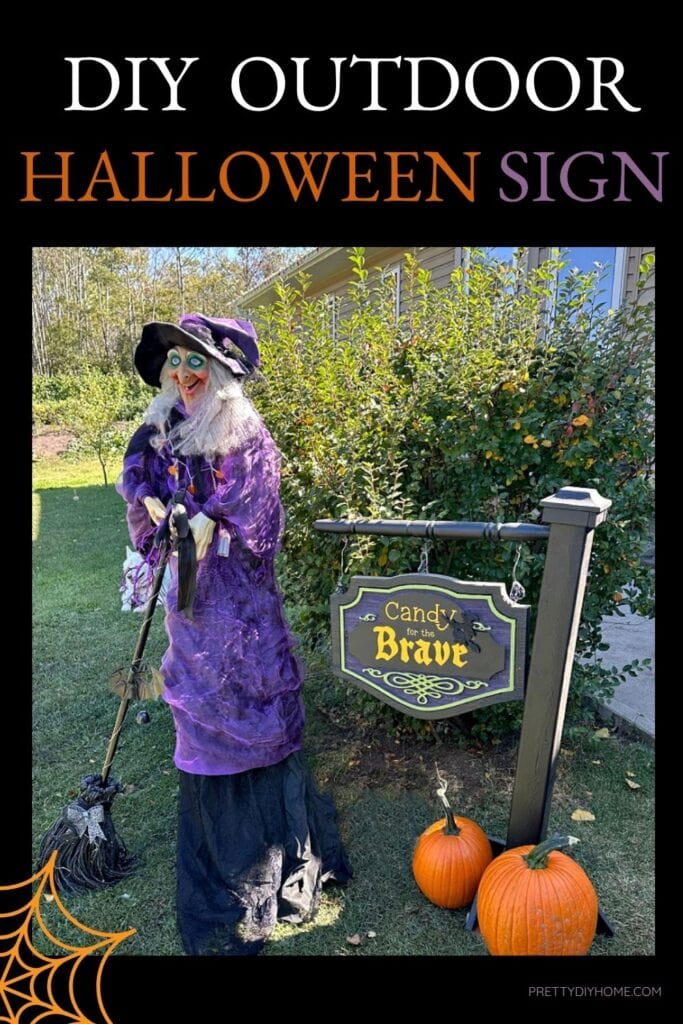
Save this DIY outdoor Halloween sign to your Halloween decor board so you can find it when you are ready to decorate. The Candy for the Brave sign is a fun way to turn thrifted finds or simple lumber into a larger Halloween decoration for the porch or front yard.
More Witchy Halloween Ideas
I love Halloween witches because they can be feminine and whimsical, often dressed in pretty purples with just the right amount of sparkle. If you enjoy decorating with witches too, here are a couple more ideas you may like.
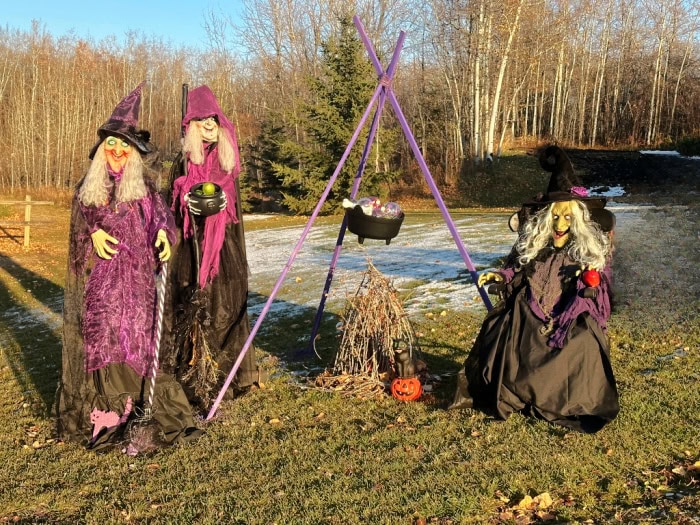
How to Upcycle DIY Life-Size Witches for Halloween
These life-size Halloween witches look much more elaborate than they really are. Instead of expensive animatronics, they were upcycled from inexpensive Halloween decorations and given a much more dramatic look.

Witch Halloween Costumes, Decor, Recipes & Crafts
This roundup is packed with witch-themed Halloween ideas, including costumes, decorations, crafts, and recipes. It is a fun place to browse if you want even more ways to add a little hocus pocus to Halloween.