DIY Tin Can Projects: Repurposed Vintage Easter Gift Tins
I picked up several mismatched vintage metal tins at a recent auction with plans to resell them. Some cleaned up nicely and quickly found new homes, leaving me with a few old and rusty leftovers that were perfect for crafting.

Although the tins had seen better days, I had been looking for a simple tin craft to make for Easter, and these lidded tins ended up being just right for the project. The lids were stuck together with rust, but with a little prying, sanding, primer, paint, and waxing, they were easy to refresh. Adding wooden egg knobs and bunny artwork gave them a soft seasonal look for spring.

If you come across older tins at thrift stores or auctions that aren’t quite pretty enough to use as they are, this project is a great way to give them new life while creating decorative Easter storage or small gift containers. Vintage tins work beautifully, but you can also use recycled food cans or inexpensive dollar store tins for the same project.
Supplies Needed for This DIY Tin Can Project
Before getting started, gather a few simple supplies. Vintage tins work beautifully for this project, but you can also use recycled lidded food cans or inexpensive dollar store tins if that’s what you have on hand.
- Old metal tins with lids
- Sandpaper (medium to fine grit)
- Zinsser 123 Primer
- Fusion Mineral Paint (cream or color of choice)
- Small paintbrush
- Plain candle (for waxing lid rims)
- Wooden Easter eggs for lid handles (optional)
- Screws for attaching knobs
- Drill
- Free bunny printables
- Thin muslin fabric, napkin, or tissue paper
- Freezer paper
- Parchment paper (optional for ironing)
- Green painter’s tape
- Inkjet printer
- Mod Podge (matte)
- Ribbon, lace, or bows for decorating
How to Repurpose and Paint Old Metal Tins
Step 1: Wash the Tins Thoroughly
Remove the lids from the tins and wash them thoroughly using warm soapy water to remove dust, grease, and grime. This simple first step can already make a noticeable difference.
Allow the tins to dry completely before continuing.
Step 2: Sand the Rims and Remove Rust
Older tins often develop rust around the rims, which can make the lids difficult to open. These ones needed some not-so-gentle prying to get open, but once opened the rest was quick to fix.
Lightly sand the rim of the tin, along with the inside and outside edges of the lid, using 120-grit sandpaper.

As you sand, you will notice the rust disappear and the metal become shiny again. Once that happens, test the lid to see if it fits more easily. If it is still tight, continue sanding for another minute or two and test again.
Step 3: Prime and Paint the Tins
Prime and paint the tins both inside and out. Apply one coat of Zinsser 123 primer, then follow with two coats of linen or cream-colored paint (I used Fusion Mineral Paint in Limestone). Mineral paint provides a soft, flat finish that works especially well for cottage-style decorating.

Paint carefully around the top edge where the lid meets the tin. Skip painter’s tape and instead start from the underside of the rim using a small brush, working downward. This helps keep paint out of the contact area while still creating a clean finished edge.
Allow each coat to dry fully before applying the next.
Step 4: Add Candle Wax
Once the paint is dry, rub a plain candle lightly along the lid rim and the top edge of the tin.
Use a very light touch. You are not trying to coat the surface with wax; just leave a thin layer behind to reduce friction between the lid and the tin.
The wax creates a barrier that allows the lid to slide on easily without damaging the painted surface. Twist the lid on and off several times to spread the wax evenly.
Step 5: Add Wooden Egg Knobs to the Lids
Adding handles to the tops of the lids is optional, but since I had some small wooden Easter eggs in my stash, I used them as decorative lid handles instead of traditional cabinet pulls.
Start by drilling a small hole into the flat bottom of each wooden egg.
Next, measure and mark the center of each lid before making the hole. Taking a moment to measure and double-check helps keep the knob centered once attached. Make a hole through the lid, then insert a screw from the underside of the lid into the wooden egg to create a sturdy decorative knob.

The added handle makes the lids much easier to lift while also adding a fun Easter detail.
Step 6: Decorate the Easter Tins with Printed Fabric
The tins already look much better and now it’s time for the fun part, personalizing them.
Thin muslin fabric works very well for this project, but if you don’t have any on hand, a single ply white napkin or tissue paper will create a similar look using the same steps.
There are two parts to creating the bunny labels. Download the printables and prepare the fabric for printing.
Download the Bunny Printables
Begin by downloading the bunny labels created for this project. The printables are available in three sizes: 4 x 5 inches, 3 x 5 inches, and 1.5 x 2.5 inches, so you can choose the best fit for your tins.
Click the link below to open the folders for each size.
Prepare the Fabric for Inkjet Printing
Printing fabric with an inkjet printer is not recommended by most manufacturers, but it can work well for craft projects. If you decide to try it, do so at your own discretion.
Cut a piece of freezer paper to letter size and a piece of muslin approximately 7.5 by 10 inches. The bunny design prints in the center, so the fabric size does not need to be exact. Just make sure the fabric is slightly smaller than the freezer paper.
Iron the muslin smooth, then center it on the shiny side of the freezer paper. Tape all four edges with painter’s tape, making sure no fabric extends past the paper.
Place parchment paper over the fabric to protect your iron, then iron the freezer paper to the muslin to secure it in place.

Once supported with the freezer paper backing, the fabric should feed smoothly through most inkjet printers. If the fabric lifts or causes problems, secure the edges with painter’s tape and sew a straight stitch around the outer edge before printing. Ironing the muslin onto freezer paper and taping the edges helps create a stable sheet that feeds through the printer more easily.

The bunny designs print directly onto the muslin once the fabric is backed with freezer paper.
Printing and Preparing the Bunny Designs
Once printed, fold the fabric so the edges of the bunny image line up with each other. Start by folding the fabric in half, matching the top edges of the bunny image together, then fold it again so the side edges line up. This helps keep the fabric border even on both sides of the image when trimming or ripping the edges.

Trim approximately a half-inch border around the design.
To create a shabby look, gently pull a few threads loose around the edges with your fingers to create a naturally frayed finish.
Step 7: Attach the Fabric Bunny Designs
To attach the fabric prints, position them on the front of the tin directly across from the back seam so the design sits centered.
Apply a thin layer of matte Mod Podge to the front of the tin. Place the printed muslin over the Mod Podge and check that the edges are sitting flat. Lift the edges slightly and add more Mod Podge underneath if needed.

Gently press the fabric onto the tin, smoothing out any wrinkles.
Do not apply Mod Podge over the top if you want to keep the soft fabric texture rather than creating a sealed decoupage finish.
Step 8: Finish Decorating the Easter Tins
Allow the Mod Podge to dry completely, preferably overnight.
Once dry, decorate the tins with bows, ribbons, lace, or any embellishments you like to personalize each one.

Ideas for Filling Easter Gift Tins
Once finished, these tins make charming reusable gift containers.
Teen Gift Tin
Fill with nail polish, an emery board, nail stickers, or small beauty items.
Homemade Treat Tin
Perfect for homemade chocolates or truffles lined with parchment paper.
Money or Gift Card Holder
Add shredded paper grass, candy, and tuck in a gift card or folded bills.
Coffee or Tea Gift
Fill with tea sachets, coffee packets, or small chocolate treats.

These tins also make a fun alternative to traditional Easter baskets when you want to give a simple but thoughtful gift.
These Easter bunny tins were a fun way to give new life to a few older pieces that might otherwise have been overlooked. With a little preparation and some simple decorating, they turned into charming seasonal containers that can be used for gifting or decorating year after year.
Sometimes the best projects come from using what you already have and adding a creative touch along the way.
If you’re looking for a simple Easter craft that turns thrifted finds into thoughtful handmade gifts, these bunny tins are a fun project to save and try this spring.
More Easy Easter Craft Ideas
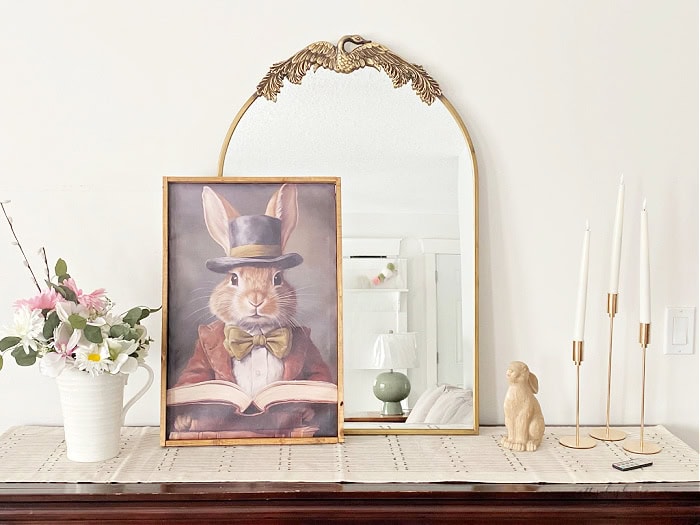
DIY Wood Frame for Canvas Easter Prints
If you enjoy creating handmade Easter decor, try making these simple DIY wood frames for canvas Easter prints. It’s an easy way to add affordable seasonal artwork to your home.
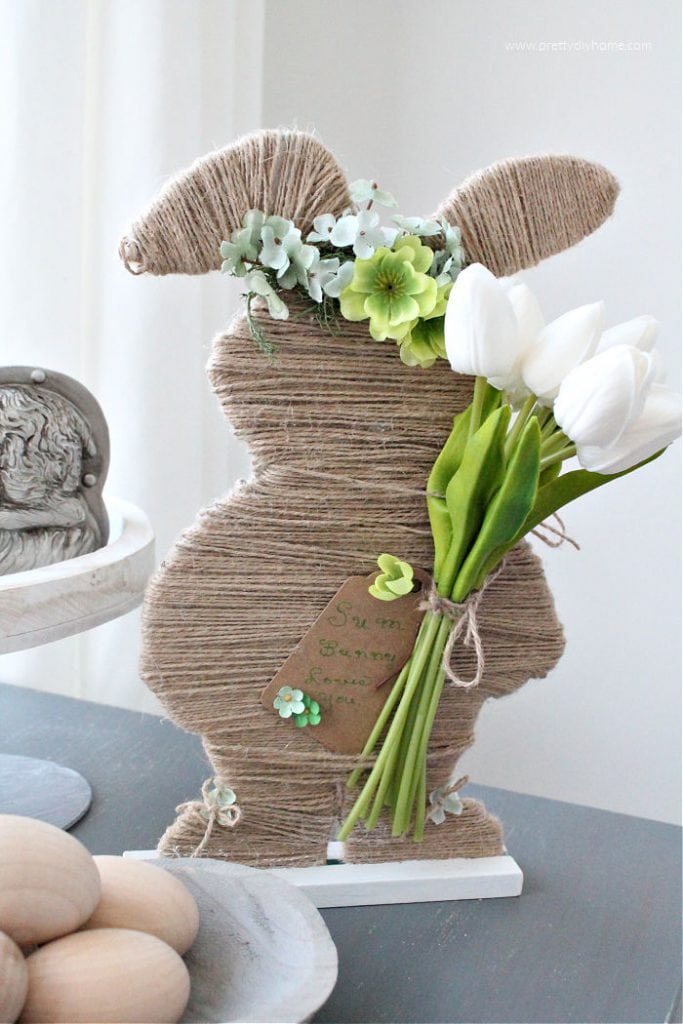
Dollar Store Easter Bunny Craft
Looking for another easy Easter project? This Dollar Store Easter Bunny Craft is a quick and inexpensive decorating idea made with a dollar store cutout, twine, and florals.