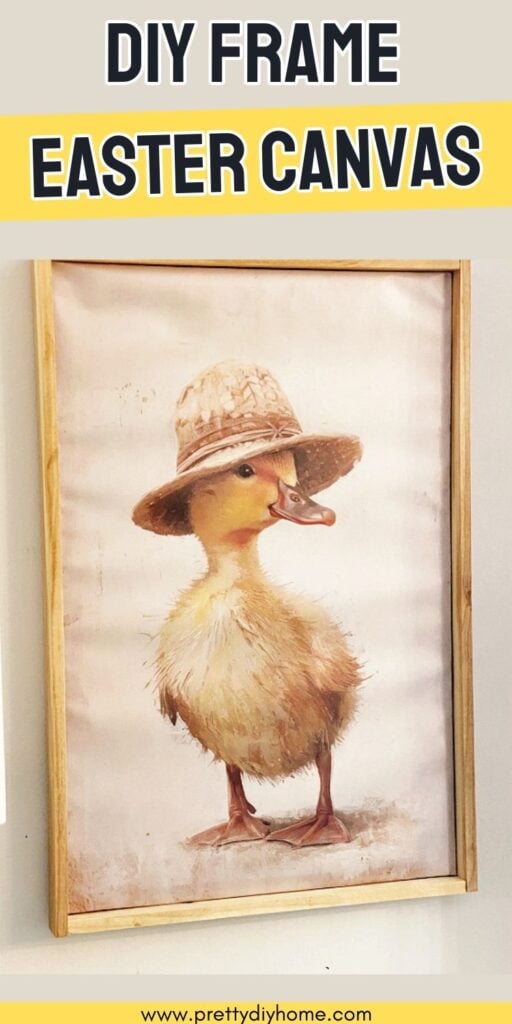
How to Frame a Canvas Print with Wood (3 Easy DIY Methods)
Styles and trends change over time, and I find that my decorating does too. A few years ago, worded farmhouse signs were everywhere. They were fun, cheerful, and so easy to DIY. For a while, they felt just right. But as styles shift, sometimes we want something a little quieter and more timeless without replacing everything we already own.
One thing I always come back to is simple wood frames. They add warmth, texture, and a finished look to even the most inexpensive artwork.
Today I am sharing how to frame a canvas print with wood using three easy DIY methods. For this example, I used sweet Easter bunny canvas prints, but this framing method works for any season and any room in your home.
What I love most about this project is how inexpensive it is. You can build these simple wood frames for just a few dollars using basic lumber or trim. These flush frames hug the canvas and give it a custom look without the custom price. You do not need fancy tools or complicated cuts. Just a few supplies and a little time.
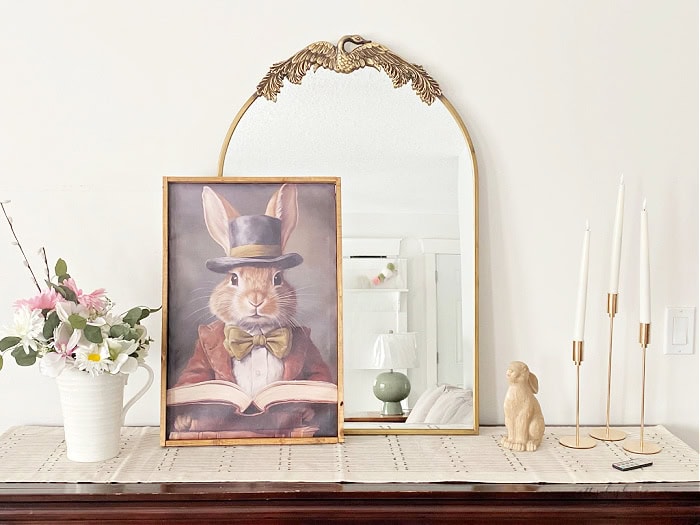
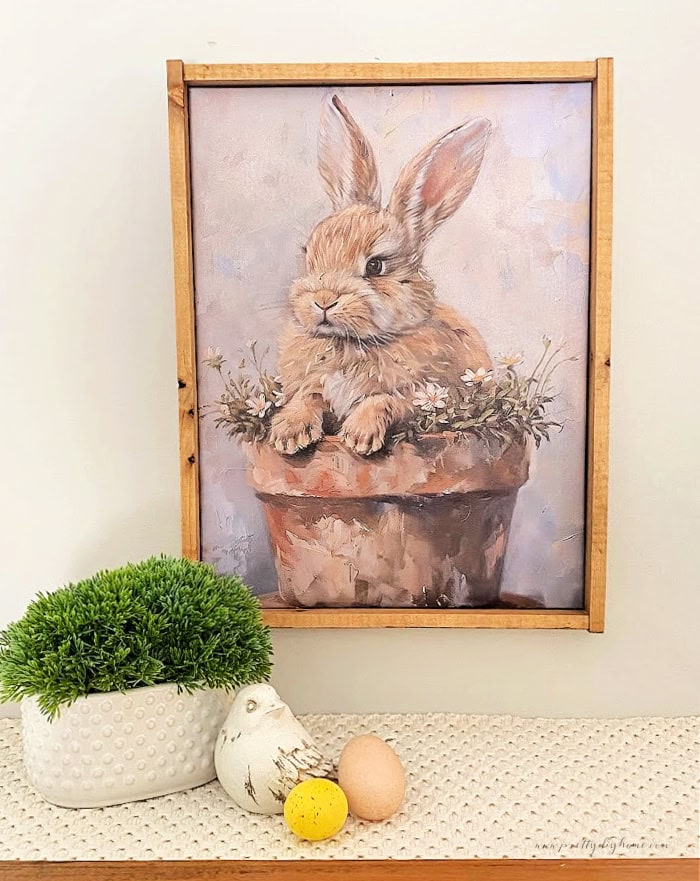
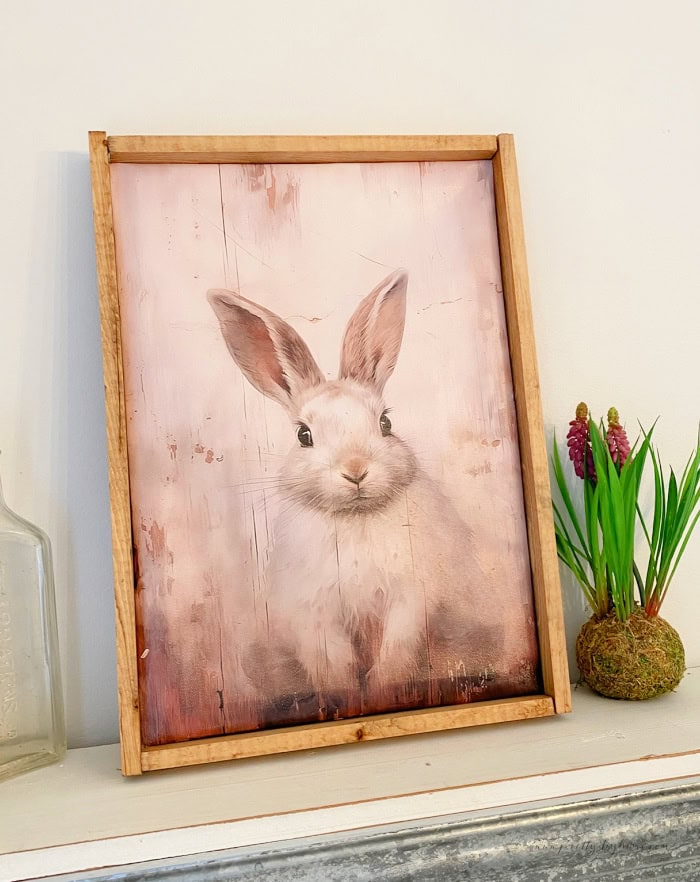
For this tutorial, I chose a set of charming Easter bunny canvas prints. This sweet little rabbit in his top hat, holding a book, has just enough whimsy without feeling loud or trendy. Framed in simple wood, he feels finished and timeless instead of temporary.
I chose vintage-style images on purpose. When I began moving away from farmhouse decor, vintage artwork felt like a natural transition. Not necessarily because I loved it more, but because it was affordable and easy to source. Thrifted finds, inexpensive prints, and simple wood frames made it possible to update my decor without starting over.
Where to Find Easter Bunny Art on Canvas
You do not need expensive artwork to create a finished look. Simple canvas prints are widely available, especially in seasonal themes, and they are an easy way to refresh a space. The key is how you present them.
By framing them with real wood, even an inexpensive canvas feels more intentional. The natural grain and weight of the wood add warmth and structure, helping the artwork blend into your decor instead of looking like a last-minute seasonal addition.
Method 1: How to Frame a Premounted Canvas Print
This is the simplest method because the canvas is already stretched and mounted on a frame. All we are doing is adding an outer wood frame to give it a more finished look.
If you find inexpensive prints at the dollar store, thrift shops, or home decor stores, this is an easy way to elevate them without much effort.
To create the frame, you can use 1-by-2 lumber or a length of simple molding. Begin by measuring the outside dimensions of your canvas. My bunny canvas measures 11.8 inches by 15.7 inches and was just $10, which makes this an especially budget-friendly update.
Supplies
- 1 by 2 lumber or plain molding
- Wood stain or paint of your choice
- Wood filler (optional)
- Sawtooth hanger
Step 1: Measure the Canvas
Turn your canvas over and measure the outside dimensions of the existing frame. Be sure to measure carefully from edge to edge, as these numbers determine the length of your wood pieces. ( Remember to measure twice before cutting your wood.)
My canvas measured 11.8 inches wide by 15.7 inches tall.
Step 2: Cut and Stain the Wood
We are using simple 90-degree straight cuts with overlapping corners to keep this project easy, instead of mitered 45-degree corners that can be harder to line up perfectly.
Hubs used a miter saw to cut the wood, but you can use a circular saw, jigsaw, or even a handsaw for this step.
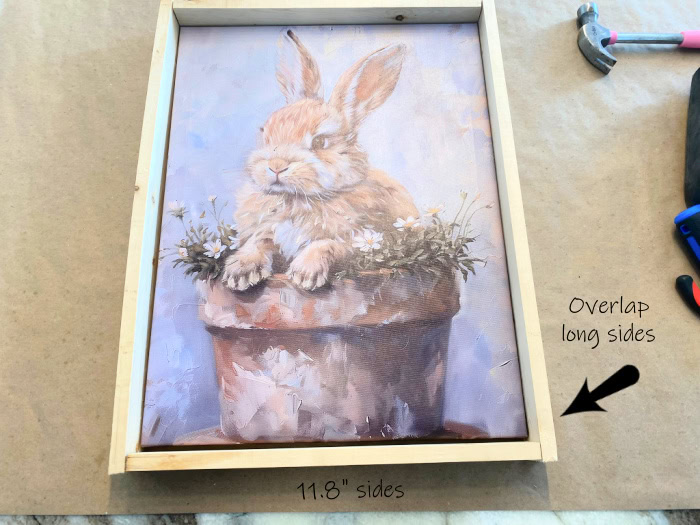
Start by cutting the top and bottom pieces of your frame. Using 1 by 2 lumber, cut two pieces to match the width of your canvas. Mine measured 11.8 inches.
Lay the top and bottom pieces against the canvas frame first. The side pieces will overlap the ends of those boards, which is why they measure slightly longer.
Measure the full height from the outer edge of the top board to the outer edge of the bottom board to determine the correct length for your side pieces. My side pieces measured 16.8 inches.
My original plan was to leave the wood natural, but I decided the print would look nicer in a stained frame.
To finish the boards, I applied oak stain using a small paint sponge. You can choose any stain color you prefer.

Apply the stain evenly, then wipe away the excess with a clean sponge or cloth. Be sure to cover all six sides of each board. Allow the wood to dry fully before flipping it over to stain the underside.
Drying time will vary depending on the brand of stain you use, so follow the instructions on the can.
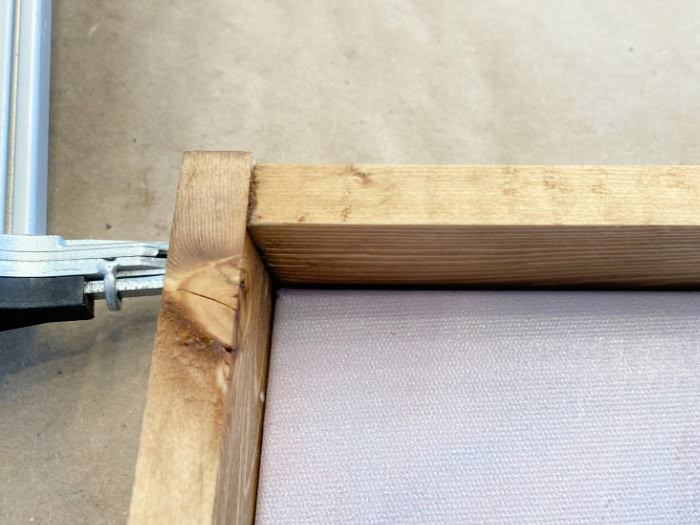
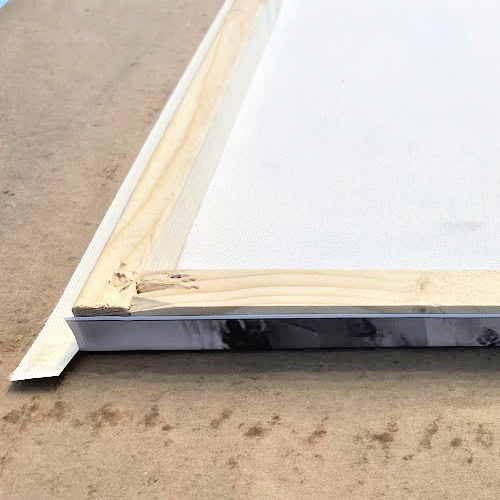
Step 3: Build and Attach the Outer Frame
Place the four finished boards around the outside edge of your canvas. Start with the top piece and press it firmly into place for a snug fit against the existing frame.
Using a brad nailer or small finishing nails, attach the board to the back frame of the canvas. Add nails at both ends and one in the center, making sure the wood frame is tight against the canvas.
Next, attach the bottom board the same way. Then stand the piece upright, align the side boards so they overlap the top and bottom pieces, and nail them in place.
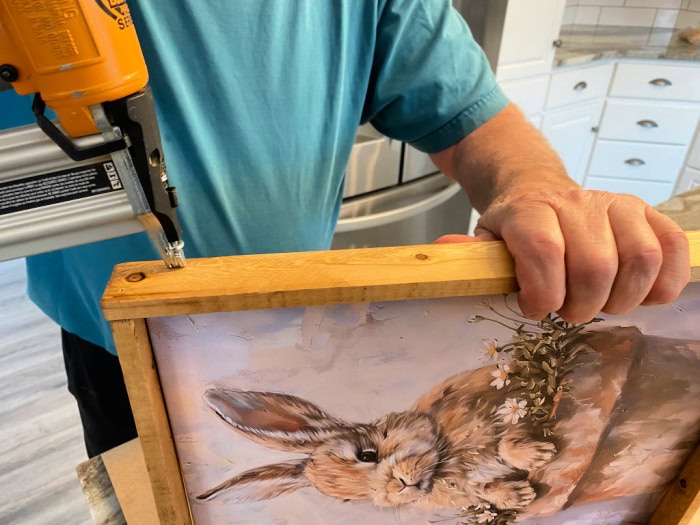
Hubs added two extra nails at each corner to give the frame additional strength and stability.
I love how it looks once it is finished.
Method 2: How to Mount and Frame an Unstretched Canvas Print
Here is an easy way to mount a canvas that comes without a back frame. Rather than building one from scratch, we can reuse an existing stretched canvas frame, swap in the new artwork, and then add the outer wood frame.
Supplies
Since we will be attaching the outer frame with nails, there is no need to staple the canvas in place. Instead, I used double-sided tape to stretch and secure the fabric, and it worked very well.
- Canvas art print
- An old stretched canvas frame in the same size or slightly smaller
- Small flathead screwdriver
- Needle nose pliers
- Double-sided tape
- Brad nailer or small finishing nails
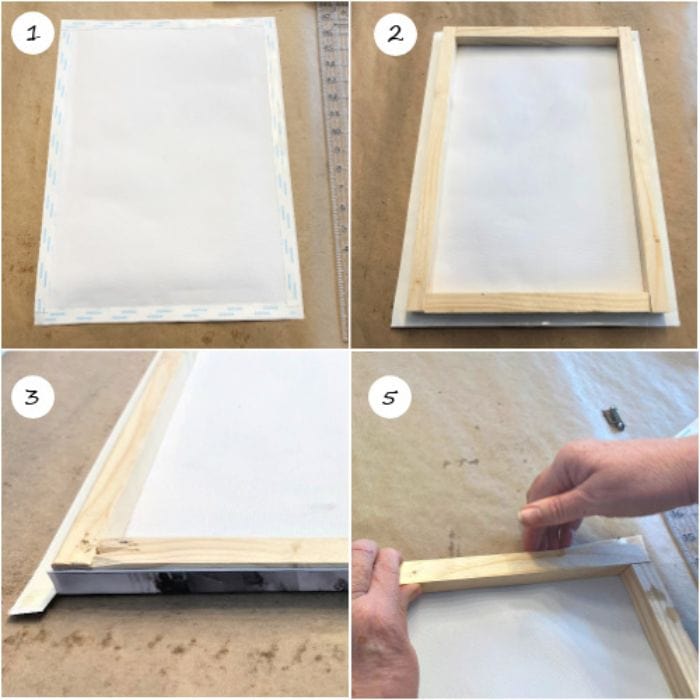
Step 1: Remove the Old Canvas
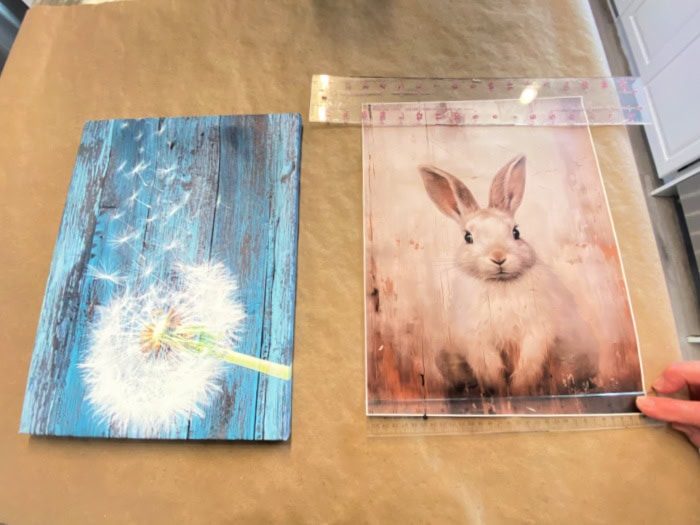
Thrift stores often carry inexpensive canvas prints in a variety of sizes, which makes them perfect for this method. I brought a ruler with me to find one that matched my new print as closely as possible.
Carefully remove the staples holding the old canvas in place. A small flathead screwdriver works well to pry them up, and needle-nose pliers make it easy to pull them out completely. Once the staples are removed, you will have a clean wood mounting frame ready to reuse.
If you cannot find one at a thrift store, check the dollar store for plain stretched canvases in standard sizes. These are affordable and easy to swap.
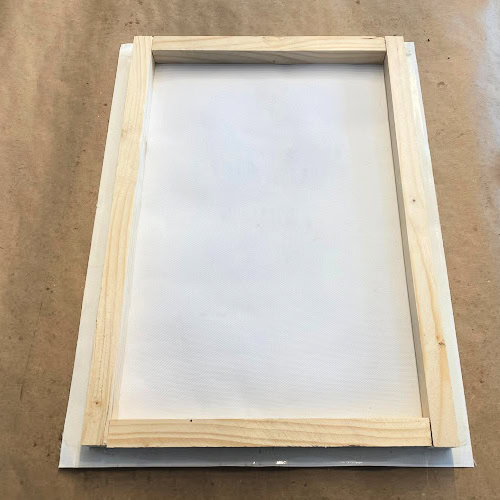
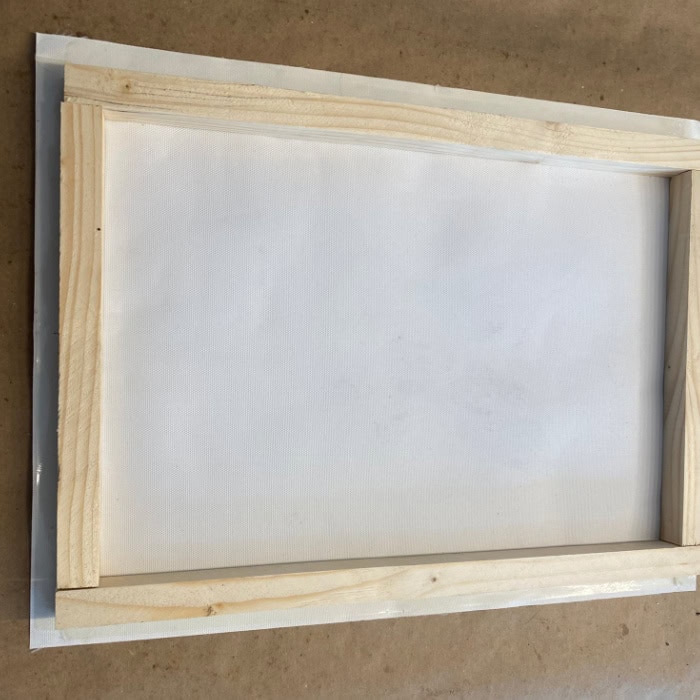
Step 2: Stretch and Attach the Canvas
Lay the new canvas print face down on a flat surface and smooth it out gently.
Apply double-sided tape along the outer edge of the canvas. Center the mounting frame over the print, making sure the design is positioned correctly. I was able to center mine by eye, but you can measure if you prefer.

Notice that many commercially made canvas frames are built with simple scrap wood. They are not high-end, but they are perfectly functional. Scrap wood will work just as well when we build our own frame later.
Make a small snip from the edge of the canvas toward the mounting frame at each of the four corners. This allows the fabric to fold neatly without bunching.
Remove the paper backing from the tape. Starting on one short side, fold the canvas over the frame and press firmly to secure it in place.
Next, pull the canvas tightly across to the opposite side. Once it is smooth and stretched, fold that edge over the frame and press firmly to secure it.
Fold the corners neatly as needed so they lie flat.
Repeat this process on the remaining sides, finishing with the bottom short edge.
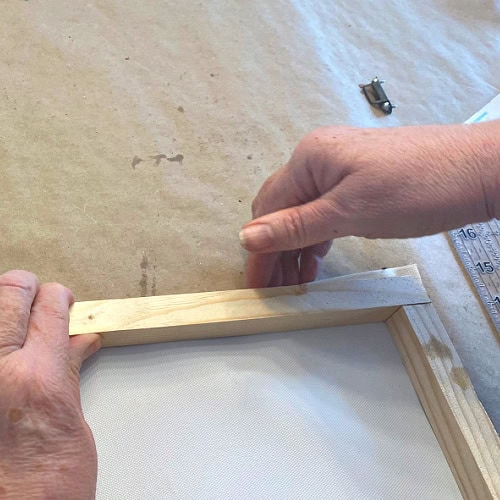
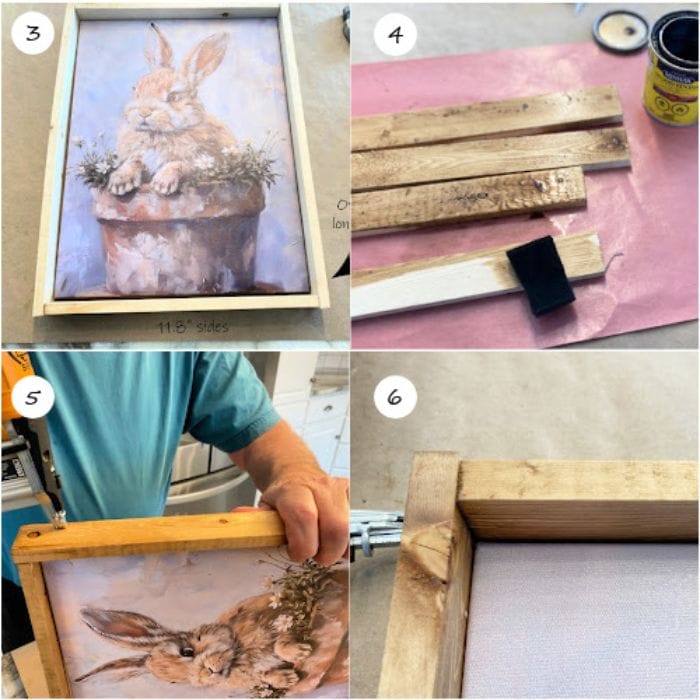
Step 3: Build and Attach the Outer Frame
Now build the outer frame using the same process from Method 1.
Measure the finished canvas and cut two boards for the top and bottom. Lay them in place, then measure the full height, including the corner overlap, to determine the length of the side pieces.
Once your pieces are cut, stain or finish them as desired.
Attach the top board first, pressing it firmly against the mounting frame and nailing it in place. Repeat with the bottom board, then attach the two side pieces. Add extra nails at the corners for additional strength.
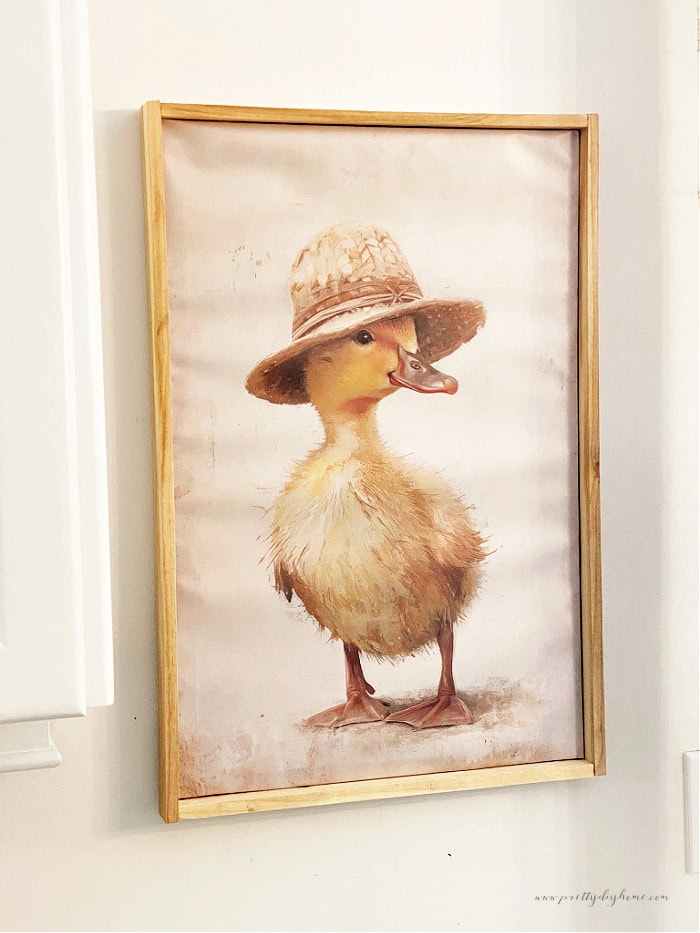
For this frame, I left the wood natural. It brought out the warm yellow tones in the canvas and gave it a softer look.
Method 3: How to Build a Canvas Frame from Scratch
As always seems to be the case, the least expensive option takes a little more effort. This whimsical rabbit canvas cost me just $2.69 in Canada, which made the extra work well worth it. Because it arrived rolled in a tube, we needed to build both the mounting frame and the outer wood frame.
You could reuse an existing frame, like in Method 2. But if you do not mind a few extra steps, building your own mounting frame is simple and very affordable.
Step 1: Measure and Allow for Folding
Place your canvas face down on a flat surface and measure the full length and width.
To allow the fabric to wrap around the frame, subtract about 1 inch from each measurement. For example, if your canvas measures 12 by 16 inches, your diy wood mounting frame should measure approximately 11 by 15 inches.
Lay your cut pieces directly on top of the canvas to confirm the fit before assembling the frame. You should see a small margin of fabric around the edges for folding.
Step 2: Cut and Build the Mounting Frame
Hubs used 1 by 2 lumber and ripped it in half on the table saw so the finished pieces measured approximately 3/4 by 3/4 inch. Scrap wood works well for this, and even 1-inch plywood can be used. You can also purchase precut square dowels at the craft store if you prefer.
Cut two long pieces and two short pieces according to the adjusted measurements from Step 1.
To assemble the DIY wood mounting frame, place the long pieces along the outside edges of the short pieces and secure them with a brad nailer or small finishing nails.
Your mounting frame is now complete. Next, we will stretch the canvas.
Step 3: Stretch the Canvas
The stretching process is the same as in Method 2.
- Lay the canvas face down on a flat surface and smooth it gently.
- Apply double-sided tape along the outer edges. Center the DIY wood mounting frame over the design, making sure it is positioned correctly. I was able to center mine by eye, but you can measure if you prefer.
- Cut a small snip at each corner to allow the fabric to fold neatly.
- Remove the tape backing and begin with one short side. Fold the fabric over the frame and press firmly to secure it.
- Pull the opposite side tight, fold it over, and secure it. Fold the corners neatly, then repeat for the remaining sides.
Repeat this process for the other two sides.
Finally, go ahead and build an outer frame the same way.
Step 4: Build and Attach the Outer Frame
Build and attach the outer wood frame using the same method described in Method 1.
- Measure your finished canvas.
- Using 1 by 2 lumber, cut two boards for the top and bottom of the frame.
- Lay those boards in place against the canvas. Then measure the full height, including the overlap at the corners, to determine the length of the side pieces.
- Once all pieces are cut, stain or finish the wood as desired and allow it to dry.
- Attach the top board first, pressing it firmly against the back frame and nailing it in place. Repeat with the bottom board, then attach the two side pieces. Add extra nails at the corners for additional strength.
- Once finished, your framed canvas is ready to hang. The simple wood frame adds warmth and depth without overpowering the artwork.
Here is the final picture frame with a canvas. It adds a bit of warmth to our very white kitchen.
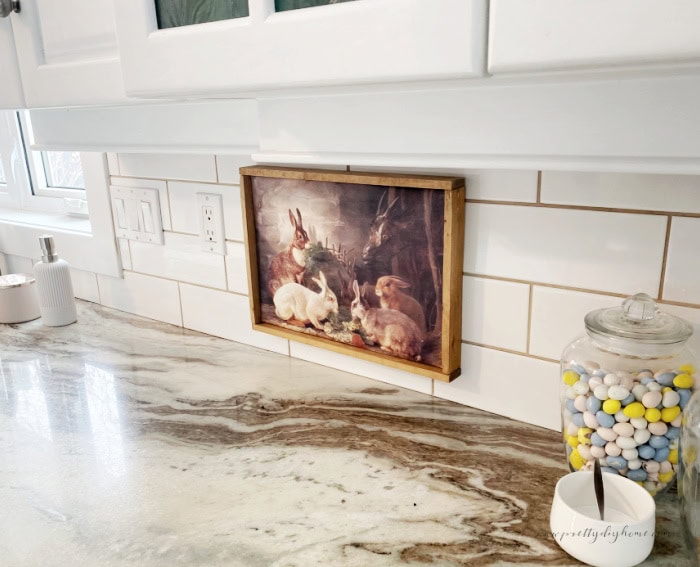
I created several of these canvas art prints in a wood frame for every room in our home. Although they were different shaped they were all framed and matted the same way. They look everybit as nice as the very expensive one I am able to buy in a local gift shop, and were worth every minute it took to fix them.
How to Hang a Framed Canvas Print
You can finish your frames by adding a saw tooth hanger to the back of the wood frame. You may choose to just hang them as they are from a nail or screw fixed into the wall. Because my frames are seasonal I used double layers of command strips on the back of mine.
More Wood Decor Ideas for Spring
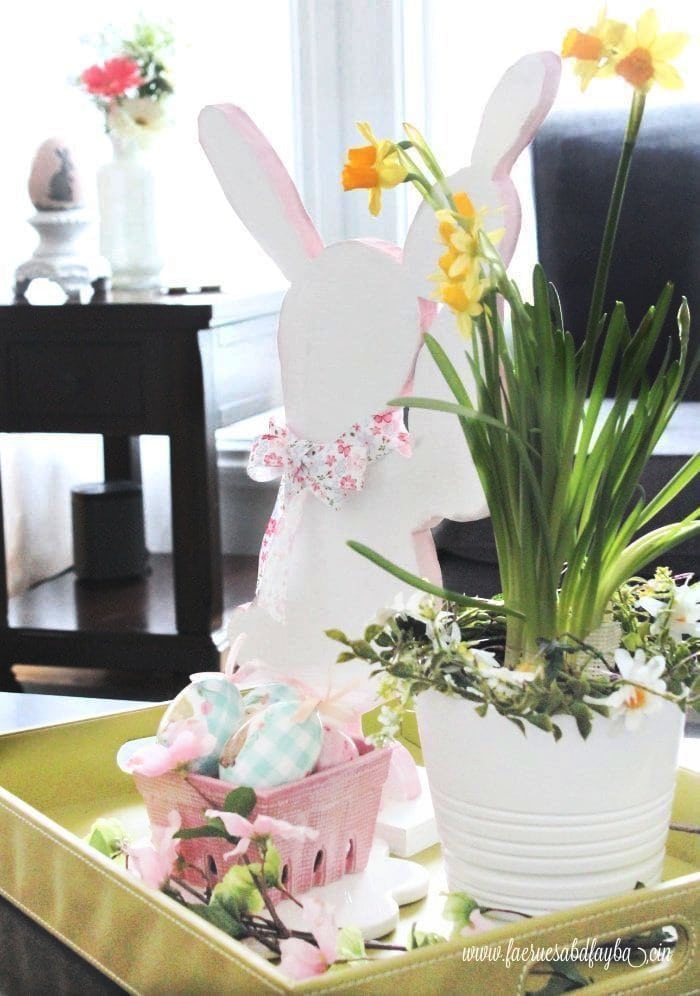
DIY Wood Bunny for Spring Decor
This sweet little bunny is one of the first projects we made with a hand-drawn pattern. I love how this little mother bunny turned out. It reminds me of being happy on those first days of Spring when you can finally get outside and play again.
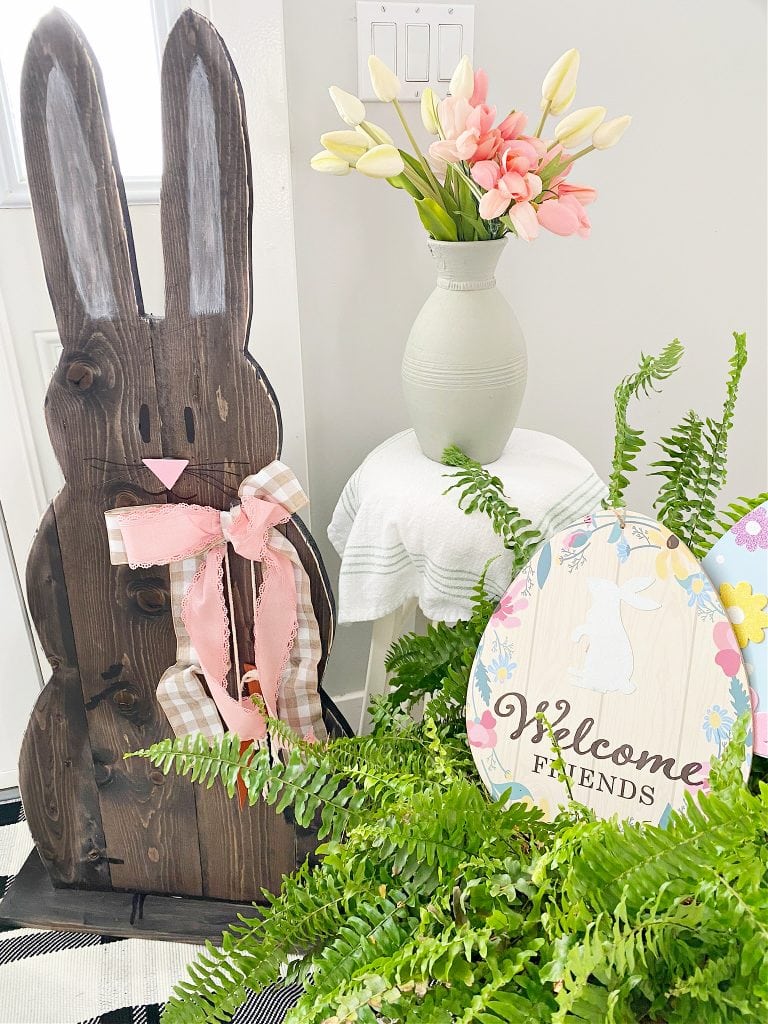
Large Wooden Easter Bunny DIY with Free Pattern
This adorable wooden Easter Bunny is made with 1 by 8″ scrap lumber, or fence posts. It includes the free pattern and step-by-step tutorial on how you can make on all your own.
Wow, this is such a creative and budget-friendly way to add seasonal decor! I love how simple yet impactful these DIY wood frames are. The fact that they can be made without fancy power tools makes it even more appealing for beginners like me. Do you have any tips for choosing the right type of wood for durability and aesthetics?