DIY Bench with New Custion Seat and Upholstery
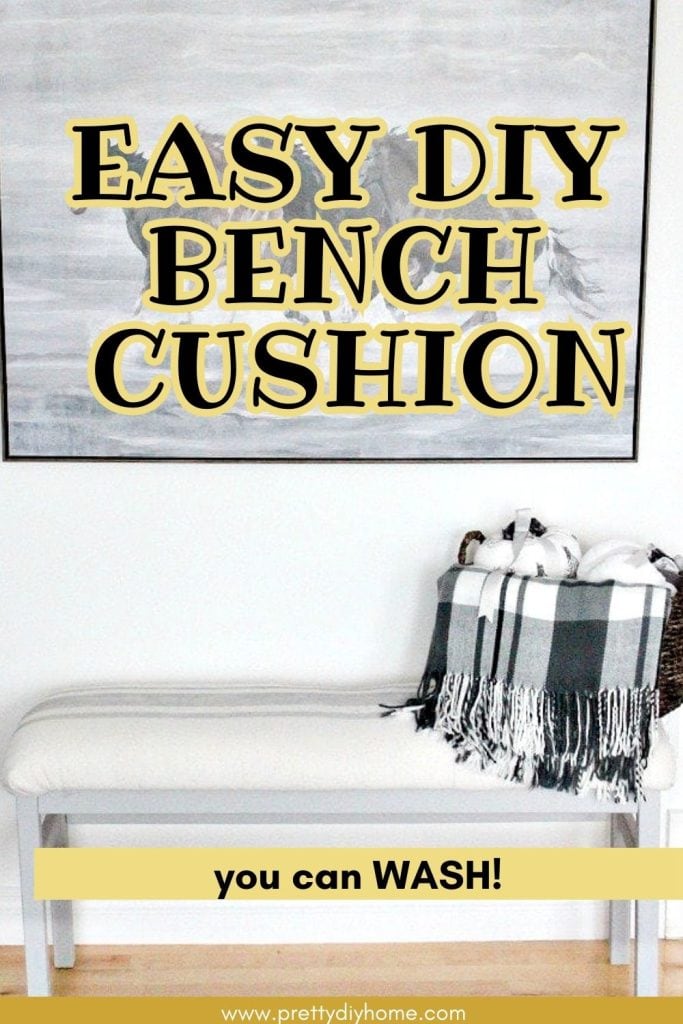
Easy DIY Bench Upholstery Update
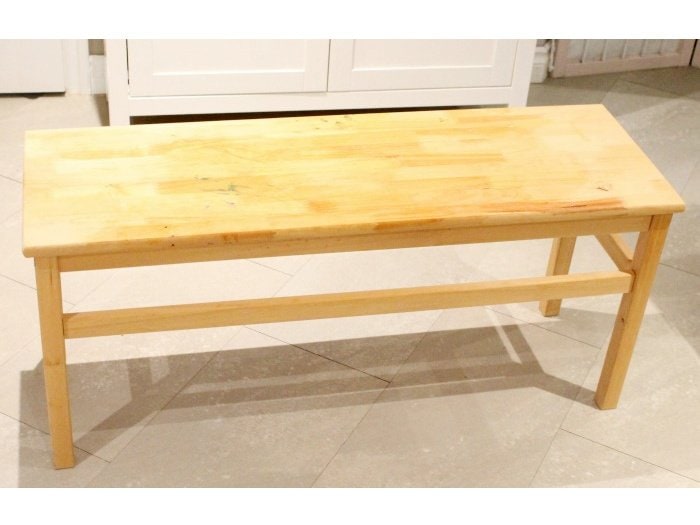
This little wood bench is a $10 garage sale find, Hub’s son needs more dining room seating for his growing family, so it’s getting a bench makeover with a new upholstered top that can be removed and washed. They will find the extra seating handy for a family with kids. The bench base is solid wood, it’s in good working condition and I love the simple lines. It will make a great little fixer upper project.
They live on a farm so a hardwearing inexpensive fabric like bleached drop cloth is perfect. I have some new pieces of fabric already bleached and ready to use so that was an easy choice. I will put the link on how to bleach drop cloth at the end of the post.
DIY Bench Upholstery How To
Bench Seat Supplies
The supplies you will need will depend on the size of your bench and the original shape it came in. Here are the supplies I needed.
The amount of fabric, foam, and the original condition of your bench.
- Piece of fabric 43 1/2 inches long and 17 inches wide.
- Grey paint
- Green painters tape
- Measuring tape
- Wood glue
- Replacement screws
- High-density foam the size of the bench
- Staple gun
How to Make the Fabric Top
Let’s begin by measuring the bench top to confirm how much fabric we need. Using a measuring tape measure your bench top. This bench length is 39 1/2″ long by 14″ wide. Once you know your bench dimensions add three inches to the length and width for your fabric dimensions. For example; I cut my fabric 43 1/2 inches on the longer sides, and 17 inches on the short sides.
Once your fabric is cut the next step is to make rolled hems around all four sides. Fold the fabric over 1/2 inch, press with an iron to form a crease, then fold the fabric over an inch and press again. Once pressed and folded, pin in place, sew a 1/4″ seam allowance along the edge using a sewing machine.
If you have other fabric you prefer to use the method is the same, for this plain drop cloth fabric I decided to spruce it up a bit by adding some simple grey painted grain sack stripes.
To make the stripes iron the fabric and use painter’s tape to create the stripes. If you don’t have a good sewing ruler I recommend buying one similar to the one in the picture below. They have markings going both directions making it very easy to line up your tape.
Make sure the large central stripe is in the middle of your fabric by measuring an equal distance from both outside edges to the far side of the central stripe. Then continue working along the stripe the entire length of the fabric. If the measurement is not equal, you can lift the tape and reattach it as you work along. The tape attaches to the fabric several times and still holds well.
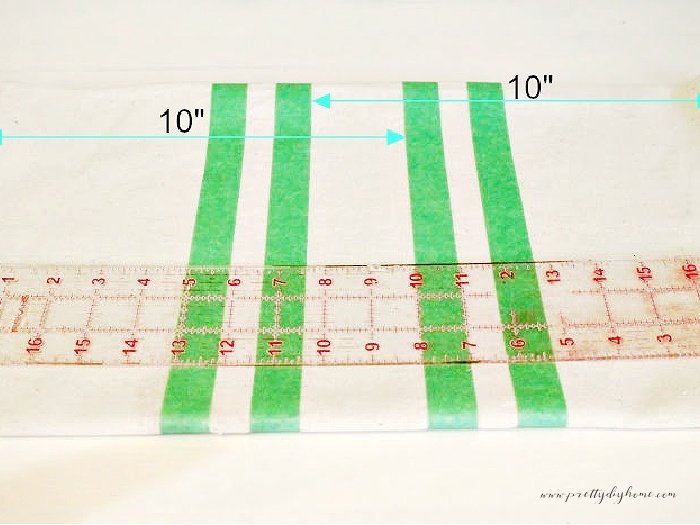
You can make your stripes any width you like, as long as they are of equal width. My two outside grain stripes are measured and taped at 3/4 “ wide.
To apply the chalk paint load a little paint onto your brush. Then remove most of the paint by dabbing the brush onto a rag until your brush is almost dry and then paint the stripes. This dry brush method on your fabric helps prevent bleed and keeps the stripes crisp. Place your brush on the taped surface, then pull the paint onto your fabric. I took half an hour to paint all the grain sack stripes this way.

Once painted let the fabric dry completely before continuing.
Repairing the Wood Bench
While the fabric is drying, check the bench for slivers, missing construction screws, or cracked seams. Add wood glue to any weak seams, tighten any leg bolts, and replace any missing screws. If there are slivers sand it smooth, and use wood filler if necessary. I was lucky on this bench, all I needed to do was give it a thorough scrub with wood soap and warm water.
Painting the Farmhouse Bench
While the painted grain sack stripes are drying, remove the top piece of the wood bench and set it aside. As the top of the bench will be covered with upholstery foam and fabric, it doesn’t need to be painted. Paint the legs and frame of the bench with two coats of matching paint. Let dry.
DIY Bench Upholstery Tutorial
Covering a bench is a very simple upholstery project, especially if you don’t have any upholstered bench arms to worry about. There aren’t any curves to cut or tight corners to worry about.
To add much-needed cushioning add two-inch thick high-density foam. I purchased a small piece of 2-inch foam from Walmart and cut it in half to fit the bench, Once I placed the cut foam onto the bench seat I wrapped it all in polyfill batting.
The easiest way to cover the bench is to invert it starting with the fabric. Lay the polyfill batting onto a flat surface then the foam, and finally the bench on top of the foam.
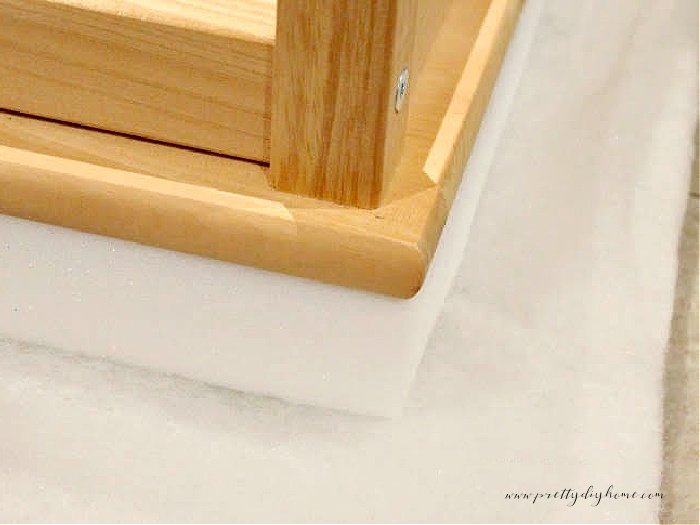
Once the layers are in place, wrap the drop cloth around the board, I like to start with the two long sides, and then the two short sides. You will end up with the four corners. To attach the corners trim off the excess fabric and then attach everything with a lot of staples.
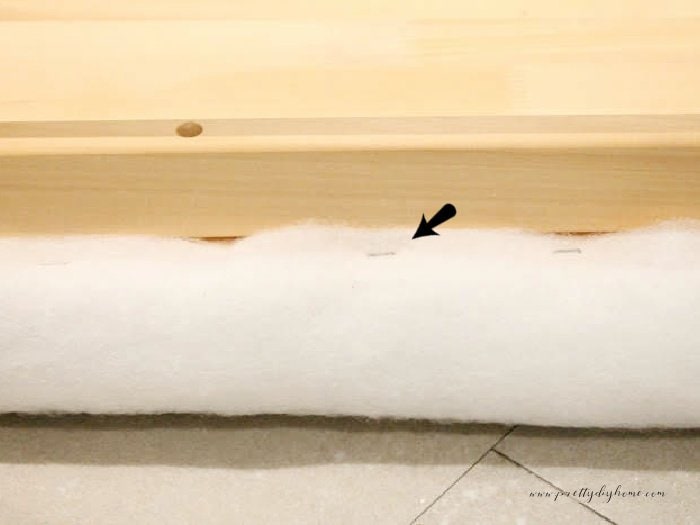
You can repeat the process by stapling the finished drop cloth to the bench. To make the bench easy to clean instead of stapling the fabric to the bench. I sewed ties to the fabric and then tied the cover on.
Sew two ties in the corner of the fabric so you can fold the ends in, (see the pink arrow in the next picture for placement) and three more along the length.

Tie the cloth ties together. Reattach the legs to the bench. Tuck in any stray edges of the cloth to make it as tight as possible. I used a putty knife.
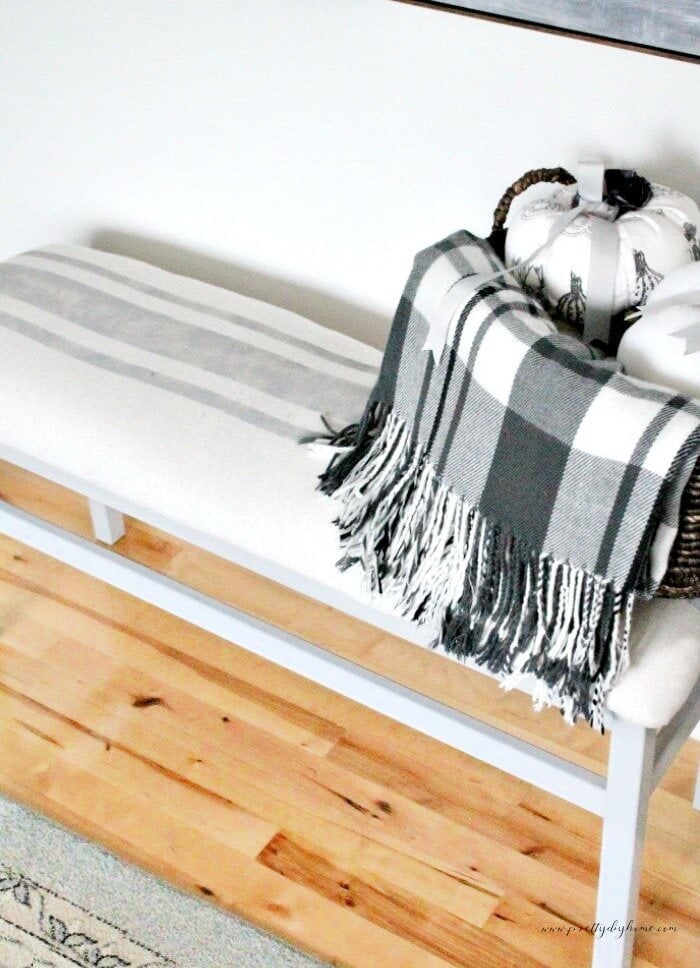
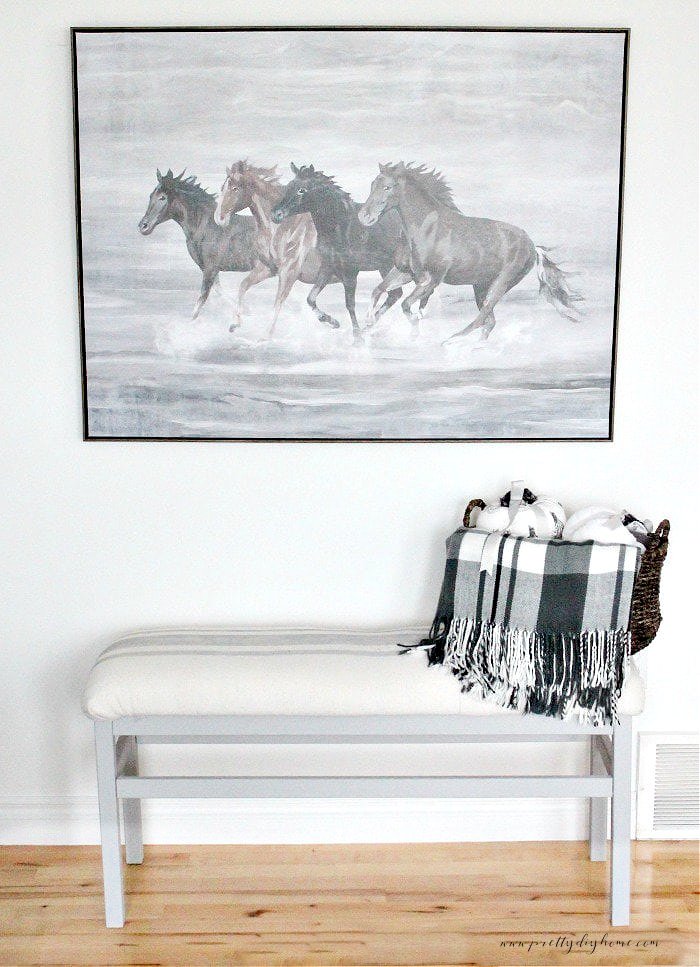
I am sure this little bench is going to be very handy for a young family when extra little guests come for a visit. I am excited to give it to them.

I am sure this little bench with its comfy new DIY bench upholstery cushion will be nice piece of furniture for a young family, especially when extra little guests come for a visit. I am excited to give it to them.
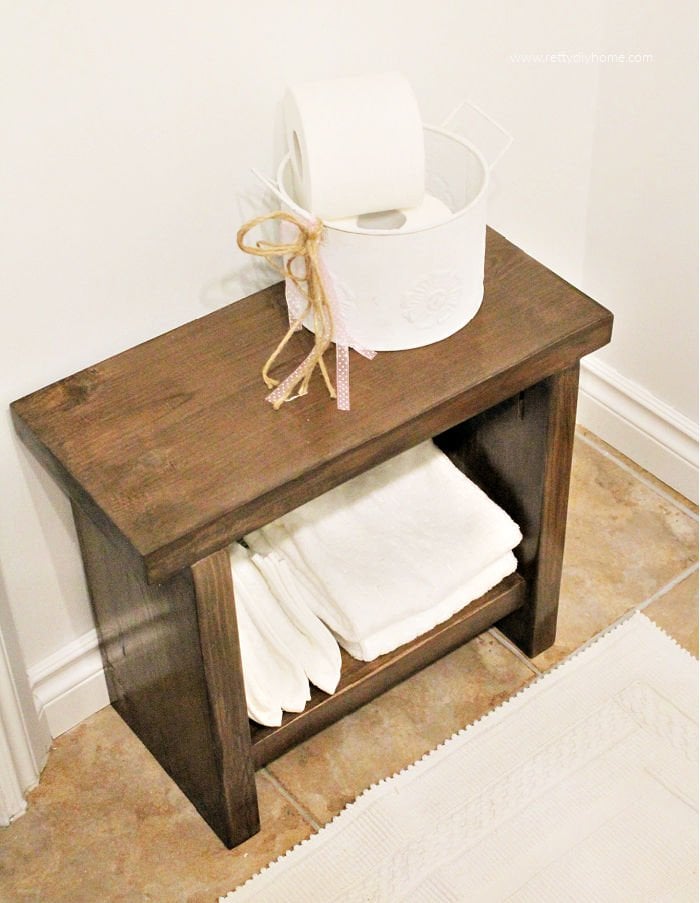
Rustic DIY Bench for the Bathroom
Make a DIY solid wood bench for your bathroom. It’s a great stool to sit on, and its a fabulous little storage bench in a small bathroom.

DIY Bench from a Headboard
How to make a gorgeous DIY wood bench using an old headboard. It’s fun to create because you can make it in anyway or style you want. I loved creating this bench.
What a great job, Leanna! 🙂
The bench seems like brand new and how clever to tie the cover instead of stapling.
Keep up the good work and thanks for sharing! 🙂
What a great garage sale find!! I love the added grain sack drop cloth and that you can also remove it! Fabulous tutorial!
Hey Sam. That particular garage sale was amazing. I wish I had the pickup that day, this little bench fit in the car with a rather shocked large dog. Poor guy.
This bench looks charming and certainly will be used! I love your idea to use ties to secure the drop cloth onto the bench seat – it makes it so easy to clean. And with littles around, that is Priority 1 ! I HAVE one of those sewing rulers (mine is a little wider), and I am not sure how I was able to sew anything before I started using it (along with the cutting mat).
Hi Kristine. I hear you. Drawing a straight line should be easier. I love that ruler, it certainly worth the price I use it all the time. Like you I don’t know how I did it with the measuring tape.
That’s so beautiful Leanna. Those stripes definitely add to the whole look and I’m sure your step son and his family will treasure it for many years to come.
Michelle I am so late to creating with drop cloth fabric, and now I wish I had started it a couple of years ago. Its wonderful stuff to work with. I live surrounded by farms hundreds of miles of farms and you can’t find grain sack cloth, or flour cloth anywhere. Dropcloth and paint allowing me to copy the style and I am loving it.
Love how you cleverly made the drop cloth cover washable! I’m sure your son-in-law will be thrilled with his new bench.
Dropcloth is so durable and inexpensive, but being light it needs an easy way to clean it. Thanks, my friend.
The bench came out fantastic. I bet your son can’t get over the difference.
He will enjoy having a couple of extra seats.
Looks so cute, Leanna! I never even thought of using ties for the fabric. Clever. Pinned!
Thank you Stephanie, better for little ones, and much softer than plain wood.
Your bench is just gorgeous Leanna! I am sure your hubby’s son will love it! The addition of the grain sack stripe is perfect. How creative to attach it so it is removable! Great job as always!
Thank you Michelle. I thought of sewing a skirt around the bottom, but with little ones, I decided it wouldn’t be practical. Always great working with you!!