
No-Carve Pumpkin Decorating Idea with Birch Bark and Flowers
This no-carve pumpkin decorating idea combines natural birch bark with soft neutral flowers for a pretty fall centerpiece. I love how the texture of the bark gives the pumpkin a rustic look, while the flowers make it feel softer and a little more elegant.
You can use purchased birch bark for this project, or make your own using my birch bark ribbon tutorial. Once the pumpkin is covered, a simple flower arrangement on top turns it into unique DIY pumpkin decor for a table, mantel, or fall display.
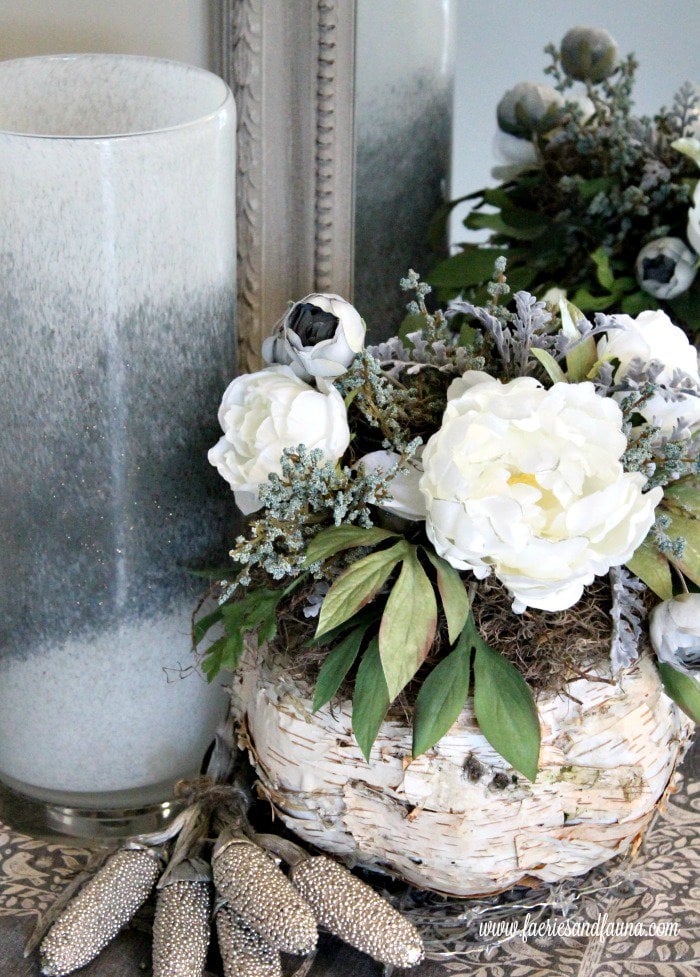
Supplies for This No-Carve Pumpkin Decor
- Large paper mache pumpkin
- White paint
- Birch bark or birch bark paper
- Straight Pins
- Scissors
- Mod Podge
- Florist foam
- Assorted fall florals
- Hot glue gun and glue
How to Decorate a Pumpkin with Birch Bark
Step 1: Paint the Pumpkin
Start with a paper mache pumpkin and paint it white. One coat is enough, and any white paint you have on hand will work. Painting the pumpkin first helps hide any small gaps between the pieces of birch bark.
Step 2: Add the Birch Bark
Cut the birch bark into irregular pieces and strips. Brush Mod Podge onto the back of each piece, then press the bark onto the pumpkin.
Don’t worry about making the pieces symmetrical. Place different shapes and sizes of bark horizontally around the pumpkin, overlapping slightly as needed until the surface is covered.
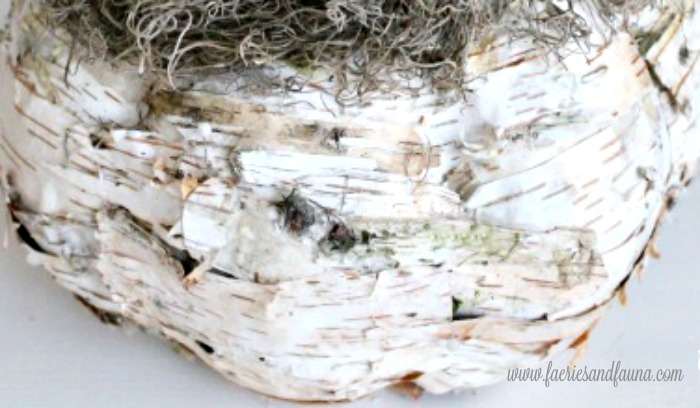
Step 3: Secure and Finish the Bark
Thinner pieces of birch bark are much easier to glue than thick pieces. On some pieces of bark, you can pull off thin strips of the bark; these very thin pieces glue very easily.
For thicker pieces, apply Mod Podge and hold the bark in place with straight pins until it dries. Then remove the pins. If an edge doesn’t curve neatly around the pumpkin, make a small snip in the bark, fold it down, and glue it into place. Secure with pins until it dries.
Work on a few pieces at a time and allow them to dry before adding more. Once the pumpkin is completely covered and dry, use a hot glue gun to secure any edges that are still curling up.
Because the birch bark is so patterned and beautiful on its own, keep the flower arrangement on top simple. I used soft white fall flowers so they wouldn’t compete with the bark.
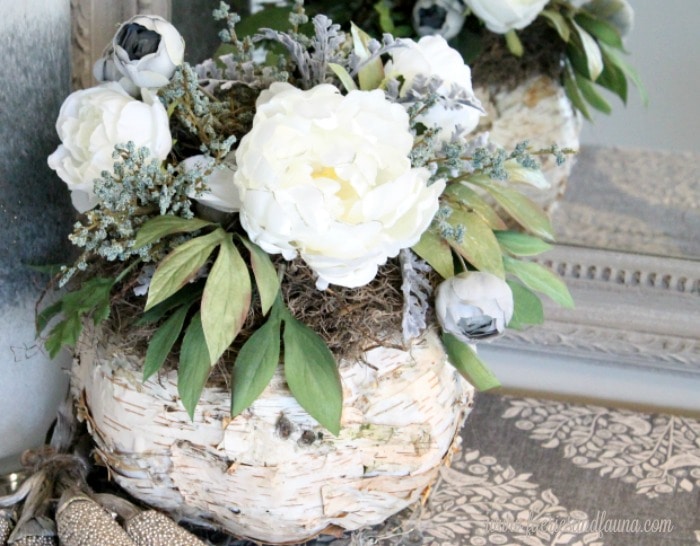
Add the Flower Arrangement
Step 4: Add Florist Foam and Moss
Twist the florist foam onto the stem of the pumpkin, then add a little hot glue underneath to secure it in place. Add a crown of moss around the foam. I left mine loose, but you can glue it down if you prefer.
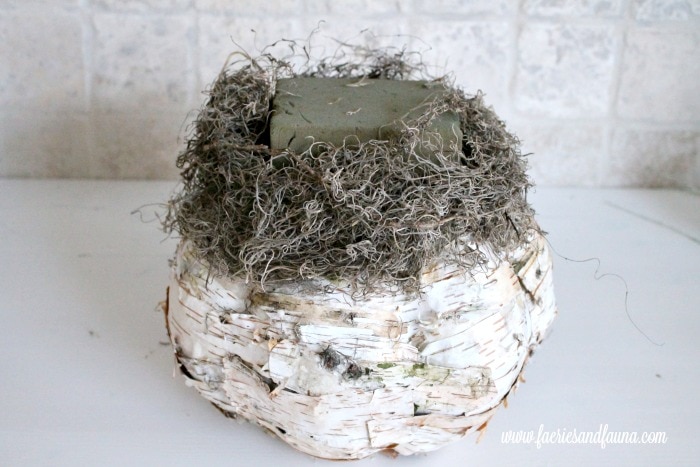
Remove the leaves from the fall flower stems and insert them around the moss. Visually divide the top of the pumpkin into thirds so the arrangement stays balanced.
If any stems are too short to reach the florist foam, extend them with florist wire before inserting them.
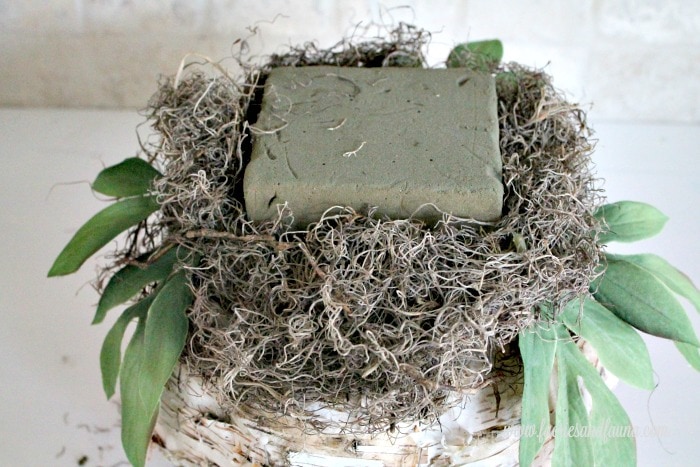
Step 5: Add Leaves and Flowers
Next, add your main focal point and flowers. I had purchased three so I did a triangle starting with the largest flower.
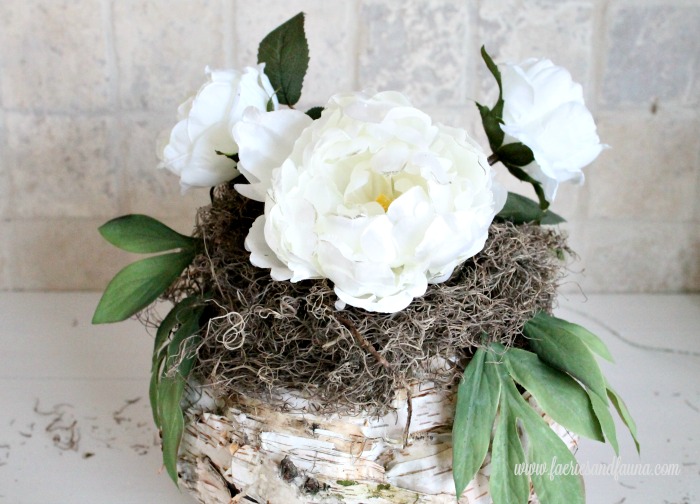
Add the smaller secondary flowers between the larger focal flowers. I used soft purple-grey flowers and faux stems for mine. Fill the spaces evenly around the arrangement to keep the display balanced and symmetrical.
How to Display the Finished Pumpkin
Display the finished pumpkin on its own, set it on a small stand with mini lights, or place it on a tray or plate as part of your fall table decor. Because the birch bark and flowers already add so much texture, it doesn’t need much around it to make a pretty focal point.
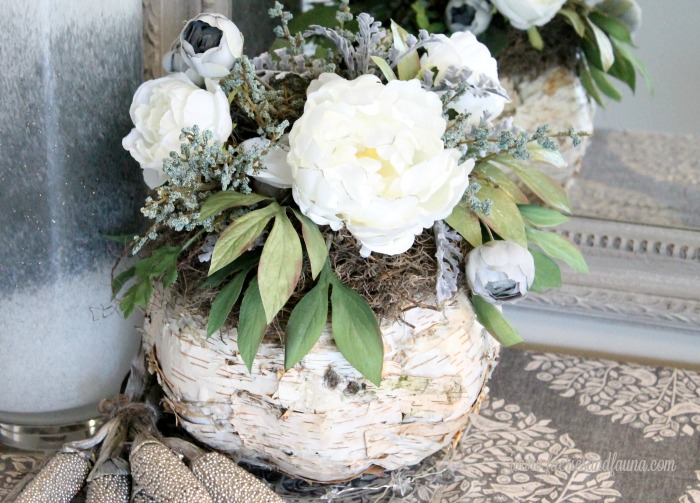
I love how different this birch bark pumpkin turned out. The natural bark gives it plenty of texture, while the soft neutral flowers keep it light and pretty. It’s a simple no-carve pumpkin decorating idea that works for a fall table, mantel, or Thanksgiving display.
If you’re looking for unique pumpkin decorating ideas for fall, save this no-carve birch bark pumpkin to Pinterest so you can find the tutorial again later.

More DIY Pumpkin Decor Ideas
Here are some other neutral pumpkin craft posts I thought you may enjoy.
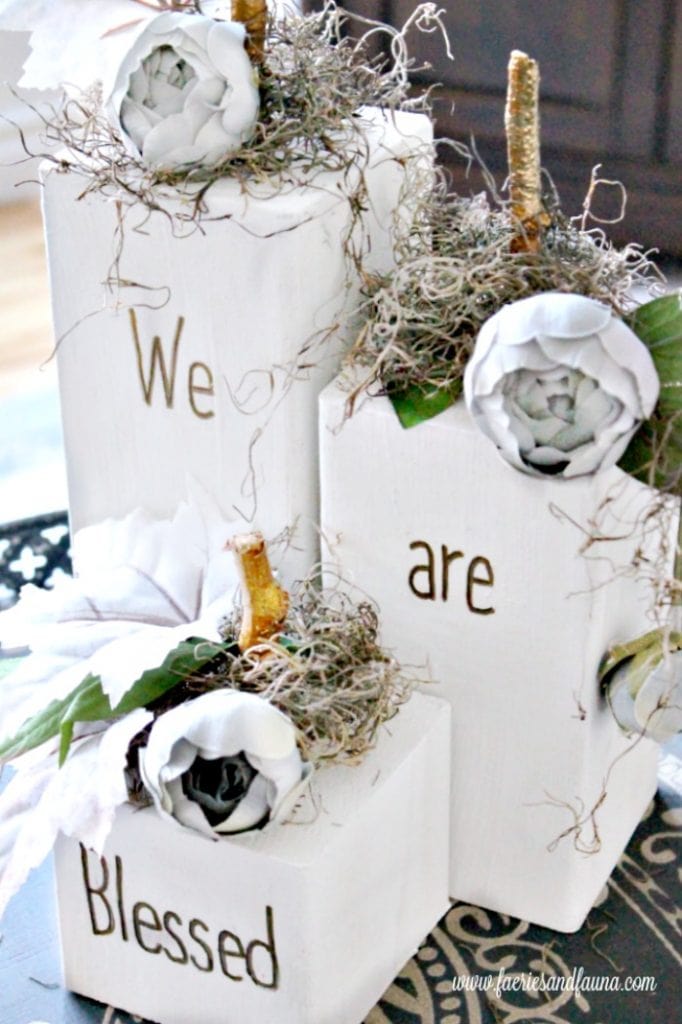
DIY Wood Block Pumpkins for Fall or Thanksgiving
These DIY wood block pumpkins are made from scrap 4×4 lumber and finished with soft florals and gold lettering. They’re an easy fall wood craft and a pretty neutral pumpkin decor idea for Thanksgiving.
DIY Pumpkin Cushion Tutorial
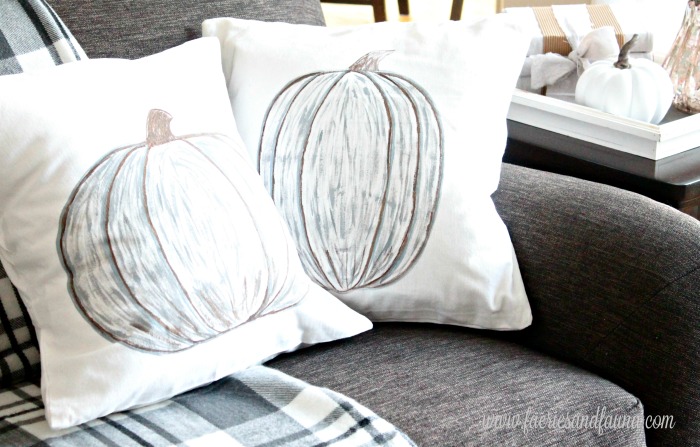
These handmade pumpkin cushions are a soft way to add neutral pumpkin decor to a sofa or chair. The tutorial shows how to make the covers and add painted pumpkin designs for an easy fall sewing project.
What a classy look for fall decor! I love tasteful fall decorations and this definitely falls into that category! Pinning!
I love the look of this pumpkin Leanna. I recently bought some birch ribbon that I want to use at the holidays. It has such a beautiful natural texture.
Hi Patti. I love birch ribbon as well. It’s so different and pretty. I look forward to seeing what you create with it.
That is so pretty! We have a few birch trees around us and I just love the texture and colors of them. What a wonderful way to bring them inside. Pinned.
How lovely, Leanna! I love the softness of the florals combined with the rustic look of the bark. It’s all put together so well. This would be gorgeous as a centerpiece. Pinning.
Thank you Beverly. I made it with the contrast between the more masculine bark, and feminine flowers. I know that is so badly sexist, lol. But I like the contrast as well. Glad to know it was noticeable. I appreciate you commenting to let me know.
So pretty! Love the natural look!
I never would have thought to do this but what an amazing result. So pretty!
This is one of the prettiest pumpkins I’ve seen this year! I love it and can’t wait to make one for myself. Hope I can do your project justice 🙂 Pinning!
I’m loving the neutral fall decor this year, the birch bark is awesome! Your flower arrangement is stunning.
Hi Emily. I am fond of the lighter neutral decor as well. It’s brighter and airier somehow. My son teases me that of course, I do. More white! lol
This is so pretty. What a wonderful idea.
Thank you Debra. I got a large bag of free birch bark prepared now and am thoroughly enjoying playing with it.
Beautiful pumpkin and floral decor! The pumpkin is amazing.
That’s very kind Jenny. I enjoy playing with elements that have contrast, like burlap and lace, or this pumpkin with birch and flowers.
Love the texture and colors of this beautiful creation.
Thank you for the sweet comment. I enjoyed playing with different textures.
I’m loving all of your fall pumpkin ideas. This one is especially beautiful with the birch.
Super cute idea, Leanna – love it!
This is such a great idea. You did a super job and love the texture it adds
Enjoy your day
Cindy