Crunchy Simple Dill Pickle Canning Recipe
Of all the canned pickles I think the recipe for crunchy dill pickles is the easiest to make pretty and the world’s favorite pickle. Who hasn’t eaten a dill pickle? Now that Hubs is retired and eating at home most of the time, I’ve dusted off all my old-fashioned pickle canning recipes. Over time I have noticed that all canning recipes have gotten much more complicated. People sterilize canning jars and then stuff them with unsterile cucumbers. They take canned pickled recipes from years ago and call them refrigerator pickles. They add tannins to make them crunchy or soak them in a heavily salted brine first etc. This recipe is simple, no fuss, the way canning used to be.
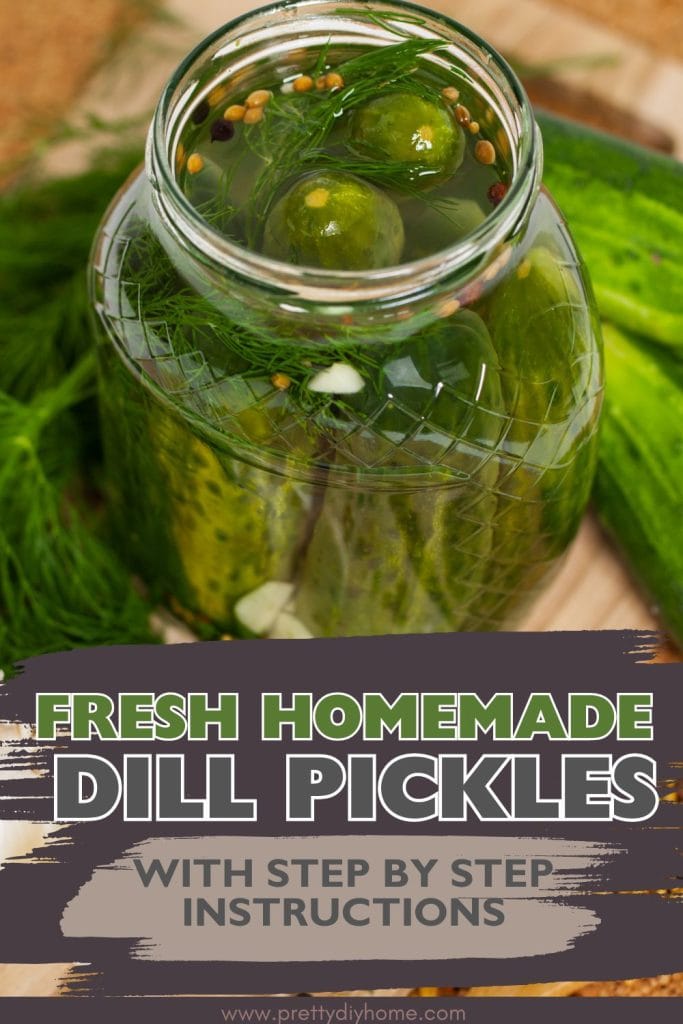
Canned foods have two basic categories, high acid and low acid. Pickles are high in acid so there is no need to use a pressure canner. Pickles are incredibly easy to make. I promise, if you can boil water you can make homemade pickles. Pay attention to how clean everything you use is, clean counters, towels, jars, and well-washed hands. You want to avoid bacteria as much as possible.

Note: One of the best online references for canning is the USDA’s Complete Guide to Home Canning It’s a great resource and free to use.
Canning Equipment
There are a few basic items you need for the canning process, regardless of what you are making.
- Water bath canner with metal ring bottom.
- Canning jar lifter tongs
- Wide mouth funnel for adding brine to jars
- Sealable canning jars with rings, and brand new lids. Do not reuse canning lids.
Step 1 – Purchasing Cucumbers
How to Get Crunchy Pickles
Everyone wants their dill pickles to be crunchy and crisp. The secret to getting crispy dill pickles is in the cucumbers, and how you prepare them.
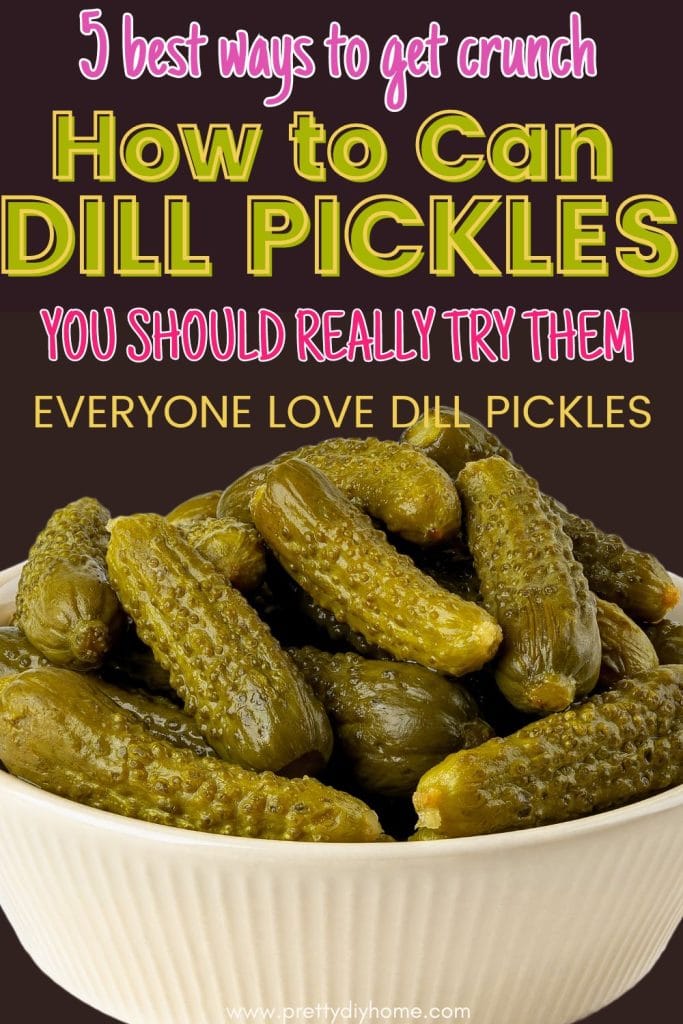
- Use the types of cucumbers meant for pickling. You want to use the small varieties about the size of your thumb. During canning season the grocery store typically has them in stock and labeled pickling cucumbers. This variety is referred to as “Kirby” cucumbers, they are recognizable because of their small size and prickles.
- Always use the freshest pickling cucumbers possible.
- If you want crisp pickles can them as soon as you can, the longer you wait the more likely you are to have mushy pickles.
- Keep your fresh pickles stored cold in the fridge, in a pan of cold water.
Step 2 – Sterilizing Jars and Lids for Pickles
The first step in any canning recipe is sterilizing the jars, lids, and rings. There are four ways to sterilize a jar, in the oven, dishwasher, microwave, and stovetop. I will share two ways for you to choose from. The method you use will depend on how many jars of dill pickles you are making.
How to Sterilize Jars and Lids with Boiling Water
Wash and rinse your canning jars thoroughly. Make sure to rinse the jars very well. Take a very large pot, and fill it with hot ( not boiling) water. Place the jars open-side up into the pot. Fill the pot with enough water to cover the jars plus one inch. If you have enough room you can place the rings and jar lids in the same pot, if not place them in a second pot and boil them like the jars.
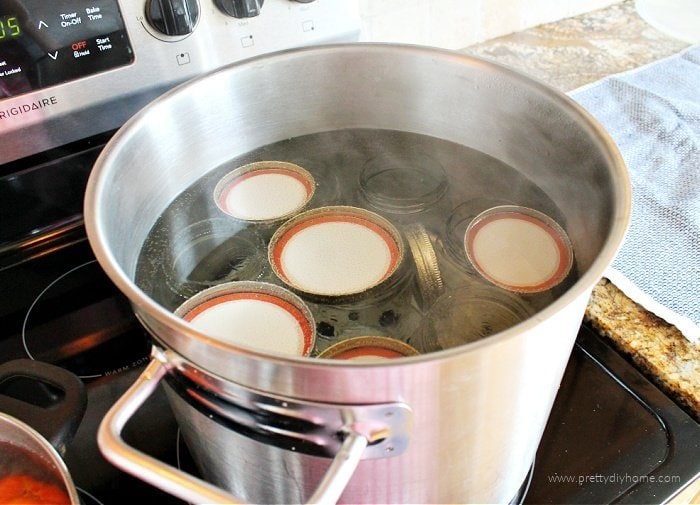
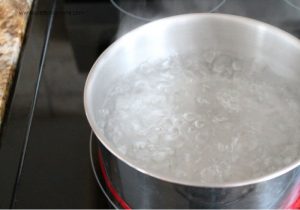
Allow the water to come to a boil and boil continuously for ten minutes.
How to Sterilize Jars and Lids in the Dishwasher
Today I made a double batch of this dill pickle canning recipe so I needed 10-quart jars. As it would take more than one pot of boiling water, I chose to sterilize my jars using the dishwasher with the heated drying cycle turned on. When sterilizing jars in the dishwasher, I don’t add anything else but the jars, lids and rings into the dishwasher. The actual dirty dishes can be done another time. Time it so the dishwasher is done when you’re ready to make the dill pickles.
Step 3 – Dill Pickle Canning Recipe
This old-fashioned dill pickle recipe uses the simplest of ingredients. Pickling vinegar is a white vinegar, but it’s more acidic than regular white vinegar making the pickles crispier and longer lasting.
Pickling salt is pure granulated sodium chloride, without the additives found in most table salts. Using pickling salt prevents your pickles from becoming cloudy or dark.
Ingredients for 5 Quarts of Dill Pickles
5 lbs pickling cucumbers
Fresh dill (green dill heads)
1 quart pickling vinegar (white vinegar)
1 pint water
2/3 cup pickling salt
2 cups white sugar
5 fresh cloves of garlic (garlic)
Prepare the Pickling Cucumbers
Avoid using larger pickles for dill pickles and don’t use any pickling cucumbers with blemishes. I don’t slice the pickles for my dilled pickles, I prefer making whole pickles. If you like to cut your cucumbers into half of quarters the choice is yours. It makes no difference to how your recipe will turn out.
Wash the cucumbers in cold water making sure they are clean, make sure to cut the blossom end of the cucumber. Prick each pickle with a fork a couple of times. Cover with a clean tea towel and set aside.
Make the Dill Pickle Brine
Mix pickling vinegar, water, pickling salt, and sugar in a large saucepan over medium-high heat, skipping the dill and garlic. Stir until the sugar and salt is dissolved. Cook until boiling, then turn down to simmer while filling your jars.

Pack Cucumbers in Canning Jars
Place one sprig of dill in the bottom of the jars. Stuff each jar with as many pickling cucumbers as possible. Place a second sprig of dill on top. If you want garlic dill pickles, peel and place garlic cloves, place a clove of garlic in the bottom of each jar.

Make sure you leave 1/2 inch of headroom to the top of the jar and fill each jar with the hot brine. Place a hot lid and ring on top as quickly as you can, and turn to seal the jar.

Note: We never used to water bath dill pickles, as long as the cooling brine sealed the lid we considered our canned pickles safe. Newer recipes that don’t water bath the jars of pickles are called Refridgerator Pickles and are kept in the fridge once cooled and sealed.
Water Bath Canning
Newer recipes call for the pickles to be hot water-bathed for 10 minutes, or stored in the fridge as refrigerator pickles. This is new to me. If you feel safer doing so, please water bath can them. It’s just one more quick step.
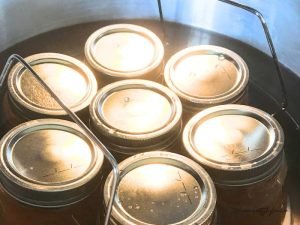
To can crunchy dill pickles using a water bath canner. Take a large water bath canner with a wire bottom. Fill with water so that the top of the jars will be fully submerged. Bring the water in the canner to a boil. Place the hot jars of pickles into the water using a jar lifter. Reheat back to a full boil and let boil for 10 minutes. Remember cooking cucumbers makes them lose their crunch, so carefully watch the processing time. The longer you cook the cucumbers, the softer your pickles will be.
Once processed, place jars onto a towel-covered rack and let cool completely. As the dill pickles cool you will hear the jar lids “pop” Once the jars are cool, (24 hours), push the center of the lid to test if they have a good seal. If the lids push down the seal failed and you must store the dill pickles in the fridge and use them within two months.
Step 4 Storing Homemade Dill Pickles
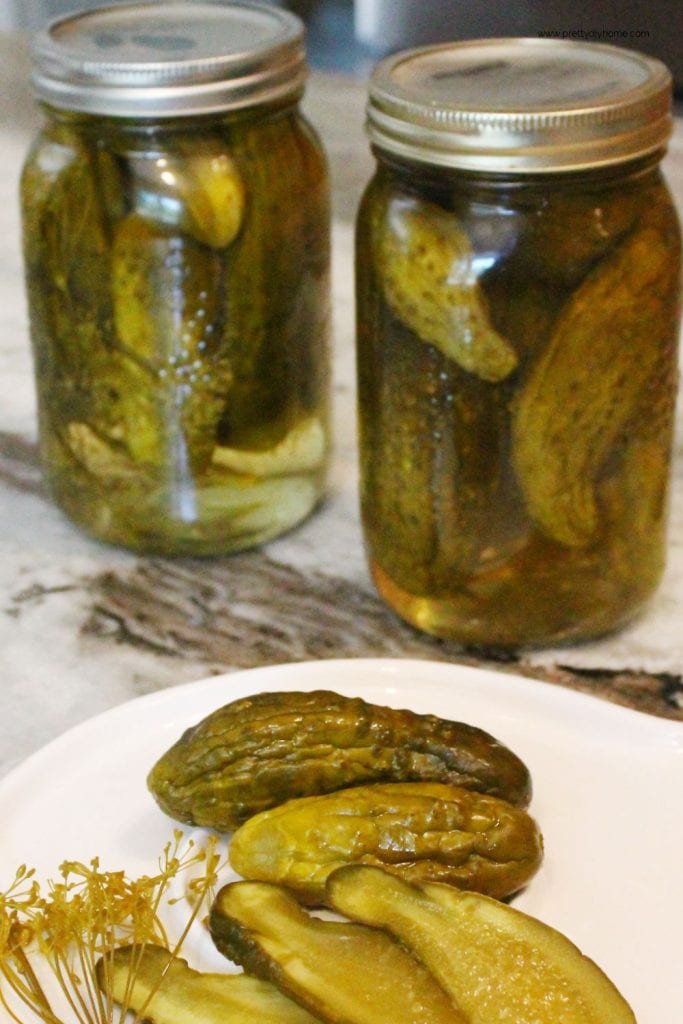
Once you realize how easy this dill pickle canning recipe is to make it’s kind of fun in a geeky kind of way. Hubs is certainly enjoying making them, every day he has a new batch he wants to try. For the best quality don’t make more pickles than your family can eat in a year. Store your canned pickles in a cool dark place. For the best flavor leave canned pickles for about six weeks before eating, this gives your pickles time to ferment.

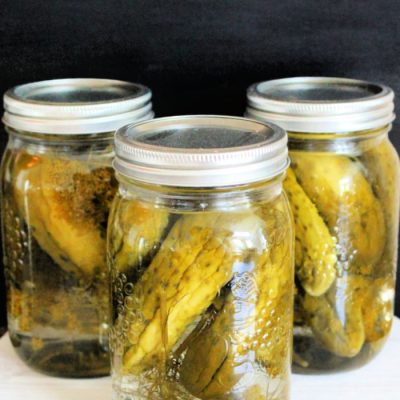
Old-Fashioned Dill Pickles Recipe
Equipment
- 1 Water bath canner with metal ring bottom.
- 1 Canning jar lifter tongs
- 1 Wide mouth funnel for adding brine to jars
- 5 Sealable canning jars with rings, and brand new lids Don't reuse lids
Ingredients
- 5 lbs small pickling cucumbers
- 1 bundle fresh dill sprigs 2 green sprig tops per jar
- 1 quart pickling vinegar don’t substitute
- 1 pint water
- ⅔ cup pickling salt don’t substitute
- 2 cups white sugar
- 5 cloves garlic optional 1 per each quart jar.
Instructions
- Sterilize your jars, I used a dishwasher, but choose whatever method your prefer.
- Wash the cucumbers in cold water making sure they are clean, cut the very tips off the ends to remove the little bit of stem. Prick each pickle with a fork a couple of times. Cover with a clean tea towel and set aside.
Make the Pickling Brine
- Mix pickling vinegar, water, pickling salt, and sugar in a large saucepan over medium-high heat, skipping the dill and garlic. Stir until the sugar and salt is dissolved. Cook until boiling, then turn down to simmer while filling your jars.
Filling the Jars
- Place one sprig of dill in the bottom of the jars. Stuff each jar with as many pickling cucumbers as possible. Place a second sprig of dill on top. If you want garlic dill pickles, peel and place garlic cloves, place a clove of garlic in the bottom of each jar.
- Make sure you leave 1/2 inch of headroom to the top of the jar and fill each jar with the hot brine. Place a hot lid and ring on top as quickly as you can, and turn to seal the jar.
Water Bath Canning
- To can crunchy dill pickles using a water bath canner. Take a large water bath canner with a wire bottom. Fill with water so that the top of the jars will be fully submerged. Bring the water in the canner to a boil. Place the hot jars of pickles into the water using a jar lifter. Reheat back to a full boil and let boil for 10 minutes. Remember cooking cucumbers makes them lose their crunch, so carefully watch the processing time. The longer you cook the cucumbers, the softer your pickles will be.
- Once processed, place jars onto a towel-covered rack and let cool completely. As the dill pickles cool you will the the jar lids "pop" Once the jars are cool, (24 hours), push the center of the lid to test if they have a good seal. If the lids push down the seal failed and you must store the dill pickles in the fridge and use them within two months.
Other Pickle Recipes to Try

Dilled Pickled Carrots and Beans
The flavours of dilled beans and carrots go very well together. I really enjoy having this Dill Pickled Carrots and Beans recipe canned and ready in the pantry. Its a really simple side to add to any buffet from BBQs to roast beef dinners.

Apple Butter Recipe
This Apple Butter Recipe is not only delicious with lots of flavour for Fall, its a great way to preserve apples, or crab apples. The recipe has cinnamon, allspice, and cloves or you can leave it plain. Any way you make it its fantastic on waffles, oatmeal, yogurt, toast and so forth.


My wife and I have used this recipe for the second year in a row and have to say they are amazing.
That’s exciting to hear Harold. I very much appreciate you taking the time to comment. Happy Canning!