Vintage Kitchen Cabinet Makeover with Antique Cast Iron Hardware
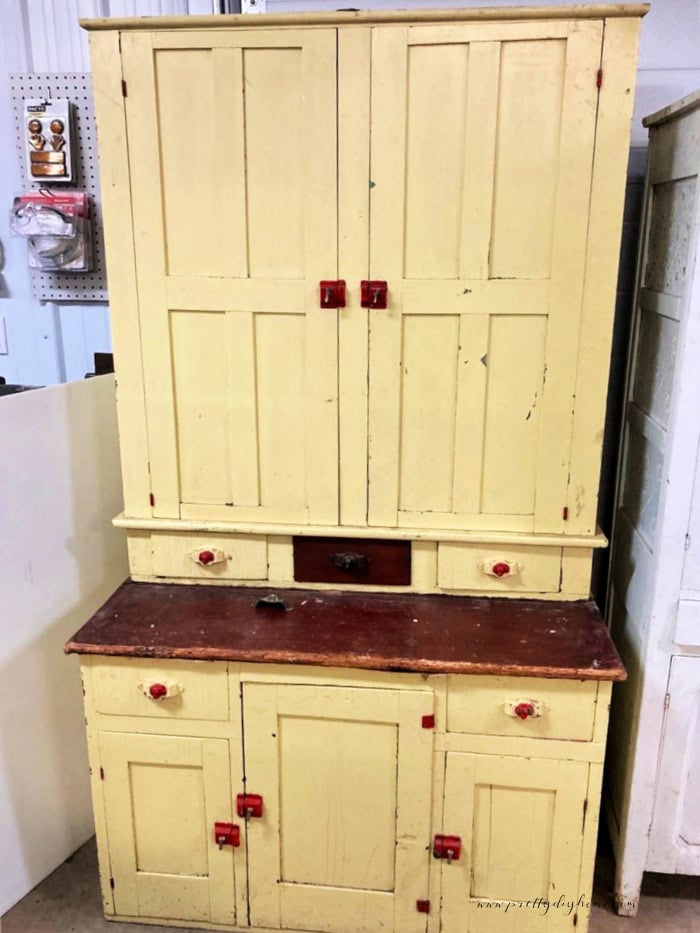
I first spotted this vintage kitchen cabinet makeover project at an auction and was immediately drawn to its solid, utilitarian design. Fun fact, the other determined bidder lived almost twice as far away as I did, so apparently I was not the only person willing to travel several hundred miles for this old cupboard.
There is nothing delicate or overly decorative about it, and that is exactly what makes it beautiful. The paneled doors, thick wood, and simple lines give it the kind of hardworking, clean, functional vintage cottage style I love for our home. The shiny green finish and bright yellow and red hardware, however, are another story.
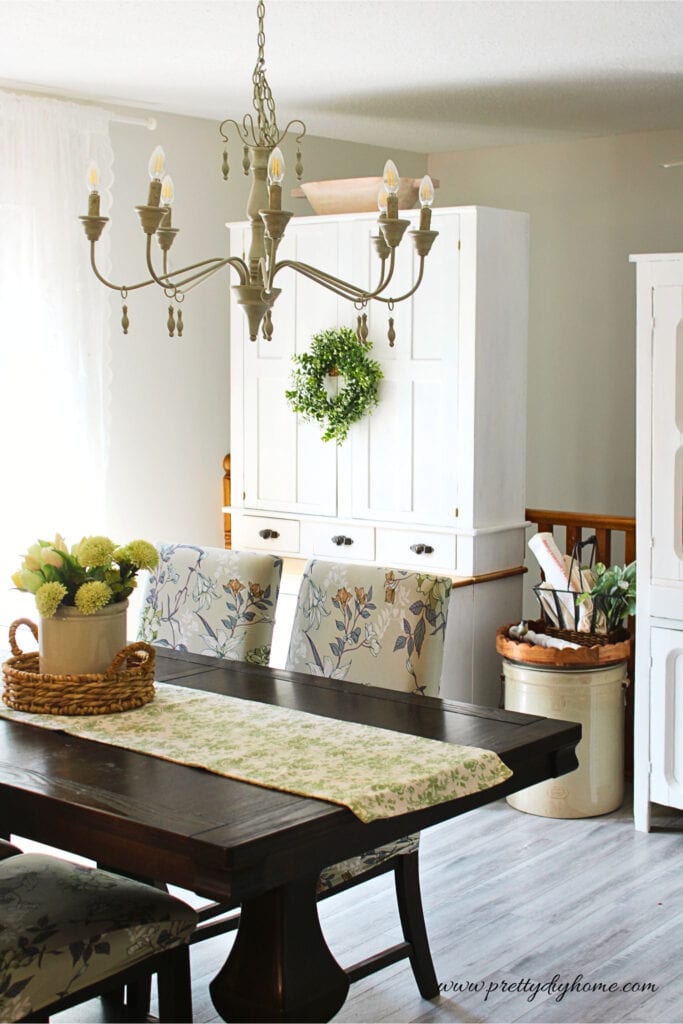
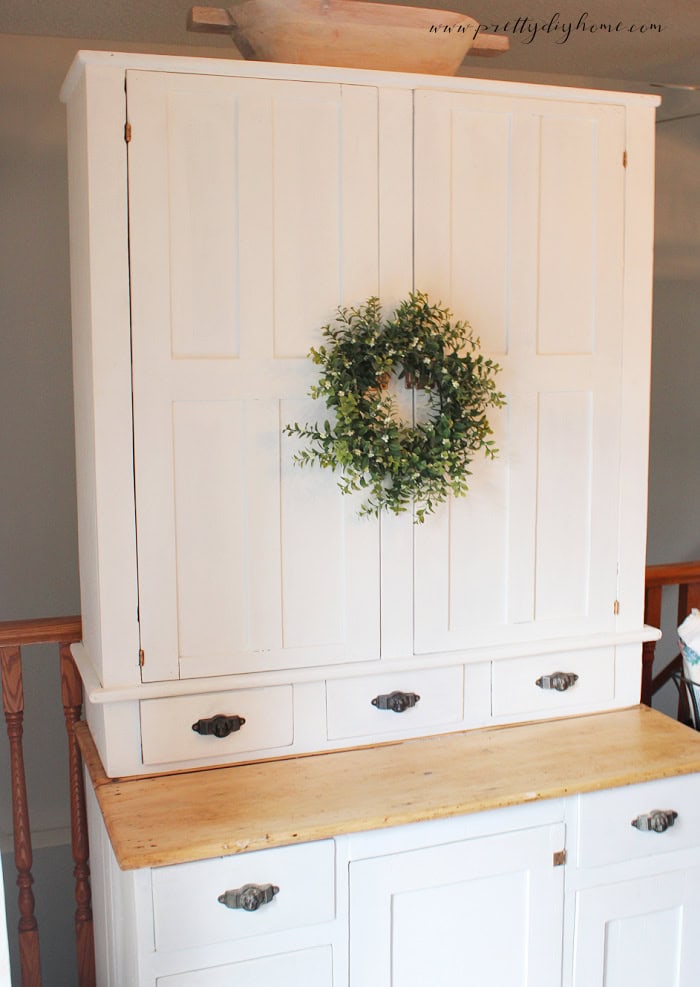
This antique kitchen cabinet was clearly built to work hard and last for generations. Even painted bright white, it still has all the warmth and character that make vintage kitchen decor feel so inviting in a cottage-style home.
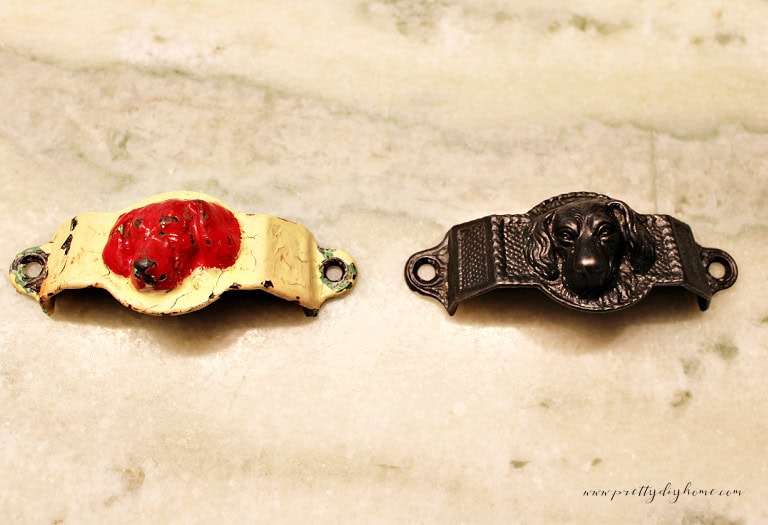
Then I saw the close-up photos of the cast-iron drawer pulls.
Those unusual dog head handles add just enough whimsy and personality to soften the cabinet’s hardworking utilitarian design. I find the contrast so incredibly fun.
I needed this vintage farmhouse kitchen cabinet for our kitchen so it could do double duty as storage for the vintage pieces I collect for the shop, while also becoming the perfect display area for seasonal Christmas decor.
Its solid, utilitarian beauty would work almost anywhere in the house, except maybe the living room. This is not a delicate decorative piece of furniture. It is a working cabinet, built to be used every single day, and with a little time and effort, it is ready for many more years of use.
Restoring an Antique Kitchen Cabinet
Restoring this old cabinet was definitely a time investment, but we finished with a beautiful, solid vintage kitchen cabinet that was absolutely worth saving.
Supplies We Used
- Wood soap
- Sandpaper (80, 120, and 200 grit)
- Wood filler
- Zinsser 123 primer
- Picket Fence Fusion Mineral Paint
- Fusion Top Coat
- Matte varathane spray
- Antique Gold Rub ’n Buff
- Masks and gloves
Tools We Used
- Vacuum
- Heat gun
- Scrapers
- Wire brushes
- Hand sander
- Paint brushes
- Soft makeup brush
- Buckets and cloths
Step 1. Cleaning and Assessing the Cabinet
The second we saw the antique kitchen cabinet, we knew stripping it was going to be a lot of work. It had several thick layers of old paint on it, and we suspected that at least some of those older layers may have contained lead.
Before starting any restoration work, we vacuumed and washed the entire cabinet using wood soap and warm water.
Once everything was cleaned, we could properly assess the condition of the cabinet and decide how best to remove all the old paint layers. Since we suspected lead paint, we chose to wait until spring so we could safely work outdoors using masks and protection.
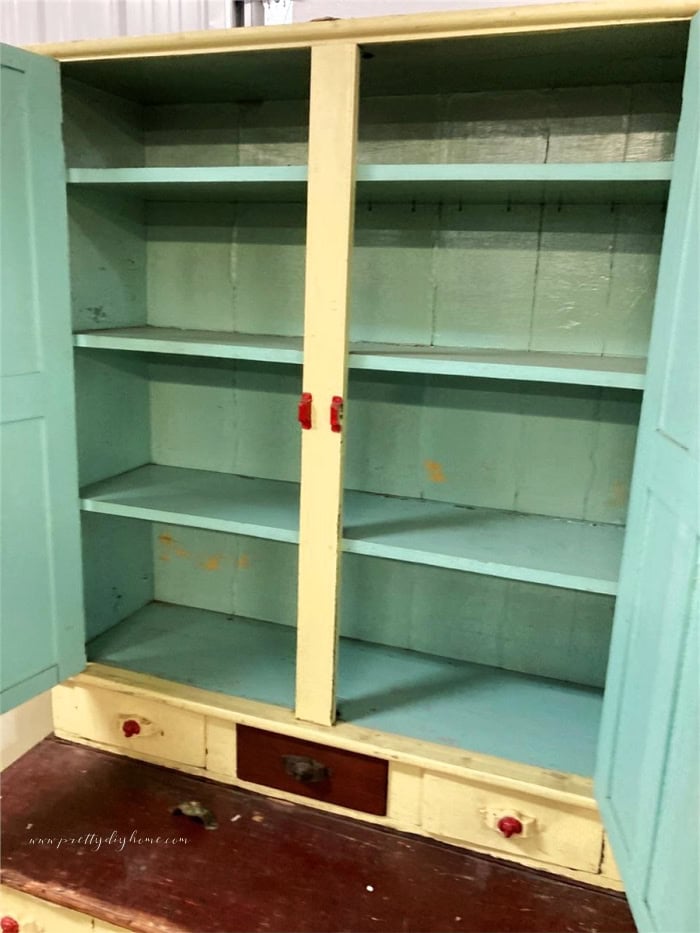
Interestingly, the inside of the upper cabinet had been painted, while the lower cabinet interior and drawers were still bare wood.
Structurally, the cabinet was in remarkably good condition for being more than 100 years old and needed no repairs before painting. We simply filled in the small nicks with wood filler.
Step 2. Stripping and Sanding the Cabinet
Normally, a chemical stripper would be the safer recommendation for suspected lead paint, but the thick, glossy finish on this cabinet barely responded to the stripper at all.
Instead, we worked outdoors wearing masks and slowly removed the paint a section at a time using heat guns and scrapers. It was definitely slow, messy work, but little by little, the wood started to show again.
Once the majority of the paint was removed, we sanded the cabinet thoroughly using 80 and 120-grit sandpaper, including the wood filler.
The cabinet itself turned out to be remarkably solid underneath all those layers of old paint, saving us so much time and effort on repairs that it made up for the time needed to scrape.
Step 3. Priming and Painting the Cabinet
Once all the sanding was finished, we vacuumed and wiped the entire cabinet down again before moving on to primer and paint.
Because the upper cabinet had already been painted at some point over the years, we completely stripped and repainted the upper inside section so it could also work as a display cabinet.
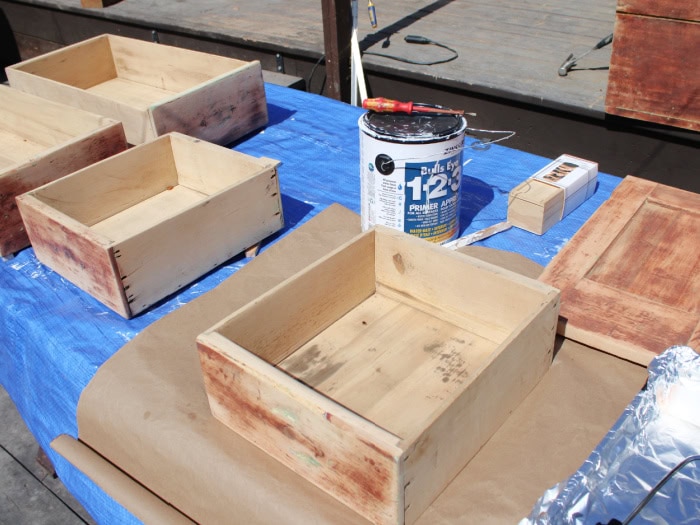
The inside of the lower cabinet and drawers were still bare wood. Instead of fully painting those areas, I chose to simply brighten them up with a single coat of primer.
I also left the outside edges of the drawers as bare wood so they would continue to slide smoothly without sticking.
Before painting the exterior surface, everything received one coat of Zinsser 123 primer. After the primer dried, I applied two coats of Picket Fence Fusion Mineral Paint, lightly sanding between the coats for a smoother finish.
Step 4. Restoring the Cast Iron Hardware
From what I could find online, the cast iron drawer pulls appear to date back to the late Victorian era, possibly the 1890s or early 1900s. The small dog head details were unlike any hardware either of us had seen before. No one locally recognized them either.
The antique kitchen cabinet came from the western Canadian prairies. Simple, hardworking furniture like this was often used daily for generations. Discovering such unusual cast iron hardware hidden beneath layers of old paint somehow made the cabinet feel extra special
Working with cast iron does come with a few things to be cautious about. Although it is hard and durable, it can also be brittle, and once stripped, it can rust surprisingly quickly.
To avoid rust issues afterwards, we decided against boiling the hardware in water to remove the paint. Instead, we settled on what I jokingly call the coffee pot and patience method.
The Coffee Pot and Patience Method
Wearing thick leather gloves and using a heat gun, we warmed each piece of hardware for about 15 seconds at a time. Then we used wire brushes and scrapers to slowly remove the layers of old paint. Then we simply repeated the process until every piece was clean.
Once the cast-iron pulls were complete striped, I protected them with matte varathane spray. After spending more than a hundred years hidden beneath layers of paint, the aged metal was simply too beautiful to conceal again.
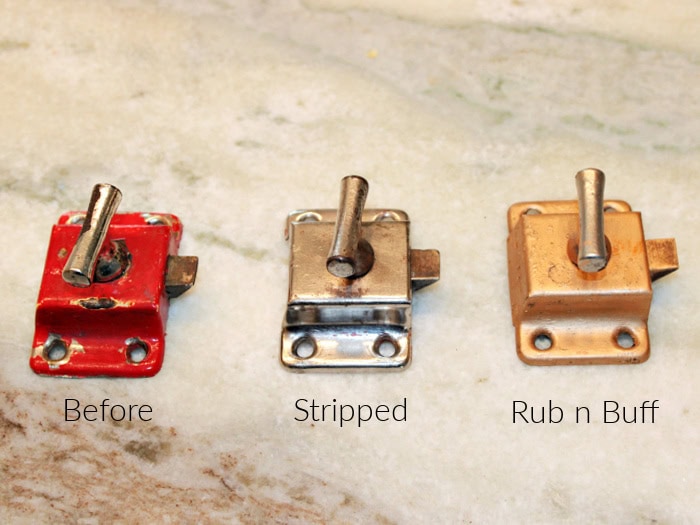
Step 5. Restoring the Smaller Hardware and Latches
The antique kitchen cabinet also had several smaller latches and hardware pieces. They looked like they were once either chrome-plated or painted with a chrome finish, which was chipping.
We stripped those pieces the exact same way with the heat gun, wire brushes, and scrapers. Then I decided to give them a new finish to camouflage the missing chrome, using Antique Gold Rub ’n Buff.
I applied the Rub ’n Buff using a small paint brush, and let it dry for a few hours. Once dry l lightly buffed the finish using a soft dollar store makeup brush.
The softer gold finish works with the white cabinet. Allowing the old hardware to function and covering up the peeling finish underneath.
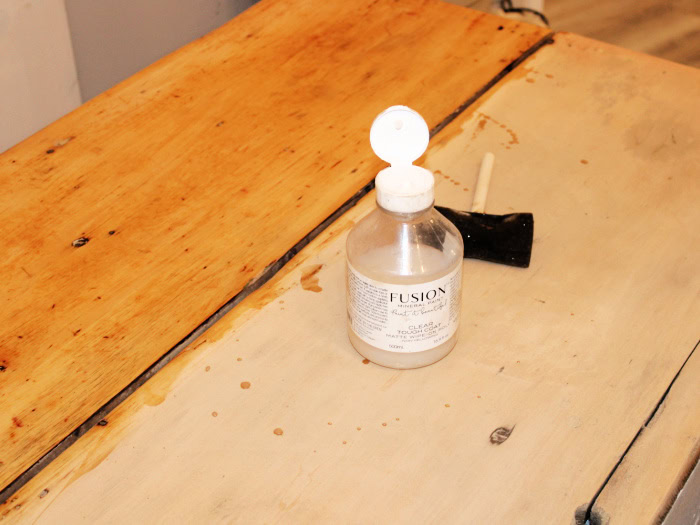
Step 6. Restoring the Wood Countertop
The lower section of the antique kitchen cabinet still had its original one inch thick wood countertop. Remarkably, it was still in very good vintage condition.
After stripping the surface, I sanded the wood thoroughly using 80, 120, and finally 200 grit sandpaper until most of the wear and tear was smoothed out.
I considered staining the wood to match the different tones in the restored hardware. In the end, I decided not to stain it at all.
Since this antique kitchen cabinet will not be used for food, instead of cutting board oil, I protected the wood using two coats of Fusion Tough Coat.
The wood countertop still has a few imperfections after all these years, but they feel well-earned.
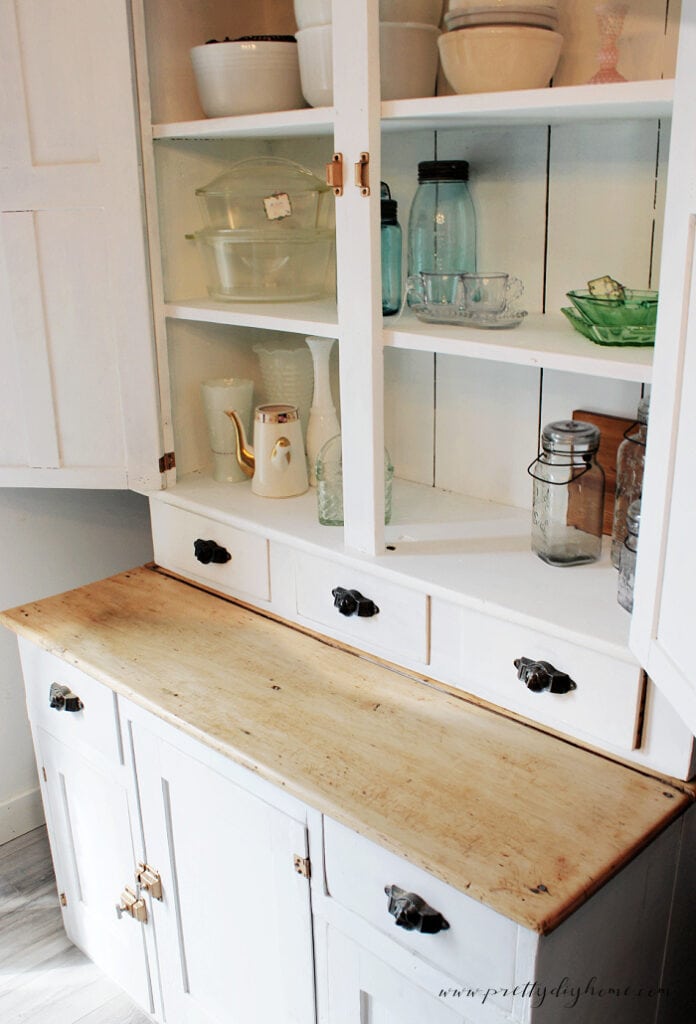
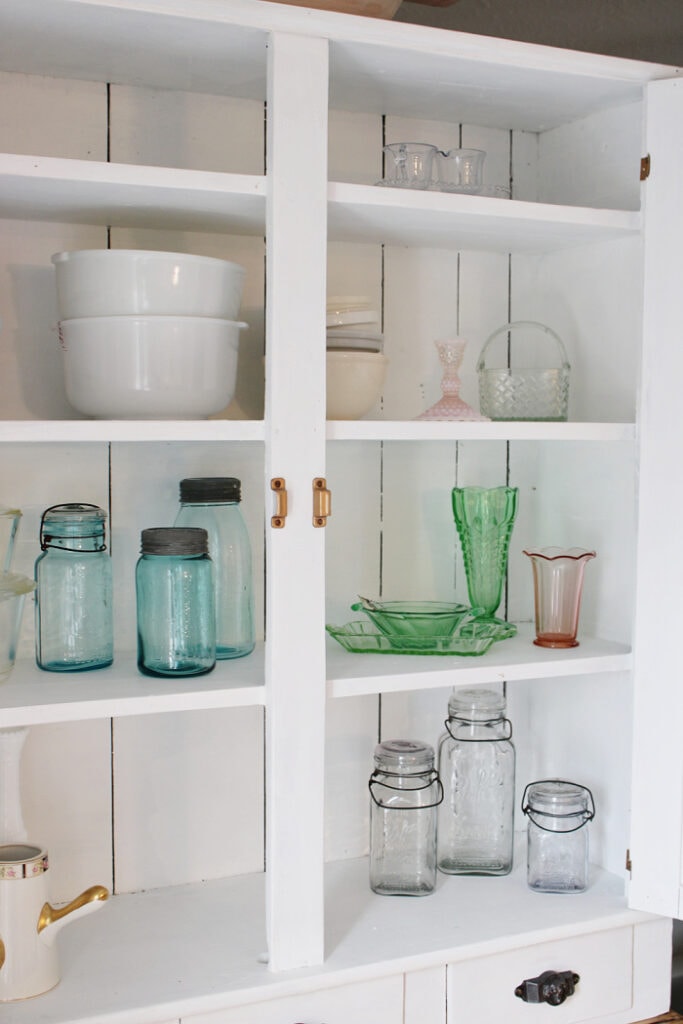
One of my favorite parts of the makeover was seeing how much brighter the cabinet interior became after painting the shelves white. The original dark green interior made the cabinet feel heavy. The lighter finish completely changed the look and made it much easier to style with vintage dishes and glassware.
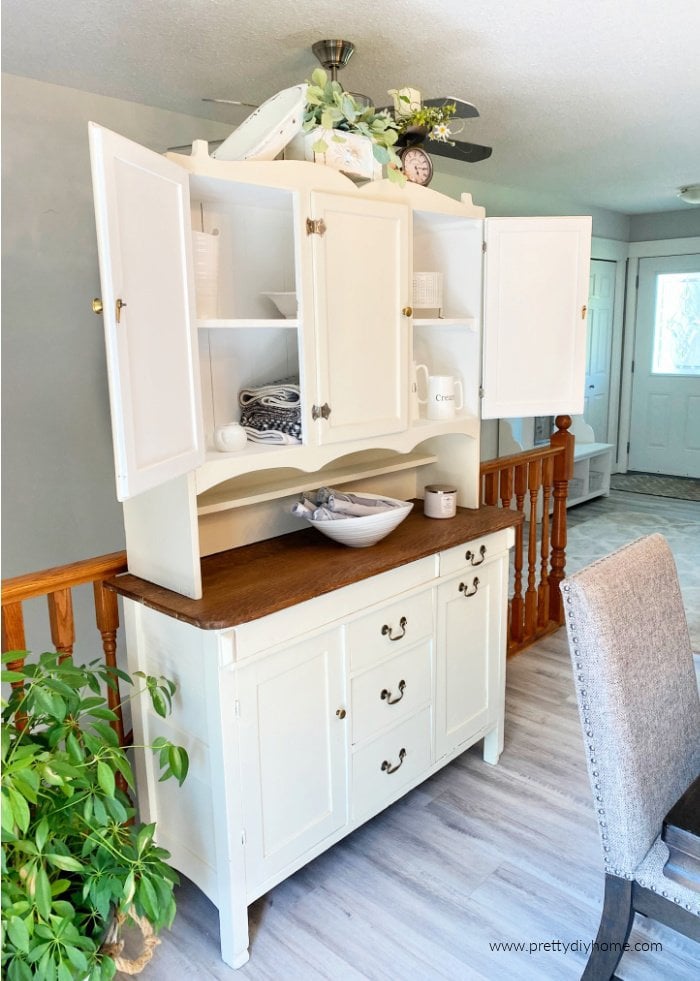
Seeing all the hardware back on the cabinet was one of my favorite parts of the makeover. The different metal tones do not perfectly match, but together they still work. This functional style of antique furniture was built to be useful and purposeful, and I think the mix of finishes really leans into that.
If you want to save this antique kitchen cabinet makeover for later, be sure to pin it for inspiration.
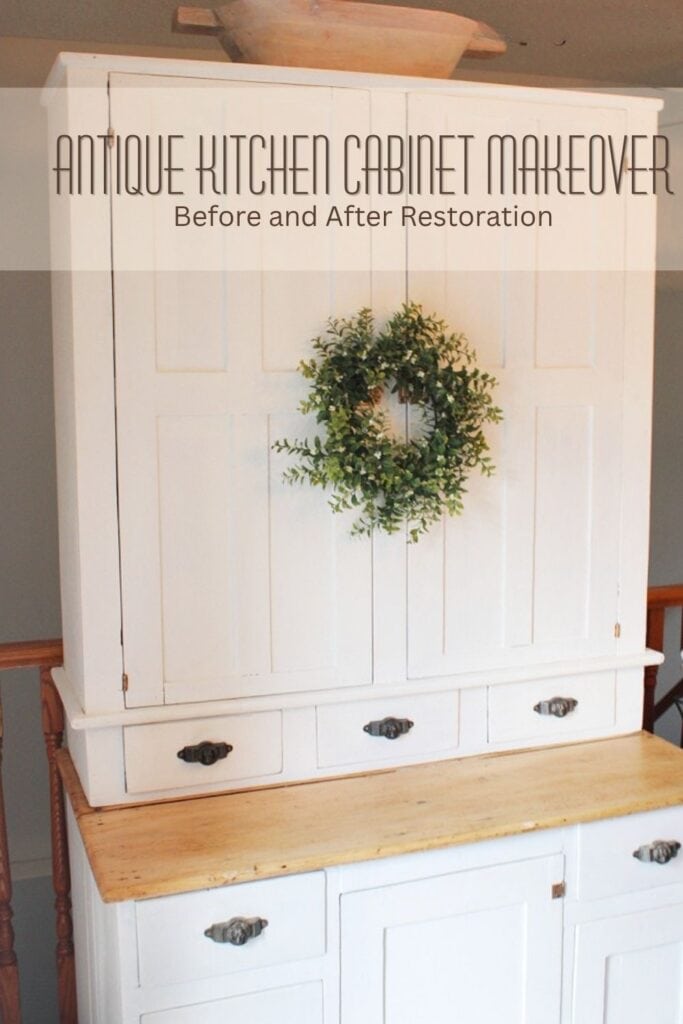
This antique kitchen cabinet makeover was as much work as we expected it to be. But even in the very first photo, you can still see that the cabinet was solid and worth saving. It was stable, functional, and built to last. Between the restored hardware, warm wood countertop, and fresh white paint, it finally feels bright and full of character again. I am so glad we chose this piece to save and make useful again.
More Vintage Cabinet Makeover Ideas
After purchasing the yellow cabinet, I had to sadly part with some other furniture to make room for it. Here are a few of the other vintage cabinet makeovers you may enjoy.
Hoosier Cabinet Restoration
When I saw the cabinet in today’s post, I had to sell this Hoosier cabinet restoration to make room for it. I truly loved everything about this cabinet, but the new one simply offered more storage. Thankfully, it went to a young couple restoring a home built in 1920 and wanting a cozy cottage-style kitchen, so I know it found a very good new home.

Primitive Secretary DIY Makeover
You won’t believe the before on this Primitive Secretary Makeover. I use this cabinet to display pretty things now, but I think it would also work beautifully for shoe storage with baskets underneath and keys or purses tucked into the secretary top.
Primitive Secretary DIY Makeover
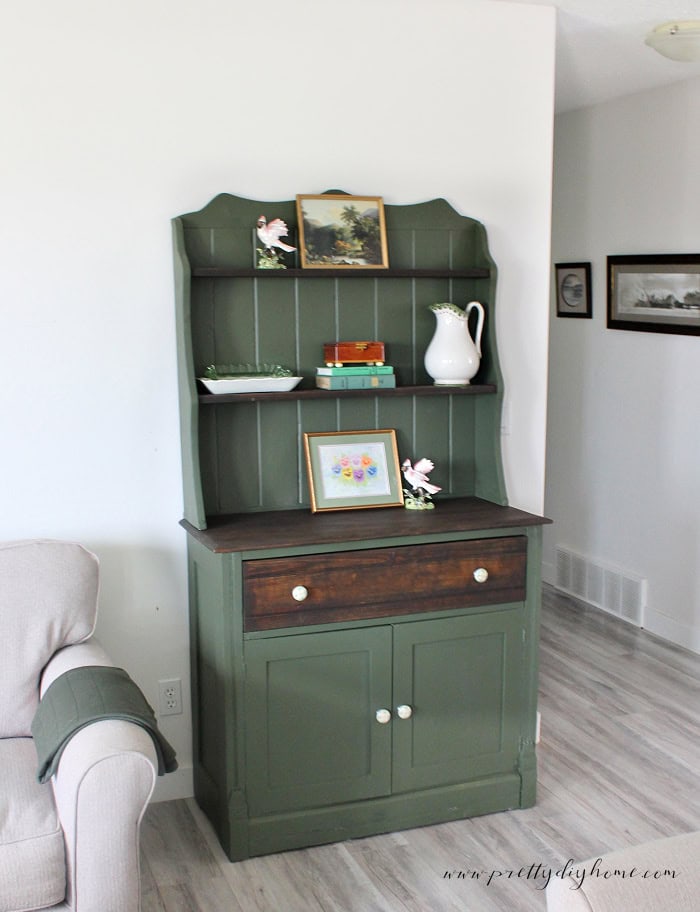
This green cabinet was my first attempt at using colored paint on furniture. Everyone comments on it because the color is so striking, and it is still Hubs’ favorite cabinet makeover. As much as I appreciate it now, I still think deep down I would have painted it cream or white if I had the choice today.