DIY Wood Halloween Front Porch Sign Tutorial
Halloween Wooden Sign with Lights
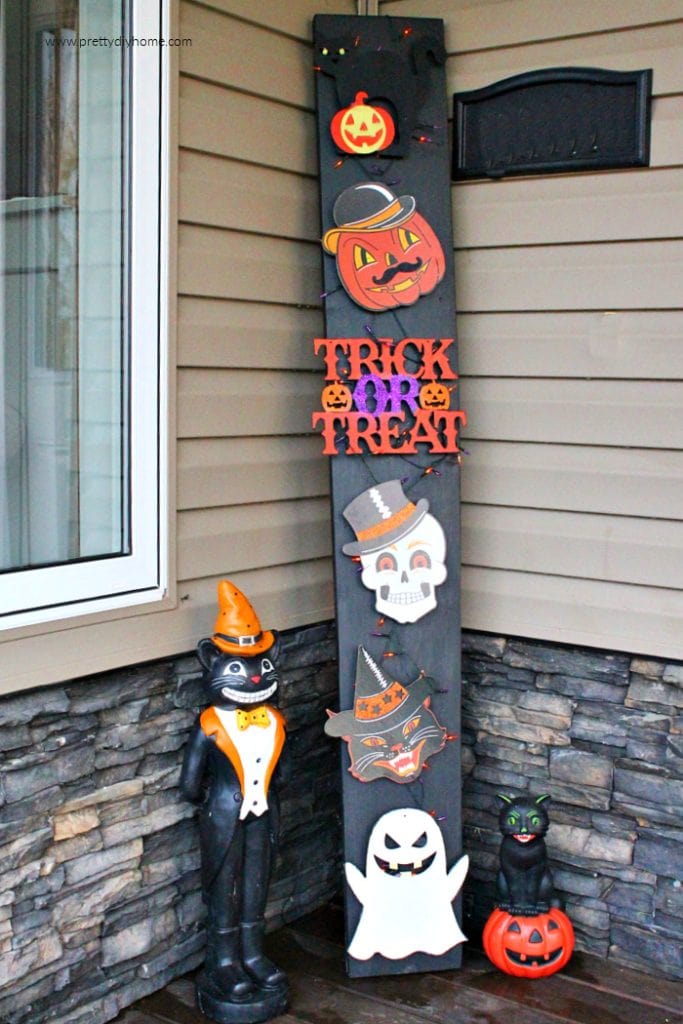
This wood Halloween sign is the perfect sign for a fun and festive Halloween front porch. It adds just a little bit of spooky and lots of vintage Halloween vibe. You can make this Halloween wooden porch sign inexpensively and it’s lots of fun to put together. And if you add the lights it helps brighten your porch for the trick-and-treating brigade.
Recently I learned that the Halloween decor encourages families to drop by. We have a secluded yard we love, bordering a park, and only one neighbor, it’s the perfect location except for the Halloween season. It’s somewhat concealed and at the back end of the cul de sac.
We’ve always made Halloween porch decorations for fun, but I never understood how much the Halloween decorations encourage families with trick-and-treaters to walk up to the door.
I know with certainty creating the Halloween outdoor decor is the reason the trick-and-treaters found our home.
We live in a small town and many people explained they didn’t even know this house existed before we moved here. Halloween just would not be fun without trick-or-treaters. Let’s start the tutorial.
Wooden Halloween Sign Supplies
- 1 – 2″ by 8″ board 6 feet long or 1-inch plywood cut 8″ wide
- 120 grit sandpaper
- Assorted Dollar Tree wood signs or cutouts
- Black paint (I used chalkboard paint)
- Dollar Tree Jenga blocks (or 1 by 2 wood scraps)
- Assorted acrylic paints in Halloween colors.
I want you to be able to decorate your porch for Halloween while still saving for Christmas.
This is the first of three Halloween front porch decorations I made this year all on a budget. If you don’t have Halloween colors at home, you can swap them out for any craft paints you happen to have.
I used an existing porch leaner harvest sign but again use what you have, plywood works, or three 2 by 4s. The wood backdrop is hidden behind the Dollar Tree signs and the lights, so it doesn’t matter if there are seams, it’s camouflaged.
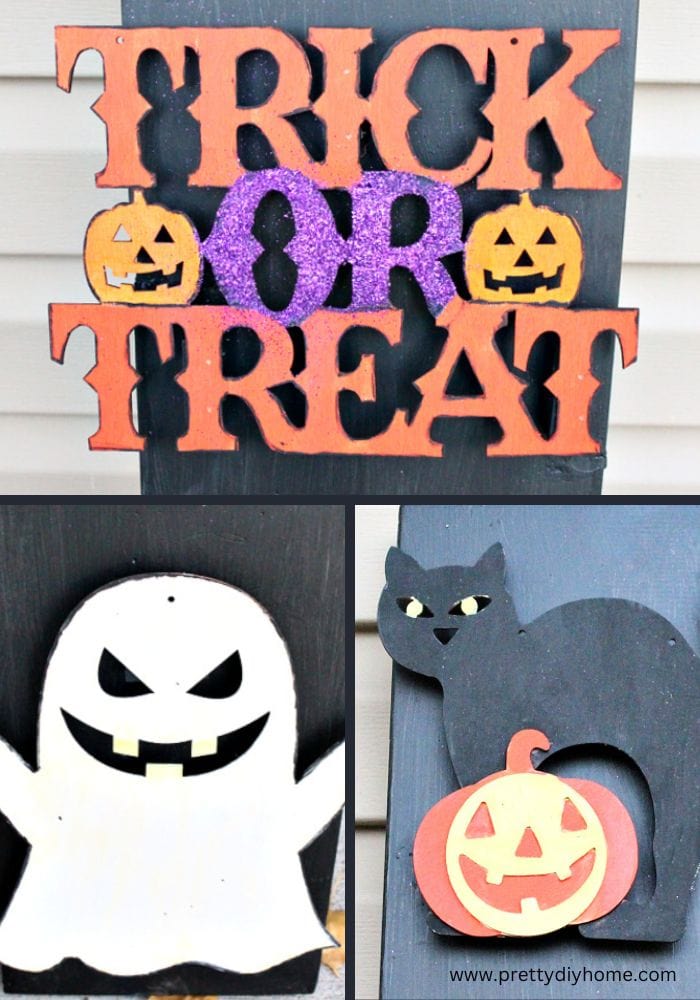
My Halloween porch sign has five characters but you can make a cute one using only three. Although I think lights are the best part, if you have little ones who won’t be up late enough to see them skip them for this year. I am sure you get the idea, now let me show you how easy this sign is to put together.
How to Make this Wooden Halloween Sign
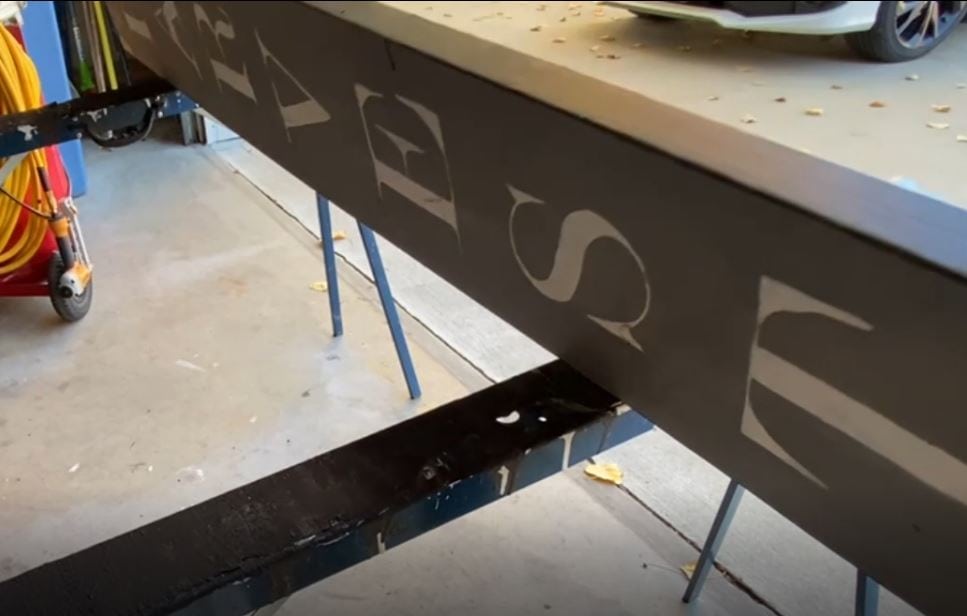
Step 1 – Paint the Back Board
Take the 2″ by 6″ board sand it with 120 grit paper and give it two coats of black latex paint (I used leftover chalkboard paint for ours).
To make our Halloween sign we used an old Harvest sign we made several years ago and painted the back side.
Step 2 – Attach and Paint the Wood Blocks
While we have the paint out I thought we may as well paint the little bits of wood. These little pieces of wood need to be about an inch high and half an inch wide. We will use them to add height behind our front pieces. The space gives us the room we need for the lights.

I glued two Dollar Tree Jenga blocks together for each piece, let them dry, and then painted all the sides black. If you have scrap wood to cut down to size use that instead, just make sure it’s an inch high. Set aside and let dry.
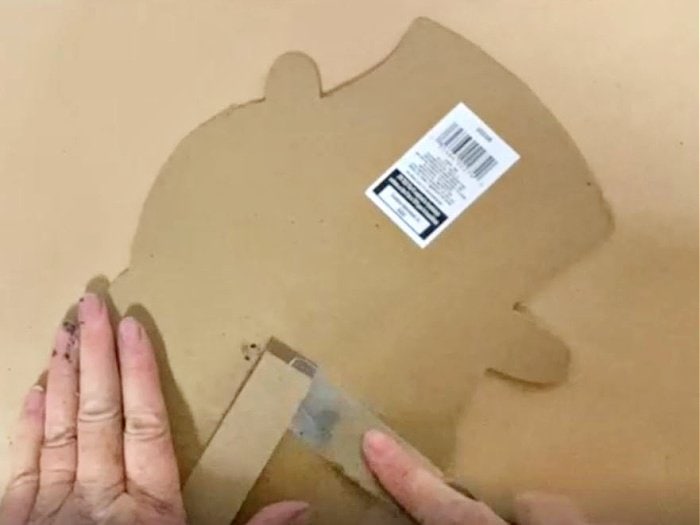
Step 3 – Prepping and Painting the Halloween Miniature Signs
The little wood cutouts are one of my favorite things to purchase at Dollar Tree, I have a stash of them for the different holidays. I use them for templates, to give me basic pattern ideas to draw but I had never actually made anything with them before. My first plan was to use 5 of them from my stash until I found these great vintage-styled Halloween yard signs at the Dollar Tree.
To prep the dollar tree signs use a small paint scraper or metal ruler and carefully pry the picture away from the stem. I only found three of them at our store so for the other two signs I painted the wood cutouts.
The vintage signs had glitter sections and a black edge around each one. To make them match I grabbed paints in Halloween colors, plus white and black.
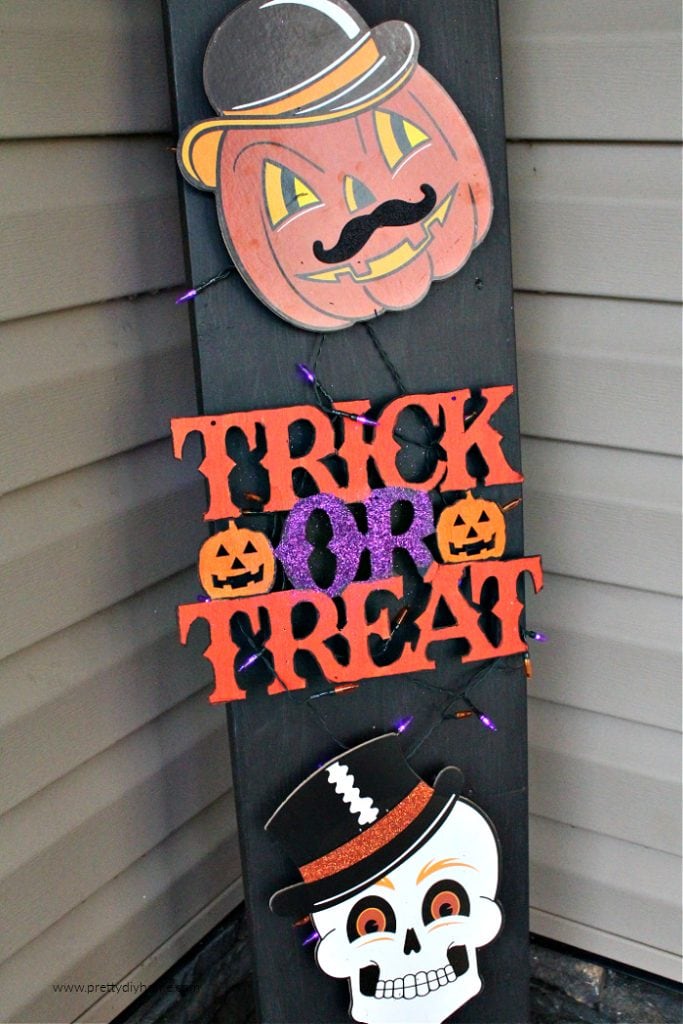
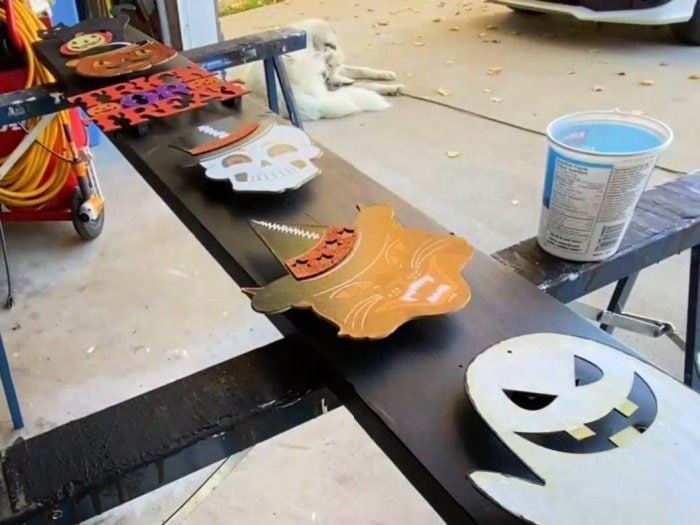
Paint the various parts of the blank wood cutouts in different Halloween colors. Once done use a small paintbrush or a black paint pen and paint a black edge around the edge of your wood pieces.
Adding the glitter I originally used spray-on adhesive but some came off. I suggest using Mod Podge or paint on some white glue. Sprinkle with glitter.
Step 4 – Assembling the DIY Halloween Sign
This is the funnest part. I always start to get too excited when the final part of my projects comes together, causing me to hurry. Do you feel that way? It’s really hard when I have to slow down and remember I am doing a tutorial. This sign looks like it’s going to be one-of-a-kind awesome, at least to me lol. Here’s how we put it together.
I used an air nailer to attach my small signs to the backboard. If you don’t have an air nailer I would use small nails to attach the Jenga blocks to the backboard, then E-6000 to attach the small signs.
Begin by placing your decorative signs where you want them. Then place the wood supports behind them where they don’t show through from the front.
Adjust angles to make it fun, and then measure the distance between each sign so they are relatively even. Then nail with the airnailer using 1 1/2 inch air nails.
If you don’t have an air nailer, I suggest putting the sign together as follows; remove the small wood Halloween signs, and hand nail the jenga pieces to the backboard. Once the Jenga blocks are nailed in place, use E6000 to attach the small wood Halloween signs to the Jenga pieces.
Step – 5 – Stringing the Lights
You can use any kind of Halloween string lights you like. Hang them behind the Halloween signs, wrapping them around the Jenga block spacers to hold them in place. Snuggle the plug-in end along the bottom of your sign and attach to the back if needed.
Wooden Halloween Sign Video Tutorial
I put together a Halloween sign video for you showing me completing each step. I tried my best to cut out as much as I could while still showing you all the steps. I hope you find it helpful.
Like this idea? Pin it to have it!

Happy Halloween! Leanna
Here are some Other Halloween Front Porch Decoration Ideas

Halloween Porch Decorations
Here is a collection of DIY Halloween decorations for your front porch, including a dog ghost, a spooky sign, and even spookier Halloween trees.

Easy Halloween Sign for the Front Porch
This Halloween sign is made with a free printable Hiss and Scratch Inn sign for Halloween. The sign holder then can do double duty as a great porch plant hanger.