Pink Flannel DIY Christmas Ornaments
There’s something so special about making handmade Christmas decorations, especially when they’re soft, cozy, and girly for my little granddaughters coming to visit for the holidays. These pink flannel DIY Christmas ornaments were the very first decorations I made for their pink Christmas bedroom. The cheerful plaid fabric adds warmth and sweetness, and the simple wood cutouts make them an easy beginner beginner-friendly craft.
There’s something so special about making handmade Christmas decorations, especially when they’re soft, cozy, and girly for my little granddaughters coming to visit for the holidays. These pink flannel DIY Christmas ornaments were the very first decorations I made for their pink Christmas bedroom. The cheerful plaid fabric adds warmth and sweetness, and the simple wood cutouts make them an easy beginner friendly craft.
If you’re decorating a smaller tree or want to coordinate with flannel pillows, blankets, or stockings, these ornaments tie everything together beautifully. Whether you choose pink plaid or another favorite pattern, flannel gives your tree that soft, cuddly texture that makes winter decorating so special.

The first step is finding the perfect flannel for your ornament. It took me a few too many stops before I finally settled on the bright pink plaid. It’s lively and stands out nicely among the other decorations. If you’re not into bright pink, of course, choose a fabric that fits your own Christmas style.
These DIY Christmas ornaments only need a small amount of fabric, about a quarter metre or yard of flannel. One of the nicest parts of making your own Christmas ornaments is how fast and affordable it is to create a matching look for a small space like a bedroom. When the ornaments coordinate with a flannel Christmas tree skirt, curtain tie backs, or matching cushions, it ties the whole room together in such a soft and cozy way. I love how it made the whole room match in a soft and cozy way.
Why This Ornament Idea Works So Well.
Supplies for Making DIY Flannel Christmas Ornaments
- Precut wood Christmas ornament form (mine we white finished ones from Michael’s. about $1.50 each with a coupon.
- Spray-on adhesive
- A garbage bag or drop cloth to protect your work surface
- Your choice of flannel.
- Graph paper, pencil and scissors
- Black cord and hot glue (optional)
Once you have everything gathered, it’s time to make the pattern for your ornaments.
Making a Pattern for the DIY Christmas Ornaments
To make your own pattern, start by placing the wood ornament form onto a piece of graph paper and tracing around it. This outline will be the same size as your ornament base. Next, draw a slightly smaller version inside the outline using the graph paper lines as a guide. This gives you a fabric pattern that fits neatly on top of the ornament without overlapping the edges.

Once you have your paper pattern ready, fold your flannel fabric in half. Because plaid patterns have strong lines, take a minute to line up the fabric pattern so everything looks even. Pin the layers together before placing your paper pattern on top.

Cut around the pattern carefully. After your first cutout, place it on the wood form to check the fit. You may need to trim a little more or adjust the shape slightly. My first pattern was a bit narrow at the top, the second one a little wide, so it’s worth taking a moment to get the fit just right.

When you’re happy with the pattern, fold the flannel cutout in half again and trim any uneven spots so both sides match. Once all your pieces are cut, give them a quick press with the iron to smooth out any wrinkles.
Attaching the Flannel to the Wood Ornament Form
Because flannel is such a soft fabric, I don’t recommend using Mod Podge to attach it. The glue can stiffen the surface and take away that cozy flannel feel. Instead, use spray adhesive for this step. It holds well and keeps the fabric soft.
Protect your work surface with a garbage bag or drop cloth to make cleanup easy. Work in a spot with good air flow.
Spray the fabric, not the wood. Lay one flannel piece face down on the garbage bag. Shake the can well and apply a light, even coat to the back side of the fabric. Let it sit for 30 to 60 seconds so the glue becomes tacky.

Carefully place the glued side of the flannel onto the wood ornament form. Smooth from the center out with your fingers to remove any wrinkles. Press the outside edges so the fabric sits neatly inside the wood outline.
Fold the garbage bag over to give yourself a clean work surface for the next ornament. Repeat with the other ornaments. Let them dry for about an hour before you move on. If you like a clean and simple look, you can stop here and leave them as is.

Adding the Outer Cord and Embellishments
For these ornaments, I decided to add a little bit of detail around the edges using black cord. The contrast between the soft pink plaid and the dark cord made the ornaments pop in just the right way. If your fabric is a different color, you can use plain twine or another cord that matches your flannel.

Start at the back of the ornament near the bottom. Add a thin line of hot glue along the outside edge, pressing the cord gently into place as you go. Work a few inches at a time so the glue doesn’t cool too quickly. Continue all the way around the ornament until you meet the starting point.
To finish, trim the cord neatly and press the ends together on the back. I left one end tucked just slightly behind the other for a tidy finish.

Because these ornaments are for my granddaughters’ Christmas bedroom, I added a few Xs and Os to the front with a white paint pen. It’s a simple little touch that gives each one a bit of personality.
If the hanging cords that came with your ornaments don’t match, you can easily swap them out. I replaced mine with black twine from my stash, which tied the look together nicely without needing to buy anything extra.
More Crafts from Our Pink Christmas Bedroom
This is the first set of ornaments I made for the tiny tree in the girls’ bedroom. Once all the pink Christmas projects are finished, I’ll add the rest at the bottom of this post. Each one uses the same flannel and soft color palette to keep everything matching and cozy for the holidays.

If you enjoy saving ideas to come back to later, pin this project. This pink flannel Christmas ornament tutorial is part of my pink Christmas bedroom series, and pinning it will make it easy to find again when you start your holiday crafting.
More Crafts from Our Pink Christmas Bedroom

DIY Pink Christmas Garland
This easy DIY Pink Christmas Garland is made with pink flannel and felt garland uses the same soft fabrics as the ornaments. It’s a simple way to add a bit of handmade charm to the girl’s Christmas room and ties the whole pink theme together.
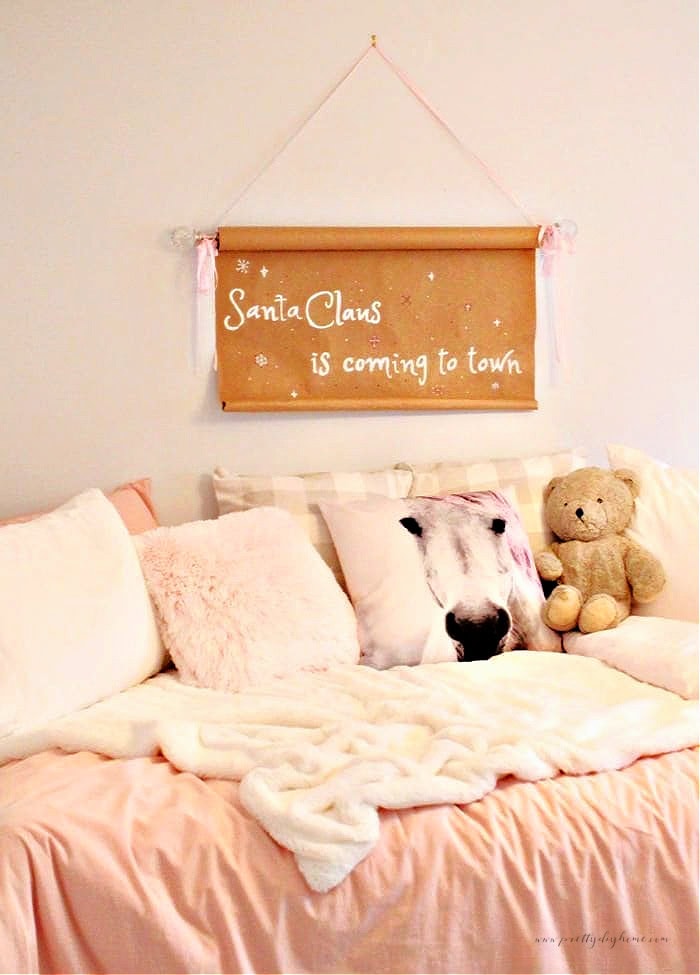
Christmas Scroll Art
This Pink Christmas Scroll Sign reads Santa Claus is Coming to Town and hangs above a bed filled with soft pink pillows. The pink ribbons and simple paper give it a sweet, handmade look that fits right in with the rest of the pink Christmas bedroom decor.
These flannel ornaments are just adorable Leanna!
I adore this idea!
Love these Leanna!
Very pretty ornaments. The Australians are very similar to the Canadians they love the flannel shirts, lots of cowboys around our area.
How cool are these!! I’ve not ever seen pink flannel before and these turned out so beautiful Leanna! Handmade ornaments are the best!
How pretty is that pink flannel! Pretty please PM me the name of that fabric store you discovered. I’ve had such struggles finding fabric locally these days. Your ornaments are so pretty, Leanna especially hung on your flocked tree. The x and o’s are an adorable touch too!
Very cute Leanna, I really like the shape and that pink flannel would look great on my daughter’s white Christmas tree in her room too.
I don’t think I’ve ever seen a pink flannel before. No wonder you struggled to find it. It’s gorgeous. Hot pink is my daughter’s favorite color. after yellow. I’m going to have to tell her to keep her eyes open for some. Love how your ornaments turned out Leanna. Such a lovely idea and totally differentto the stock standard ornaments you can get in stores.