
Easy Dollar Tree DIY Fall Decor Banner
Dollar Tree DIY fall decor is an easy and inexpensive way to craft for fall. This year, I am all about beautiful pink fall decorations, lovely burlap, beads, and feminine touches. If you want to make something different for fall without dark oranges and brown, I think you will love making this Dollar Tree pink fall banner.
Dollar Tree has these very easy-to-use DIY banner kits made out of burlap that are already cut and have little metal openings for threading. I love that you can skip the cutting, and they were much cheaper than purchasing burlap from the fabric store.
How to Make a DIY Fall Burlap Banner
This Dollar Tree burlap banner is simple to make because the banner pieces are already cut and have metal openings for threading. That means you can skip measuring and cutting the burlap and move right into decorating the panels.
Supplies
Besides the Dollar Tree burlap banner, I suggest picking up the following supplies at Dollar Tree or shopping your craft stash for anything you already have.
- A pretty pink patterned towel, or leftover fabric
- Dollar Tree paint pen
- Wooden beads
- Pink acrylic paint
- Paint dabber or Q-tips
- Burlap twine.
My stash has an assortment of leftover bits and pieces of burlap and fabric that I used instead, but there are all sorts of fabric tea towels at Dollar Tree that you can simply rip into strips.
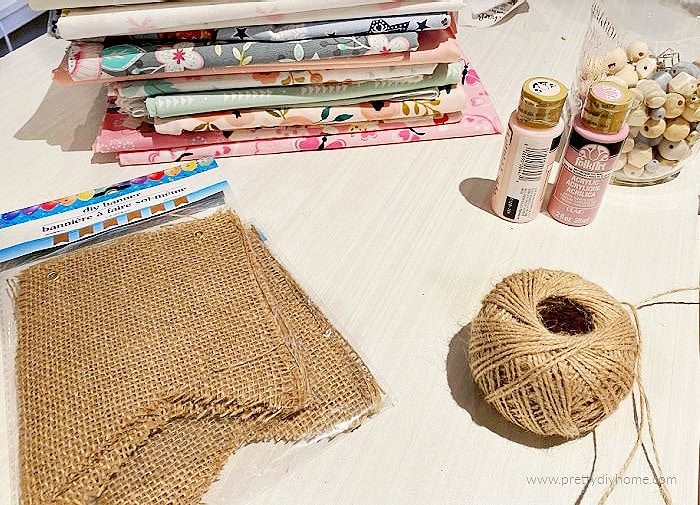
My local Dollar Tree has white paint pens. If you can’t find a paint pen, I think a Sharpie would work as well.
I chose to use a simple “FALL” for my wording, but the burlap banner package contained seven squares, so you could use different wording such as autumn, harvest, pumpkin, thanks, blessed, or gather.
Adding Lettering to the Dollar Tree Fall Banner
Since the lovely banner pieces are precut and already have holes, we get to begin by writing out the letters. This time, I chose to freehand the lettering, starting with the letter F.
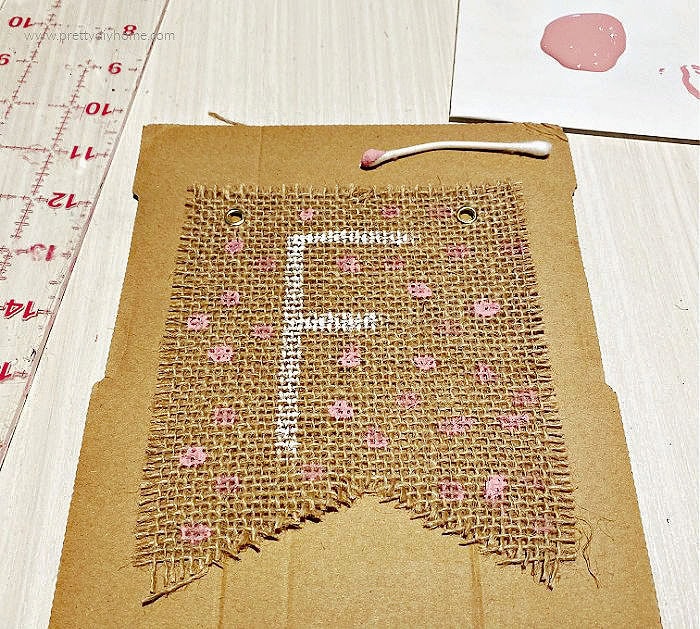
Once the first letter “F” was done, I used it as a gauge to size the other letters. Align the first finished banner panel beside the new one, then make dots to mark the top and bottom edges of the new letter. In the next image, I have three dots marking the letter A.
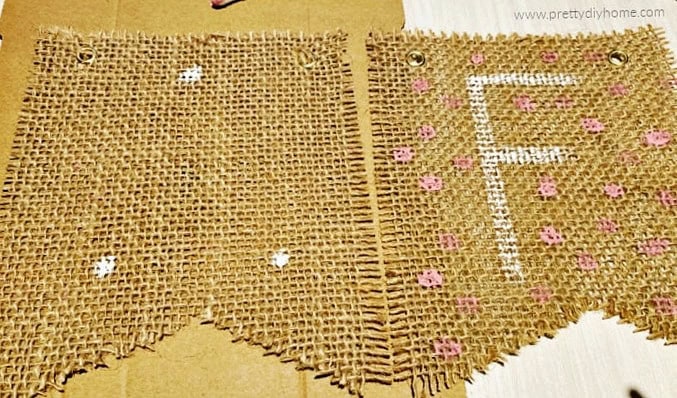
Once the letter is done, squeeze about a teaspoon of acrylic paint onto a scrap piece of paper. Dip a Q-tip into the paint and simply stamp polka dots all over the burlap. Once finished, set the letter square aside and let it dry. Repeat for all the remaining letters in your fall banner.
Adding Beads and Fabric Strips
My Dollar Tree burlap banner came with burlap twine, which I wasn’t expecting. I had already cut a 6-foot length of twine, so that’s what I used in the tutorial images. Tie a knot at one end, then thread the other end through a large-eyed needle.
It takes some patience to thread the needle, but it’s much easier than threading each bead by hand.
I went through my bead stash and worked out a pattern using what I had. I used six large beads and 24 tiny gold beads for my fall banner, but of course, you can use more or fewer depending on the beads you have on hand.
Start with a small gold bead, then add a larger white bead and a second gold bead. Feed the twine through the burlap panel from front to back, then back to front, and repeat the pattern.
Making Fabric Rag Tassels
I have an assortment of different pink fabrics, and because of the polka dots on the banner, I chose to use pink and gold polka dot fabric. Any type of fabric you like will work. If you need to purchase fabric, I would start by looking at fabric tea towels at Dollar Tree, or Walmart has inexpensive fabric quarters that provide more than enough fabric for the rag tassels.
Cut a small snip into the edge of the fabric, then rip it into 1 1/4-inch-wide strips about 16 inches long. Tie one strip between each set of beads.
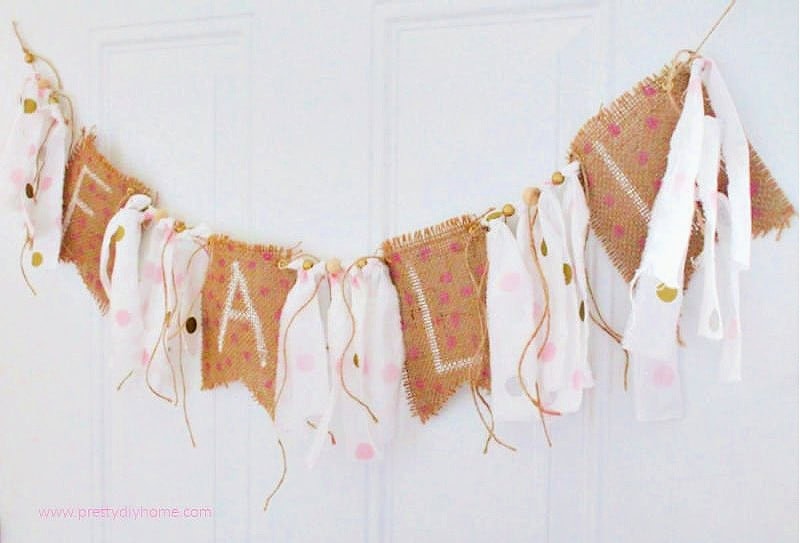
As a final touch, I cut 10-inch pieces of twine, curled them with my curling iron, and tied them onto the banner. Curling the burlap twine gives the banner a softer, more feminine look.
My curling iron gets hot enough to curl the twine. If yours does not curl on the hottest setting, give the twine a light spray of hairspray before curling it.
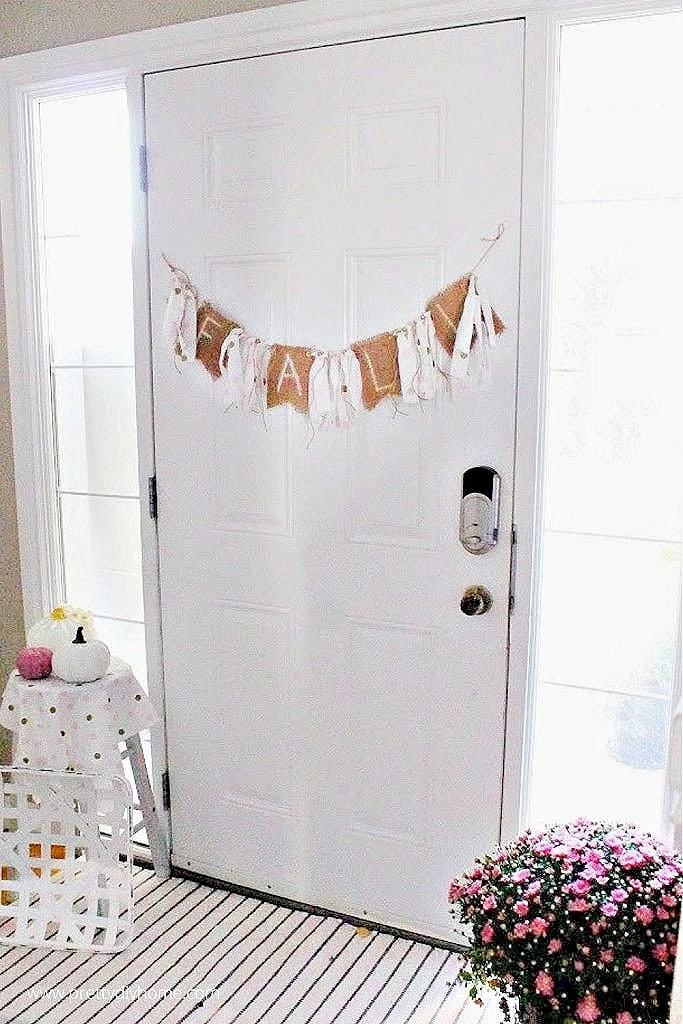
This is my first pink Fall post for the year. I am so excited to share it with. I have a few more planned and in various stages of being made. I can’t wait to share them.
Other Pink Fall Decor Ideas for You
I am obsessed with the soft pinks and coral colours this year and there are so many simple and unique Fall decorations you can make using pink as your theme. Here are some other ideas I think your going to love.
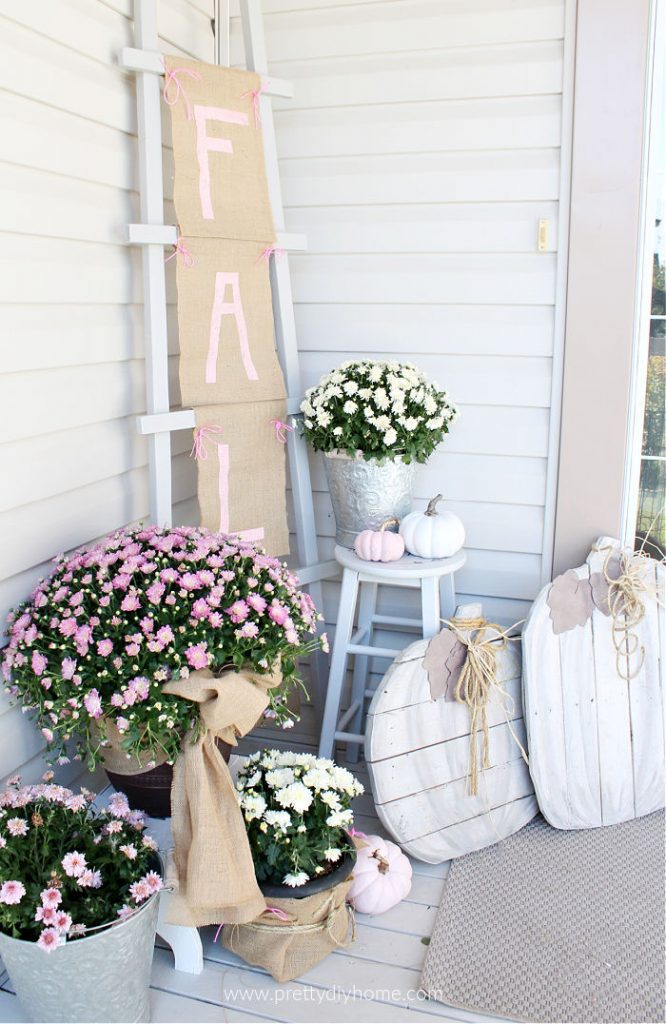
Fall Front Porch Ideas with Fall Banner and Ladder
Fall would not be Fall without some pumpkins. The pink goes so well with soft greens and farmhouse decor.
I’ve always had this thing for polka dots. No idea why, but they just make me happy, which probably why love your fall banner so very much Leanna. Oh and that’s it’s easy and cheap to make too 😀