
Easy DIY Fall Centerpiece for Beautiful Fall Table Decor
As the days get shorter and the colder weather starts to settle in, I always feel the need to make the indoors feel cozier, warm and inviting. Here in Canada, fall means we’ll soon be spending much more time inside, so adding a few seasonal touches helps make our home feel comfortable and cozy before winter arrives.
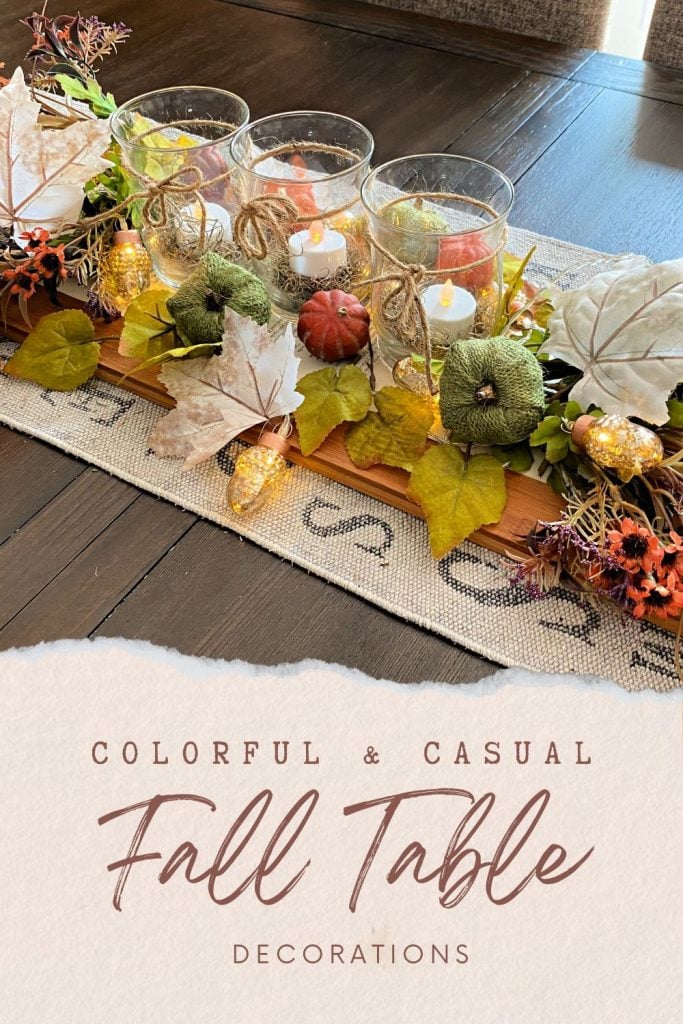
This easy DIY fall centerpiece starts with a simple wood base and layers in soft lights, fall colours, and small pumpkins. You can likely make most of it with things you already have on hand, then fill in any gaps with inexpensive finds from the dollar store.
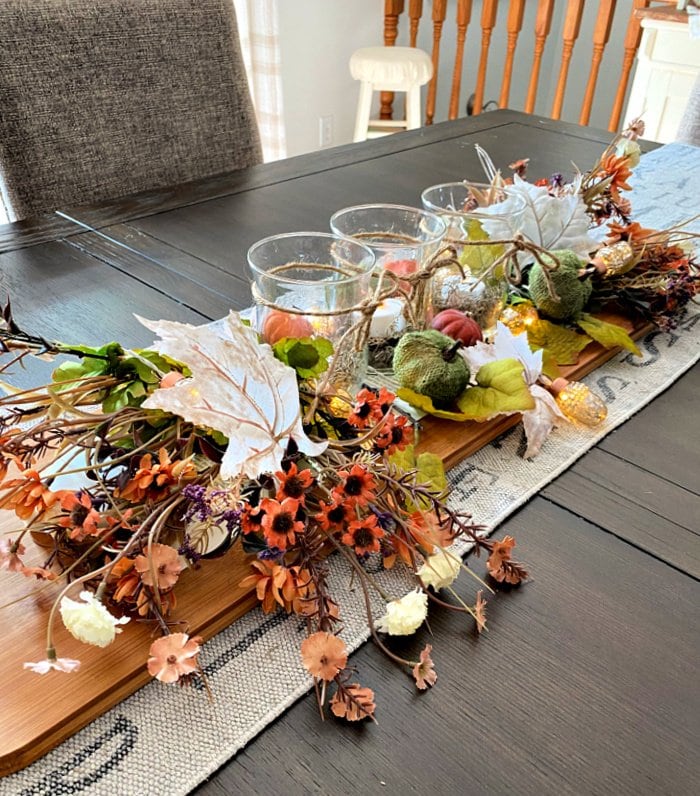
How to Make This Easy DIY Fall Centerpiece
DIY Fall Centerpiece Supplies
Use what you already have whenever possible and feel free to substitute materials to suit your own style. A wood dough bowl, rustic tray, large cutting board or even a simple piece of wood can work in place of the charcuterie board I used.
I wish I had thought to make a few simple paper leaves instead of buying all of mine, so don’t be afraid to mix handmade pieces with dollar store finds.
Here are the supplies I used for my centerpiece:
- Wood charcuterie board, tray, dough bowl, or other long base
- 3 glass jars or mason jars
- Burlap twine, ribbon, or strips of fabric
- Faux fall flowers, leaves, and greenery
- Small pumpkins in colours that suit your fall decor
- Battery-operated faux candles
- Raffia
- Battery-operated fairy lights
You can make this fall centerpiece with faux florals as I did, or mix in natural elements such as real leaves, small branches, pinecones or nuts. Natural materials are especially pretty for fall table decor, although they may not last as long. And having a fall walk to gather supplies for the centerpiece is a fun activity for families.
Step 1: Choose the Base
Start by choosing a base that suits the size and style of your table. The base will define the general shape and length of your centerpiece, so a long narrow piece works especially well for a dining table.
I used a wood charcuterie board, but you could use a dough bowl, rustic tray, slab of wood, or even a simple wood box. Use whatever you already have that works with your fall decor and gives you enough room to layer the other decorations.
Step 2: Lay Down a Small First Layer
I used three old book pages as the first decorative layer on top of the charcuterie board. This small layer will create a focal area for the three candle jars and keep them from looking like they are simply sitting on the wood base.
You could use old book pages as I did, printed music sheets, brown paper, pretty scrapbook paper, or even decorative napkins.
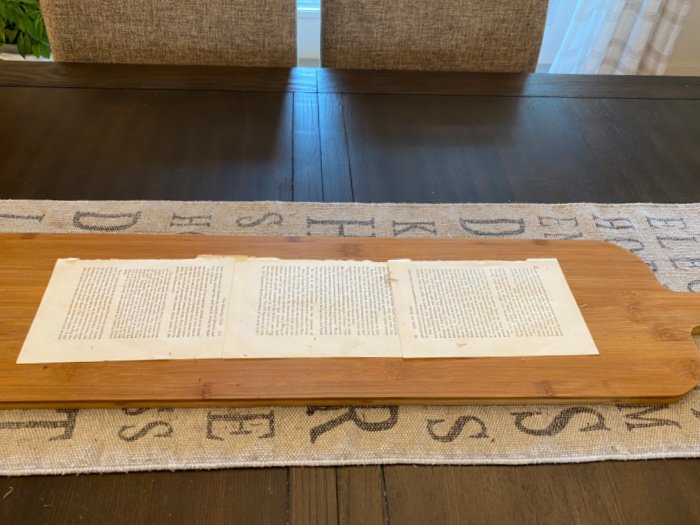
Step 3: Add the Lights and Candles
I highly recommend using battery-operated faux candles and fairy lights for fall centerpieces. As the evenings get longer, the soft glow makes the table feel especially cozy and inviting.
Place the faux candles inside the glass jars, then add a little raffia around them. I used inexpensive dollar store lights, but any small battery-operated lights will work. If you are adding a separate strand of fairy lights around the centerpiece, wait until after the larger flowers and foliage are in place in Step 4 so the wire is easier to hide.
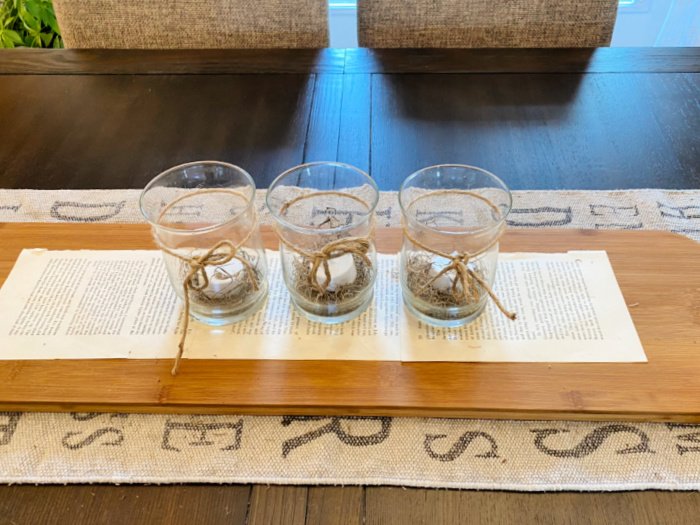
Step 4: Arrange the Large Foliage and Flowers
Start with the larger flowers, leaves, and branches, placing them toward each end of the centerpiece. Tuck them in close to the outside of the candle jars to define the ends of the centerpiece.
Keep the larger florals low enough that they don’t overpower the jars. Once the larger pieces are in place, you will have the basic arrangement ready for the smaller decorations.

The glass jar candles are the focal point of this fall centerpiece. Dollar store jars, small clear candle holders, or mason jars will all work well. Add a little raffia around the base of each candle, then decorate the jars with twine, ribbon, or strips of ripped fabric. If you like, you can add simple autumn labels with words such as grateful, blessed, or gather.
Step 5: Finish and Adjust
If you are using a separate strand of fairy lights, add them now by weaving the lights around the jars and larger florals. Tuck the wire down where needed, camouflage the battery pack underneath the larger decorations, then use smaller flowers, leaves, and pumpkins to soften any obvious wire and fill in open spaces. A little visible wire is perfectly fine, especially with the pretty copper strands used on many fairy lights.
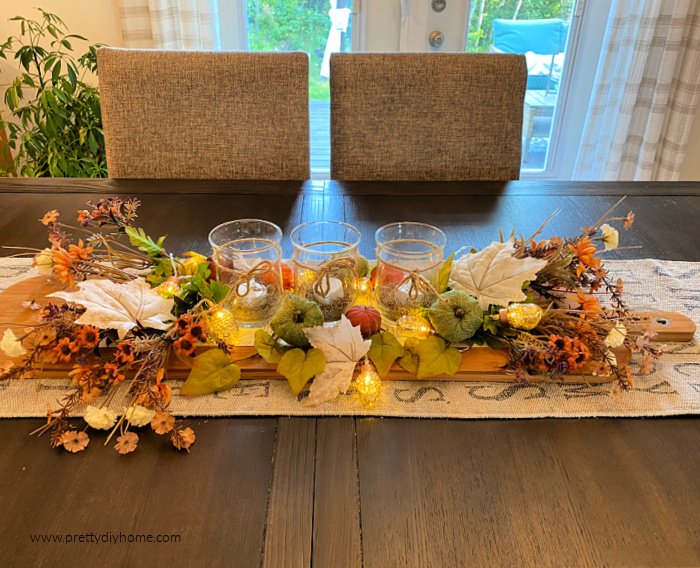
Once everything is in place, step back and look at the centerpiece from both sides of the table. Check for any empty gaps and make sure the arrangement feels balanced. I moved a few of the small pumpkins and leaves around until the back looked just as pretty as the front.
DIY Fall Centerpiece Video
I made a short video showing how I put this fall centerpiece together from start to finish. It follows the same steps as the tutorial above and gives you a closer look at how I layered the jars, florals, pumpkins, and fairy lights.
This DIY fall centerpiece is easy to change using the decorations you already have and a few inexpensive additions. Use it for fall dining table decor, on a kitchen table, or as a casual centerpiece for a fall dinner. Change the flowers, pumpkins, and colours to suit your home, and enjoy having a little extra warmth and light on the table as the evenings get longer.

More Fall Decorating Ideas
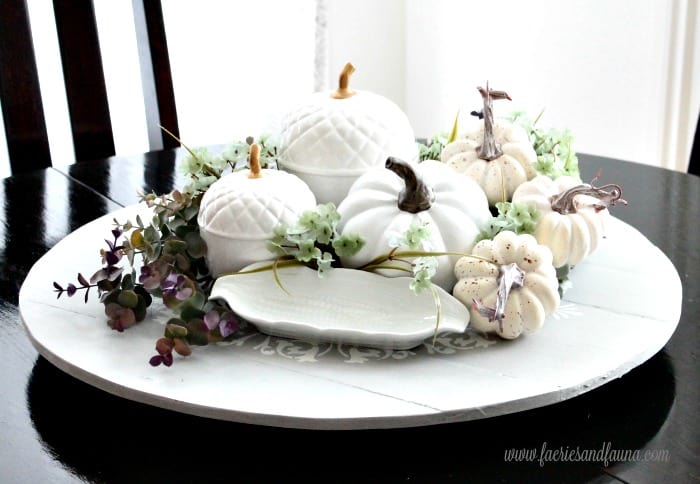
DIY Lazy Susan Turntable and Fall Centerpiece
Looking for another easy fall table decor idea? This neutral fall centerpiece was designed for a busy kitchen table, so it can be moved out of the way whenever you need the space. The soft neutral colours make it easy to use throughout the season, while the simple arrangement keeps the table looking pretty without getting in the way.
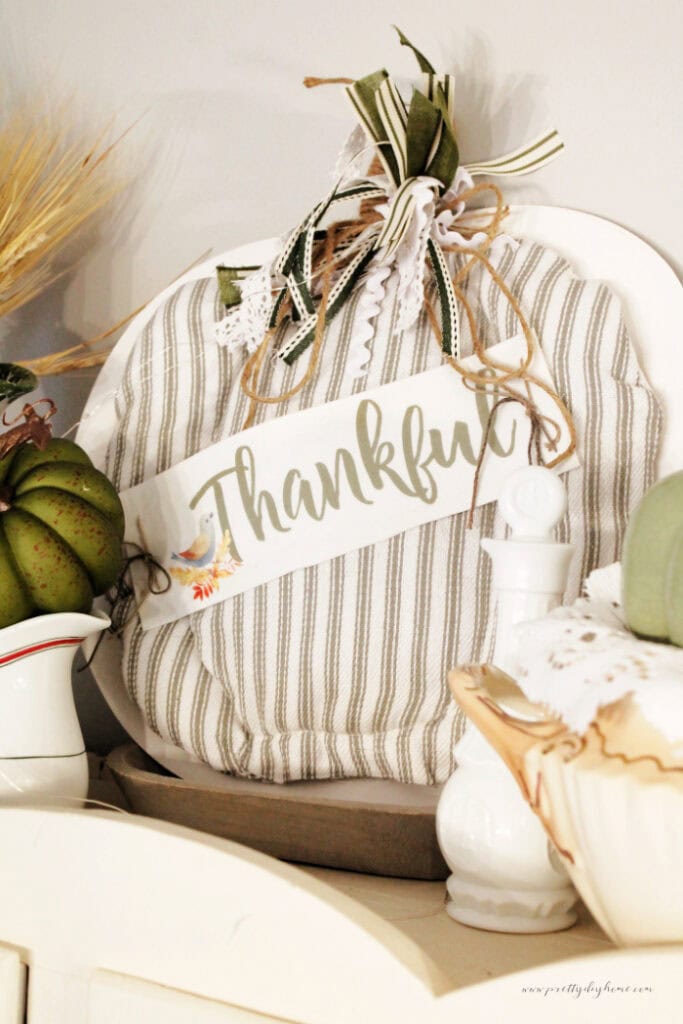
Dollar Tree Pumpkin Fall Craft
This easy Dollar Tree pumpkin fall craft is a budget-friendly way to create a larger decorative pumpkin for your fall decor. With a few simple supplies, you can turn an inexpensive Dollar Tree piece into pretty fall decor for a table, shelf, or entryway.
One Comment