
Easy Dollar Tree Pumpkin Craft for Fall
Making a Fall Decor Pumpkin for Less
Who enjoys doing a fall pumpkin craft every year? I certainly do. Sometimes I have done elaborate painted outdoor pumpkins, or stuffed fabric pumpkins. This year I am doing a fall pumpkin craft for indoors, starting with a Dollar Tree pumpkin.
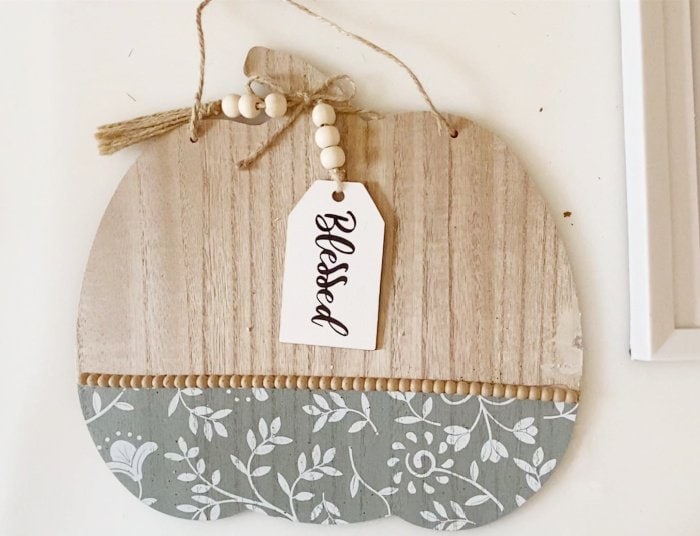
When I first saw this pumpkin, I was surprised at how much I liked it just as it was. It could easily be used just as it is, but that’s no crafting fun. I did decide to make it into a very easy, inexpensive fall craft for adults that we can make for $3 to $5.
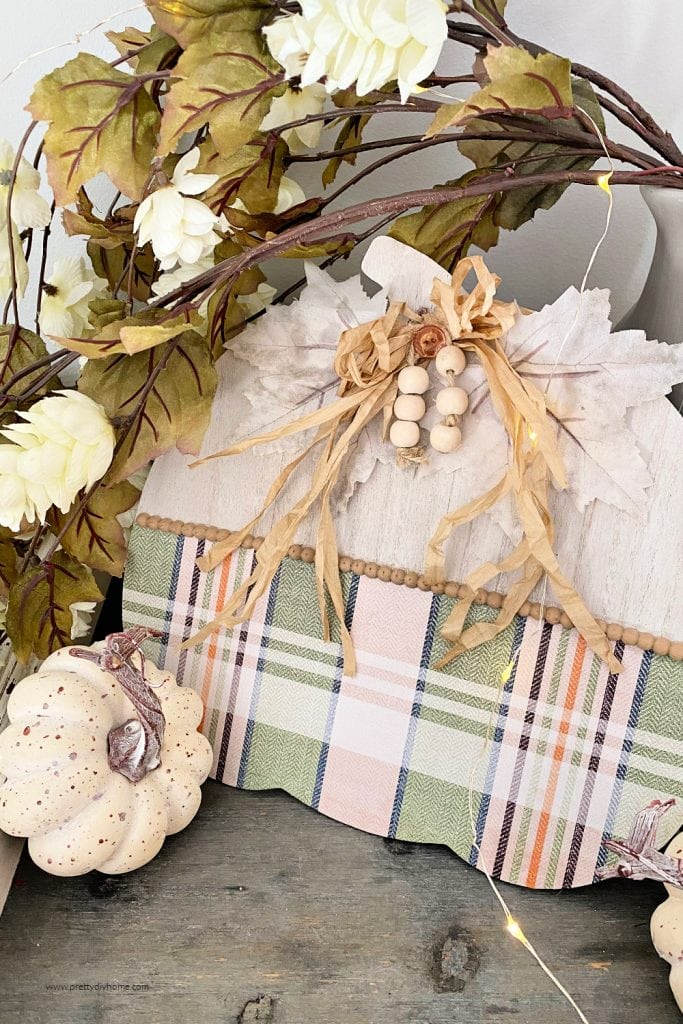
My inspiration for this craft was two printables I created for fall candles, and I thought this little pumpkin could easily be made to match. It took about half an hour from start to finish to complete this fall pumpkin craft, and I love it.
Dollar Tree Pumpkin Craft How To
Supplies for a Dollar Tree Pumpkin Craft
- Dollar Tree pumpkin
- Dollar Tree 5 by 7 frame
- White paint
- Mod Podge
- Raffia, button, embellishments of choice
- Free Plaid Printable
- Sandpaper, paintbrush, foam brush
- Damp rag
- E-6000 glue
Step One – Removing and Saving Existing Embellishments
Begin by carefully removing all the existing pieces from the Dollar Tree pumpkin. Save the original embellishments for later. Each pumpkin is different, but I removed the half beads, twine ribbon, ribbon with beads, the little blessing tag, and finally the hanging string.

Step Two – Fill in the Holes
As this pumpkin is not meant to hang, fill in the two holes left on the top of the pumpkin. You can use wood filler or any other filler you have on hand. I filled both holes, but I was not impressed with how they looked, so I covered them with leaves at the end.
Step Three – Sand Lightly and Paint
I used a sanding block to give my pumpkin a quick sanding before applying paint, including all the edges. You can use any white latex paint you have on hand. I painted the entire front surface to cover the green lower portion as much as possible. After the first coat, I gave the upper white portion a very light dry coat and a heavier, complete coat of white paint on the bottom green section.
Let the paint dry.
Step Four- Print and Mod Podge on the Free Plaid Printable
Print out the fall plaid printable. On my printer, I get a white border, so I trimmed it off.
Decide where you want to place it on your pumpkin, making sure the plastic beads still cover the pumpkin from edge to edge.
Apply a light coat of Mod Podge to the lower portion of the pumpkin where you’re attaching the plaid.
Place the plaid printable over the Mod Podge and rub it smooth. Let it dry, then cut off the excess with a utility knife.
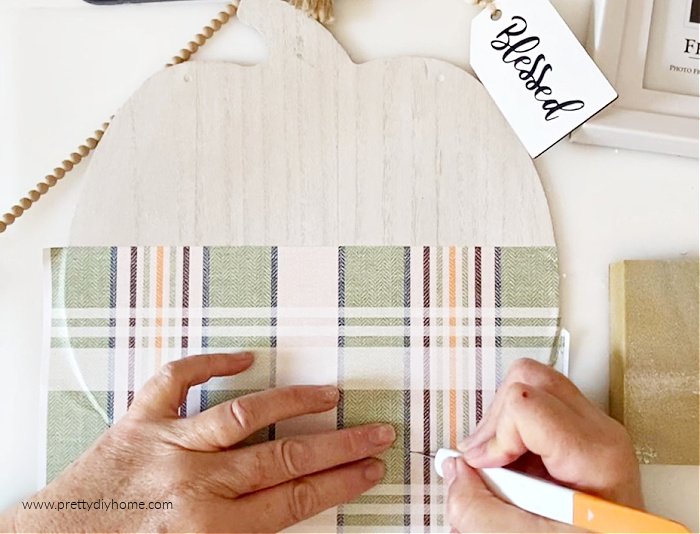
Double-check all the edges of your pumpkin’s Mod Podge and add more if needed.
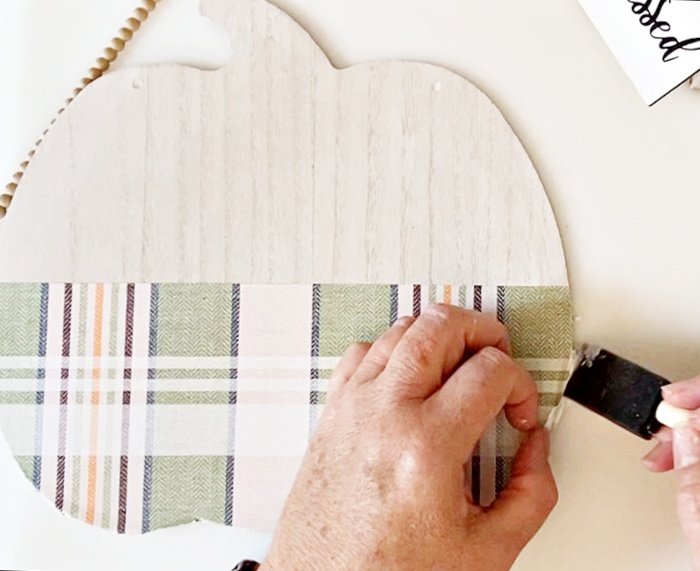
Make sure to very gently fold the edges over the sides of the dollar tree pumpkin.
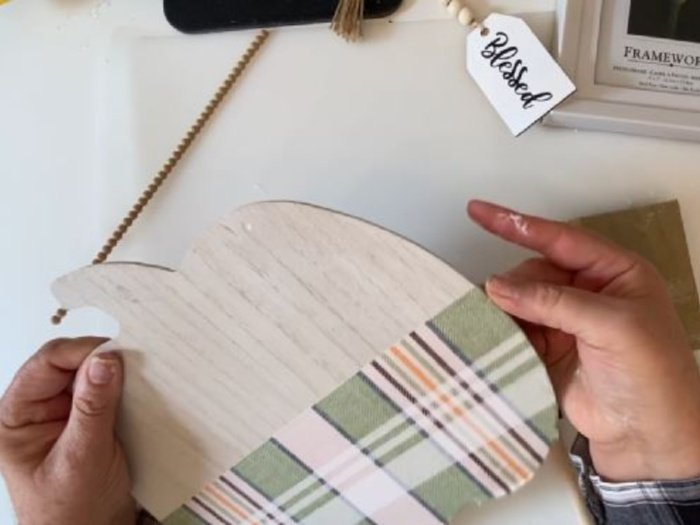
Note: My little fall pumpkin got nicked somehow. I wasn’t entirely pleased with how the nick looked once repaired, so I placed my printable a bit higher up than the original green print was on the pumpkin.
Step Five – Decorate the Pumpkin
Decorate the pumpkin with as much or as little extra decor as you like. My pumpkin remained fairly neutral, as that is my favorite for fall. But you could easily update it using green or orange embellishments for more traditional fall decor.
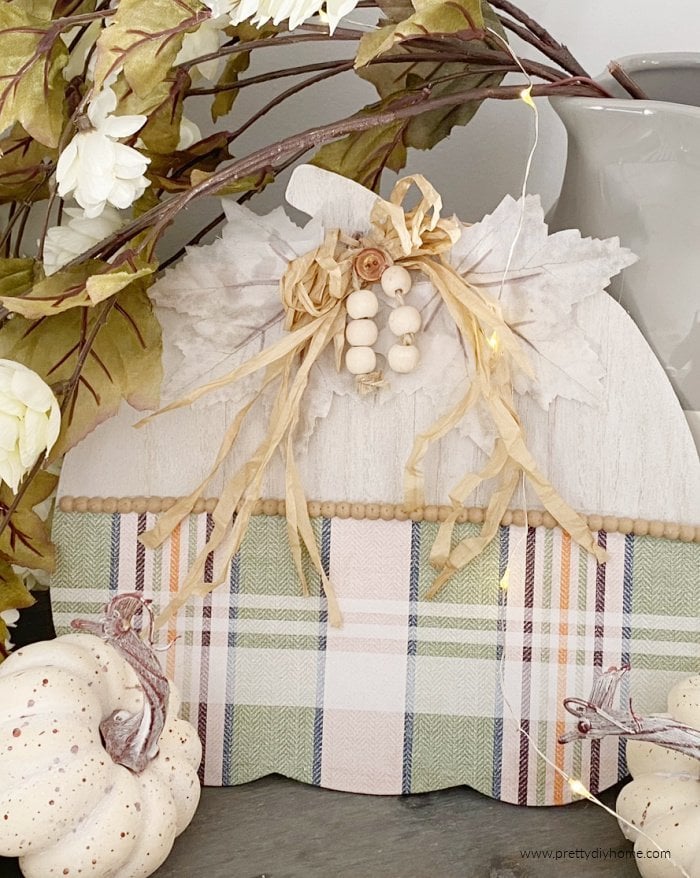
As I said, I thought the original pumpkin looked pretty good. I added some extra raffia and the leaves to cover the holes that didn’t look right after the repair, and then added the original embellishments back on. I later removed the wooden tag from my pumpkin because the lettering on the tag and the lettering on the matching candle printables were just too much for my taste.
Dollar Tree Pumpkin Video Tutorial
If you want to watch a video tutorial with more step-by-step instructions, I have created a video tutorial for you.

More Pumpkin DIYs for Fall Decor
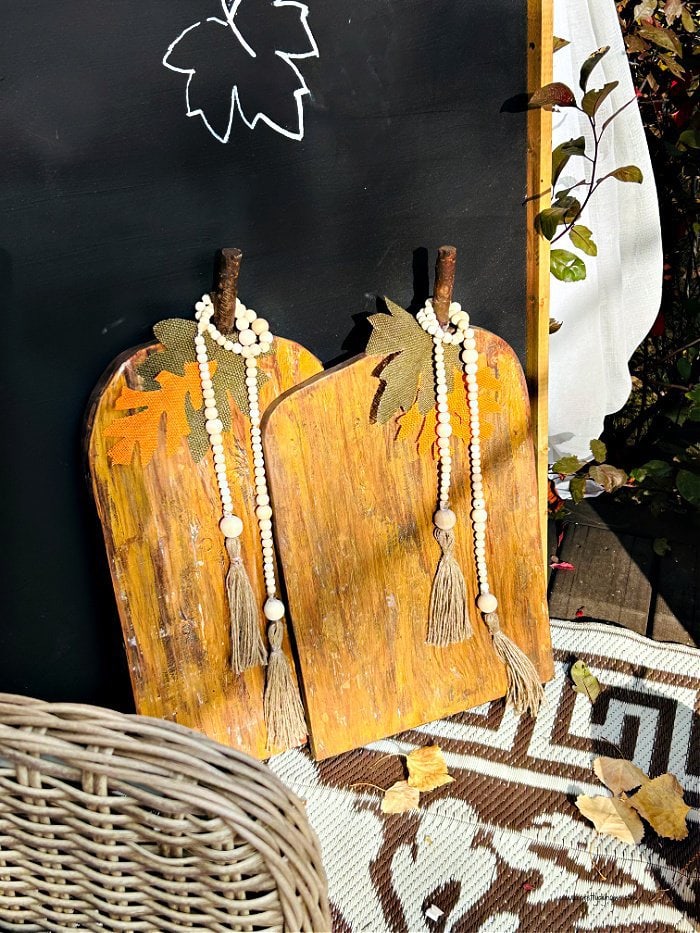
Wooden Pumpkin DIY Fall Decor Idea
These wooden pumpkins are made using rough scrap wood pieces, branches, and metallic paint for shimmer and shine. The post also includes the tutorial for the farmhouse beads.

Neutral Wood Block Pumpkins for Fall and Thanksgiving
These wood block pumpkins are very easy to make and are made using leftover bits of 4 by 4 wood fencing posts, branches, and a free printable.