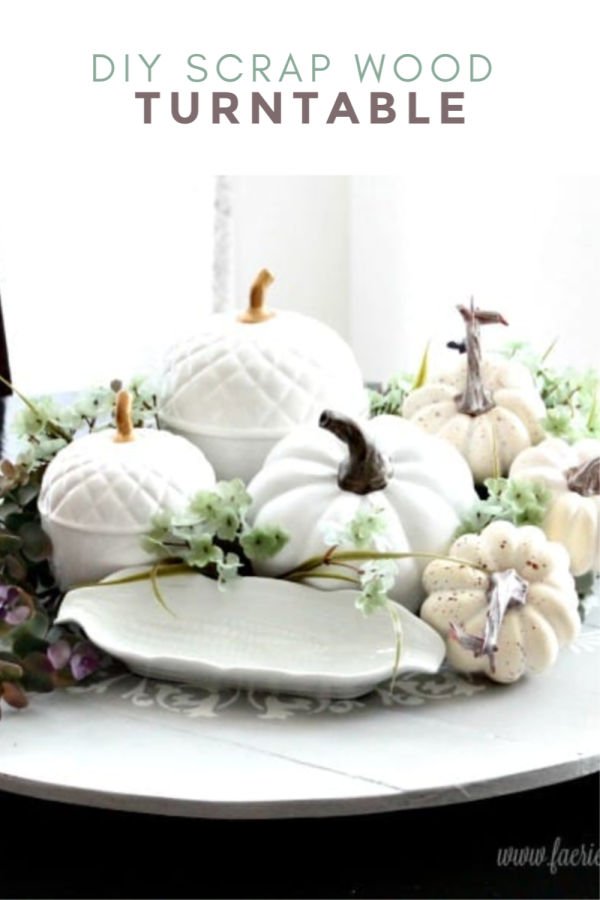
DIY Lazy Susan Turntable and Fall Centerpiece
Make a Lazy Susan with Scrap Wood
Have you ever wondered how to decorate a table with a lazy susan? Or what to do with an old lazy susan? Let me show you how I took a small thrifted lazy susan, and turned it into a large decorative lazy susan for our dining table. It would be such a joy to have a separate dining room to decorate for special occasions but the reality is our home does not have one. Converting a small garage sale lazy susan into a large centerpiece that can be moved seems like a perfect solution. As a bonus ssing pallet wood, a soft neutral grey, and some distressing give is the rustic farmhouse look I adore.
This decorative turntable is designed for Fall decor but you could certainly use it any time of the year.
How to Make a Lazy Susan
To make a lazy susan you have to find a way to make it spin. I think the best way is to purchase a thrifted turntable and refinish it. My turntable is a $5 garage sale find, but I often see old lazy susans at thrift stores.
Decorative Lazy Susan Supplies
- Inexpensive turntable
- 1″ thick lumber ours is pallet wood
- Wood glue and clamps
- Clamps
- Jigsaw
- 60, 120, 150 grit sandpaper
- Wood filler (optional)
- Stencil, stenciling sponge
- Grey and white paint
- Polyurethane
Step 1 – Build the Large Wood Circle Top
Decide how large you want your turntable top to be. This one is 24 inches across as I wanted room for place settings on the table and when home Hubs prefers to sit at the table with his laptop.
Gather scraps of wood they don’t have to be the same width, as long as they are the same thickness, and at least 24″ long.
Once you have your wood, lay the pieces side by side using wood glue to adhere them together. Clamp tightly and let dry overnight.
To draw a circle, tie a 18″ length of string around the lead end of a pencil. Measure out 12 inches and place the other end in the center of your wood circle. Pull tight and draw a circle.
Use a jigsaw to cut out the circle.
Sand the wood smooth. Our pallet wood was very rough, I sanded with 60, 120, and 150 grit sandpaper to get the low-grade pallet wood as smooth as possible.
Step 2 – Attach Wood Top to Lazy Susan
Place your wood circle good size down. Place the old smaller turntable on top. Center the old turntable as closely as you can.
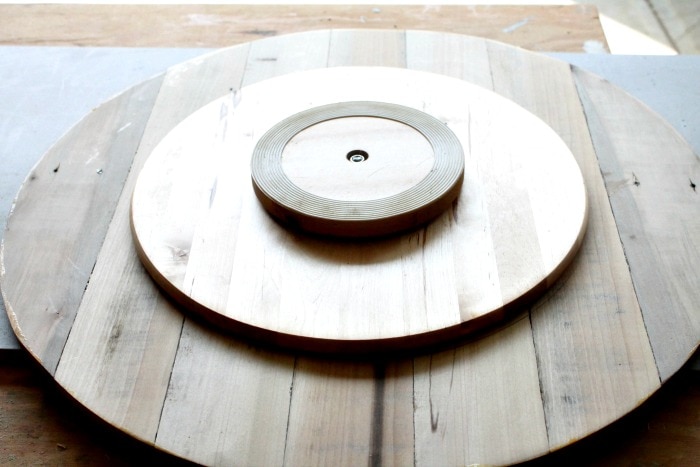
With a measuring tape measure the distance between the turntable to the edge of the larger wood top. Adjust the placement of the smaller turntable so that the measurement is the same all the way around. Once the center is found draw around the edge of the smaller turntable with a pencil. Set the small turntable aside.
Apply wood glue to your large wood circle, place the small turnable on top, lining it up with the pencil marks.
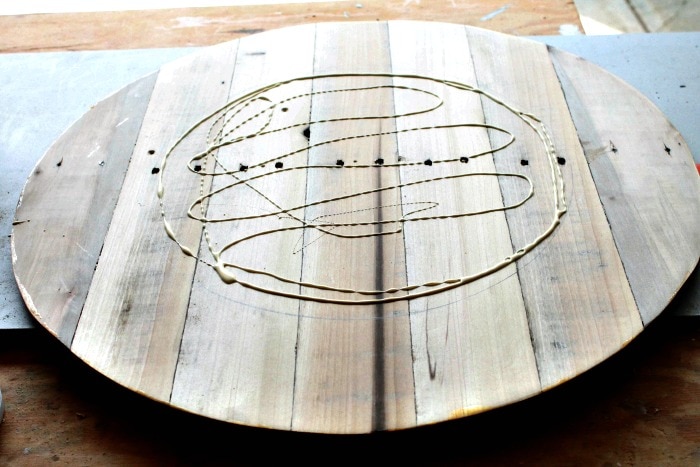
Apply weight and let dry at least a couple of hours.
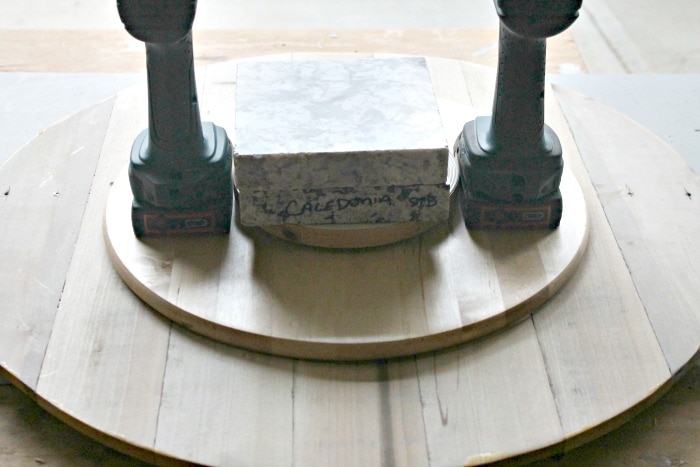
Once dry place 3/4 inch screws through the bottom of the original turntable. Make sure that the screws are short enough that they do not poke through the top of the lazy susan.
Painting the DIY Lazy Susan
I had planned on putting a clear stain on the turntable and leaving it more rustic. Hubs lined up all the nail holes so they were symmetrical but after I started staining it, I felt they were too noticeable. A change in plans was required, although if the wood was better quality, the decorative lazy susan would be so pretty with a clear stain and then the stencil. Instead I went with a pretty soft grey paint.
Step One – Paint
Fill the holes with wood filler, let it dry and sanded it smooth, I let the cracks show because frankly, anything made with pallets can only turn out so smoothly, and no amount of sanding will make this lazy susan anything but rustic, no distressing needed.

Apply two coats of grey paint to all surfaces, Let dry between coats and sand lightly with 150 grit paper between each coat. Once completely dry add a stencil.
Step 2 – Add a Stencil
Start by centering the stencil onto your painted lazy susan. Lining the centers was much easier than I anticipated because the stencil was marked really well.
Once centered, use painters tape to light attach the stencil to the wood, make sure to use painters tape as the paint is still fresh, attach the stencil. Double check that your stencil is centered correctly by measuring the outside distance of your stencil pattern with the edge of the turntable.
Adjust if needed, once you’re sure it is centered apply more tape to hold it securely.
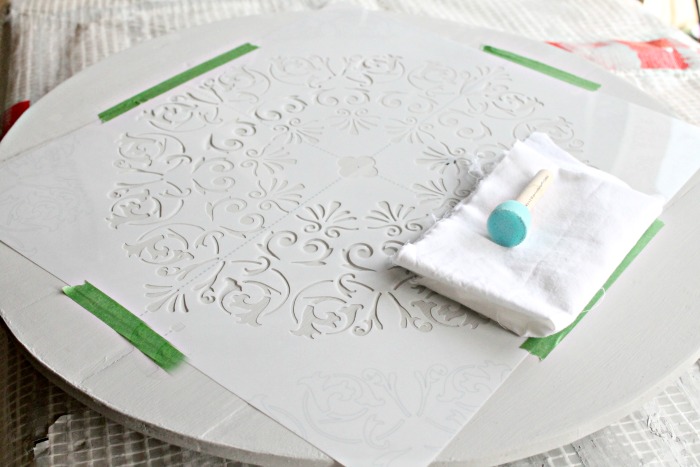
Pour a little bit of paint (2 tbsp) into a small container. To apply the paint to the stencil you need to use very little paint at a time. Dab the stenciling sponge into the paint and then remove most of it by dabbing the sponge onto a rag or paper towel, before you apply it to your stencil..
Make sure the portion of the stencil you are working on is laying flat against the wood surface, press down with your hand if necessary and dab the paint onto the stencil in a circular motion. It’s best to start in the middle and work your way around and outwards. It didn’t take very long to apply the paint to the stencil. I was very thorough and patient, and it still took only 20 minutes to finish. Let dry.
Here is the rustic farmhouse decorative lazy susan on its own. So pretty on the kitchen table, and I imagine it with all kinds of seasonal decor centerpieces, or just piled with everyday accessories, like napkin holders, pretty salt and pepper shakers and so forth.

Apply polyurethane to protect your stencil. For small projects, I like to use spray on poly. I applied two coats letting it dry well in between.
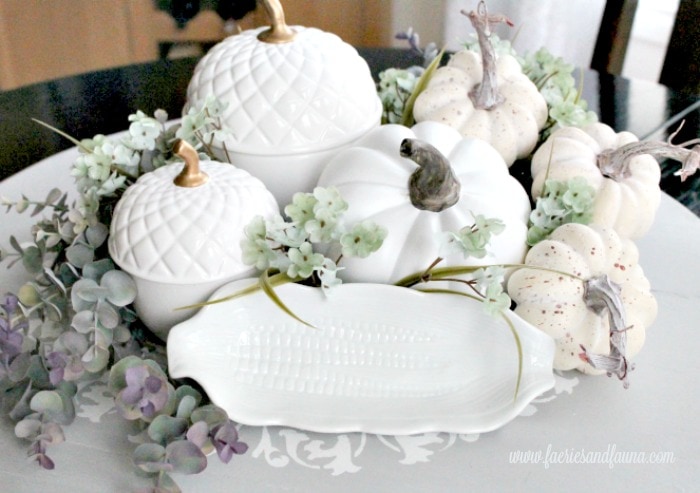
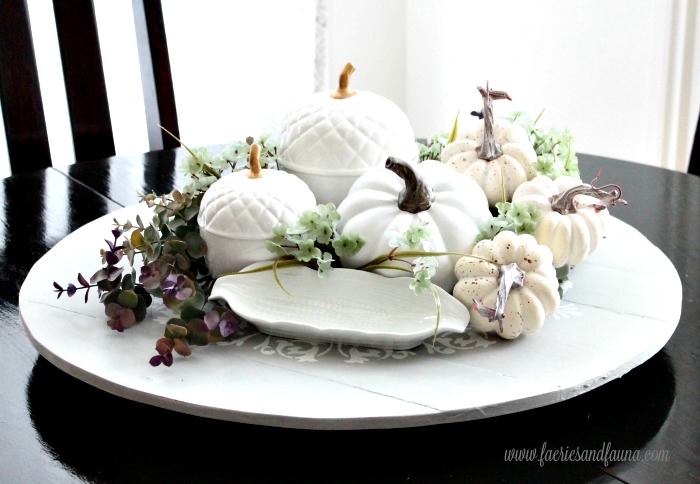
This turntable is so handy for creating a movable centerpiece. I purposely chose containers that weren’t large or too high. Altogether the centerpiece weighs under ten pounds and I can easily lift it out of the way.
Lazy Susan Decorating Ideas
The biggest problem I have with a large centerpiece on the dining table is moving it. This decorative lazy susan gives me enough room to design a large floral centerpiece in our eating area. Once I had the DIY pallet turnable finished, I was able to create this Fall Lazy Susan Centerpiece for it. Its so easy to move around on the pallet base. I love having a larger dramatic centerpiece of my table that easy to move out of the way.


Some Other DIY Centerpieces with Wood
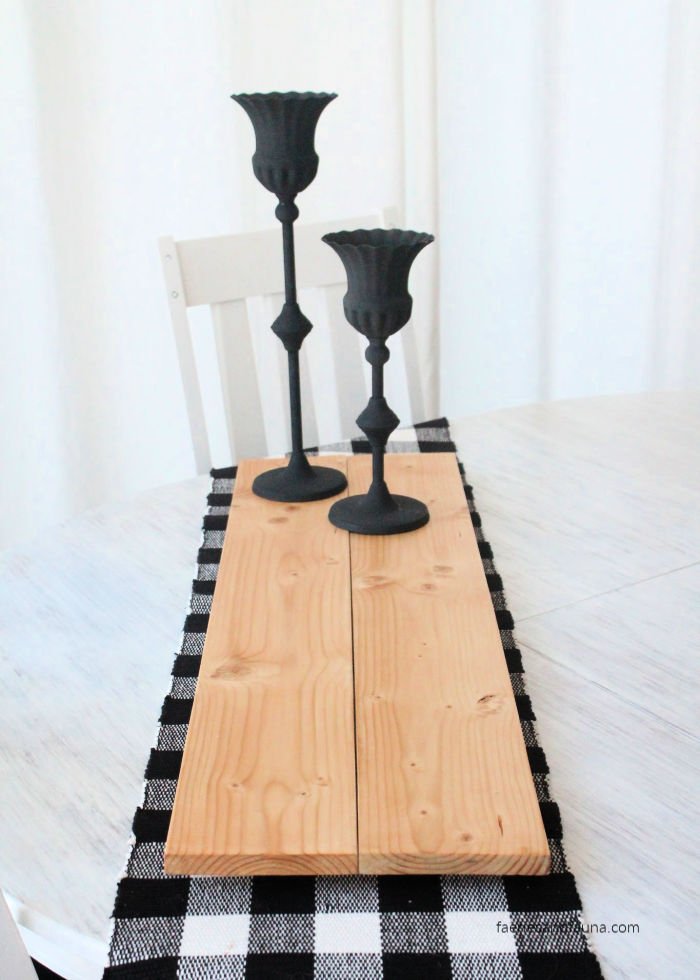
DIY Farmhouse Wooden Riser Centerpiece
A very simple to make DIY Wooden Riser Centerpiece for your table. A long and thin table riser is perfect for a long thin table. It can be added as a layer for a minimalistic centerpiece, or you can use it as a base for a more elaborate arrangement.

DIY Wood Table Riser with Beads
This small DIY wood table riser starts as a purchased wood round, you just need to add beads and finishing touches. It does a fantastic job of adding height to any arrangement and the small size makes it easy to fit onto shelves or cupboard.
This is such a good idea. I love serving meals with lots of different things to tuck into so this would be perfect and I’d love to paint one of my mandala’s onto mine!
This turned out so beautifully! I love the grey color with that gorgeous stencil! And your pumpkin decorations are simply perfect for the season. Thank you for sharing at our Merry Monday party; I’ll be including your centerpiece in my Party Features next week! We’d love to have you link up again!
This is beautiful, Leanna. I love the neutral colors. What a pretty way to dress up a table. Pinning.
Thank you very much Beverly. I chose the soft colours to go with my neutral fall decor. I appreciate the comment, my friend.
I love this Leanna! So pretty!
Thank you Debra. I love the way it turned out, especially for the price. I am slowly working my way through our scrap lumber pile. It’s been fun.
What a fabulous idea! I love the colour you chose and the stencil!! This would make lovely gifts for Christmas!!
Thank you Sam. This would make a nice gift for Christmas, that’s a terrific idea.
I am making American Girl stuff for Christmas presents this year although I don’t share them on the blog. Homemade gifts are wonderful.
Such a gorgeous piece! Love the stenciled detail, Leanna! Featured on Tuesday Turn About #5! And Pinned!
Oh, Julie, that’s really exciting. I will stop by My Wee Abode and see it. Thank you!!!
Leanna that stencil is so pretty and adds such warmth to the centerpiece.
Thank you Mary. I have spent the summer coming up with ideas using scrap wood. Its been fun, but challenging. Thank you for commenting, I appreciate the feedback, especially from veteran DIYers.
This is adorable! It turned out beautifully! Even though you had to change direction mid-project, it turned out perfectly. This is a great idea – something I never considered. I am going to keep my eye out for a thrift shop/garage sale turntable! Your instructions were excellent; especially the part about painting the stencil. This turn-table will be a workhorse for you — you can use it year-round!
Thank you, Kristine, I hadn’t considered using it year around but after reading the comments, I am going to keep it on the table for a while. I really do enjoy how movable it is. Poof and the table is clear.
A special thank you for the feedback on my tutorial. As you know, its hard to decide how much information to share and I always choose to give more than may be necessary instead of leaving some needed detail out.
Great project. I like that you decided to go with paint for this project. It looks better with the pretty stencil and your soft hues you chose.
Super job. Have an amazing weekend
Cindy
Thank you Cindy. I like rustic decor although I shy away from it indoors. In the right setting, the more rustic style would work, but I am happy with the way it turned out.
This is a great idea, Leanna! I would use this year long and not just for centrepieces. It would be perfect during family meals around the dining table where everyone could reach condiments, sauces, gravy and the list goes on. Pinned 🙂
Thank you Marie. That’s a good idea, as I am usually on my own I forget about having to organize daily sit down meals. Your right this lazy susan would work well for that.
This came out so nice. I like the idea you can easily move it if you need the space. I would use it all year round.
Hi Deborah, you certainly could use it year around. Being able to turn the lazy susan makes it very handy as well. I am glad you like it, thank you for letting me know. Your expert feedback is appreciated