
DIY Halloween Candlesticks with a Ghostly Aged Finish
Have you ever spotted a set of very ugly 1970s candlesticks at a garage sale or thrift store? I found these monstrosities at a garage sale and actually laughed because I recognized that dark, dramatic Spanish Mediterranean look from my childhood. And you, my friends, can be glad you missed that little decor trend. lol
I knew immediately they were meant for Halloween.
They sat in my project stash for quite a while, waiting for the right idea. With all the ghostly Halloween decor I am making this year, I finally knew what to do with them. I repurposed the old candlesticks into DIY Halloween candlesticks with a soft, ghostly, aged finish.
Thrifted Candlesticks Perfect for Halloween
I got all three candlesticks for just $5, which was a steal of a deal for such large, heavy candlesticks.
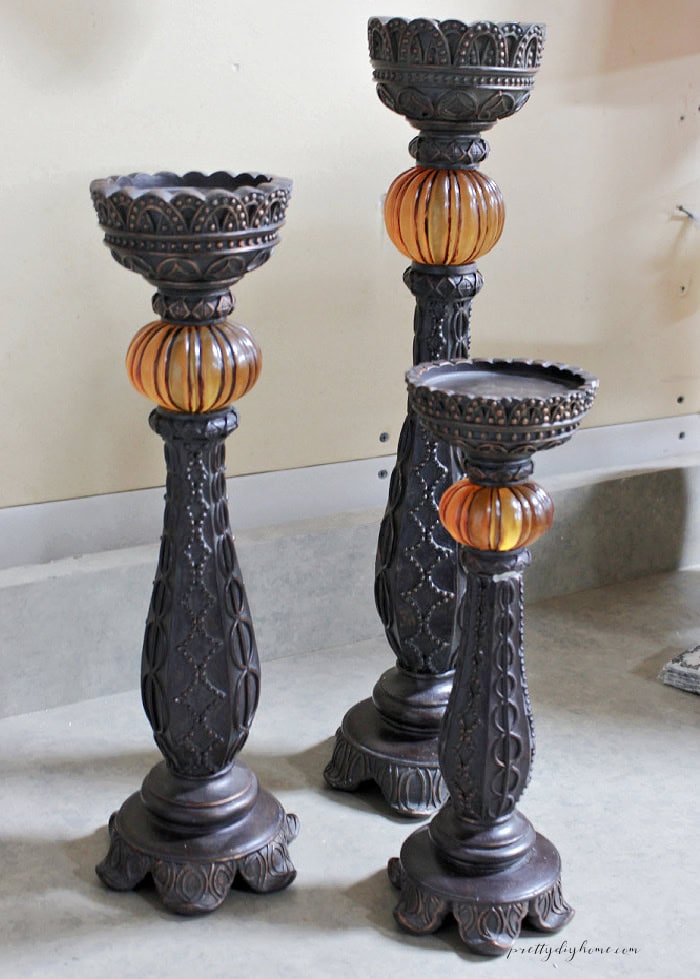
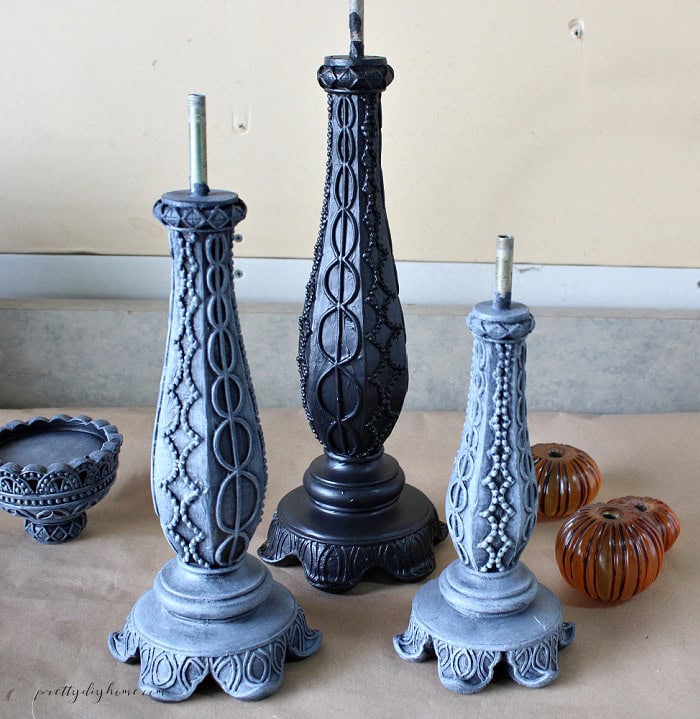
Even better, the middle sections were already orange, so I decided to leave them as they were. Then I discovered the candlesticks came apart, which meant I did not even need to tape off the orange sections before painting.
How to Upcycle Old Candlesticks for Halloween
Supplies for DIY Halloween Candlesticks
- Thrifted candlesticks
- Fusion Mineral Paint in Coal Black
- Paintbrush
- Dixie Belle Best Dang Wax in White
- Large wax brush
- Pillar candles
Step 1: Dismantle and Paint the Candlesticks
If your candlesticks come apart, dismantle them first and set aside any sections you want to leave unpainted. Mine separated easily, so I removed the orange middle pieces before painting.
If yours do not come apart, use painter’s tape to protect any areas you want to keep paint free.
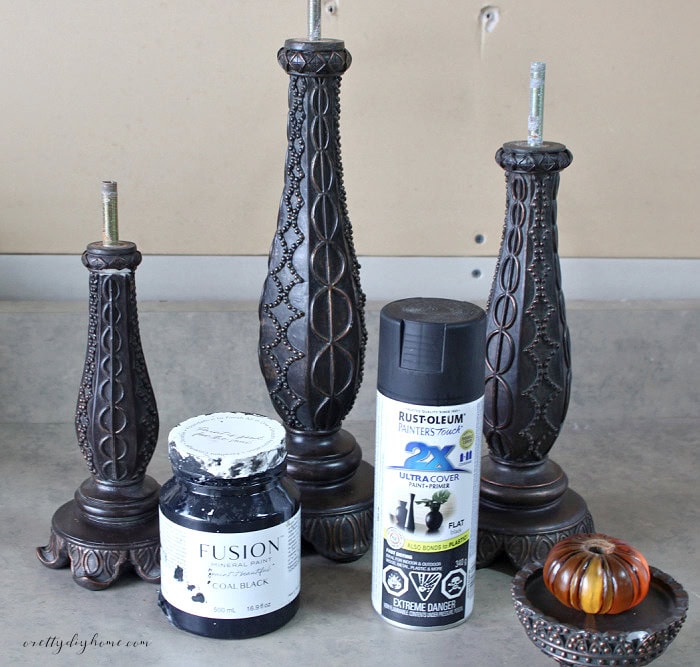
I used Fusion Mineral Paint in Coal Black and a 1/2-inch artist brush, making sure to work the paint into all the little bumps, grooves, and crevices.
One coat was enough to cover mine. Spray paint would work just as well, but I find Fusion paint easier to use. Let the paint dry completely before moving on to the wax finish.
Step 2: Add the Ghostly White Wax Finish
I wanted the candlesticks to look soft, hazy, and ghostly, so I used Dixie Belle Best Dang Wax in White.
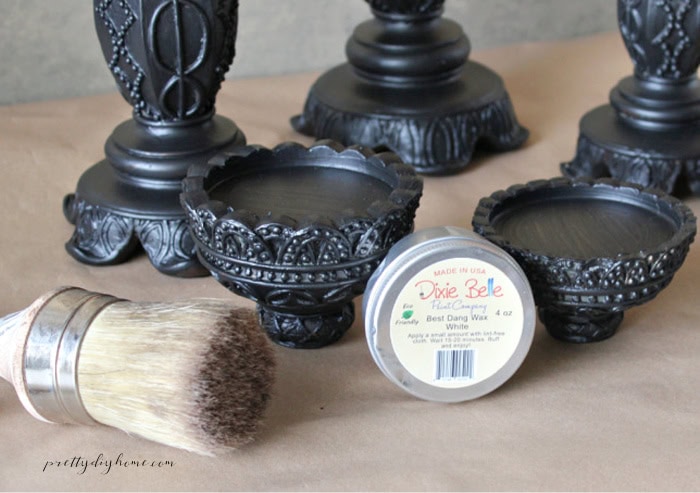
For a lighter finish, brush a small amount of white wax across the raised surfaces. This highlights all the pretty details while leaving most of the black paint showing.
I preferred a fuller white finish. I dabbed the wax into the grooves and crevices first, then lightly brushed over the raised surfaces. This gave the candlesticks a soft, misty grey appearance while still allowing the black paint to show through in places.
I repeated the process wherever I wanted a little more white coverage.
Step 3: Let the Wax Set and Reassemble
I did not buff the white wax because I wanted to keep the soft, matte finish.
I let the candlestick pieces sit overnight so the wax could set before reassembling them.
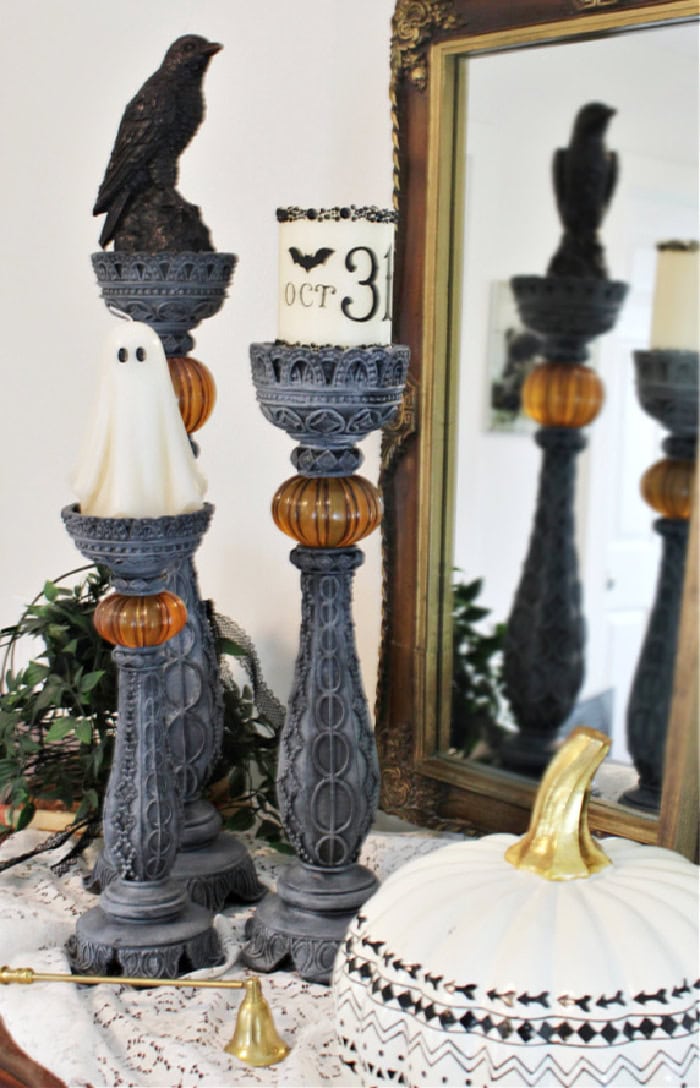
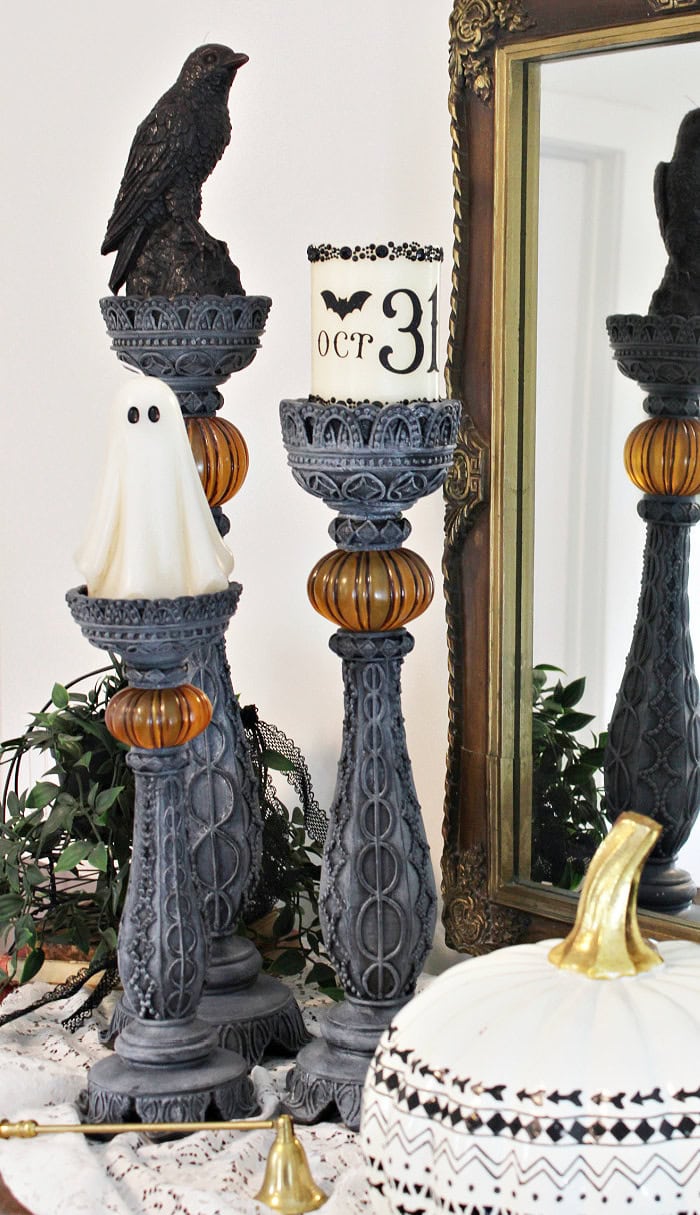
Once everything was together again, all they needed were candles. I used an adorable ghost candle, a black crow candle, and a cream pillar candle that I decorated with a simple black OCT 31 vinyl decal.
Styling the Finished Halloween Candlesticks
These Halloween candlesticks are large enough to make quite a statement on their own, so I kept the rest of the Halloween vignette fairly simple.
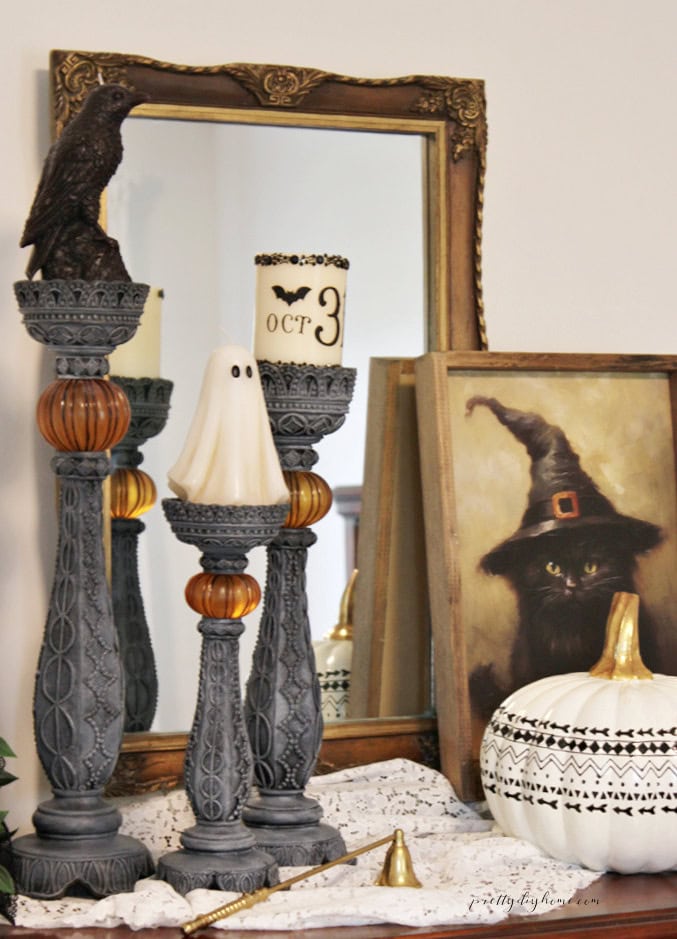
I grouped the three candlesticks at different heights in front of a vintage mirror and added a framed witch cat print, a cream patterned pumpkin, a little lace, and my vintage candle snuffer.
The soft grey finish works so well with the original orange sections. Once I added the black and cream Halloween candles, those old 1970s monstrosities suddenly looked like they were meant for Halloween all along.
You certainly do not need the same decorations I used. Shop your own Halloween stash and add a few favorite pieces around the candlesticks. Keeping the accessories simple lets the candlesticks remain the focus.
From Laughable 1970s Monstrosities to Halloween Decor
For $5, a little black paint, and some white furniture wax, these laughable 1970s monstrosities received a completely different look.
I especially love that the original orange sections could stay exactly as they were. What once looked hopelessly dated now adds just the right bit of vintage color to my Halloween decor.
So the next time you see a set of ugly old candlesticks at a thrift store or garage sale, take another look. They may just be waiting for their own ghostly Halloween makeover.
More Thrifted Halloween Makeovers
I really like doing thrift store makeovers for Halloween. It is such an inexpensive way to create elaborate Halloween decorations with better quality, more character, and much more visual impact.
Here are a few more thrifted Halloween makeover ideas you may enjoy checking out.
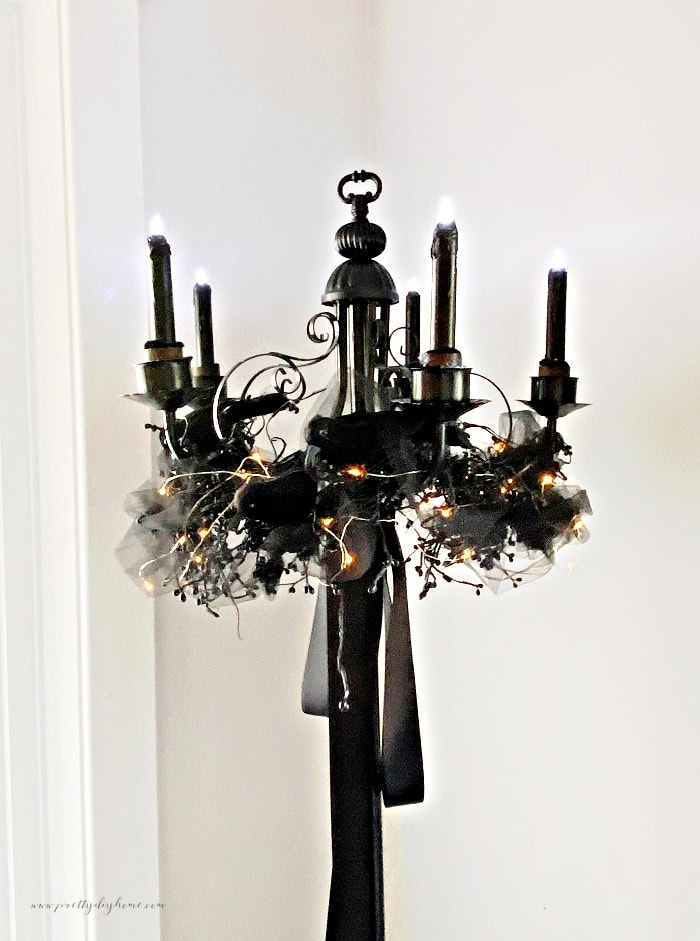
DIY Halloween Chandelier
A thrifted chandelier gets a spooky makeover with black paint, crows, and candles for elegant Halloween decor.

DIY Halloween Chalkboard with Witch & Moon
An ornate thrifted frame gets a Halloween makeover with black chalkboard paint and a spooky witch design created with a simple stencil technique.
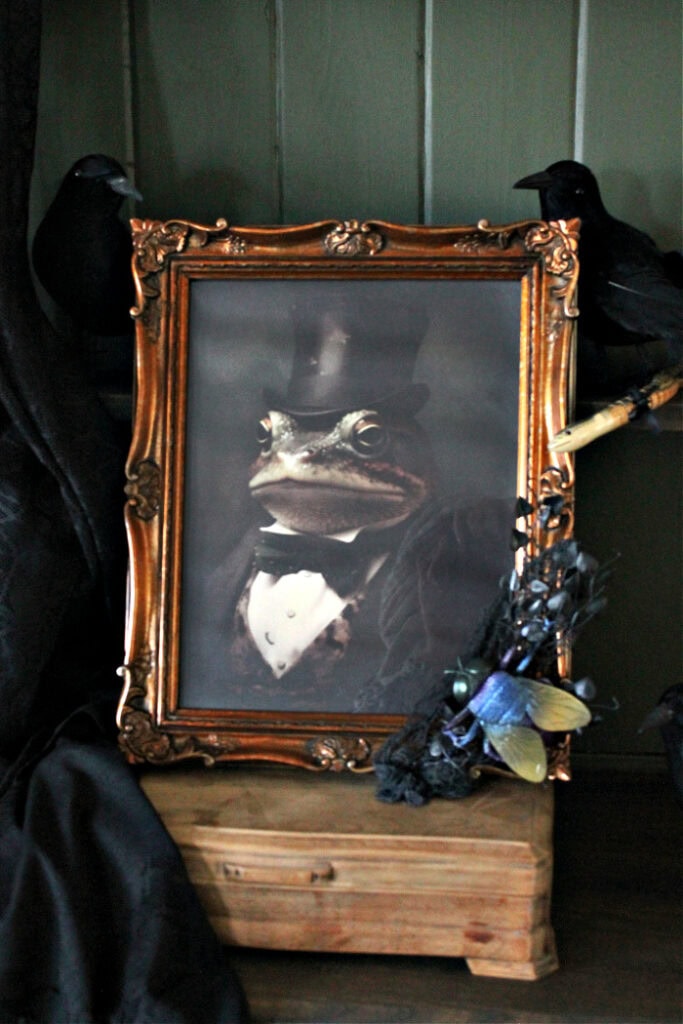
DIY Halloween Frog Decor in an Upcycled Frame
A thrifted frame and debonair frog artwork get a spooky Halloween update with a darker vintage look and playful details.