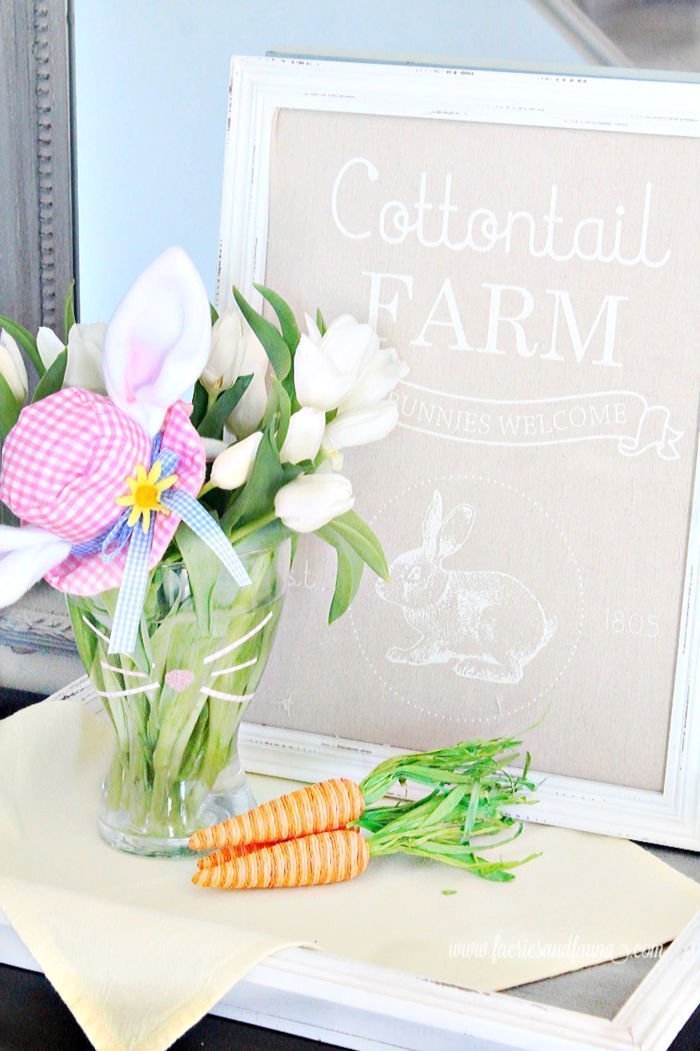
Craft Easter Bunny Vase Spring Flowers
Easy DIY Easter Centerpiece
This craft Easter bunny vase is such an easy Easter craft idea. It’s could be done as a family for a Easter gift, and at under $10it makes a really pretty DIY Easter gift idea.
You can use a recycled thrift store vase, or clear glass jar , but I purchased a super inexpensive Vasen vase from IKEA, it cost $2.00 in Canada and its likely even cheaper in other places.

Simple Bunny Vase Centerpiece for Easter
Supplies for Making a Craft Easter Bunny Vase
You will need a few inexpensive supplies, and half an hour to create this vase.
- Clear glass vase
- Washi Tape
- Scissors
- Bunny ears (dollar store or homemade)
- Your favorite Spring flowers
Instructions for Making a Craft Easter Bunny Vase
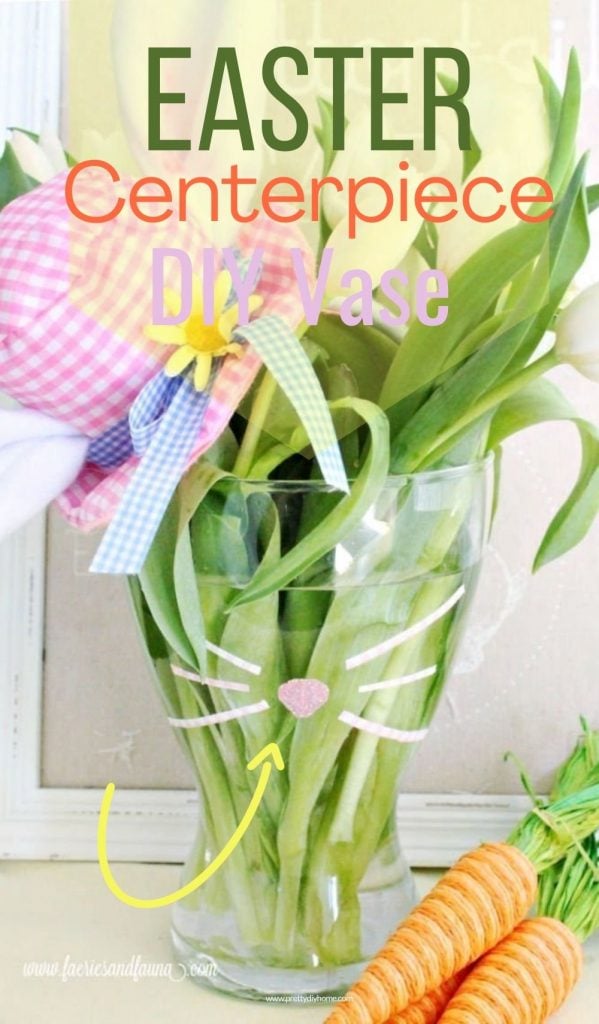
Making the Easter Bunny Face
Seriously is there anything cuter than an Easter bunny for Spring? Those adorable bunnies melt my heart with their cut little faces, noses and whiskers.
Cut a little bunny nose and whiskers out of Washi tape. Starting with the nose, fold a piece of washi tape in half and cut out half the shape you want for the bunny nose. You can do a circle, heart or try a more realistic shape like I did. Folding the tape in half ensures both sides are the same so any shape you like works. Unfold the washi tape and stick the Easter bunny nose onto the vase. The placement of the Easter bunny nose will give you center for your bunny face. Arrange all the remaining Easter bunny features using the nose as your focal point.
Cut two pieces of washi tape 1 1/2 inches long. Then cut each piece in half lengthwise to make long thin strips for the whiskers. Shorten two of the washi pieces for the central whiskers.
Attach the whiskers to the vase. That’s all there is to it. This time I didn’t have to spend hours to get results that I love.

Creating the DIY Easter Centerpiece
You can use any type of Spring flowers you like, I chose white tulips, because I am obsessed with tulips every Spring. I think daisies would have been cute as well.
Place the Spring flowers in the vase. Here is a step by step tutorial for how to make your tulips last longer. Just make sure to fill the vase with enough water to keep the waterline above the whiskers on the bunny face.
Add the Bunny Ears
The little hat and bunny ears are from the dollar store $2. Its a set of bunny ears on a headband for children. I did nothing to the headband I just inserted the headband portion into the flower arrangement like a floral pick.
Once the hat is on, carefully fold some of the tulip leaves over the front of the vase to resemble bangs. Do you love the final results as much as I do?
I hope you enjoy Easter bunny crafts as much as I do. They are bright and cheerful, I love the sentiment and the pastel colours. It takes so long for Spring to arrive I can’t help but be thrilled when it starts showing signs of appearing.
Want to Make One? Pin it for Reference
Other Easter Bunny Posts
Here are a couple of more bunny craft ideas I think you may like.
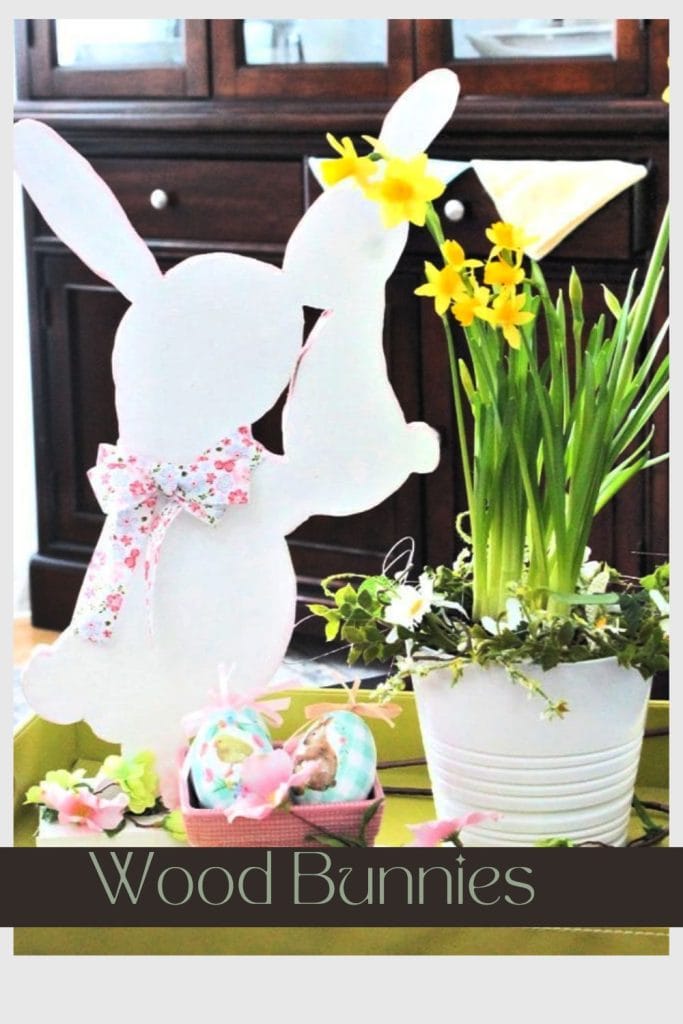
DIY Craft Easter Bunny
This little wood bunny craft can be made for next to nothing if you have scrap wood kicking around. Both the bunny template and tutorial is in the post for you.
When it finally warms up in Canada I love spending the first days of Spring outside in the garage puttering and making things. If your more into crafting than playing with wood here is a dollar store Easter bunny craft you may like instead.
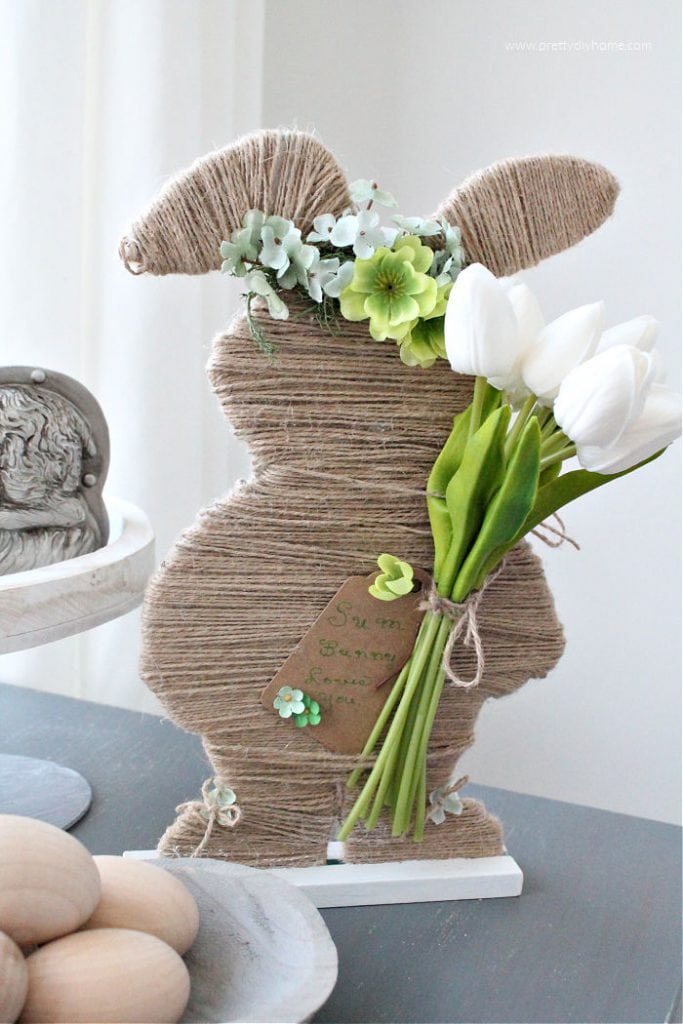
Dollar Store Craft Easter Bunny
I love the neutral colours of this twine wrapped Dollar Store Easter bunny craft. Sometimes I just want something neutral that still screams Spring.
I hope you are enjoying your Spring days as much as I am. This week I have had more than one smile watching neighbours shovel their snowbanks out to hasten the melt. I guess I am not the only one ready for Winter to be over. Enjoy Crafting, Leanna
Love this arrangement, Leanna! Such an easy tutorial, but so imaginative! Thanks for sharing on HG! Pinned!
Just gorgeous, Leanna! Tulips are a favourite here in our house too! I love your little bunny vase too! Perfect Easter Sprinkles!!
Thank you Sam. I love the term sprinkles!! I often use the term peppered to mean the same thing, I am going to steal your wording. Love it, and hope you have a great week.
These are awesome Sam!!
lol….. Sorry Leanna…can I blame it on Monday! I knew I was reading yours but somehow had Sam’s on my brain. lol.
Either way Deborah, I am glad you like the arrangement.
Thank you Deborah!!
I’m glad to see someone else as excited about the arrival of tulips in the stores like me! Hopefully, it won’t be too long before we see them sprouting in our gardens. Super cute flower arrangement idea, Leanna! Very clever adding the adorable dollar store headband too. Pinned 🙂
Hi Marie. I wanted to try something very simple, I can’t wait for the Spring flowers to arrive either!
Sooooo sweet Leanna. The addition of the hat and ears is pure genius. Your arrangement would put the biggest smile on my face. He really is adorable
Thank you, my friend. I wanted to come up with something simple, I am glad you like it xo