Rustic Candy Cane Christmas Decorations
Easy DIY Candy Cane Ornaments
It feels so exciting to be talking about Christmas ornaments again. Browsing through gift shops is always such a treat, with all the gorgeous decorations, the unique designs, and the way everything is displayed. This year I spotted some twine wrapped candy canes that were beautiful but very expensive. Instead of buying them I decided to make my own. They turned out even larger and prettier with a soft homespun look and a feminine touch of lace ribbon.
After admiring all the high end Christmas décor in the shops I usually head to the dollar store hoping for something more budget friendly. The dollar store can be hit or miss during the holidays but going in with a plan helps a lot. This time I went in looking specifically for candy cane shapes and twine and I came out with exactly what I needed. The result was a set of rustic DIY Christmas ornaments that I absolutely love.

Rustic Candy Cane Ornament Supplies
To make your own candy cane decorations you will need.
- Plastic candy-filled cane or another plastic faux candy cane
- Hot glue gun and glue sticks
- Twine or wool
- Lace or ribbon
- White button or bead
- Needle and thread or more hot glue
This Christmas craft takes only about 15 minutes per ornament and requires no special skills. Be careful with the hot glue especially if children are helping.
How to Make DIY Candy Cane Ornaments
Prep the Candy Canes
I picked up my candy filled canes at the dollar store and they were about 8 inches tall.

Start by emptying them out. You will have a sweet snack to enjoy while crafting and the canes will be lighter so they will not weigh down the branches of your tree.
Wrap with Twine
l
Start by twisting the end of the twine into a tiny circle. Add a dab of hot glue to the top of the cane and press the twine circle firmly into place.

Begin wrapping the twine around the cane adding thin lines of glue as you go to hold it securely.

g
Continue wrapping with twine until the entire plastic cane is covered. At the end of the cane, trim the twine, curl the end into a little coil and glue it down neatly.

If you see small gaps in your twine where the plastic is showing, cut short pieces of twine and glue them in to fill the spaces.
Add the Ribbon
The contrast between the pretty soft white lace and the rustic burlap somehow makes the pretty lace stand out. I used a scrap of lace ribbon I had saved from another project, but any soft ribbon will work.
Cut a piece of ribbon about 12 inches long.
To tie the bow, fold the ribbon into thirds, and tie or stitch the center with thread.

Fold the two ends together so they meet in the middle and secure with a few stitches.
Sew or glue a button of beed in the center of the bow..
Attach the bow to the candy cane by sewing through the twine or hot gluing it into place. thread.
Hang Your Ornament
Slide one end of the ornament hook through the wrapped twine, and your candy cane is ready to hang on the Christmas tree.

s
I am thrilled with how these rustic candy cane ornaments turned out. They are large enough to make a statement but light enough not to bend branches. This project started as a dollar store challenge, and I love the result so much I cannot wait to try more ideas.


Other Rustic Christmas Ideas
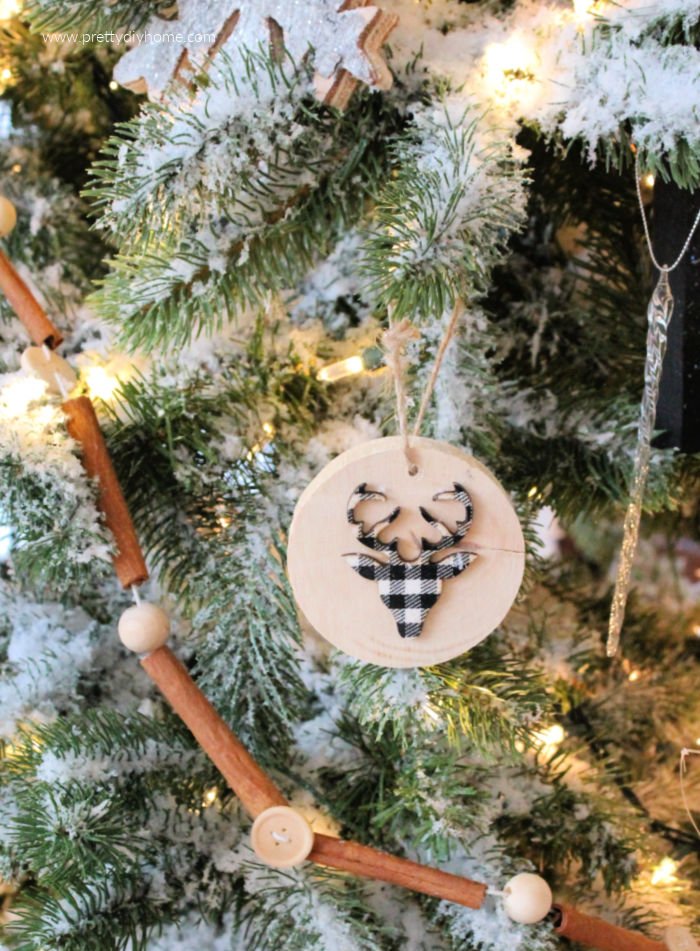
DIY Christmas Garland with Cinnamon Sticks
This DIY Christmas garland has loads of rustic charm and pairs really well with the natural coloured candy cane ornaments.
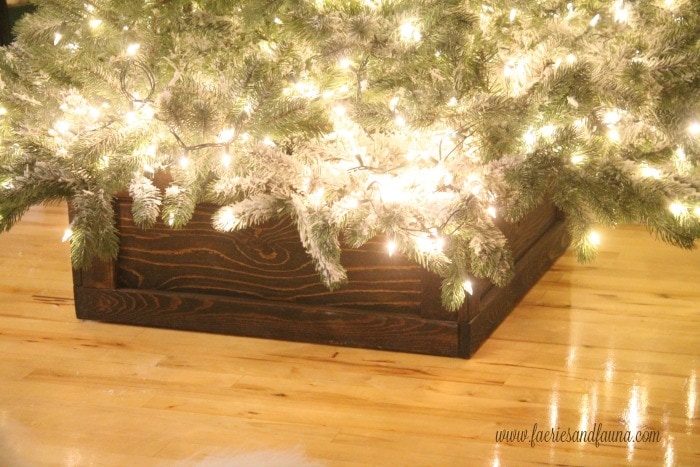
How to Build A DIY Christmas Tree Box
A solid wood rustic Christmas tree box in dark walnut stain tutorial. It looks wonderful with rustic, neutral, and farmhouse style Christmas trees.

DIY Pallet Christmas Trees for Outdoors
Make these fabulously rustic DIY pallet Christmas trees. The Christmas tree post has a detailed step by step tutorial, and its another great budget stretcher for those of us who need to keep costs down.
So cute!Merry Christmas!
Not 5 minutes ago I ate the candy out of one of those candy canes! Guess what’s not going into the trash now, lol
Leanna these are absolutely right up my alley and would look awesome on my tree. I love how you took those candy canes and turned them into special little ornaments. They are my features this week at Sweet Inspiration.
This has been such a lovely blog hop Leanna. I’ve really enjoyed getting a daily does of creative inspiration from some seriously talented bloggers and I love your candy cane ornaments. They look beautiful. The contrast between the soft lace and twine works so well. I doubt you’d be able to find something this pretty in a store
Cute idea for recycling candy cane-shaped candy holders!
How cute these are. I love how the twine gives it the rustic charm.
Thank you Debra, I use lots of twine for Fall decor, but have never used it for Christmas before. I was pleased with how it turned out.
This is so creative and adorable! I love them! I am going to have to try this.
Thanks Jenny. With such a large tree to decorate I needed to come up with some inexpensive yet pretty decorations for it.