Make your Own DIY Flower Crown, or Fairy Crown
A Pretty Flower Fairy Crown for Every Day!
A DIY beautiful flower crown is such a pretty accessory for a little girl. Flower crowns are such a pretty craft to make for special event date like a girl’s birthday party, someone’s wedding day, a flower girl, or, even baby showers. For a more formal occasion like a wedding or flower girl crown, you could make them using fresh flowers. Fresh flower crowns are amazing for a special day, but then you will have them to enjoy only for a single day. But you can make this beautiful DIY flower crown to last using dollar tree supplies, that can be used both on a special day or for play.
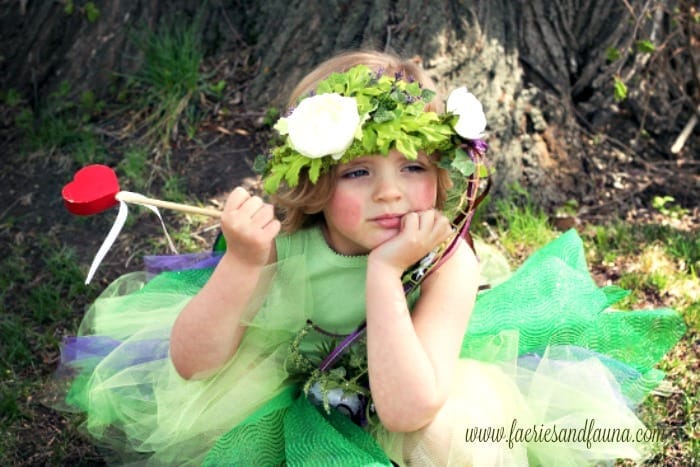
Soft and sweet color palettes suit little girls, I used a color palette of pinks, whites, and lavenders, with green leaves. The final finish to this gorgeous flower crown can be made using leftover bits of satin, lace, or silk ribbon you have on hand.
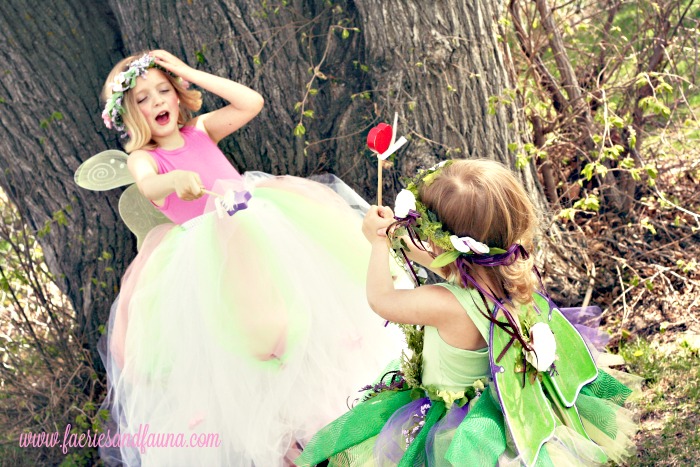
The real fun of these gorgeous flower crowns is that they come to life when worn and played with. It was a magical feeling watching the little ones dance around the yard in their simple flower crowns. d

k
As the mother of all boys I am over the moon about having sweet little granddaughters to play dress up with. These little flower crowns are inexpensive enough to be practical. Even the full diy flower crown size that went all the way around their heads was inexpensive to make, and a full crown was easy to place on their heads. The little ones can play with them and enjoy being a pretty fairy, so simple and fun to make.
a

Sizing the Flower Crowns
The best part of these flower crowns is they are adjustable, which is necessary for growth and so helpful if you are planning them for a birthday party where you could be greeted with all sorts of different head sizes.
I did some looking online and found these general head size guidelines to make the flower crowns. The general head size for a 3-5-year-old is 20”, and for a 6 – 10 years old is 21” inches; if making a crown for a specific little girl you can always measure first to be sure.
Flower Crown Supply List
You can make this little flower crown as fancy or inexpensive as you like. Mine were made with all dollar tree flowers and supplies I had on hand. Regardless of what supplies you choose the method is the same.
- 3 flower sprays ( flowers 1 ” or less)
- butterfly
- moss
- 3 ribbons in coordinating colours
- floral wire (I used 18”)
- floral tape
- glue gun (glue sticks)
- scissors

How to Make a Flower Crown
Step 1 – Making the Base of the Flower Crown
Let’s begin with making the base of the crown using wire.
Take 3 lengths of floral wire. Make a loop at one end of two of the wires.
s
Braid the 3 wires together to form a circle. Make a second wire loop at the other end of the wire frame.


Start at one end; wrap around the wire twice with floral tape. Check there are no wire ends poking through. If there is, trim the wire and add extra floral tape.
Adding the green moss provides a soft cushion on any wire ends, provides enough space to attach flowers, and fills in the gaps between flowers. Even better plants like moss, ferns, and ivy seem the epitome of fairy to me.
g

Cover the top of the crown with moss; flatten and spread the moss, so that it’s about ¼ inch thick.
Once fully covered, flip the crown’s base over and fill in any empty spots. Once this is done it’s time to design the floral arrangements.
Step 2 – Add the Flowers
Remove the excess stem from the flowers you have, assess how many blossoms you have, and then sort them according to size. ( I saved all the extra leaves for future projects)
Before gluing anything, do a casual placement of the flowers. Check the arrangement for symmetry. Imagine the crown on the child’s head. Will it provide a clear view of sight? Is anything dangling that may be ticklish? Once you have the general placement envisioned, now comes the fun part.
g

Fill the underside of the crown first, placing the small flower and leaves along the underside of the crown. ( I started in the middle and worked towards the outside)
Add a little dab of glue to the base of each flower. Be careful not to get burnt, hot glue really hurts.
Review your work. Attach any stray strands, and remove any glue threads that may be present.
Flip the crown over.

Add flowers to the top of the crown. I added the larger pink flowers two on each side leaving the very front of the crown open.
Step 3 – Butterfly and Ribbon Closure
I used a large pink butterfly (you could use a large flower, a fairy doll, a star etc.) to cover the opening, it makes a perfect finishing touch to the base of the crown opening at the back of the head.
Cut three ribbons 30″ long (longer or a bit shorter is fine) Fold the ribbon in half; make sure the ends are even. Attach the ribbon to the butterfly with a knot and glue. Cut three ribbons 30” long (longer or a bit shorter is fine) Fold the ribbon in half; make sure the ends are even.

Insert the fold of the ribbon into the wire loop on the crown. Pass the ends through forming a knot. Enforce the attachment of the ribbon and the butterfly with glue.

Attaching the DIY Flower Crown
Place the crown on the little girl’s head, pass three of the ribbons through the second loop, and tie in a bow.
Spring is wonderful.


The little flower crown is part of two play costumes I made for my granddaughters. If you like this crown you may want to make the tutu and fairy wands.
How to Make a Fairy Tutu with Elastic Waist
What a sweet idea for the girls to play dress up. Your granddaughters are beautiful.