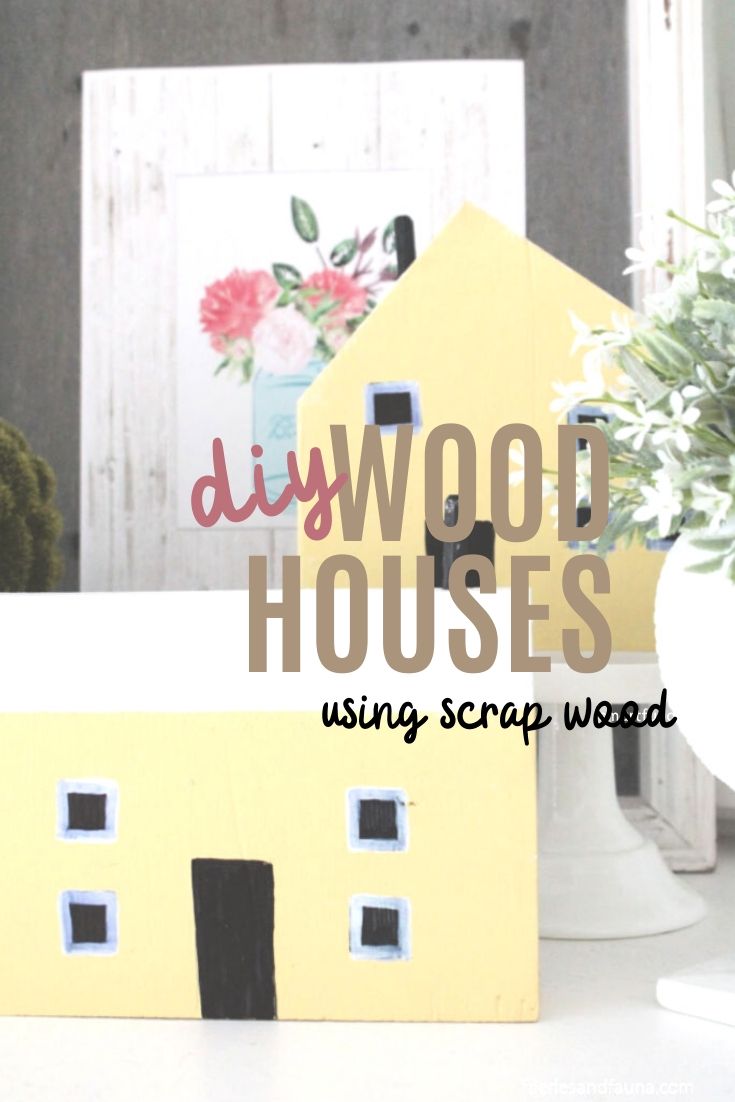
Scrap Wood Houses DIY
Decorative Wood Houses using Scrap Wood
You must have seen those adorable decorative wooden houses for tabletops in gift shops or on Pinterest. Wooden houses crafts are so cute and I knew they had to be easy to make using small pieces of scrap wood. As it’s just warming up enough to be outside in the garage, these small wooden houses are great additions to our Spring decor painted in soft Spring colors. To make mini wood houses use a different color, or add miniature embellishments like a wreath.
These two mini wood houses houses have unique roof lines. I thought they would be a really easy woodworking project, and they are once I figured out the angles. Although I spent far too much time trying to figure out how to do the angles on wood, I finally went women smart and drew the house shapes out. So instead of sharing the measurements here are the wood house craft patterns to trace out.
Let me show you how to make these two very different decorative houses.
How to Make DIY Wooden Houses with Scrap Wood
Supplies
- 2 by 8 ” or 2 by 6″ scrap wood (I used 2 by 8″)
- Wood dowel pegs or scrap wood (chimney)
- Free downloadable pattern and tracing paper
- Miter or skill saw
- Gloves and eye protection
- Wood glue and clamp
- Acrylic paint
- Foam brush or small paintbrush
- Black and white paint markers
You will need a couple of feet of 2″ by 8″ or 2 by 6″ lumber. I used 2″ by 8″ but use what you have on hand.
Step One – Transferring the Pattern
Begin by tracing out the miniature house patterns on the wood. Then lined up the miter saw to match the angles. (Once done I was able to define the angles and added them to the tutorial for you.) We used a miter saw, but you could use a skill saw.
Cut off the roof lines first, then cut the house height. This gives you more wood to hold on to while cutting and your hands farther away from the blade.
Cutting the Cabin Shaped Wooden House
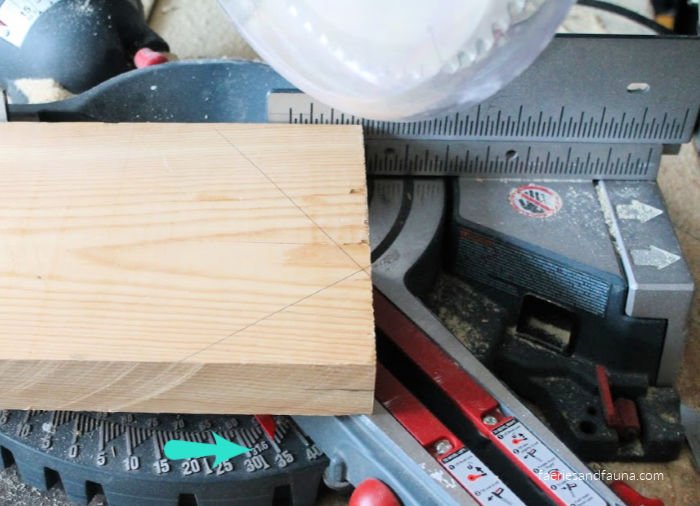
Print out your pattern, cut it out, and then trace the outside dimensions onto your wood. Be safe with gloves, eye protection, etc.
Cut the long length of the roof line. For this cut set the saw at a 35-degree angle. Starting at the peak make your cut.
Flip your board over, and cut the short edge of the roof line at a 50-degree angle.
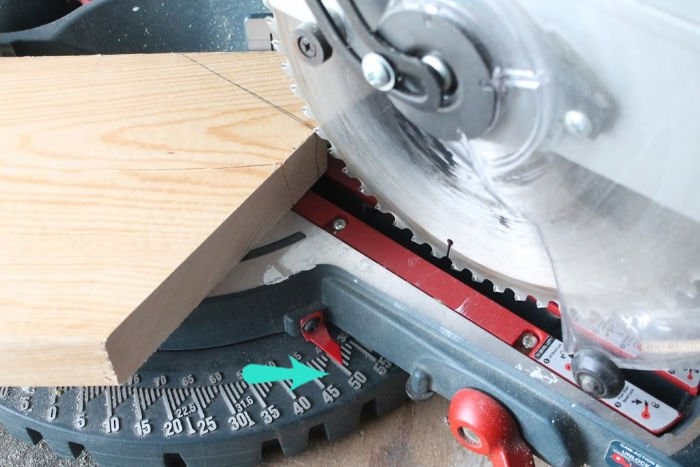
Once you have the miniature roof lines cut, cut the bottom square edge.

Cutting the European Wooden House
You would not believe how many different ways we tried to cut this miniature roof line before finding the one way it would work with our miter saw. My idea looked so easy when drawn on paper, but yowsa I couldn’t figure out how to make the angles work within the parameters of our saw.
To work around this I cut this house style into two pieces.
Here is a side view so you can visualize the roof line. The top of the roof is straight, but two identical angle cuts for the front and back.

How to Cut the Roof Section
Measure the thickness of the board and make a note. Our 1 by 8 is 1 1/2 inches thick.
Cut from a long piece of lumber, you don’t want your hand close to the board.
Make sure the end of your wood is cut square. Measure from the edge back the thickness of your wood (1 1/2″), and mark. Set your miter saw to 10 degrees.
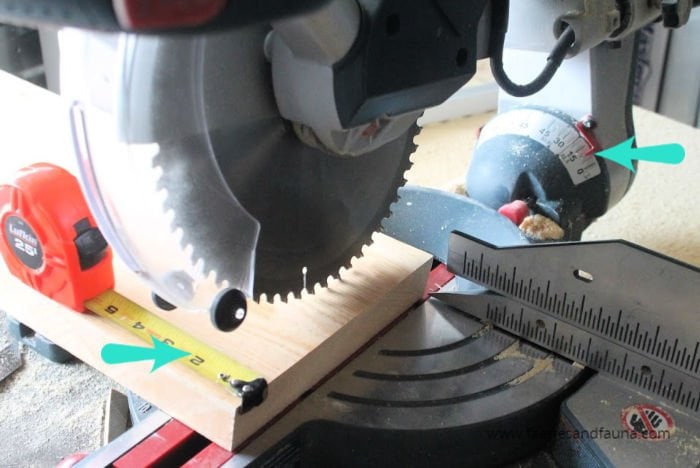
Turn the board over and measure the same distance (1 1/2″) from the end. Do a second cut
Now cut the board at 90 degrees to square the bottom two inches from the end.

Decorating the Small Wooden House Crafts
Wooden crafts are so much fun, they are one of my favorite DIY craft projects to putter at, it makes me happy hanging out in the garage and using my creative ideas to make something pretty out of scrap wood. Easy woodworking projects of any kind are a great excuse to spend time outdoors and maybe get Hubs to teach me something new.
Before gluing your wood together remove all the sanding dust with a dry rag. Next, attach the two small pieces of the house with wood glue. Clamp in place and let dry thoroughly.

Once the wood house is glued together, transfer the pattern for the windows and doors onto the front of your houses.
Then add a little chimney to each house. Hubs drilled the holes into the wood and then I glued the wood pegs into the holes and let them dry.

Use a black paint pen or permanent marker to color inside all the windows and doors. Let dry.

When you’re adding the outside borders to the windows use a white paint pen. I found that the Sharpie pen ink would lift up onto the wet paint pen. To get around this I would wipe off the ink on a spare piece of paper before painting again. Give the window outlines two coats of white.

I am just thrilled with how these houses turned out, especially the one with the front and back slanted roofs. It just looks very European farmhouse to me. I know this tutorial is very step-by-step, but if you are learning to work with scrap wood I hope you find all the detail helpful.
Thinking about making these mini wood houses. Pin to Pinterest for Later.
Ways to Use These Small Wooden Houses Crafts
There are a variety of ways you can use these small wood houses. They work well on a mantel, or on a tray like in the images. Or you could place them beside a welcome home sign. I think they would make a great gift to a new home owner.
Other Small Wood Crafts using Scrap Wood
This small wooden house draft is one of several projects I enjoyed making with scrap wood. Besides getting inexpensive home decor it helps practice woodworking without the stress of using expensive materials. With these small scrap wood projects we often can try and try again without stressing about it. I hope you like the other ideas I chose.
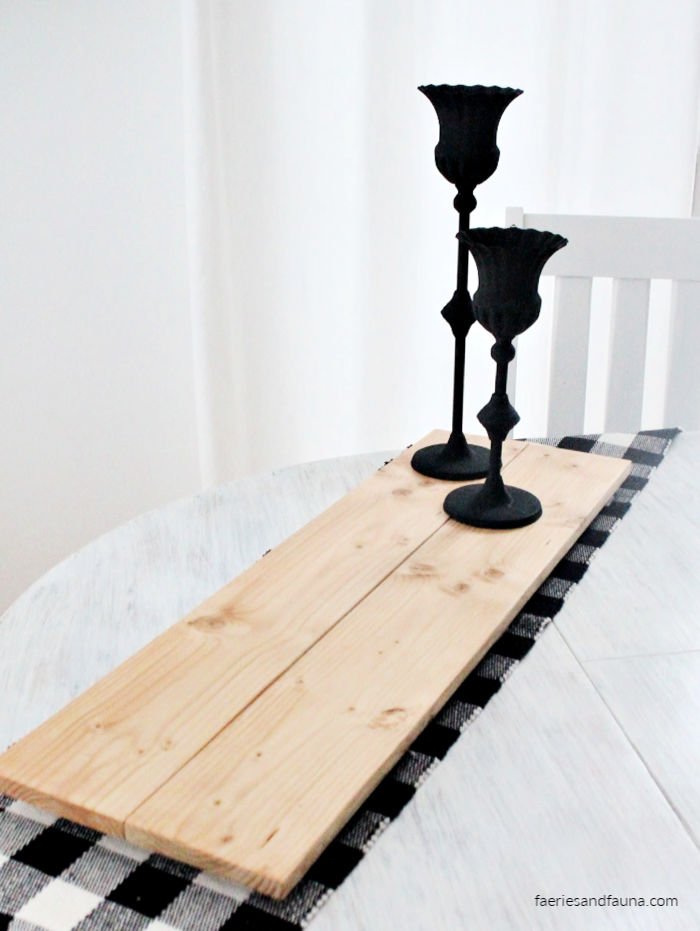
DIY Wood Risers for Tabletops
A very simple to make DIY farmhouse wood riser using scrap wood. These wood table risers are very handy for table tops and counters as they both protect them from heat and add a simple focal point for decorating.
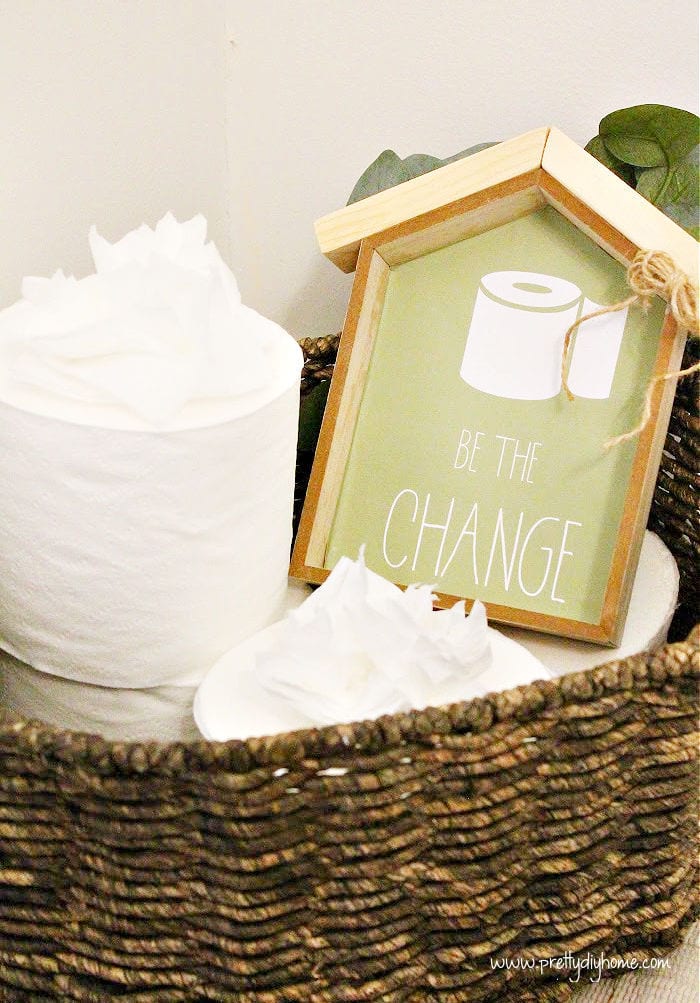
Simple Wooden Houses Crafts with Dollar Store Shapes
These Dollar Store wood houses are easily recognizable using Dollar Store house shape frames. They have scrap wood roofs and I share the free printables. They make cute bathroom home decor.
This is such a great idea! I could see these painted for Christmas, too. Appreciate you sharing! Pinned!
So cute! My friend, Sara at Creative Jewish Mom, recently shared a post about a vacation they took to a farmhouse, and it kind of looks like these. Wish I were somewhere like that with just fields of flowers around me.