DIY Wire Baskets and Easy Sew Liners
Store bought wire baskets are sturdy and attractive, but they can be heavy, expensive, and rarely the exact size you need. That becomes even more noticeable in small spaces like bathrooms, closets, or an RV where every inch matters.
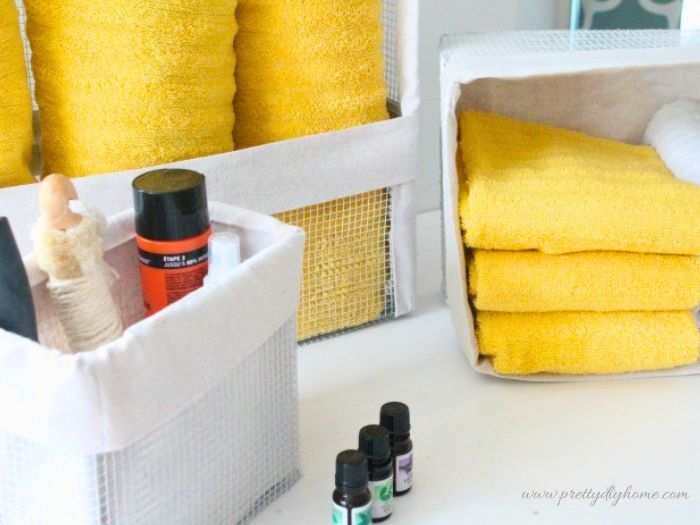
These DIY wire baskets are a simple solution. They are lightweight, inexpensive to make, and easy to customize to any basket size you need. I originally made mine for our RV so everything would match and fit the odd sized spaces, but this same idea works just as well anywhere you need simple, practical storage.
To give them a softer, more finished look, I also added a quick fabric liner. The liners can be used in any type of basket, not just these wire ones, and only take a few minutes to sew. It’s an easy way to make any basket look clean, simple, and more put together.
The RV needed some sort of storage in the small shower area, but there wasn’t much space to work with. The sink is outside the door, which is great for sharing, but it leaves very little room for storage inside.
We looked for ready made baskets, but everything we found was too bulky to hang on the wall. So instead, I made a lightweight version that would fit the space exactly.
Supplies
For the wire baskets:
- roll of hardware cloth (wire mesh)
- wire cutters
- florist wire (lightweight works best)
- straight edge
- gloves and safety glasses
- spray paint (optional)
For the fabric liners:
- drop cloth fabric or cotton fabric
- sewing machine
- thread
- scissors measuring tape
All the baskets are made using the same method, no matter what size you choose. The steps below show the largest basket as an example.
Step 1: Decide on the Size
Before cutting any wire, decide what you want your basket to hold. This will help you determine both the width and height.
For my basket, I used a rolled towel as a guide and ended up with a basket about 18 by 15 inches. It comfortably holds several towels while staying shallow enough to fit in a small space.
Keeping the basket as slim as possible was important since it was going in the RV. A thinner basket works much better in tight areas like a bathroom or closet without getting in the way.
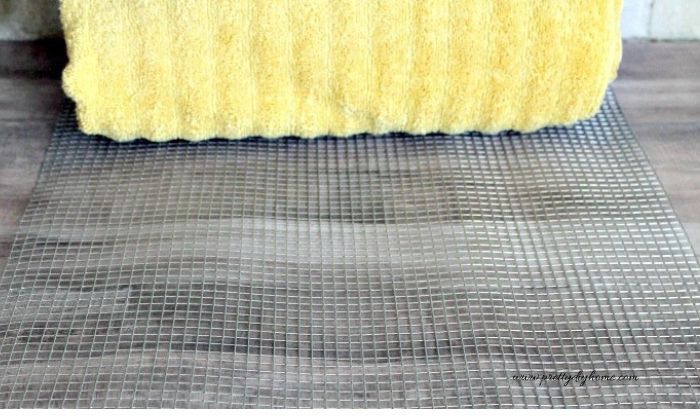
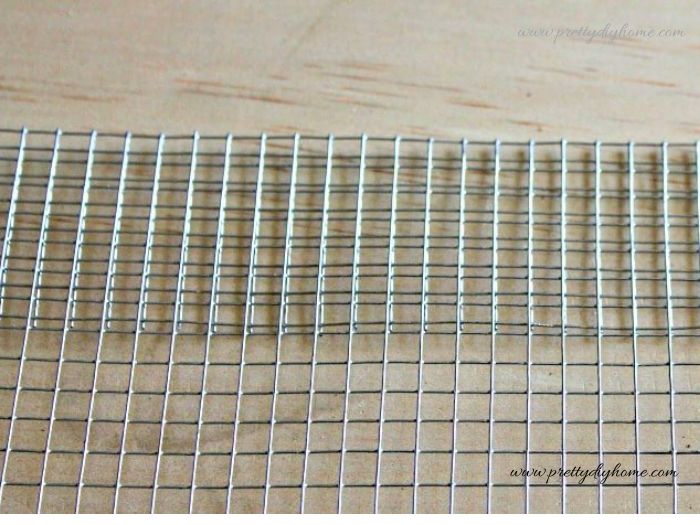
Step 2: Cut the Base
Using the size you decided on, cut your base from the hardware cloth.
The grid pattern in the wire makes this easy. You can follow the lines to keep your cuts straight and even. Measure to the nearest wire and cut along the grid using wire cutters.
Once the base is cut, trim away any small sharp pieces sticking out along the edges.
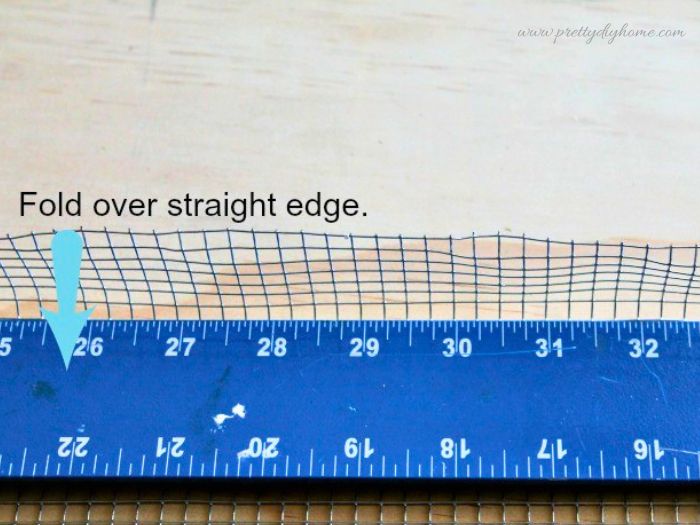
Step 3: Cut and Fold the Top Edge
Cut your side piece of hardware cloth so it is long enough to wrap all the way around your basket, with a little extra to overlap at the seam.
Decide on the height of your basket, then cut the wire slightly taller to allow for a folded top edge.
Using a straight edge, fold the top of the wire down about an inch.
Remove the straight edge, then pinch the wire along the fold to make a clean edge.
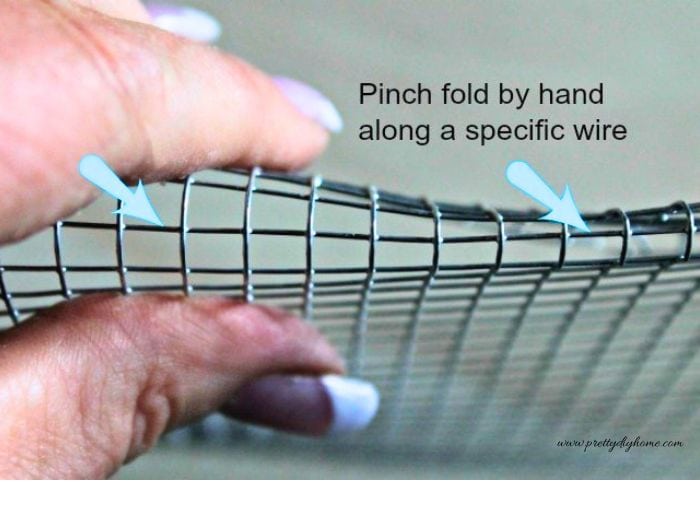
You will now have a long strip of wire with a folded top edge.
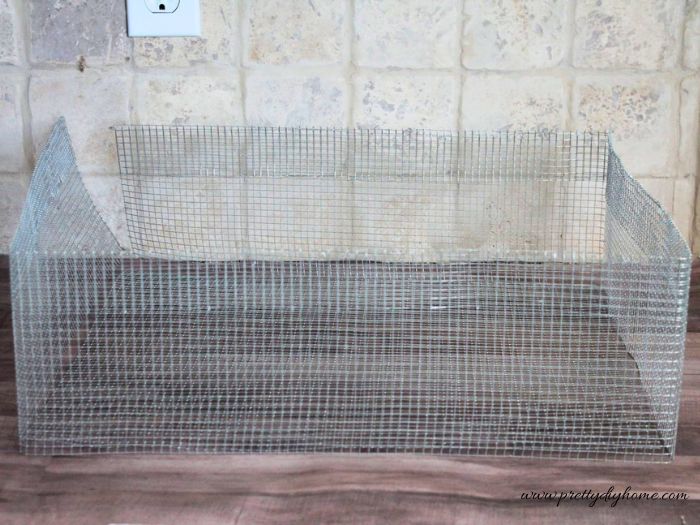
Align the bottom piece with the long side panel. Using a straight edge, fold the wire at each corner so it matches the shape of your base.
Once folded, the basket will begin to take shape with three corners formed and one open seam.
To assemble the baskets, all I did was use wire and sew the two sections together by weaving the thread through the adjacent holes in the grid.
Step 4: Assemble the Basket
To assemble the basket, use lightweight wire to join the side panel to the base.

Working along the seam, weave the wire through the grid, pulling it snug as you go. Continue wrapping the wire through both pieces to hold them securely together.
If your wire runs out, simply overlap a new piece along the seam and continue weaving to secure it in place.
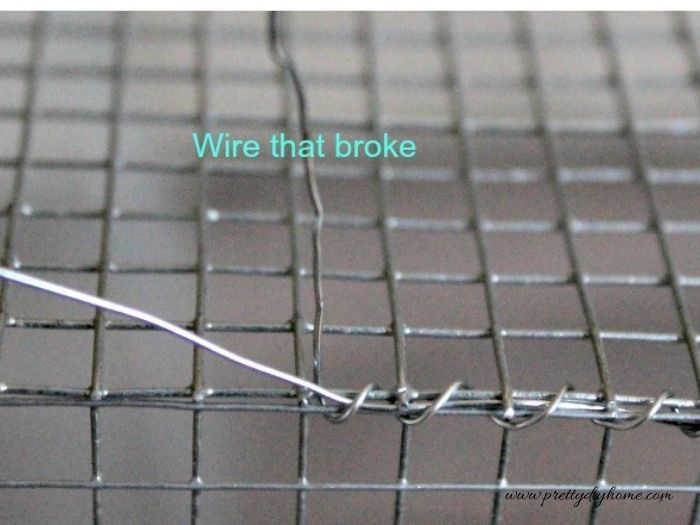
Work your way around all the open seams, sewing the basket together with wire.
Once all the seams are joined, twist the ends of the wire, tuck them in, and trim off any excess.
When you’re finished, crimp the wire ends securely so nothing sharp is exposed.
If you like, you can spray paint the baskets and let them dry overnight before using.
How to Make an Easy Basket Liner
Step 1: Measure and Cut the Fabric
Measure your basket to determine the size of your liner.
To figure out the width, measure up one side, across the bottom, and up the other side. Add a few extra inches to allow for folding over the top edge.
Repeat the same process for the length.
For example, for a medium basket measuring about 8 by 11 inches with 6 inch sides, the measurements were:
7 + 8 + 7 + 4 + 4 = 30 inches for the width
and 7 + 10 + 7 + 4 + 4 = 32 inches for the length
Cut your fabric to match your measurements. For this example, I cut mine to 30 by 32 inches.
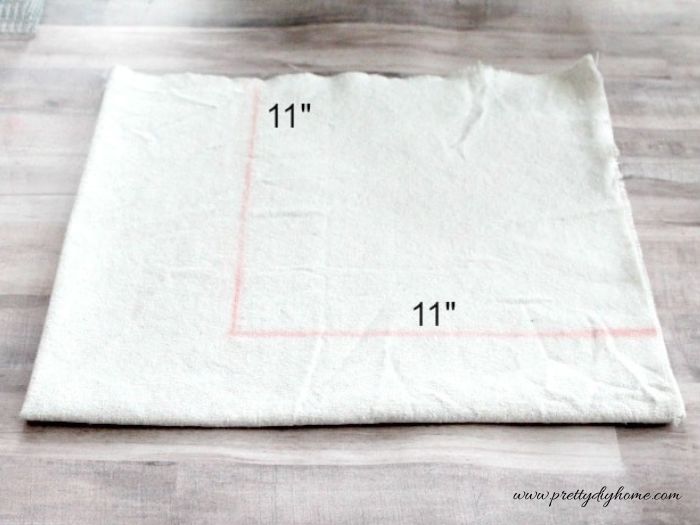
Fold the fabric into a square. To create the corners, cut out a square from each corner on the open sides. For this size basket, I removed an 11-by-11-inch square, leaving the folded point intact.
For the medium-sized 8″ by 11″ basket with 6″ sides. Measure the three sides 7(side)+8(bottom width)+7 (second side) +4 (folded edge)+4 (folded edge) for a total of 30 inches.
Following the same equation for the length 7+10+7+4+4 = 32″
Fold the fabric into a square. To create the corners, cut out a square from each corner on the open sides. For this size basket, I removed an 11-by-11-inch square, leaving the folded point intact.
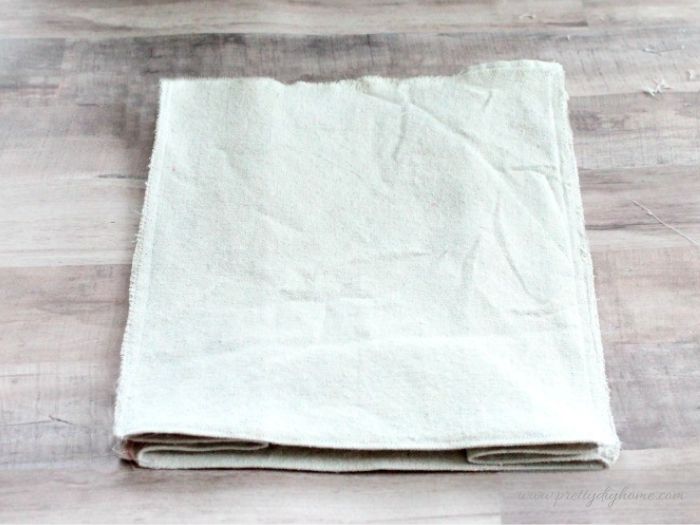
Once cut, open the fabric to reveal the shape.

Open the fabric, then bring the cut edges together and sew each corner. Repeat for all four corners.
To give the liner a bit more structure, sew an extra seam along the bottom edges.

This creates a simple, clean basket liner that is both functional and easy to make.
Place the liner in the basket, then fold the top edge of the fabric over about 2 inches. Press the fold and adjust as needed so it sits evenly.
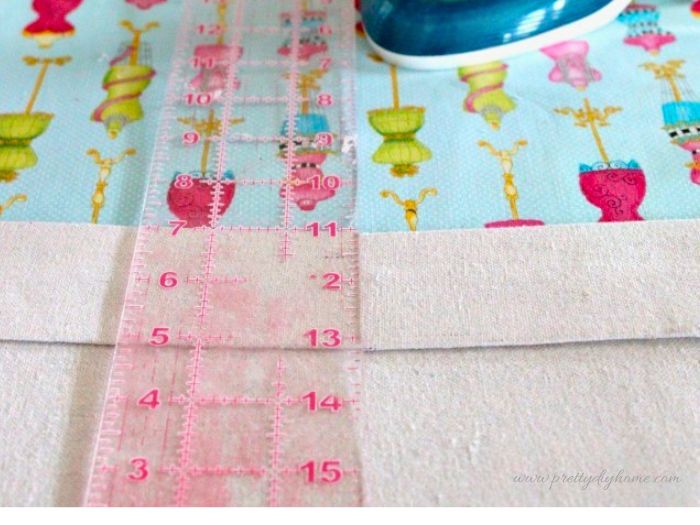
Place the liner in your basket and adjust it so it fits neatly inside.
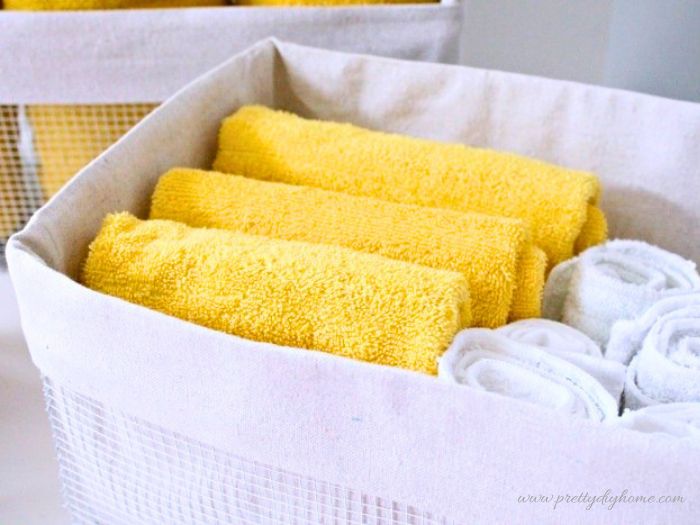
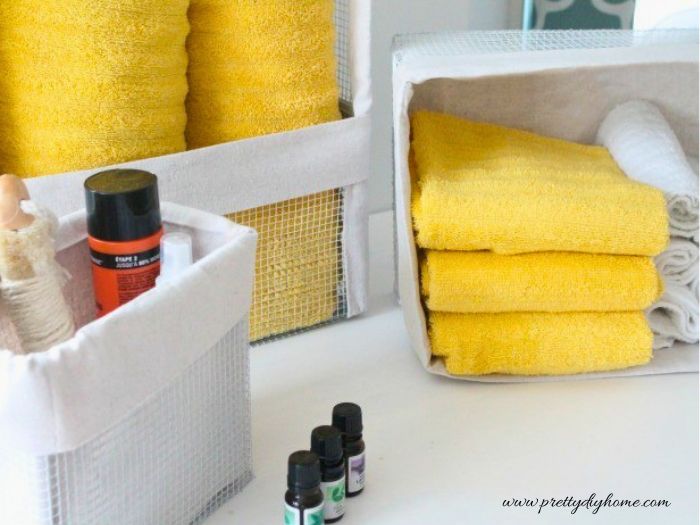
Lightweight Towel Holder Idea
By making your own wire baskets, you can customize the size and shape for any space.
This simple towel holder is just a basket with an added front panel. I finished it with two strips of drop cloth for a soft, clean look.
It worked perfectly in our RV shower where space is limited, and it’s a good example of how versatile these lightweight baskets can be.

You May Also Like
DIY Kitchen Organizer for Countertops
If you’re looking for another simple way to keep your space organized, this DIY kitchen countertop organizer is a great option. It’s an easy project that adds practical storage while keeping everything within reach.

Painted Storage Jars
These painted glass jars are an easy way to turn thrifted finds into pretty, functional storage. They’re perfect for adding a soft cottage feel while keeping small items neatly organized.
These are perfect for the RV. We are in the process of doing some updates to our RV and you are giving me so many great ideas. Thanks!
What a super great idea!! I can see a linen press full of these!! Not only fabulous for storage but so pretty too!
I love these Leanna! They are awesome.
They most certainly are cheaper. I am really happy with the texture of the drop cloth fabric as well, I am now understanding why drop cloth fabric is so popular.
This is a great idea and as you say at the fraction of what you pay at the store.