
Thrifted Jewelry Box Makeover (Easy Thrift Store Upcycle)
I almost feel a bit silly admitting this, but I have never done a jewelry box makeover before. I see them all the time at the thrift store, but they always seemed too quick and easy, so I kept walking past them.
That is, until I found myself needing a small jewelry box.

The new ones are often made out of cardboard, which I really dislike. Since I couldn’t find a new one that wasn’t cardboard or pressed paper, I spent some time searching for a real wooden vintage jewelry box. This one was perfect for me. I can use it for display, or it is small enough to place valuables in and tuck it safely away. I love that it has two drawers.
It was not much to look at, but I could see the potential right away if I could tone down that yellow tinge the wood had. The size was just right, and with a little work, I knew it would be something I would actually use.

How to Make a Thrifted Jewelry Box Makeover
Supplies Needed
- Thrifted wooden jewelry box
- White paint (I used Fusion Mineral Paint in Picket Fence)
- Zinsser 1-2-3 Primer
- Sandpaper (120 grit and 150 grit)
- Dollar store artist brush (long handle)
- Craft paper (for drawer lining)
- Clorox bleach cloths
- Damp cloth
- Vacuum
This ended up being a very budget friendly project. The jewelry box itself was under $5, and I already had everything else on hand.
Cleaning and Prepping the Inside
When I opened the thrifted jewelry box, the inside was lined with a bright, almost shocking pink felt, which gave me a pretty good clue it dated back to the 70s. I could have ripped it out, but I really liked the little compartments and knew they would be handy. Instead, I decided to keep the interior dividers and make them work.

I started by vacuuming the inside thoroughly, then scrubbed it really well using my finger and a damp cloth to get into all the corners. Once that was done, I went over everything with Clorox bleach cloths to sterilize it, then let it dry.
After it was fully dry, I painted the felt with two coats of white paint. It gave the box a nice fresh interior and goodbye bright 70s pink.

Adding a Simple Drawer Liner
Next, I cut out some pretty craft paper and lined just the bottom of each drawer. Adding a craft paper liner helps keep the jewelry box clean and makes it a bit easier to dust than the painted felt underneath.
I chose cardstock because it holds its shape well. I measured the narrow inside width first, then slid the paper into the drawer before folding it to mark the length.

Once I was happy with the fit, I trimmed it and placed it back inside.
The firm folds help hold the liner in place at the bottom of the drawer without adding adhesive.
Painting the Outside of the Jewelry Box
For the outside, my first plan was to do a milk wash using white paint, but even with plenty of sanding, the wood just wouldn’t take it properly, so I scrapped that idea.
Moving on, I applied a coat of Zinsser 1-2-3 primer using a long handled artist brush. The handle is long enough to reach inside the jewelry box and small enough that I could still see what I was doing. Thankfully, the primer worked well, and I had no issues with painting.
I chose white because it goes with everything and keeps the piece looking clean and simple. I also had some very pretty yellow paint left over from painting jars, which would have been cute, but less mature, and soft neutrals are always much easier to decorate with any time of year.
I followed the instructions on the Fusion paint can, letting it dry between coats, but I lightly sanded the jewelry box with 150-grit paper after each coat. The sanding makes the paint feel smooth and almost silky, and it also lets me remove any little edge drips that can happen on smaller pieces like this.

Creating Contrast on the Drawer Fronts
Instead of painting the drawer fronts, I left them for contrast and sanded the cream colored finish by hand instead. I sanded them several times, starting with 120-grit and finishing with 150-grit sandpaper to reduce the faux woodgrain look and smooth everything out.
In the image below, you can see the subtle difference. The woodgrain shows less, and the drawer front has become a shade or two lighter.

After sanding, I applied a thin coat of Fusion Top Coat.

This thrift store upcycle ended up being a very simple makeover. The jewelry box is now clean, neutral, and something I will actually use every day. I think it is higher quality than anything I could find new, and exactly what I was wanting.
Keeping it simple also kept the cost down. I used one paint color I already had on hand and skipped any extras like transfers or embellishments. It is the kind of project you can easily do with what you already have, and still end up with something nicer than new.

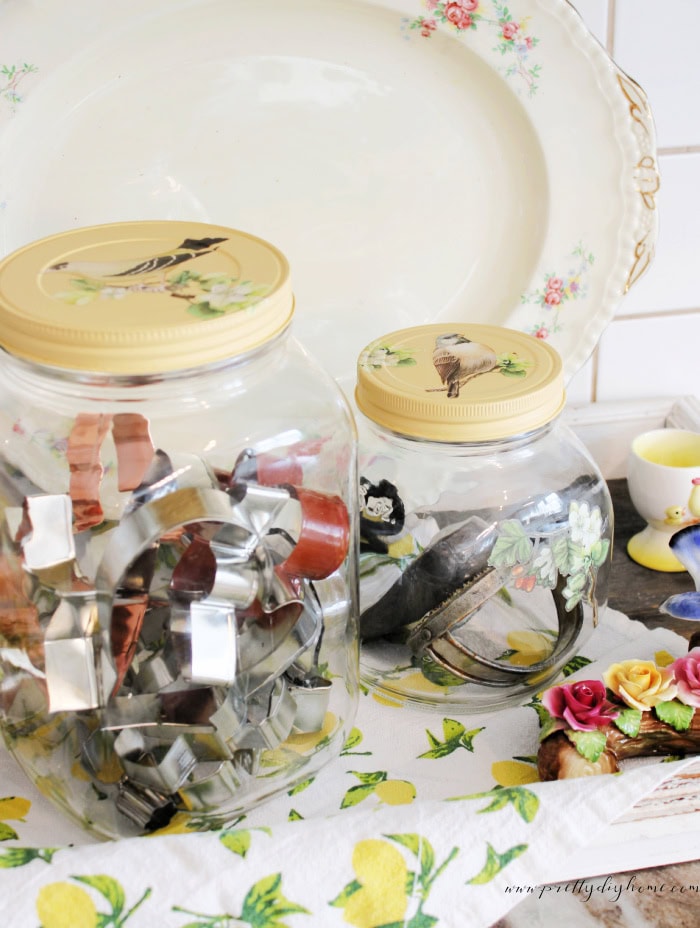
Vintage Painted Jar Storage
If you like soft, neutral makeovers, you might also like these painted vintage jars. I used a sunny yellow for those, which would have been cute here too, but I went with white for a more classic look.
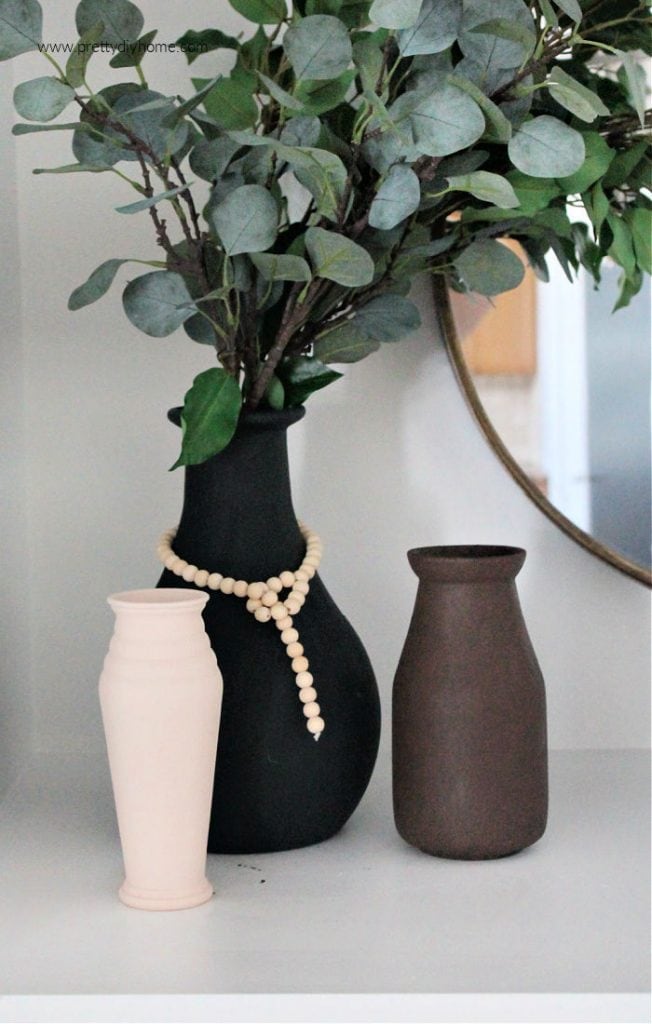
Faux Ceramic Vase Thrift Store Makeover
If you enjoy simple thrift store upcycles, you might also like this faux ceramic vase makeover. It is another easy project using paint to turn a basic thrift store find into something that looks much more expensive.